manuals.online logo
Brands
  1. Home
  2. •
  3. Brands
  4. •
  5. Da-Lite
  6. •
  7. Projection Screen
  8. •
  9. Da-Lite DELUXE MODEL B User manual

Da-Lite DELUXE MODEL B User manual

Other Da-Lite Projection Screen manuals
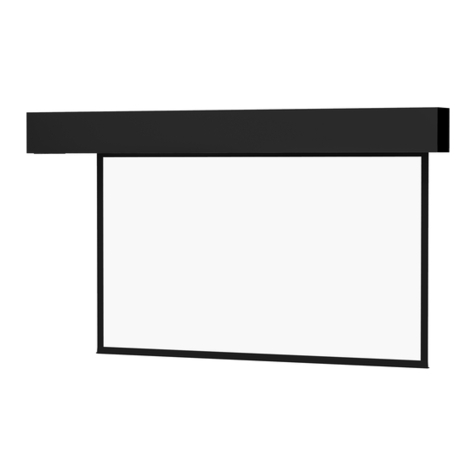
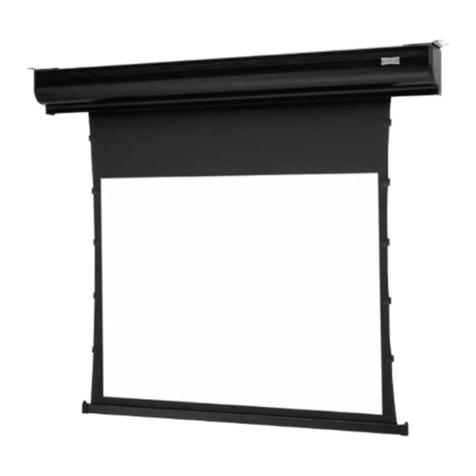
Da-Lite Cinema Contour Screen User manual

Da-Lite

Da-Lite Cinema Contour Screen User manual

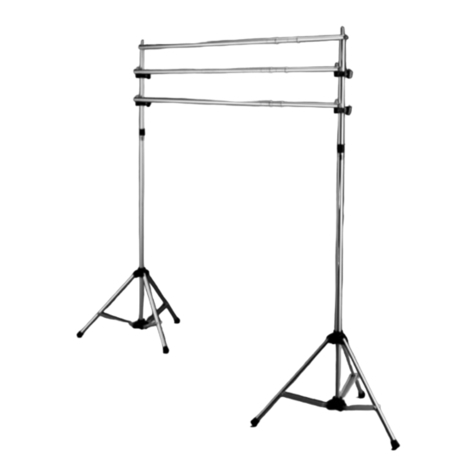
Da-Lite Fast-Fold truss Frame User manual

Da-Lite

Da-Lite Fast-Fold truss Frame User manual

Da-Lite Da-Snap 74610 User manual

Da-Lite

Da-Lite Da-Snap 74610 User manual

Da-Lite DESIGNER CONTOUR MANUAL User manual

Da-Lite

Da-Lite DESIGNER CONTOUR MANUAL User manual

Da-Lite Whiteboard Mount User manual

Da-Lite

Da-Lite Whiteboard Mount User manual

Da-Lite Tensioned Advantage Deluxe Electrol User manual

Da-Lite

Da-Lite Tensioned Advantage Deluxe Electrol User manual

Da-Lite Cosmopolitan Electrol User manual

Da-Lite

Da-Lite Cosmopolitan Electrol User manual

Da-Lite TENSIONED ADVANTAGE ELECTROL User manual

Da-Lite

Da-Lite TENSIONED ADVANTAGE ELECTROL User manual

Da-Lite Horizon Electrol User manual

Da-Lite

Da-Lite Horizon Electrol User manual

Da-Lite IDEA Screen User manual

Da-Lite

Da-Lite IDEA Screen User manual

Da-Lite TENSIONED LARGE COSMOPOLITAN ELECTROL User manual

Da-Lite

Da-Lite TENSIONED LARGE COSMOPOLITAN ELECTROL User manual

Da-Lite CINEMA CONTOUR SCREEN User manual

Da-Lite

Da-Lite CINEMA CONTOUR SCREEN User manual

Da-Lite Viewshare Advantage Electrol User manual

Da-Lite

Da-Lite Viewshare Advantage Electrol User manual

Da-Lite ADVANTAGE DELUXE ELECTROL User manual

Da-Lite

Da-Lite ADVANTAGE DELUXE ELECTROL User manual

Da-Lite Boardroom ElEctrol User manual

Da-Lite

Da-Lite Boardroom ElEctrol User manual

Da-Lite EXECUTIVE ELECTROL User manual

Da-Lite

Da-Lite EXECUTIVE ELECTROL User manual

Da-Lite Model C User manual

Da-Lite

Da-Lite Model C User manual

Da-Lite Polacoat Flex Plex User manual

Da-Lite

Da-Lite Polacoat Flex Plex User manual

Da-Lite Boardroom ElEctrol User manual

Da-Lite

Da-Lite Boardroom ElEctrol User manual

Da-Lite ASCENDER ELECTROL User manual

Da-Lite

Da-Lite ASCENDER ELECTROL User manual

Da-Lite PROFESSIONAL ELECTROL User manual
Da-Lite

Da-Lite PROFESSIONAL ELECTROL User manual

Da-Lite PROFESSIONAL ELECTROL User manual

Da-Lite

Da-Lite PROFESSIONAL ELECTROL User manual

Da-Lite IDEA Thin User manual

Da-Lite

Da-Lite IDEA Thin User manual

Da-Lite PROFESSIONAL ELECTROL User manual

Da-Lite

Da-Lite PROFESSIONAL ELECTROL User manual

Popular Projection Screen manuals by other brands

Draper E Series Installation & operating instructions

Draper

Draper E Series Installation & operating instructions

Elite Screens Elite Tripod Series user guide

Elite Screens

Elite Screens Elite Tripod Series user guide

Laarhoven Companion II General assembly instructions

Laarhoven

Laarhoven Companion II General assembly instructions

FONESTAR PPTR-43100-FA quick start guide

FONESTAR

FONESTAR PPTR-43100-FA quick start guide

Slide Clear Varro XL installation instructions

Slide Clear

Slide Clear Varro XL installation instructions

OS РХ-090Н user manual

OS

OS РХ-090Н user manual
Niko 10-845 Product information

Niko

Niko 10-845 Product information

Speaka Professional 2357532 Important information

Speaka Professional

Speaka Professional 2357532 Important information

Sima XL-72 instruction manual

Sima

Sima XL-72 instruction manual

Jasic EVO 2.0 ET-200P Fitting instructions

Jasic

Jasic EVO 2.0 ET-200P Fitting instructions

Renogy RMS-LFPS-US manual

Renogy

Renogy RMS-LFPS-US manual

Elite Screens Starling 2 Series user guide

Elite Screens

Elite Screens Starling 2 Series user guide

InFocus SC-WALL GRY-92H Instruction guide

InFocus

InFocus SC-WALL GRY-92H Instruction guide

Samsung S*H65* user manual

Samsung

Samsung S*H65* user manual

Celexon UST operating instructions

Celexon

Celexon UST operating instructions

JONSBO D31 user guide

JONSBO

JONSBO D31 user guide

Draper Luma instructions

Draper

Draper Luma instructions

Barco OverView MVL­-615 Brochure & specs

Barco

Barco OverView MVL­-615 Brochure & specs

manuals.online logo
manuals.online logoBrands
  • About & Mission
  • Contact us
  • Privacy Policy
  • Terms and Conditions

Copyright 2025 Manuals.Online. All Rights Reserved.

48709 Rev. 6/04
DA-LITE IS MORE
THAN PROJECTION SCREENS
Da-Lite Tripod, Wall and
Ceiling and Electric Screens
Da-Lite Lecterns
Da-Lite
Project-O-Stands
and Easels
Da-Lite
Monitor Mounts
POWER
PRESENTATION PRODUCTS
The
In
Operating Instructions
for
DELUXE MODEL B®
DA-LITE SCREEN COMPANY, INC.
3100 North Detroit Street
Post Office Box 137
Warsaw, Indiana 46581-0137
Phone: 574/267-8101
800-622-3737
Fax: 574/267-7804
http:// www.da-lite.com
e-mail: [email protected]
INSTALLATION
The Deluxe Model B must be suspended from
the ceiling or used with extension type wall
brackets to allow room for the Automatic
Tensionizer.
FOR WALL MOUNTING
Special extension wall
brackets such as Da-Lite’s
No. 6, No. 11 or No.23
brackets must be used if
screen is to be wall
mounted. Check with your
dealer to determine which
best fits your needs.
Brackets should be fastened
securely to a solid surface
such as a wooden
reinforcement board and not
in the plaster only. Rarely
will wall studs be found to
support both ends of a
screen. Various types of
fasteners are available from
local hardware stores.
FOR CEILING SUSPENSION
If the screen is to be ceiling
mounted, two screw hooks
placed in a beam or other
solid surface will do the job.
For dropped ceilings, Da-
Lite’s T-Bar Scissors Clip
may be purchased.
NOTE: Whichever method is used, the screen
should be free to swing forward and back and
not be anchored rigidly. Mount the screen so
that bottom of picture surface, when fully
extended, will be above heads of viewers.
YOU HAVE MADE A WISE
SELECTION…
Care in mounting and care in correct
operation will mean a long and satisfac-
tory life for your Da-Lite wall/ceiling
screen. Locate the screen where the
audience can best see it.
SETTING UP YOUR SCREEN
These illustrations (all rear views for
simplification) show how easy the Deluxe
Model B Screen is to operate.
1. To start unrolling the
picture surface, pull down
on cord pull knob. Then
with hand resting on the
handle, pull screen down.
2. The Automatic
TENSIONIZER moves into
position in a precision-
like manner.
3. When surface is down,
a simple press of
contour-shaped handle
locks it into position…
ready for the show!
4. To re-roll picture
surface–press firmly
downward and counter-
clockwise on flat handle
to release lock. Permit
surface to re-roll rapidly
into case. Control upward
movement by lightly
holding handle or cord
pull knob.
PROTECT YOUR SCREEN by keeping it rolled in
its case when not in use. Always examine both
front and back of surface before re-rolling into
case to make certain screen is free of dust, dirt
or other foreign matter. Use a very soft duster,
brush gently to remove foreign particles.
SILVER LENTICULAR PICTURE SURFACES
Silver Lenticular surfaces are
sensitive to temperature changes
which may temporarily cause
slight unevenness after a screen
has been rolled up for a time. If
uneven when first opened for use,
put on normal tension with the ten-
sioning device and allow it to
stand at room temperature of 70 to 75 degrees for five
or ten minutes. The surface will equalize itself and be
normally flat for projection in a very short time.
SCREEN ACCESSORIES
WALL BRACKETS
Da-Lite No. 6 and No. 11 Non-adjustable wall
brackets and No. 23 adjustable extension wall
brackets are ideal for keystone elimination,
chalkboard clearance, or corner mounting. The
screen brackets should be fastened to the
studding or other solid surface and
not in the plaster only.
Suspend screen from
“D” rings.
No. 23 ADJUSTABLE
WALL BRACKETS
Screen can be extended
181⁄4", 20" or 24" from
wall by wing nut and
bolt adjustment.
No. 11 WALL BRACKETS
Screen can be extended
10" or 14" from wall by
changing position of
bracket.
No. 6 WALL BRACKETS
Screen can be extended
6" from wall.
T-BAR SCISSORS CLIP
For Dropped Ceilings
50 lb. max. load
capacity.
TILT LOCK
For Keystone Elimination
Holds back bottom of
screen in tilted position
to eliminate keystoning.
SCISSORS
CLIP
ADAPTER
S-HOOK
D-RING
T-BAR
DELUXE MODEL B
EXCLUSIVE FEATURES
•Built-On Hanging Brackets for Ceiling
•Rugged Construction
•Octagon No-Rub Flat Back Case
•Seamless in All Sizes
•Uniform Automatic Tensioning
•Wrinkle-Free Pictures
•Completely Self-Storing
•Camlok Roller System Prevents Picture
Surface From Pulling Off Metal Roller
ADJUSTMENT NOTE
NOTE: Tensioning of the Deluxe Model B
picture surface was made at the factory.
Should more tension be required, the screw in
the channel holding the upper tension arm
assembly should be moved upward in holes
allotted for this purpose. For any adjustment, it
is recommended that the screen be removed,
placed on a flat surface and a pair of pliers and
a Phillips screwdriver be used in removing the
screw and nut.
PROTECT YOUR SCREEN
Before re-rolling surface into case, examine
both front and back of surface to be sure they
are free of foreign matter.
Upper tension
arm assembly
Nut Screw
Channel
BACK VIEW OF SCREEN
Case
Upper
tension
arm
assembly