Daewoo DSD-9520 User manual

USER’S GUIDE
DSD-9520 Digital PVR
DSD-9520˙¥` 2005.9.284:3PM ˘`1

1
Identification of Controls.....................................................................6~8
Front Panel ___________________________________________________________________________________6
Rear Panel____________________________________________________________________________________7
Remote Control
________________________________________________________________________________8
Important Care and Safety Advice ......................................................2~3
Introduction............................................................................................4
Features & Functions...............................................................................5
Basic Operation....................................................................................12
Time Shift Recording .............................................................................23
Recording and Playback on Your PVR ...................................................24
Where to get more help........................................................................26
Product technical specification...............................................................27
Using Standby________________________________________________________________________________13
Changing Channels___________________________________________________________________________13
To choose a particular channel _______________________________________________________________13
Using the TV Guide (EPG)_____________________________________________________________________14
Now & Next information_____________________________________________________________________15
Using the Main & Setup Menu’s ______________________________________________________________16
Using your VCR with the Digital PVR ________________________________________________________18
How to Access Topup TV channels____________________________________________________________19
Using interactive TV and Teletext_____________________________________________________________20
Timer Programming __________________________________________________________________________22
Connecting the PVR.................................................................................9
Setting up your digital PVR with a SCART cable______________________________________________9
To TV _________________________________________________________________________________________9
To TV & VCR __________________________________________________________________________________10
Time Shifting (Pausing Live TV) _______________________________________________________________23
Normal Recording____________________________________________________________________________24
Timer Recording ______________________________________________________________________________24
Playback & Edit ______________________________________________________________________________25
CONTENTS
CONTENTS
0916DSD-9520 2005.9.169:24 AM ˘`1

2
This Digital PVR has been manufactured to meet international safety standards, but
you must take care to operate it safely.
It is important that you read these safety instructions.
If you have any doubts about the installation, operation, or safety of this Digital PVR,
contact Daewoo, as shown below.
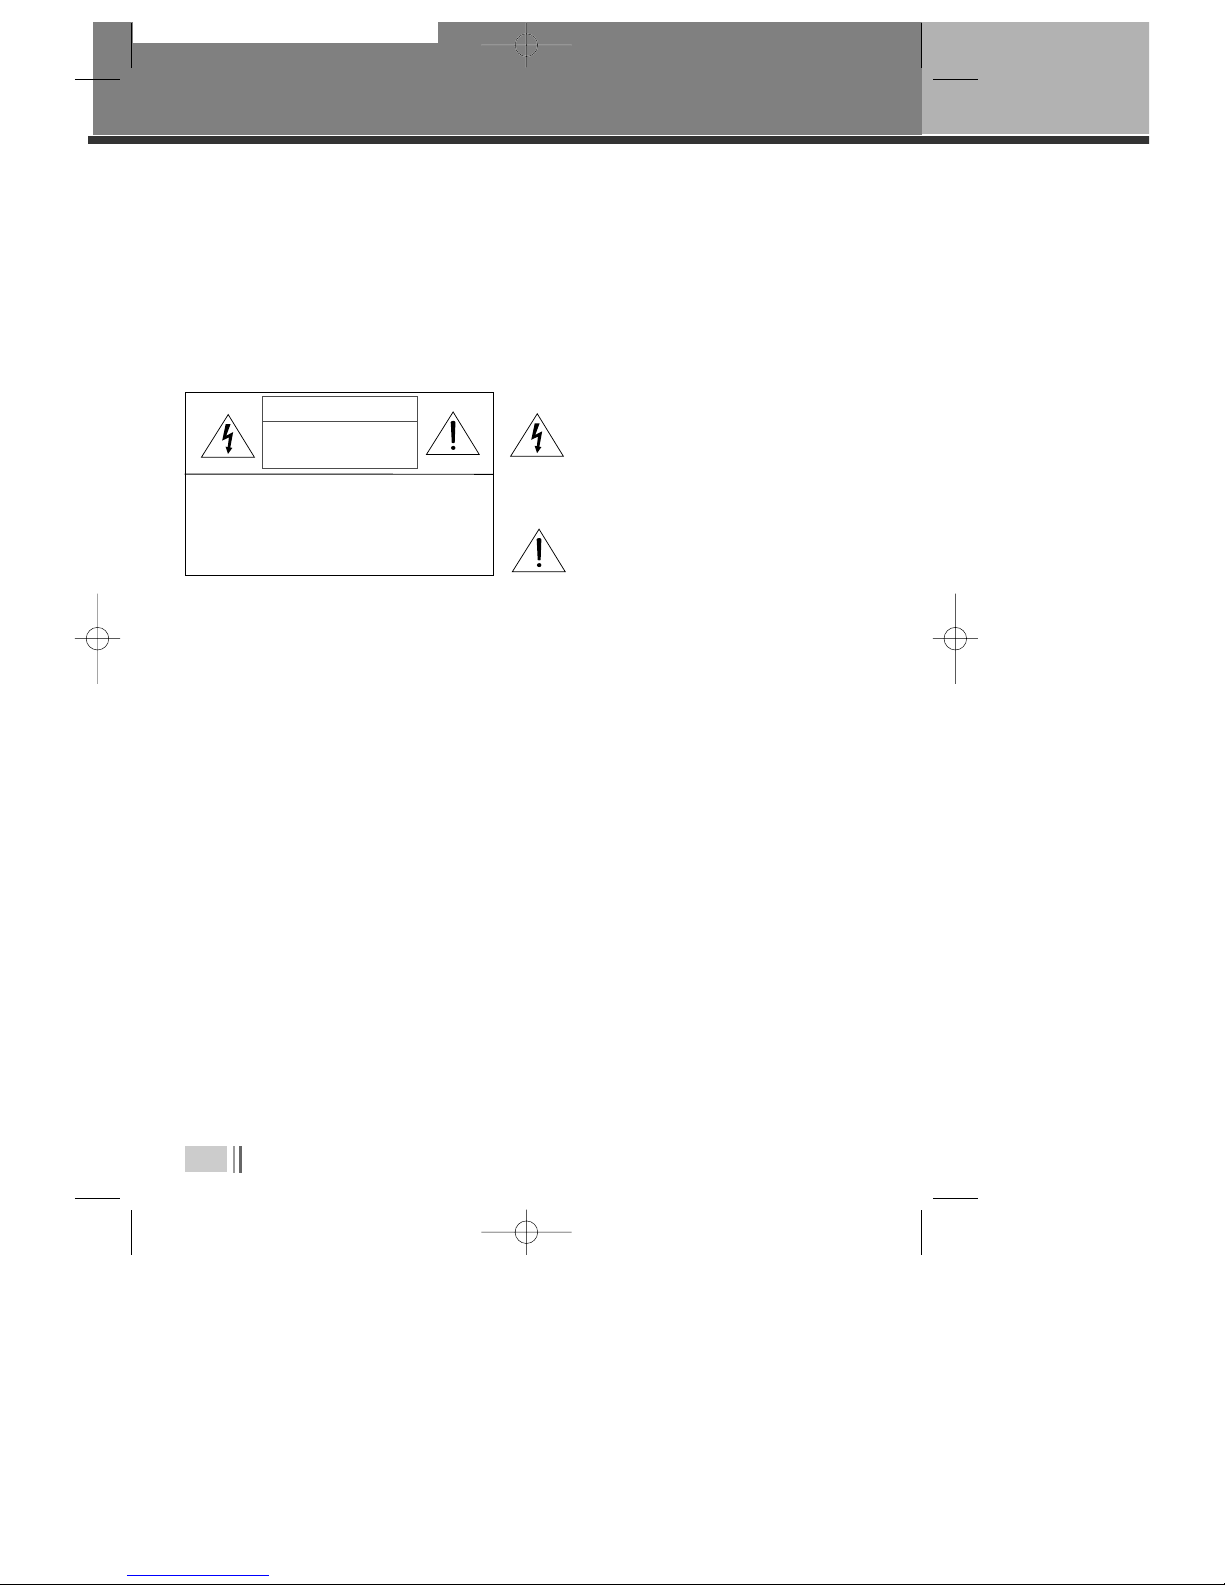
IMPORTANT CARE AND SAFETY ADVICE
CAUTION: TO REDUCE THE RISK OF ELECTRIC SHOCK,
DO NOT REMOVE COVER (OR BACK). NO USER-
SERVICEABLE PARTS INSIDE. REFER SERVICING TO
QUALIFIED SERVICE PERSONNEL.
CAUTION
RISK OF ELECTRIC SHOCK
DO NOT OPEN
The lightning flash with arrowhead symbol,
within an equilateral triangle, is intended to
alert the user to the presence of uninsulated
“dangerous voltage” within the product’s
enclosure that may be of sufficient magnitude
to constitute a risk of electric shock.
The exclamation point within an equilateral
triangle is intended to alert the user to the
presence of important operating and servicing
instructionsin the literatureaccompanying the
appliance.
✔
Electrical warning
• Your Digital PVR contains a high voltage which is sufficient to cause a dangerous electric shock.
• Never remove the Digital PVR cover.
• There are no user-serviceable parts inside.
Switch off the power supply from the mains wall socket. before you disconnect any equipment from
the Digital PVR.
• Never push anything into holes, slots or other openings in the case.
✔
Positioning the PVR
• The Digital PVR and cables should be placed so that they not likely to be walked on or pinched by
items placed upon or against them.
• Do not expose your Digital PVR to direct sunlight or to extreme temperatures (above 40
°C or
below -5°C), high moisture levels or dust.
• The apparatus shall not be exposed to dripping or splashing and that no objects filled with liquids,
such as vases, shall be placed on the apparatus.
• The ventilation should not be impeded by covering the ventilation openings with items,such as
newspapers,table-cloths,curtains,etc.
• Do not Place the Digital PVR on an unstable surface or on a bed, sofa, rug, or similar surface as this
may block air ventilation and cause it to overheat.
• Never place the Digital PVR over a radiator or in an unventilated cabinet. No naked flame sources,
such as candles, should be placed on the apparatus.
0916DSD-9520 2005.9.169:24 AM ˘`2

3
Important Care and Safety Advice
✔
Cleaning
• Cleaning : always disconnect from the mains supply before cleaning. Wipe with a lint-free cloth or
one that has been slightly dampened with clean water. Never use detergents, liquid cleaners.
✔
Unplug when not in use
✔
Use only authorised servicing
✔
EARTHING :
THE ANTENNA CABLE
MUST BE EARTHED.
✔
If any of the following occur
• When not in use for an extended period, unplug the Digital PVR from the mains outlet. Do not
overload wall outlets and extension adaptors as this can result in a risk of fire or electric shock.
• Any of the cables or plugs are damaged.
• Liquid has spilled onto, or objects have fallen into, the Digital PVR.
• The Digital PVR has been dropped or the casing has been damaged.
• The Ditigal PVR does not operate normally.
End User licence
This hardware and software of this product are licensed to the user as a single product that
cannot be separated.
It is intended as domestic product for the purposes of receiving digital television services; any
other use is done so at the users risk.
In relation to the software the end user is prohibited from copying,transferring to a 3rd party,
modifying or otherwise attempting to derive the source code of any part or whole of the software
in the product.The software is not sold, but licensed for use in the European Union to the owner
of the hardware. New software maybe transmitted to the box by the manufacturer in which case
the licence transfers to the new software.
✔
Carefully unplug the Digital PVR from the electrical outlet and
• Contact the retailer/ supplier who sold you the Digital PVR
• Call the Daewoo Helpline : 0870 100 2525
0916DSD-9520 2005.9.169:24 AM ˘`3

4
Thank you for purchasing the Personal Video Recorder (PVR).
Equipped with the latest technology and design, the DSD-9520 is a set-top box ideal for digital
terrestrial broadcast reception. The simple installation and operation, user-friendly three-
dimensional OSD, Digital audio output with Dolby Digital ready, and advanced video clarity made
for TV and VCR are all designed to enrich the viewer experience.
As a digital set-top box, it can receive TUTV and FTA broadcasts. Outstanding stability and comfort
are its built in features. In addition to delivering more channels with its new highly sensitive tuner,
DSD-9520 boasts the Electronic Program Guide (EPG), for even better program information on all
channels, and information that enables subtitles and teletext for a bounty of useful information on
programs and broadcast signals.
As a PVR, DSD-9520 utilizes the preloaded software functions by incorporating the hard disk drive.
This allows for assorted trick play, diverse formats of recording, and recordings playback,
all through the time shift recording function.
Software upgrade notices are posted periodically on the Internet homepage, and new versions can be
updated through automatic software upgrade service (OAD). With the latest software, viewers are
always sure to enjoy endless hours of extraordinary digital broadcasts and an abundance of data.
If you have any difficulties concerning the operation of your PVR, please refer to the relevant section
of this manual. This manual will provide you with useful information on using the PVR.
INTRODUCTION
INTRODUCTION
PACKAGE CONTENTS
When you open the packaging you should find
1) DAEWOO DIGITAL PVR
2) REMOTE CONTROL
3) SCART CABLE
4) USER’S GUIDE
• If any parts are missing, do not attempt to install this product.
Please contact the Daewoo Careline on 0870 100 2525.
VOL VOL
Remote Control Scart Cable User’s Guide
0916DSD-9520 2005.9.169:24 AM ˘`4

5
■
Personal Video Recorder
• 80 GB Hard Disk Drive (approx. 40 hours of recording time).
• Pause and play with button during A/V watching.
• Fast Forward & Fast Rewind in various speeds.
• Exit to live program
• Slow Motion to Forward & Backward.
• Time shift recording for 60 minutes.
• Recording live channels and stop.
• Recording reservation in EPG information.
• Recording reservation with setting start time and duration.
• Play back of recorded services with Trick play modes.
• MPEG-2 Digital & Fully DVB-T Compliant.
■
Digital Terrestrial Set-Top Box
• Fast Interactivity & Digital Teletext (MHEG 5).
- Allows a split screen combination of your programme plus live text news & sport
information.
- Digital super 'teletext' where you can view up-to-the minute information
• User-friendly EPG (8 days capability).
• Parental control with block on system, all channels and programs by age limitation.
• Multiple Connectivity to Hi-Fi or Home Theatre.
• Channel list mode in both all and favourite groups.
• Channel search in automatic, manual and network search.
• Channel sorting by Channel Number
• Timer Setting Supports automatic Turn-On and Off daily.
• Auto language selection of program for Audio language with user setting in menu.
• Video format in 4:3, 16:9 and letterbox.
• Extended information shows the full program information.
FEATURES & FUNCTIONS
0916DSD-9520 2005.9.169:24 AM ˘`5

6
!
Power On indicator
@
Standby indicator
#
Hard drive indicator
;
will be visible when hard drive is in use ie when in record or time shift mode.
$
Menu Button
;
allows access to on screen menu.
%
OK button
;
can be used to select a menu or confirm menu options.
^
Standby Button
;
switches between Operation and Standby modes.
&
Channel up/down (+/-) Buttons
;
can be used for changing channels or moving up and down Menu screens.
*
Volume up/down (+/-) Buttons
;
used to control volume on the PVR.
IDENTIFICATION OF CONTROLS
FRONT PANEL
MENU OK STANDBY
CH CH VOL VOL
POWER/ON REMOTE HDD
Digital Terrestrial Receiver DSD 9520
BITSTREAM OUT
DI ITAL VIDEO
BROADCASTIN
&*
! @ # $ % ^
0916DSD-9520 2005.9.169:24 AM ˘`6

Identification of Controls
7
!
RF IN T V Scart
;
connects an aerial to the Aerial IN jack on the PVR.
@
Audio L/R
;
connects to your TV or VCR and outputs audio signals.
#
T V Scart
;
connects a T V SCART cable.
$
RF OUT
;
connects an RF signal from your PVR to the RF (ANT )input jack on your TV or VCR.
%
S/PDIF
;
Outputs the digital audio signals.
^
VCR/DVD SCART
;
Connects a VCR/DVD SCART cable.
REAR PANEL
RF IN
RF OUT
L
R
AUDIO
OUT
S/PDIF
OUT
TV
VCR
DVD
100-240V-
50/60Hz, 18W
Man fact ered nder license from Dolby Laboratories.
"Dolby" and the do ble-D symbol are
trade marks of Dolby Laboratories.
DIGITAL TERRESTRIAL RECEIVER
HARD DISC RECORDER
MADE IN UK
$% ^
! @ #
0916DSD-9520 2005.9.169:24 AM ˘`7

8
!
Mute ;
Pauses the audio temporarily.
@
T V/DVR ;
Switches between DVR and TV.
#
Number buttons
$
EPG ;
Electronic Programme Guide
%
Menu ;
Choose and change a wide range of
PVR’s features.
^
Arrow buttons ;
allows to change channel,
control volume and move through menu ’s.
&
BACK ;
returns to previous menu.
*
Colour buttons ;
used for selecting interactive
applications.
(
Playback control buttons ;
Includes Play,
Fast Forward,Rewind,Pause and Stop.
)
Time Shift ;
activates time shift function -see
relevant section in this manual)
1
Audio ;
displays Audio menu.
2
Record ;
initialises the record feature -see
relevant section in this manual.
3
List ;
displays a full list of searched channels
4
FAV ;
sets favourite TV channels
5
Slow ;
starts slow motion playback.
6
Standby ;
switches between operation and
standby modes.
7
Info ;
displays information on the current and
next programs on the channel
8
TV/RADIO ;
Switches between first TV channel
stored and first Radio channel.
9
Text ;
displays digital text.
0
DVR Guide ;
Displays programmes recorded
on hard drive.
“
OK ;
selects menu or confirms the selected
operation.
‘
EXIT ;
exits the menu or guide screen.
+
Subtitle ;
sets the subtitle language.
=
Wide ;
sets display format.
Q
Timer ;
accesses the timer programming channels
q
Prev CH ;
switches to the previous channel viewed.
W
Jump ;
move to a specific point in playback.
Identification of Controls
REMOTE CONTROL
VOL VOL
!
#
@
$
%
^
&
*
(
)
2
3
5
6
8
#
9
“
+
=
Q
W
7
0
q
‘
1
4
0916DSD-9520 2005.9.169:24 AM ˘`8

9
SCART connections offer the best picture and sound quality.
They can also tell your TV when the Digital PVR is switched on and off and whether
widescreen pictures are being broadcast. Therefore this is the way this box has been
designed to be connected.
SETTING UP YOUR DIGITAL PVR WITH A SCART CABLE
CONNECTING THE PVR
CONNECTING THE PVR
1. Connect your aerial to the Digital PVR.
• Make sure your TV is switched off, together with any other equipment you are connecting to it.
• Insert the cable from your aerial into the Digital PVR socket marked ‘AERIAL’.
• Connect the SCART cable between the ‘TV’ socket on your Digital PVR’s rear panel and your
TV’s SCART socket.
• Connect an RF cable between the ‘RF OUT’ output on the Digital PVR and the RF socket on
your TV (where you normally connect the aerial).
2. Connect the SCART cable.
Choose the option below that best suits your TV (and VCR, if you have one). If you need a longer
SCART cable, you can find one at most TV or electronics retailers.
Ask for a “fully-populated” SCART lead.
Option 1: connecting to a TV only
RF IN
RF OUT
L
R
AUDIO
OUT
S/PDIF
OUT
TV
VCR
DVD
100-240V-
50/60Hz, 18W
Man fact ered nder license from Dolby Laboratories.
"Dolby" and the do ble-D symbol are
trade marks of Dolby Laboratories.
DIGITAL TERRESTRIAL RECEIVER
HARD DISC RECORDER
MADE IN UK
SCART Cable
RF Cable
(Not supplied)
AERIAL
TV
0916DSD-9520 2005.9.169:24 AM ˘`9

10
Connecting the PVR
• Connect the SCART cable between the VCR socket on your Digital PVR and your VCR’s SCART
IN socket.
• Connect a SCART cable between the SCART TV socket on your Digital PVR and your TV SCART
IN socket.
• Connect an RF cable between the ‘RF OUT’ socket on the Digital PVR and the RF input socket
on your VCR.
• If there isn’t already one in place, connect a second RF cable between the RF output on your
VCR and the RF input socket on your TV.
Option 2: connecting to a TV and VCR
RF IN
RF OUT
L
R
AUDIO
OUT
S/PDIF
OUT
TV
VCR
DVD
100-240V-
50/60Hz, 18W
Man fact ered nder license from Dolby Laboratories.
"Dolby" and the do ble-D symbol are
trade marks of Dolby Laboratories.
DIGITAL TERRESTRIAL RECEIVER
HARD DISC RECORDER
MADE IN UK
3. Connect the POWER cable.
SCART Cable
RF Cable
(Not supplied)
AERIAL TV
SCART Cable
VCR
0916DSD-9520 2005.9.169:24 AM ˘`10

connecting the PVR
11
Switch on your TV
Switch on the mains outlet for the Digital PVR.
Press POWER on your PVR remote. The PVR’
green light should go on.
Your TV should switch to the Digital PVR
automatically. If no, select the AV channel
using the button on your TV remote marked AV,
EXT, TV/AV, O/E or a symbol, or refer to
your TV manual.
If you cannot see the picture from the Digital PVR, please refer to the “where to get more help”
section towards the end of this user’s guide.
4. Switch on your TV.
You are now ready to tune in to the digital TV service.
1
2
3
4
5
Please ens re yo r aerial is connected.
Press OK to a tomatically t ne digital
television services.
Auto Tune
0916DSD-9520 2005.9.169:24 AM ˘`11

12
Using your Digital PVR for the first time.
The first time you use your Digital PVR, you will see a screen like the one below. The
Digital PVR now needs to scan for available Digital TV channels.
• Press OK on your Digital PVR’s remote control to
begin searching for digital channels. The search
will take between 2 and 5 minutes, depending on
the digital TV service in your area.
• As channels are found, their names are listed on the
TV screen.
• When the scan has finished, the Digital PVR will
automatically switch to the first channel in the list.
BASIC OPERATION
BASIC OPERATION
• You can now explore and enjoy the channels available on
your Digital TV service.
• Please read on to find out more about the features offered
by your Digital PVR.
027
060
033
017
024
061
036
047
NA
NA
NA
NA
NA
NA
NA
NA
TV
TV
TV
TV
TV
TV
TV
TV
Discovery
Television X
Boomerang
UKTV Gold
price-drop tv
Red Hot
Xtraview
Teachers’ TV
FULL SCAN ADD NEW SERVICES
CN Name Provider Type
0% 100%
Please wait while scanning... 4 min tes remaining
Please ens re yo r aerial is connected.
Press OK to a tomatically t ne digital
television services.
Auto Tune
0916DSD-9520 2005.9.169:24 AM ˘`12

Basic Operation
13
When you are not watching TV, you should set your Digital PVR to ‘Standby’.
To do this:
• Press POWER to switch to STANDBY.
If you plan to leave your Digital PVR unattended for a long period, switch it off
and unplug it at the mains supply. (Don’t worry - all of your settings will be
saved.)
To ‘hop’ through the channels :
• Press … or † on your Digital PVR remote control.
USING STANDBY
CHANGING CHANNELS
• Press one of the buttons 0to 9, then press OK.
• To select 2 or 3 digit channels (10 to 999), press the number buttons required in succession, then
press OK.
• If you do not press OK, the PVR will change to the selected channel after approximately 1 second.
TO CHOOSE A PARTICULAR CHANNEL
0916DSD-9520 2005.9.169:24 AM ˘`13

14
Basic Operation
The TV Guide shows a full list of available channels and programmes.
When you choose the TV Guide, the channel you are watching appears as a small
inset screen.
To view the Guide :
USING THE TV GUIDE (EPG)
Press EPG.
Press … or † to scroll through the list of
channels.
To scroll through the programmes press
œœ
and
√√
.
To scroll forwards and backwards, one day at a
time, press the blue and the yellow colour
buttons.
To preview the highlighted channel, press INFO.
To view the highlighted channel, press OK.
To exit the TV Guide without changing channel, press EXIT or EPG .
1
2
3
4
5
6
7
To add the selected programme to your Timer, press the RED
colour button.
TV UIDE 09:49 12/06/2005
09:00 - 10:00
News 24 S nday
A weekly look at key news stories and
news makers, presented by Peter
Sissons. [S]
CN Name 09:30 12/06 11:30
002 BBC TWO NI Smile S nday Past Times
003 UTV The Crocodile Celebrity Wrestling S r
004 Channel 4 T4: Popworld T4: Hollyoaks Omnib
006 ITV2
Who Wants To Be A
Planet’s Cele
001 BBC ONE NI News 24 The Heaven and Ear Call My
Select
Timer - Day + Day
Scroll To View Preview
OK
INFO
0916DSD-9520 2005.9.169:24 AM ˘`14

Basic Operation
15
Now and Next gives you information on the current and next programmes on each
channel.
NOW AND NEXT INFORMATION
To open the Now/Next menu press INFO. This
displays information on the programme
showing Now.
To see information on the programme
showing Next, press
√√
.
To see more detailed information press INFO
again.
To change the channel you want information
for press … or †.
To watch the highlighted channel press OK.
To exit the Now/ Next menu without changing
channel, press EXIT .
1
2
3
4
5
6
22:00~22:30 News at Ten
MyFavs 1
001 BBC ONE NOW 22:25 18/08/2005
New SUB TXT
CRYP
0
More Next Ch+/Ch- SELECT
Info OK
22:00~22:30 News at Ten
Joanna Gosling and Philip Hayton with news, sport, weather
and b siness. With local headlines from yo r area.
[News and Fact al]
MyFavs 1
001 BBC ONE NOW 22:25 18/08/2005
New SUB TXT
CRYP
0
Exit Next Ch+/Ch- SELECT
Info OK
0916DSD-9520 2005.9.169:24 AM ˘`15

16
Basic Operation
The Main menu lets you choose and change a wide range of your Digital PVR’s
features.
USING THE MAIN & SETUP MENU’S
• To access the Main Menu, press
MENU.
THE MENU OPTIONS ARE :
■ SERVICE ORGANISER
- lets you delete, reorder and rename the channel
line up.
■ FAVOURITES
- helps you move quickly between your favourite TV
channels.
■ TIMER PROGRAMMING
- lets you set a timer so that the Digital PVR changes to a specific channel at a certain time
(such as when you wish to record a programme).
MAIN MENU
Select Enter Men
OK
Service Organiser
Favo rites
Timer Programming
Set p
SETUP MENU
Select Enter Men
OK
Lang ages
TV Set p
Parental Control
Service Set p
DVR Set p
Check For Download
Technical Information
CA Information
0916DSD-9520 2005.9.169:24 AM ˘`16

Basic Operation
17
■ SETUP - contains the following sub menu’s :
1. Languages - when a programme is broadcast in multiple languages, this lets you choose
the language you listen to and any on-screen text or subtitles that are
displayed.
2. TV Setup - lets you change how programmes are displayed on your TV (widescreen 16:9 or
normal 4:3).
3. Parental control - lets you control what can be watched. Please refer to the relevent
section in this guide for more information.
4. Service Setup - to access this feature you are required to enter a PIN “0000”. In this menu
you can scan for new channels etc...
5. DVR Setup - allows you to format the hard drive.
6. Check for download - is an option that allows your Digital PVR to scan the airwaves for a
software update. As updates are handled automatically by your
Digital PVR it is nor recommended that you use this option.
7. Technical Information - as the name suggests lists the technical specification of the PVR.
8. CA Information - as the name suggests information of Conditional Access.
WARNING! : This will remove all recordings.
0916DSD-9520 2005.9.169:24 AM ˘`17

18
Basic Operation
■
To record and view a digital channel
• Select the digital channel you want to record.
• Select the Digital PVR channel on your VCR, and press record or set your recording timer.
■
To record an analogue channel while watching a digital channel.
You can record an analogue TV channel while watching a digital channel.
• Select the desired analogue channel on your VCR and record as usual.
■
To record a digital channel while watching an analogue channel.
• Select the digital channel you want to record on your Digital VCR.
• Select the correct AV channel on your VCR, and press record or set your recording timer.
• Use your TV remote to switch to your choice of analogue channels.
USING YOUR VCR WITH THE DIGITAL PVR
Please note : your Digital PVR must be set to the channel you wish to record for the full duration
of the recording.
Please note : like most Digital PVR’s, this product can only receive one digital channel at a time.
This means that you cannot record one digital channel while watching another
digital channel. Please note that your VCR will also record any on-screen displays
shown at the time of recording.
0916DSD-9520 2005.9.169:24 AM ˘`18

Basic Operation
19
Make sure your digital PVR is set up and that it has finished tuning to the digital channels.
Call Top Up TV and register your card (Top Up TV ’s number is on the packaging that came with the
card).
Switch off your digital PVR at the mains supply.
Insert your Top Up TV card barcode side upwards as shown in the picture below.
Switch on your digital PVR at the mains supply and press the POWER button on the remote control
so that the green light appears.
If you cannot see all of the Top Up TV channels, you may need to scan for new channels.
HOW TO ACCESS TOPUP TV CHANNELS
1
2
3
4
5
6
It is important that you follow these steps EVERY TIME you insert
your Top Up TV card - not just the first time.
MENU OK STANDBY
CH CH VOL VOL
POWER/ON REMOTE HDD
Top
Up
TV
IMPORTANT
1. Please keep the DVD+HDD
2. Make s re the rating of yo r
caref lly.
3. Read this page and chapter
Setting p yo r DVD+HDD
Important system arrow
www.l pyva.com
Top
Up
TV
1 07 1E61 6 31E 7S
Insert your Top Up TV card with the
barcode side up
Please note : that a TopUp TV card can be obtained from your retailer or by contacting TopUp
TV on 08700 543210 or visiting the TopUp TV website @www.topuptv.com)
0916DSD-9520 2005.9.169:24 AM ˘`19
Table of contents
Other Daewoo DVR manuals

Daewoo
Daewoo DX-C811N User manual

Daewoo
Daewoo ST441S User manual

Daewoo
Daewoo SQ200K User manual

Daewoo
Daewoo DV-K88 series User manual

Daewoo
Daewoo Video recorder User manual

Daewoo
Daewoo DSD-9502T User manual

Daewoo
Daewoo DV-K824DY User manual

Daewoo
Daewoo SV-871 User manual

Daewoo
Daewoo DVR-1989D User manual

Daewoo
Daewoo EQ250K User manual

Daewoo
Daewoo Q253 User manual

Daewoo
Daewoo Video recorder User manual

Daewoo
Daewoo SV-250E User manual

Daewoo
Daewoo MC2128 User manual

Daewoo
Daewoo CT Series User manual

Daewoo
Daewoo DX-N111N User manual

Daewoo
Daewoo PROline VR516 User manual

Daewoo
Daewoo DV-K224D User manual

Daewoo
Daewoo VQ230K User manual

Daewoo
Daewoo DX-C811N User manual