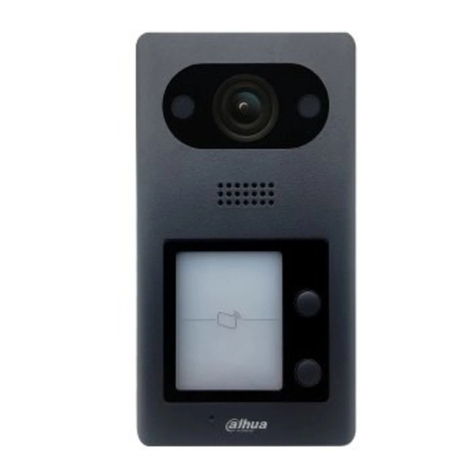
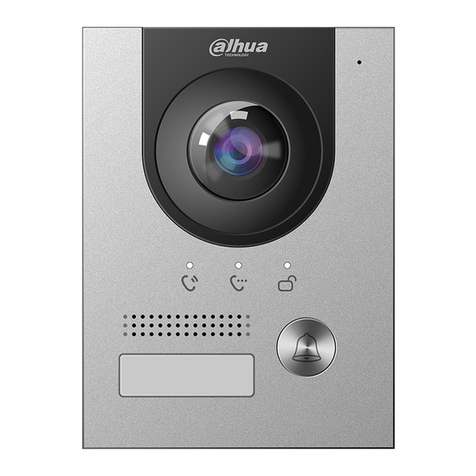
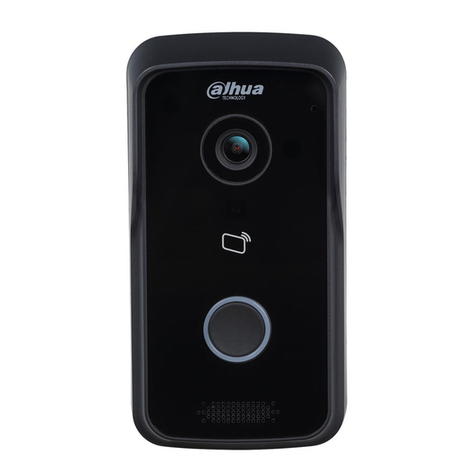
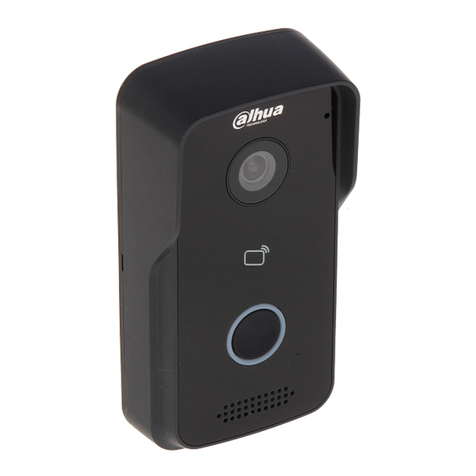
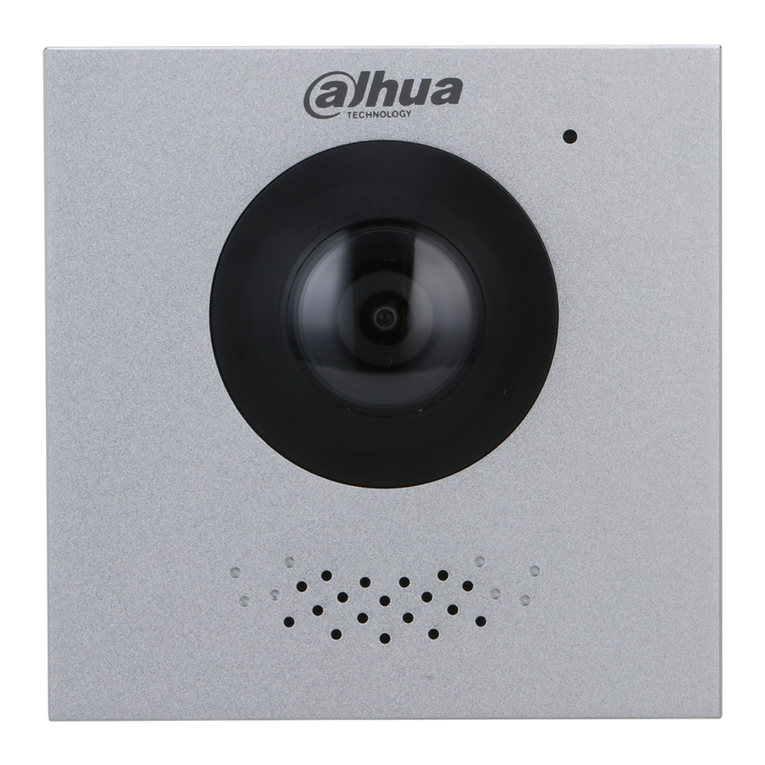
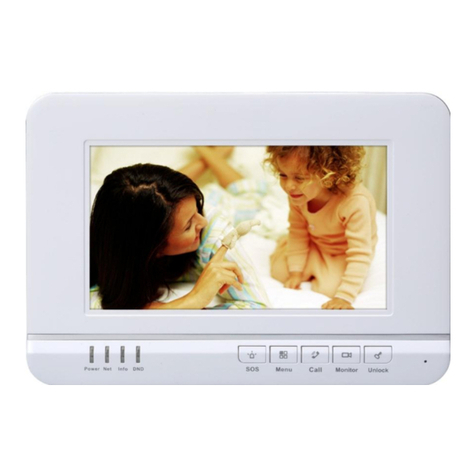
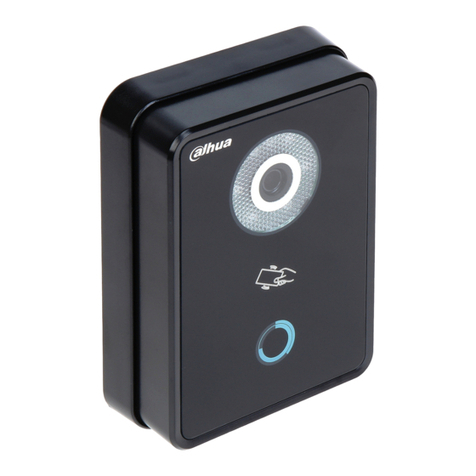
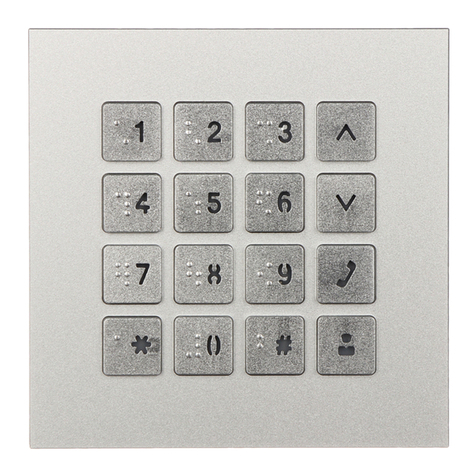
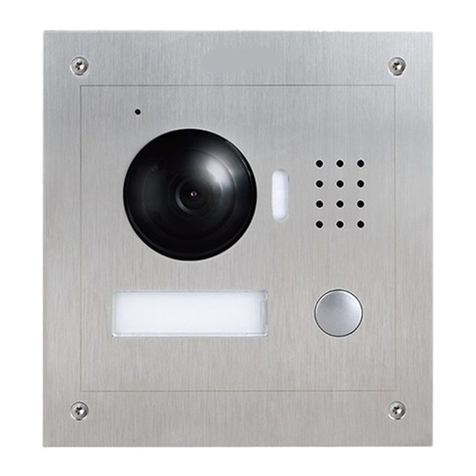
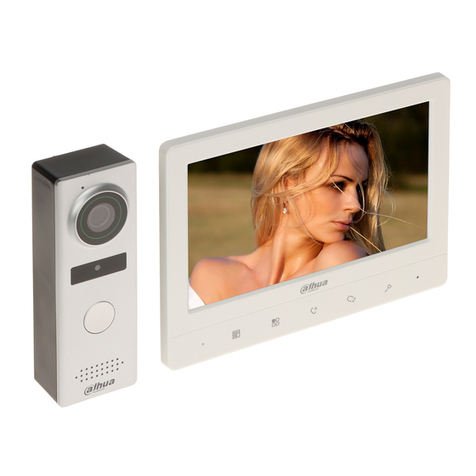
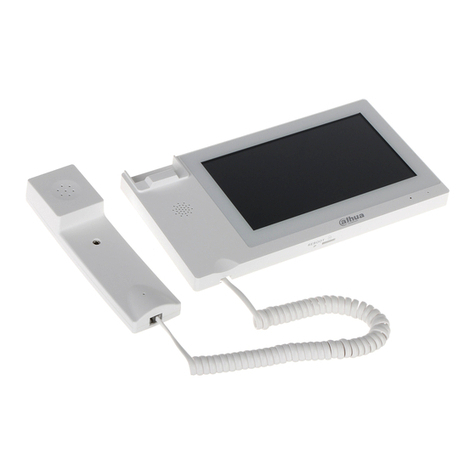
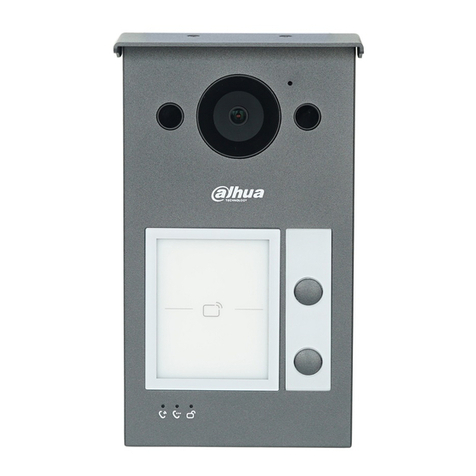
Dahua Villa Door Station User manual

Quick Start Guide
I
Foreword
General
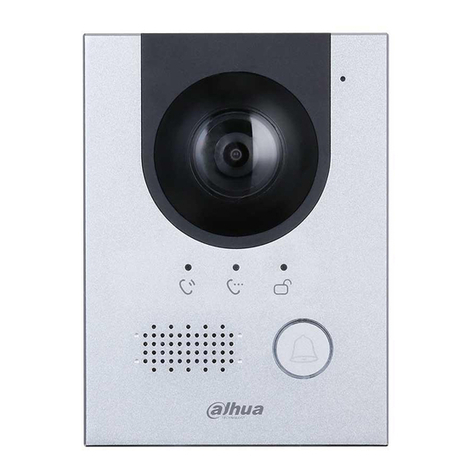
This manual introduces the functions and operations of the villa door station and second
confirmation station (hereinafter referred to as the "VTO"), and the accessory (hereinafter
referred to as the "VTM").
Safety Instructions
The following signal words might appear in the manual.
Signal Words Meaning
Indicates a high potential hazard which, if not avoided, will result
in death or serious injury.
Indicates a medium or low potential hazard which, if not avoided,
could result in slight or moderate injury.
Indicates a potential risk which, if not avoided, could result in
property damage, data loss, reductions in performance, or
unpredictable results.
Provides methods to help you solve a problem or save time.
Provides additional information as a supplement to the text.
Revision History
Revision Content Release Time Revision Content
V1.0.0 First Release. November 2021
Privacy Protection Notice
As the device user or data controller, you might collect the personal data of others such as their
face, fingerprints, and license plate number. You need to be in compliance with your local privacy
protection laws and regulations to protect the legitimate rights and interests of other people by
implementing measures which include but are not limited: Providing clear and visible
identification to inform people of the existence of the surveillance area and provide required
contact information.
About the Manual
●The manual is for reference only. Slight differences might be found between the manual and
the product.
●We are not liable for losses incurred due to operating the product in ways that are not in
compliance with the manual.
●The manual will be updated according to the latest laws and regulations of related
jurisdictions. For detailed information, see the paper user’s manual, use our CD-ROM, scan

Quick Start Guide
II
the QR code or visit our official website. The manual is for reference only. Slight differences
might be found between the electronic version and the paper version.
●All designs and software are subject to change without prior written notice. Product updates
might result in some differences appearing between the actual product and the manual.
Please contact customer service for the latest program and supplementary documentation.
●There might be errors in the print or deviations in the description of the functions, operations
and technical data. If there is any doubt or dispute, we reserve the right of final explanation.
●Upgrade the reader software or try other mainstream reader software if the manual (in PDF
format) cannot be opened.
●All trademarks, registered trademarks and company names in the manual are properties of
their respective owners.
●Please visit our website, contact the supplier or customer service if any problems occur while
using the device.
●If there is any uncertainty or controversy, we reserve the right of final explanation.

Quick Start Guide
III
Important Safeguards and Warnings
This section introduces content covering the proper handling of the device, hazard prevention,
and prevention of property damage. Read carefully before using the device, comply with the
guidelines when using it, and keep the manual safe for future reference.
Operation Requirements
●Check whether the power supply is correct before use.
●Do not unplug the power cord on the side of the device while the adapter is powered on.
●Operate the device within the rated range of power input and output.
●Transport, use and store the device under allowed humidity and temperature conditions.
●Do not drop or splash liquid onto the device, and make sure that there is no object filled with
liquid on the device to prevent liquid from flowing into it.
●Do not disassemble the device without professional instruction.
Installation Requirements
●Do not connect the power adapter to the device while the adapter is powered on.
●Strictly comply with the local electric safety code and standards. Make sure the ambient
voltage is stable and meets the power supply requirements of the device.
●Do not connect the device to two or more kinds of power supplies, to avoid damage to the
device.
●Improper use of the battery might result in a fire or explosion.
●Personnel working at heights must take all necessary measures to ensure personal safety
including wearing a helmet and safety belts.
●Do not place the device in a place exposed to sunlight or near heat sources.
●Install the device on a stable surface to prevent it from falling.
●Install the device in a well-ventilated place, and do not block its ventilation.
●Use an adapter or cabinet power supply provided by the manufacturer.
●Use the power cords that are recommended for the region and conform to the rated power
specifications.
●The device is a class I electrical appliance. Make sure that the power supply of the device is
connected to a power socket with protective earthing.

Table of Contents
Foreword .................................................................................................................................................... I
Important Safeguards and Warnings .................................................................................................... III
1 Structure................................................................................................................................................. 1
Villa Door Station (multiple buttons) ............................................................................................. 1
1.1.1 Front Panel ......................................................................................................................... 1
1.1.2 Rear Panel.......................................................................................................................... 2
Villa Door Station (single button) .................................................................................................. 3
1.2.1 Front Panel ......................................................................................................................... 3
1.2.2 Rear Panel.......................................................................................................................... 3
Button Model................................................................................................................................. 6
1.3.1 Front Panel ......................................................................................................................... 6
1.3.2 Rear Panel.......................................................................................................................... 7
2 Installation.............................................................................................................................................. 8
Preparations.................................................................................................................................. 8
Installation Guide .......................................................................................................................... 8
2.2.1 Villa Door Station (multiple buttons)................................................................................... 8
2.2.2 Villa Door Station (single button)........................................................................................ 9
2.2.3 Button Model......................................................................................................................11
3 Web Configuration .............................................................................................................................. 13
Initializing VTO ............................................................................................................................ 13
Configuring Network Parameters................................................................................................ 15
Configuring SIP Servers ............................................................................................................. 16
Configuring VTO Numbers.......................................................................................................... 18
Configuring Call Numbers and Group Call ................................................................................. 18
Adding VTOs ............................................................................................................................... 19
Adding VTH Room Number ........................................................................................................ 21
Binding VTH Room Numbers (For Certain Models Only)........................................................... 23
Issuing Cards .............................................................................................................................. 25
4 Commissioning ................................................................................................................................... 28
VTO Calling VTH......................................................................................................................... 28
VTH Monitoring VTO................................................................................................................... 28
Cybersecurity Recommendations ................................................................................... 30
Quick Start Guide
1
1 Structure
Villa Door Station (multiple buttons)
1.1.1 Front Panel
Front panel
Table 1-1 Components
No. Name Function
1 MIC Audio input.
2 Illuminator Provide a constant light to focus more easily on a
subject in dark surroundings.
3 Camera Capture images or record videos for the VTO.
4 Call buttons Call the VTH.
5 Card swiping area Swipe the registered cards to unlock doors.
6 Indicators
From left to right:
●Ring:VTO is calling the VTH.
●Talking:VTO is on the talk with the VTH.
●Unlocking:VTO unlocking successful.

Quick Start Guide
2
1.1.2 Rear Panel
The function ports might differ depending on the model.
Rear panel
Table 1-2 Components
No. Name Function
1 SD card slot Used to insert SD card so that data information such
as images and videos can be stored.
2 Functional ports Alarm port, door detector port, 485 port, power port
and etc.
3 Network port RJ-485 network port to connect to the network.
4 Reset button Press and hold the button for several seconds to do
factory reset.

Quick Start Guide
3
Villa Door Station (single button)
1.2.1 Front Panel
There are different models with different front panel. Differences in size and appearance are
found depending on your model.
Front panel
Table 1-3 Components
No. Name Function
1 MIC Audio input.
2 Camera Capture images or record videos for the VTO.
3 Call button Call the VTH.
4 Card swiping area
Swipe the registered cards to unlock doors.
The card swiping function is only supported by some
models.
5 Speaker Audio output.
1.2.2 Rear Panel

Quick Start Guide
4
The function ports might differ depending on the model. Here are two models used as
examples.
Rear panel (1)
Table 1-4 Components
No. Name Function
1 Network port Used to connect to the network.
2 SD card slot Used to insert SD card so that data information such
as images and videos can be stored.
3 Reset button Press and hold the button for several seconds to do
factory reset.
4 Functional port
For some models, the functional port only has a
power input port to connect to power supply.
For some models, the functional port includes a
power input port and a door detector port.

Quick Start Guide
5
Rear panel (2)
Table 1-5 Components
No. Name Function
1 SD card slot Used to insert SD card so that data information such
as images and videos can be stored.
2 Power port Used to connect to the power supply.
3 Reset button Press and hold the button for several seconds to do
factory reset.

Quick Start Guide
6
Button Model
1.3.1 Front Panel
Front panel
Table 1-6 Components
No. Name Function
1 Press button
The button model can be connected to the VTH.
Press the button on the model and the VTH receives
an alarm signal.

Quick Start Guide
7
1.3.2 Rear Panel
Rear panel
Table 1-7 Components
No. Name Function
1 Functional port Used for alarm input.

Quick Start Guide
8
2 Installation
Preparations
This chapter introduces precautions in installation. For detailed steps, see the corresponding
installation guide.
●Do not expose the VTO to condensation, high temperature, direct sunlight, stain, dust, and
chemically corrosive substances.
●Installation should be done by professional teams. Do not dismantle or repair the VTO by
yourself in case of device failure. Contact after-sales service if you need any help.
●Prepare cross screwdrivers and gloves yourself.
Installation Guide
2.2.1 Villa Door Station (multiple buttons)
Open the port cover of the VTO, drill screw holes on the wall according to the dimension
of the mounting hole on the rear panel of the VTO, and put the expansion bolts into the
holes.
Complete the cable wiring.
Fix the port cover to the rear panel of the VTO with four screws.
Fix the bare VTO on the wall with four screws.
Install the mount box on the VTO from top to the bottom, and then fix it with two screws.
Fix the rain over on the top of the VTO with two screws.
Dimension (mm [inch])

Quick Start Guide
9
Installation
2.2.2 Villa Door Station (single button)
Here are examples of two model’s installation, depending on differences in model dimensions.
Model Example 1:
Open the port cover of the VTO, drill screw holes on the wall according to the dimension
of the mounting hole on the rear panel of the VTO.
Complete the cable wiring.
Fix the port cover to the rear panel of the VTO with four screws.
Fix the VTO on the wall with screws.
Dimension (mm [inch])

Quick Start Guide
10
Installation
Model Example 2:
Open the port cover of the VTO, drill screw holes on the wall according to the dimension
of the mounting hole on the rear panel of the VTO.
Complete the cable wiring.
Fix the port cover to the rear panel of the VTO with four screws.
Fix the VTO on the wall with screws.
Dimension (mm [inch])

Quick Start Guide
11
Installation
2.2.3 Button Model
Open the port cover of the button model, drill screw holes on the wall according to the
dimension of the mounting hole on the rear panel of the button model.
Complete the cable wiring.
Fix the port cover to the rear panel of the button model with four screws.
Fix the button model on the wall with screws.
Dimension (mm [inch])

Quick Start Guide
12
Installation

Quick Start Guide
13
3 Web Configuration
This chapter provides a step-by-step configuration of the VTO, as well as how to register digital
indoor monitors (hereinafter referred to as the "VTH") into the VTO to realize its intercom function.
Follow the instructions below to get started.
●The snapshots are for reference only and slight differences might be found in the actual web
page of the VTO, depending on your model.
●You can download the configuration tool “VDPConfig” and use it to configure and update
multiple devices. For details, see the corresponding user's manual.
Initializing VTO
For the first time login, you need to initialize the VTO.
Step 1 Power on the VTO.
Step 2 Go to the default IP address (192.168.1.108) of the VTO in the browser address bar,
and then press the Enter key to go to the web page of the VTO.
●The user name is admin by default.
●Make sure that the IP address of the PC is on the same network segment as the
VTO.
Step 3 On the Device Init page, enter and confirm the password, and then click Next.
The password must consist of 8–32 non-blank characters and contain at least two
types of the following characters: Uppercase, lowercase, numbers, and special
characters (excluding ' " ; : &).

Quick Start Guide
14
Device initialization
Step 4 Select the Email checkbox and enter email address.
This helps you to reset your password when your password is lost or forgotten.
Figure 3-2 Set an email address
Step 5 Click Next.

Quick Start Guide
15
Figure 3-3 Initialization successful
Step 6 Click OK.
Enter username (admin by default) and the new password to log in to the web page.
Figure 3-4 Login page
Configuring Network Parameters
You need to configure the TCP/IP information to connect the VTO to the network. The
descriptions below are for models with a Wireless LAN card. A Wireless LAN device is optional.
Wireless LAN
Log into the VTO web page.
Select Network > Basic.
Configure the TCP/IP parameters in the WLAN section.
LAN
Log into the VTO web page.
Select Network > Basic.
Table of contents
Other Dahua Intercom System manuals

Dahua
Dahua DH-VTH111 Series User manual

Dahua
Dahua VTO2202F User manual

Dahua
Dahua VTO12 Series User manual

Dahua
Dahua DH-VTO9221D User manual

Dahua
Dahua ASI1212D User manual

Dahua
Dahua VTH5222CH User manual

Dahua
Dahua DHI-VTO3211D-P4-S1 User manual

Dahua
Dahua VTH150xAH User manual

Dahua
Dahua VTO6 series User manual

Dahua
Dahua MP06 User manual

Dahua
Dahua VTK-VTO2000A-VTH1550 User manual

Dahua
Dahua VTO2000A-2 User manual

Dahua
Dahua VTO2000A Series User manual

Dahua
Dahua VTO7541G User manual

Dahua
Dahua VTO2101E-P User manual

Dahua
Dahua VTO2111D-WP Parts list manual

Dahua
Dahua VTO5110B User manual

Dahua
Dahua IP Villa System User manual

Dahua
Dahua VTO2000A Series User manual

Dahua
Dahua KTP03 User manual