manuals.online logo
Brands
  1. Home
  2. •
  3. Brands
  4. •
  5. Daikin
  6. •
  7. Remote Control
  8. •
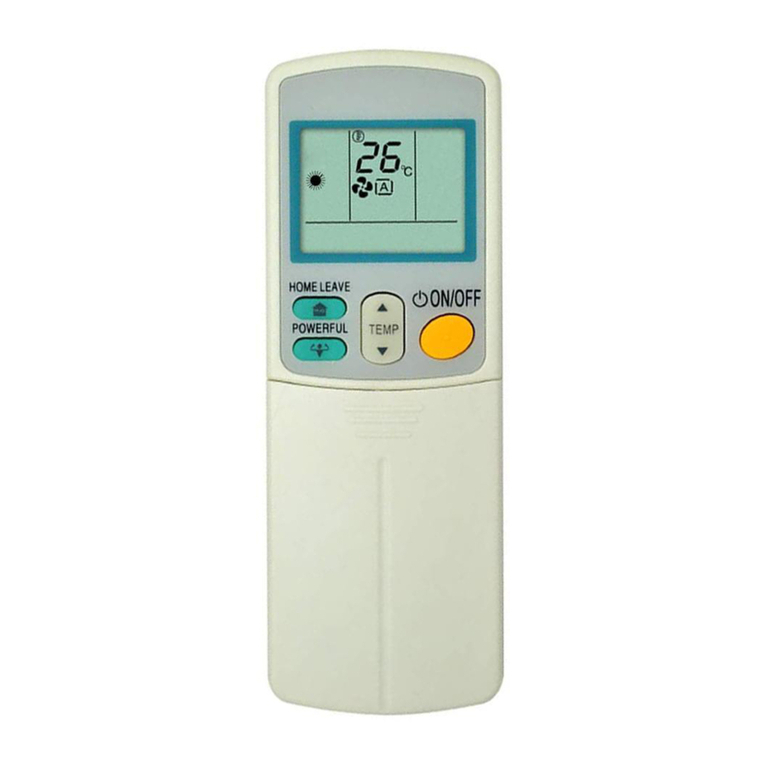
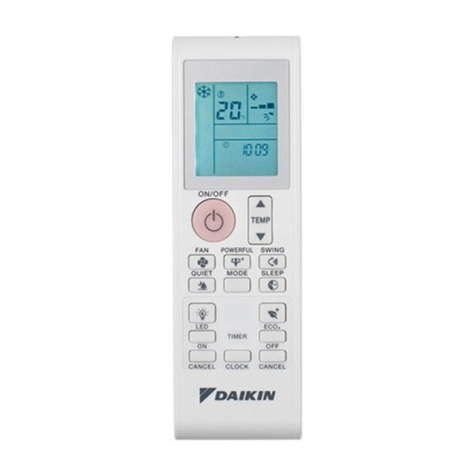
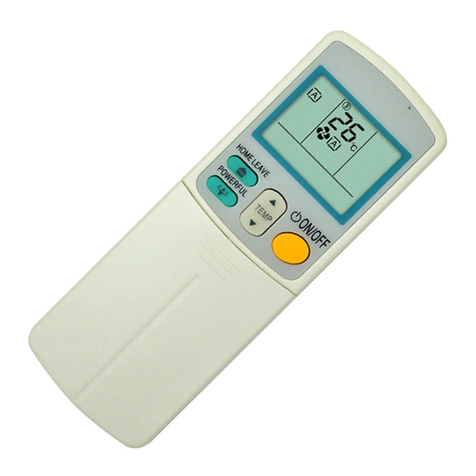
  9. Daikin ARC433A51 Instruction manual

Daikin ARC433A51 Instruction manual

This manual suits for next models

2

Other Daikin Remote Control manuals

Daikin BRC1D527 User manual

Daikin

Daikin BRC1D527 User manual

Daikin BRC1H62W User manual

Daikin

Daikin BRC1H62W User manual

Daikin BRC7EA631 User manual

Daikin

Daikin BRC7EA631 User manual

Daikin 4PW71247-1-KAD User manual

Daikin

Daikin 4PW71247-1-KAD User manual

Daikin T9000 Manual

Daikin

Daikin T9000 Manual

Daikin BRC1E73 User manual

Daikin

Daikin BRC1E73 User manual

Daikin BRC1D52 User manual

Daikin

Daikin BRC1D52 User manual

Daikin BRC1E61 User manual

Daikin

Daikin BRC1E61 User manual

Daikin BRC1D528 User manual

Daikin

Daikin BRC1D528 User manual

Daikin RXN-L9 User manual

Daikin

Daikin RXN-L9 User manual

Daikin BRC7E83 User manual

Daikin

Daikin BRC7E83 User manual

Daikin BRC1D517 User manual

Daikin

Daikin BRC1D517 User manual

Daikin ARC417 Series User manual

Daikin

Daikin ARC417 Series User manual

Daikin BRC073A4 Product information sheet

Daikin

Daikin BRC073A4 Product information sheet

Daikin BRC1H519K7 User guide

Daikin

Daikin BRC1H519K7 User guide

Daikin GS02 User manual

Daikin

Daikin GS02 User manual

Daikin BRC1D71 User manual

Daikin

Daikin BRC1D71 User manual

Daikin ARC447A3 Instruction manual

Daikin

Daikin ARC447A3 Instruction manual

Daikin BRC1H51W User manual

Daikin

Daikin BRC1H51W User manual

Daikin Madoka User manual

Daikin

Daikin Madoka User manual

Daikin BRC1H63K User manual

Daikin

Daikin BRC1H63K User manual

Daikin BRC082A43 User manual

Daikin

Daikin BRC082A43 User manual

Daikin BRC7F532F User manual

Daikin

Daikin BRC7F532F User manual

Daikin BRC7EA628 User manual

Daikin

Daikin BRC7EA628 User manual

Popular Remote Control manuals by other brands

Bircher Reglomat RC Duo 2 user guide

Bircher Reglomat

Bircher Reglomat RC Duo 2 user guide

Emerson RCBT100 owner's manual

Emerson

Emerson RCBT100 owner's manual

BILDA Element-6 user manual

BILDA

BILDA Element-6 user manual

Absima CR7P manual

Absima

Absima CR7P manual

Mitsubishi Electric PAR-32MAAG Instruction book

Mitsubishi Electric

Mitsubishi Electric PAR-32MAAG Instruction book

RCA RCRTBL08BE1 quick start guide

RCA

RCA RCRTBL08BE1 quick start guide

US Electronics NOVARI user guide

US Electronics

US Electronics NOVARI user guide

Panasonic EUR7622KB0 Operation guide

Panasonic

Panasonic EUR7622KB0 Operation guide

Bang & Olufsen Beo4 user manual

Bang & Olufsen

Bang & Olufsen Beo4 user manual

Marantz RC101 user guide

Marantz

Marantz RC101 user guide

FUTABA 9ZAP - PART2 manual

FUTABA

FUTABA 9ZAP - PART2 manual

HR Matic HR MULTI 3 quick start guide

HR Matic

HR Matic HR MULTI 3 quick start guide

Anritsu MP1777A Operation manual

Anritsu

Anritsu MP1777A Operation manual

Niles WVC100 Installation & operating guide

Niles

Niles WVC100 Installation & operating guide

Bang & Olufsen BEO6 Getting started

Bang & Olufsen

Bang & Olufsen BEO6 Getting started

GE 94901 instruction manual

GE

GE 94901 instruction manual

FUTABA R7108SB Full manual

FUTABA

FUTABA R7108SB Full manual

Invacare G91S user manual

Invacare

Invacare G91S user manual

manuals.online logo
manuals.online logoBrands
  • About & Mission
  • Contact us
  • Privacy Policy
  • Terms and Conditions

Copyright 2025 Manuals.Online. All Rights Reserved.

ARC433A51/A53/A63
QUG-ARC433A51/A53/A63-10/08
ARC433A51/A53/A63 Controller Quick User Guide
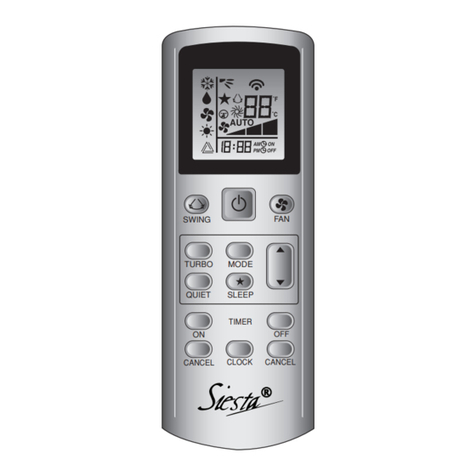
FUNCTIONS
1. DISPLAY SCREEN: Displays current system settings and
setpoint temperature.
2. ON/OFF: To switch the system on and off.
3. TEMP: Setpoint temperature can be adjusted with the
up/down arrows. C:64-90°F, H:50-86°F
4. FAN:Fivelevelsof airflow and automatic are
available for selection. If Automatic is selected, the
fan speed automatically changes according to the
difference from setpont temperature to room temperature.
5. SWING: Use to oscillate the vertical louvers,
providing a varying air distribution pattern. You can use
this button by selecting/deselecting to position the louvers
in the desired position also.
For the ARC433A53 only: Use to oscillate the
horizontal louvers, providing a varying air distribution
pattern. You can use this button by selecting/deselecting
to set the louvers in the desired position also.
6. MODE Selection button: MODE icons indicate current
operationmode.Pushthemodebuttontoselectfrom:
AUTO:Auto changeover −Cooling and Heating switch
automatically to maintain the desired setpoint temperature.
DRY:Cooling Operation −Unit operates to minimize
temperature change but reduces room humidity levels.
COOL: Cooling Operation −To the desired setpoint
temperature.
HEAT: Heating Operation −To the desired setpoint tem-
peraure.
FAN: Fan only operation (Room air is circulated).
7. CANCEL: Press to cancel Timer settings.
8. Battery compartment: Push down on casing to expose
batteries. (2 x AAA type)
FEATURES
9. HOME LEAVE: When selected, you can either operate
your system to your preferred setpoint temperature and
airflow rate or use the function for energy saving when you
are not occupying the room served by the unit. To set
HOME LEAVE, push the button and make sure the HOME
LEAVE icon is displayed. Then set the setpoint
temperature and airflow to your desired settings to ensure
that HOME LEAVE mode operates your system with the
designated conditions.
10. POWERFUL: Select to provide maximum Cooling or Heat-
ing for 20 minutes, thus delivering rapid cooling or heating
for immediate comfort results. During this operation,
setpoint temperature or airflow settings are not adjustable.
11. SENSOR: Selecting starts the Intelligent Eye feature that
detects human movement. When no movement is
detected for 20 minutes, temperature setback/setup
(+/- 3.6°F) is enabled providing energy savings. This
feature can be cancelled by pushing the SENSOR button
again.
12. QUIET: Selecting lowers the Fan Speed of the Outdoor
Unit, thus lowering its sound level. This can be useful
during hours of sleep. Press again to cancel.
13. ON/OFF TIMER OPERATION: Check that the clock is
correct, and then press OFF. Press the TIMER setting
button (increments of 10) until the time setting reaches the
setting you want. Press OFF again and the TIMER lamp
lights.
14. Clock Button: To set the clock, press the clock button,
and [0:00] is displayed. Press the TIMER setting button to
set the clock to the present time. Then press the Clock
button again.
15. RESET button: Resets icon that alerts you to clean the air
filter.
16. TIMER SETTING BUTTON: Used to set the Timer to the
desired condition.
9. HOME LEAVE
ON/OFF 2.
12. QUIET
MODE Selection button 6.
13. ON / OFF Timer buttons
16. TIMER setting button
FAN 4.
11. SENSOR
SWING 5.*
CANCEL 7.
14. Clock button
Display Screen 1.
Setpoint TEMP Selection 3.
15. RESET button
Batteries 8.
*ARC433A63
does not have the
SENSOR or the
SWING features
10. POWERFUL
*ARC433A53 offers
both horizontal &
vertical swing.
ARC433A51
Note: For effective operation, this controller should be
pointed at the infrared receiver on the indoor unit. The
maximum distance for communication is 23ft (7m).