manuals.online logo
Brands
  1. Home
  2. •
  3. Brands
  4. •
  5. DANA
  6. •
  7. Industrial Equipment
  8. •
  9. DANA NoSPIN S140 User manual

DANA NoSPIN S140 User manual

New Spicer®NoSPIN®Differential Retro Fit Procedure
Axle and Brake Info
SHAIS229
February 2020
MODELS: S140 Model Drive Axle
Shown below is a set of instructions on how to properly install a NoSPIN®differential into a new Spicer®wheel differential
assembly. It is important to follow the procedure to insure a proper repair.
Disassembly
1. With the carrier assembly removed from the
drive axle housing, mount the carrier in a head
stand if available.
2. Before we start to disassemble the carrier, we
need to measure the ring gear backlash. We will
be resetting the backlash to this setting when we
reassemble the carrier.
3. Remove the carrier caps and fasteners. Remove
the wheel diff and gear assembly.
4. We can now remove the ring gear from the diff
case. Start by removing the ring gear bolt with
an impact gun.
5. The ring gear is press fit to the diff case, so we
need to use a press to separate them. Reinstall
two of the ring gear bolts and turn until you get
three to four threads engaged. Support the ring
gear on two sides. Now press down on one of
the bolts to move the case a small amount. Turn
the assembly 180° and repeat the process.
Important Note: Do not press on the wheel diff
shaft to separate these parts. Even a slight bend
in the shafts will cause premature wear to the
differential gearing.
NoSPIN®Wheel Differential Assembly
1. Press a new plain half bearing cone on to the
plain half diff case. Use an old bearing cup as a
press tool.
New Spicer®NoSPIN®Differential Retro Fit Procedure
2. Install the inner thrust washer. Apply oil to each
side.
3. We can now install the NoSPIN assembly. Make
sure the wing nut holding the NoSPIN together is
facing up; this will make it easier to remove
later in the procedure.
4. The differential top plate can now be installed
over the NoSPIN. Remember the bolt holes are
not symmetrical, so the plate only fits one way.
5. Lay the diff assembly on its side to install the
new top plate bolts. This will keep the top plate
in place until you get the bolts started by hand.
Important: Do not remove the wing nuts holding the
NoSPIN together. It must be installed into the diff
case fully compressed.
Caution: There are two springs in the NoSPIN
assembly that are compressed and under pressure.
Removing the NoSPIN restraining system before it’s
installed into the diff case may cause injury.
NoSPIN®Wheel Differential Assembly (cont.)
6. With an impact gun, snug the bolts in a criss-
cross pattern. We’ll be torqueing these bolts later
in this procedure.
9. To make assembly easier, put the diff assembly
in a press with the alignment dowels at 3:00 and
6:00 o’clock.
New Spicer®NoSPIN®Differential Retro Fit Procedure
7. We can now install the two new alignment
dowels. Use a press or hammer to fully seat
them in the top plate.
8. Install the thick thrust washer to the NoSPIN. Oil
both sides.
10. The ring gear can now be lowered on to the diff
with the dowel pins in alignment. Before we
press the gear to the diff case, we want to start
all the ring gear bolts by hand, engaging a
couple of threads.
11. Slowly press the gear in place. Having the ring
gear bolts installed will guide the ring gear,
keeping it from misaligning during the press.
All applications must be approved by the Application Engineering Department. Specifications and/or design are subject to change without notice or obligation.
Dana Aftermarket Group
PO Box 1000 Maumee, Ohio 43537
Warehouse Distributors: 1.800.621.8084
OE Dealers: 1.877.777.5360
SpicerParts.com
© 2020 Dana Limited. All rights reserved. SHAIS229 NoSPIN is a registered trademark of Eaton Corporation.
Follow SpicerParts
NoSPIN®Wheel Differential Assembly (cont.)
12. With the ring gear fully seated to the diff case,
we can snug the ring gear bolts with an impact
gun in a crisscross pattern.
13. With the assembly still in the press, apply
enough load so the assembly won’t turn while
torqueing the ring gear bolt. In a crisscross
pattern, torque to 435-465 ft. lbs. (589-630 Nm).
14. Now turn the assembly over in the press so we
can torque the plain half case bolts. Again, apply
enough pressure to keep the diff from rotating
while torqueing the bolts to 180-220 ft. lbs
(242-298 Nm).
15. The last step is to remove the wing nuts that
were holding the NoSPIN together. Remove the
threaded rod and washers.
16. For complete instructions for the rest of the
carrier reassembly, go to Media.SpicerParts.com
and search for service manual AXSM-0030.
New Spicer®NoSPIN®Differential Retro Fit Procedure
Other DANA Industrial Equipment manuals

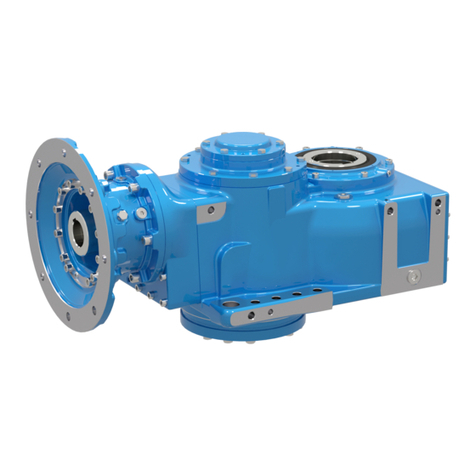
DANA Brevini Posiplan PH Series Manual

DANA

DANA Brevini Posiplan PH Series Manual

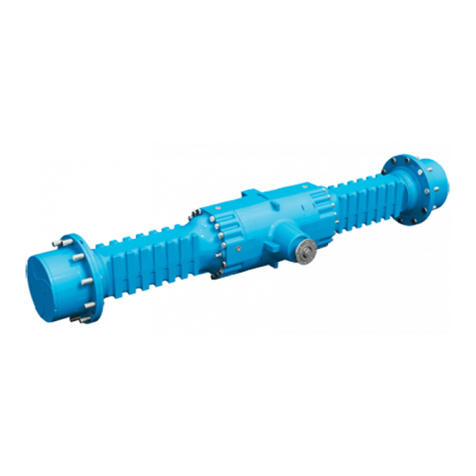
DANA SPICER Axle 123 User manual

DANA

DANA SPICER Axle 123 User manual

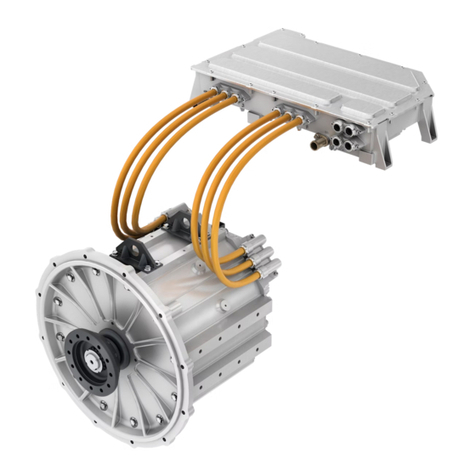
DANA TM4 SUMO MD MV User manual

DANA

DANA TM4 SUMO MD MV User manual

DANA SPICER Torque-Hub S6B Installation instructions

DANA

DANA SPICER Torque-Hub S6B Installation instructions

DANA BREVINI EvoMax Manual

DANA

DANA BREVINI EvoMax Manual

DANA Spicer AXSM0056 User manual

DANA

DANA Spicer AXSM0056 User manual

DANA TORQUE-LOCK FBH13 D Series Instruction Manual

DANA

DANA TORQUE-LOCK FBH13 D Series Instruction Manual

DANA SPICER 6000 EHO User manual

DANA

DANA SPICER 6000 EHO User manual

DANA SPICER AXLE 212 User manual

DANA

DANA SPICER AXLE 212 User manual

DANA SPICER Torque-Hub FBH04 Wet Series User manual

DANA

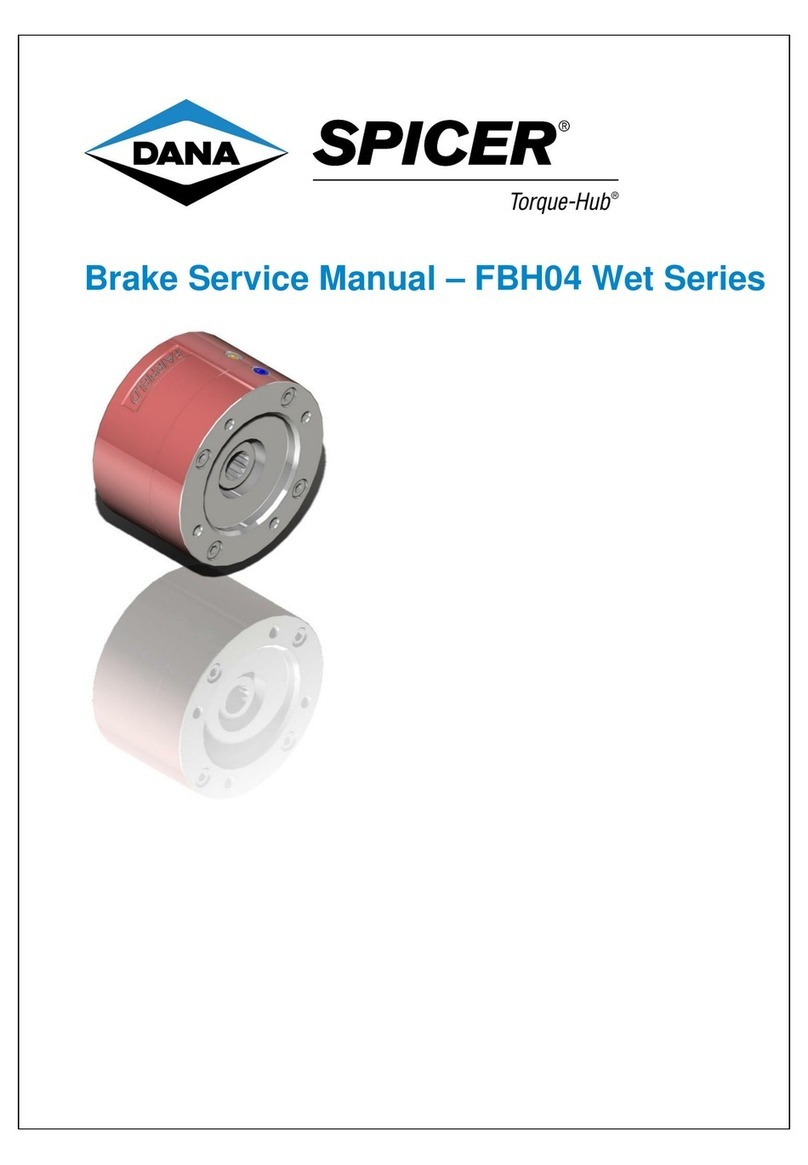
DANA SPICER Torque-Hub FBH04 Wet Series User manual

DANA SPICER TM4 SUMO HP HV Powertrain User manual

DANA

DANA SPICER TM4 SUMO HP HV Powertrain User manual

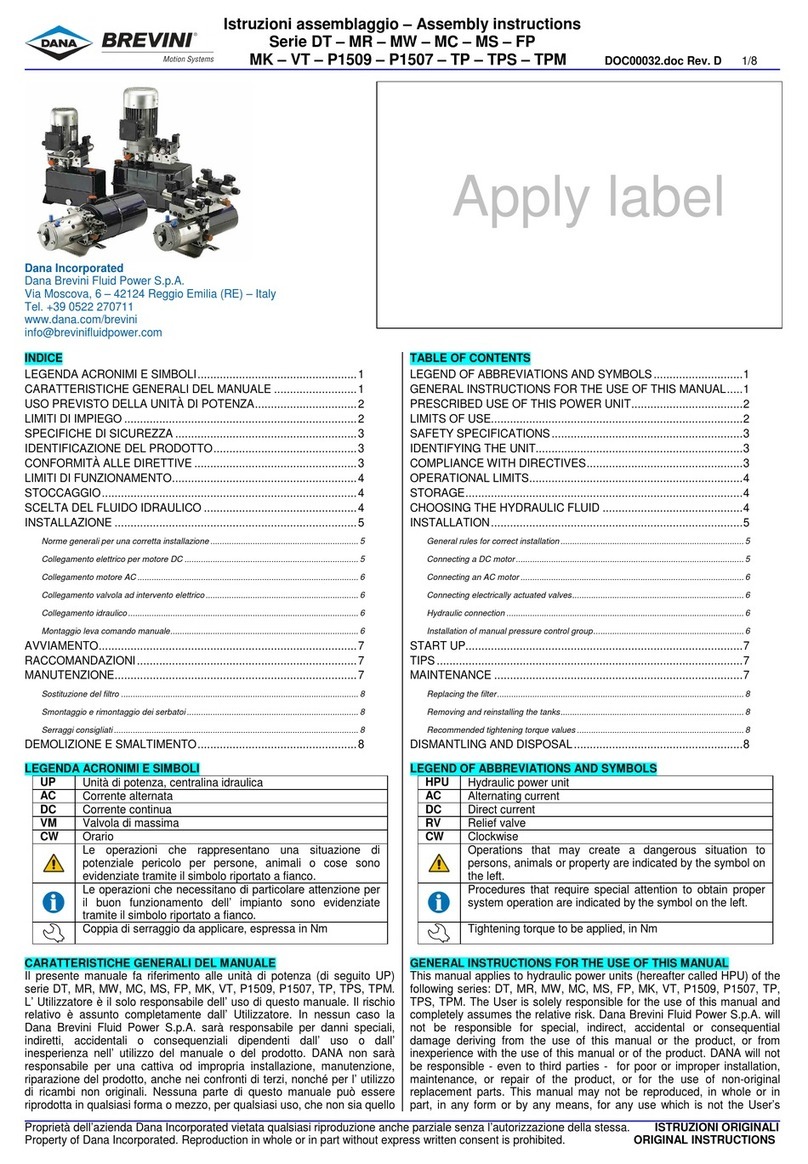
DANA DT Series User manual

DANA

DANA DT Series User manual

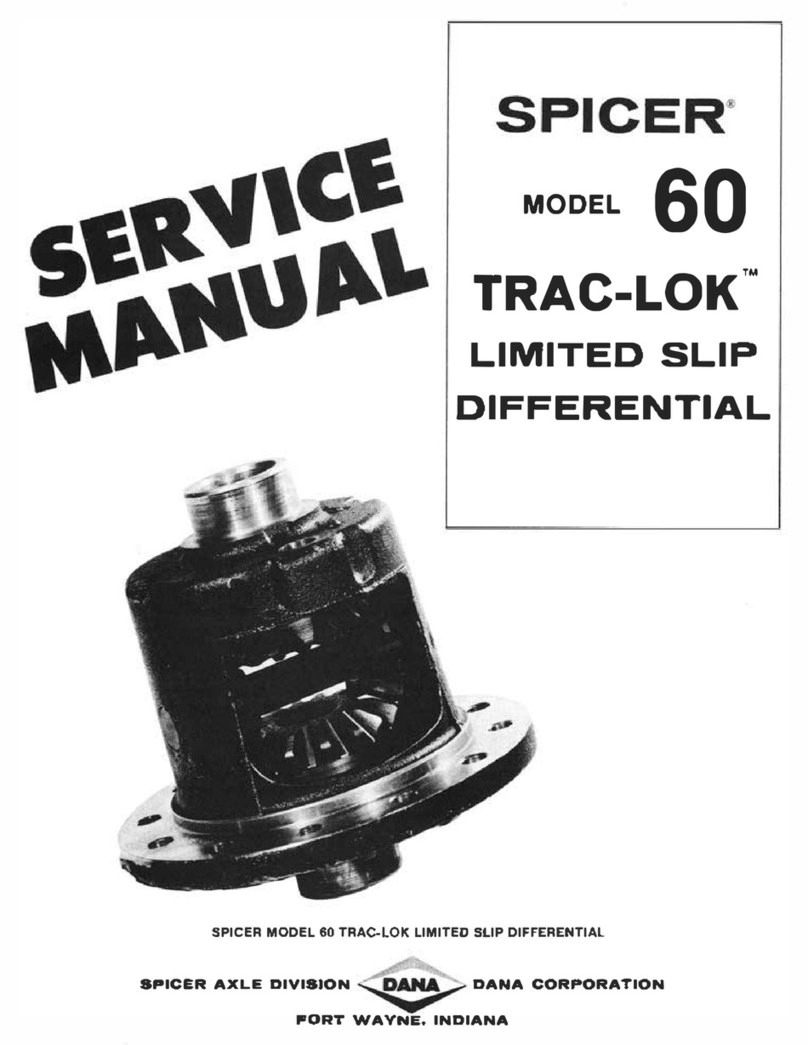
DANA TRAC-LOK 60 User manual

DANA

DANA TRAC-LOK 60 User manual

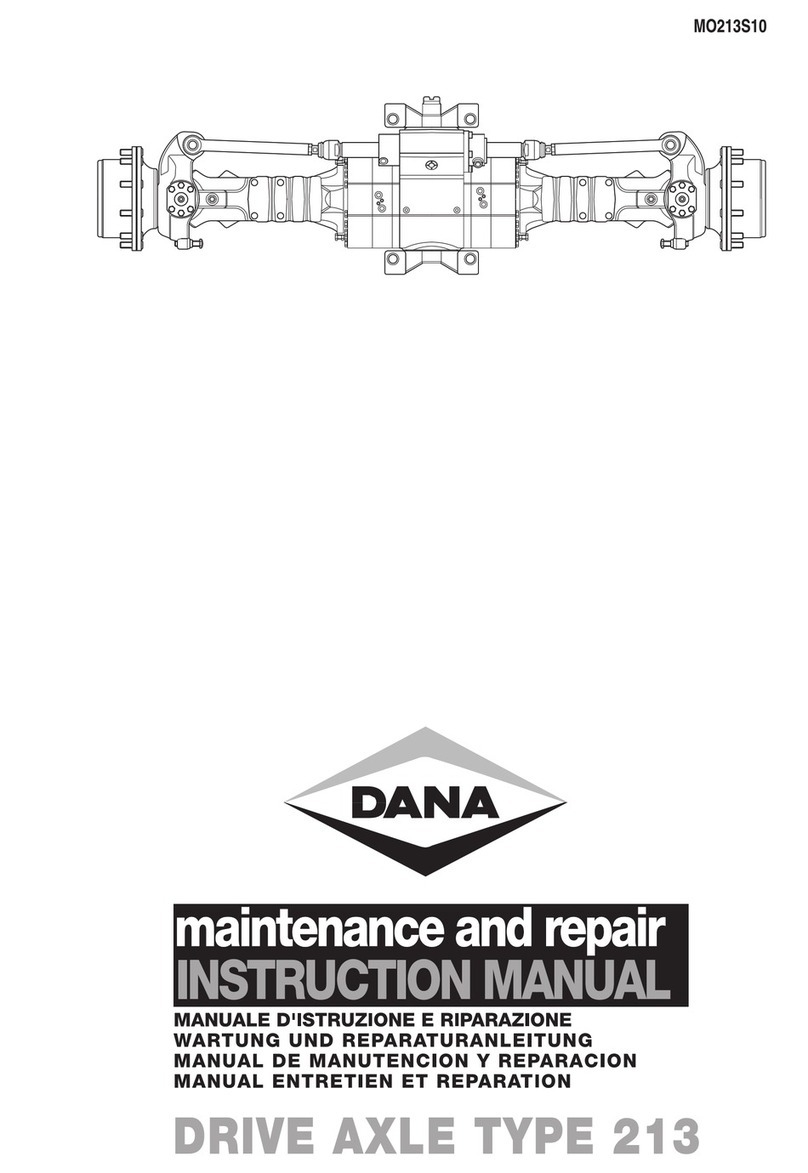
DANA MO213S10 Setup guide

DANA

DANA MO213S10 Setup guide

Popular Industrial Equipment manuals by other brands

Strongway 61126 owner's manual

Strongway

Strongway 61126 owner's manual

Bernard Intellibus Instructions for use

Bernard

Bernard Intellibus Instructions for use

ECS PAV-D installation instructions

ECS

ECS PAV-D installation instructions

LNS Express 220 S2 instruction manual

LNS

LNS Express 220 S2 instruction manual

ABB HT592666 Operation manual

ABB

ABB HT592666 Operation manual

Gamry Instruments eQCM 10M Operator's manual

Gamry Instruments

Gamry Instruments eQCM 10M Operator's manual

RJS 448 quick start guide

RJS

RJS 448 quick start guide

Aventics DDL-X-Tool Assembly instructions

Aventics

Aventics DDL-X-Tool Assembly instructions

ESAB Warrior Feed 304 instruction manual

ESAB

ESAB Warrior Feed 304 instruction manual

RAIMONDI BULLDOG ADV Use and maintenance manual

RAIMONDI

RAIMONDI BULLDOG ADV Use and maintenance manual

Aseptico AA-75CF OPERATION, SERVICE MANUAL & PARTS LIST

Aseptico

Aseptico AA-75CF OPERATION, SERVICE MANUAL & PARTS LIST

Thomas Alpha Plus user guide

Thomas

Thomas Alpha Plus user guide

DUSTLESS BLASTING DB150 user manual

DUSTLESS BLASTING

DUSTLESS BLASTING DB150 user manual

Interroll PF 1100 user manual

Interroll

Interroll PF 1100 user manual

Marley Air 4.0 Operating & assembly instructions

Marley

Marley Air 4.0 Operating & assembly instructions

steute STM 295 Mounting and wiring instructions

steute

steute STM 295 Mounting and wiring instructions

lavina V32E user manual

lavina

lavina V32E user manual

Graco 24H853 Repair instructions

Graco

Graco 24H853 Repair instructions

manuals.online logo
manuals.online logoBrands
  • About & Mission
  • Contact us
  • Privacy Policy
  • Terms and Conditions

Copyright 2025 Manuals.Online. All Rights Reserved.