manuals.online logo
Brands
  1. Home
  2. •
  3. Brands
  4. •
  5. danalock
  6. •
  7. Door Lock
  8. •
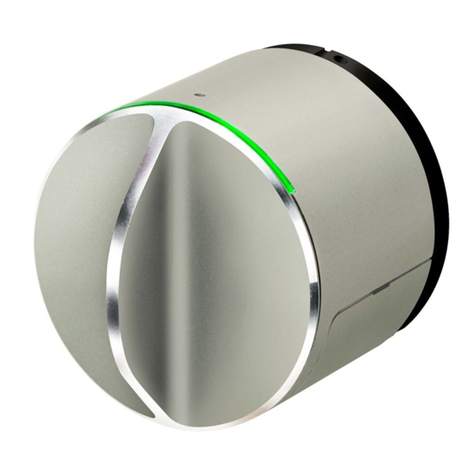
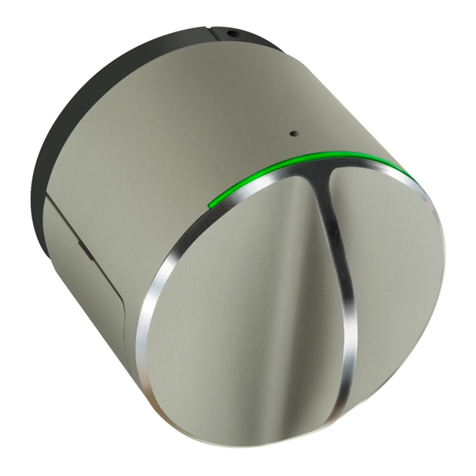
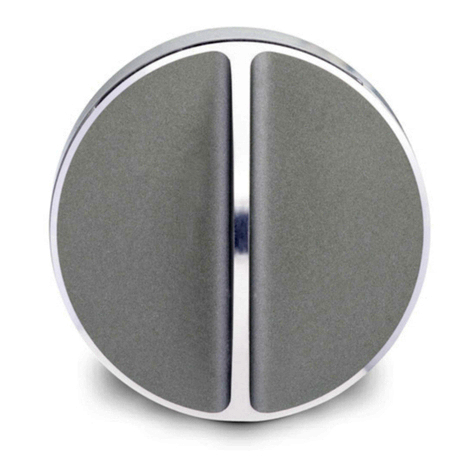
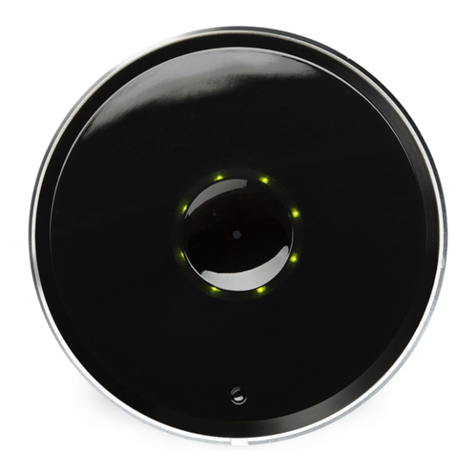
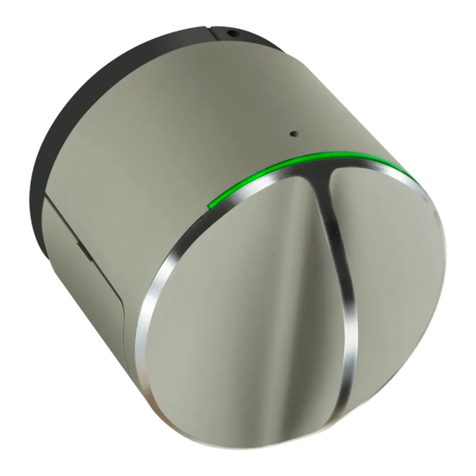
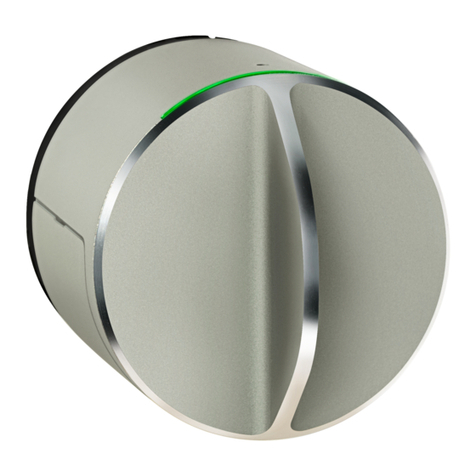
  9. danalock Circle BT V2 Silver Install guide

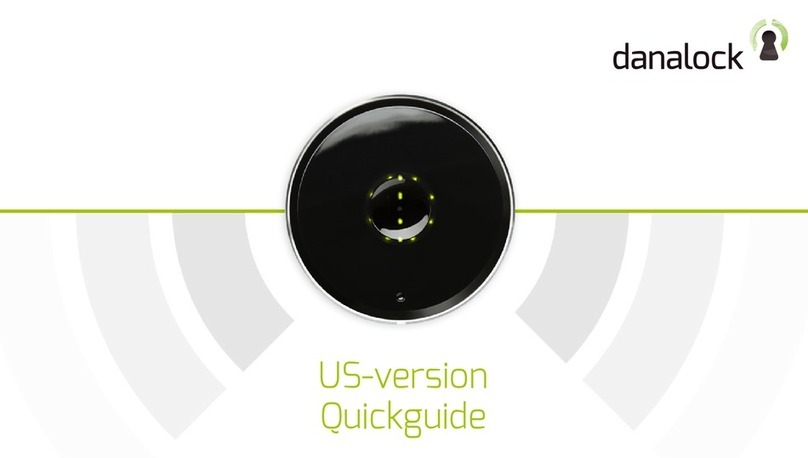
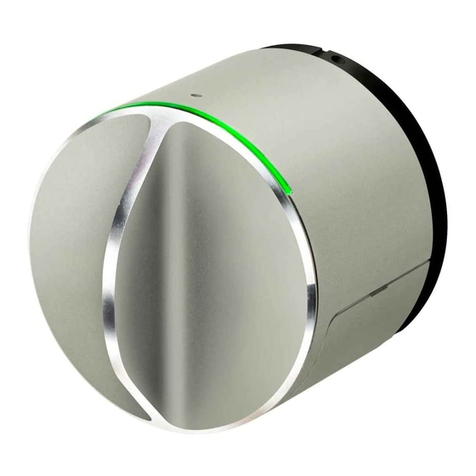
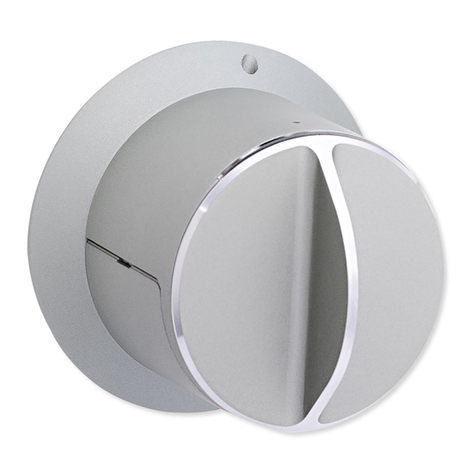
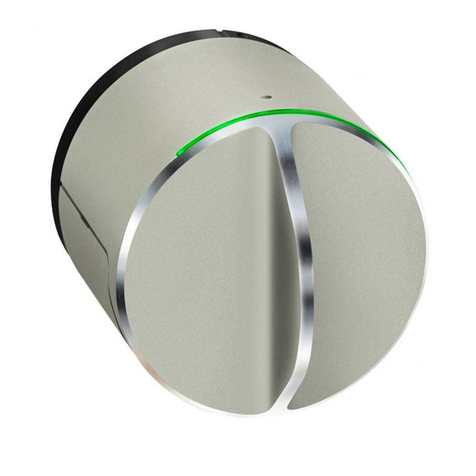
danalock Circle BT V2 Silver Install guide

Fing Instrucon, English
Monteringsanvisning Svenska
Find more ng instrucons and video guides on www.Danalock.com.
Retailer Sweden/Återförsäljare Sverige: Bröderna Miller AB, www.millergroup.se
1. Remove the thumb turn on the inside of the door
1. Avlägsna vredet på insidan av dörren
Use tape to prevent the lock on the outside from
falling out. Make sure to use a tape that does
not damage the surface of the door. When the
Danalock is installed remove the tape.
Använd tejp för a förhindra a låset på
utsidan faller ut. Försäkra dig om a tejpen
inte kan skada dörrens yta. När Danalock är
färdigmonterad avlägsna tejpen.
2. Right length of cylinder-tailpiece
2. Rä längd på medbringarpinnen
NOTE! Right length of tailpiece is very important
OBS! Rä längd på medbringarpinnen är väldigt vikgt
Many doors already have a cylinder tailpiece
that extends 10 - 24 mm from the doorplate.
They will t the Danalock without adjustments
of the length. If the tailpiece does not sck out
10-24 mm - Please see step 3 and 4 for mount-
ing of new tailpiece.
På de esta dörrar scker redan medbrin-
garpinnen ut 10-24 mm från dörrbladet.
Dessa passar Danalock utan måjustering.
Om medbringaren inte scker ut 10-24 mm
- Se steg 3 och 4 för montering av ny
medbringarpinne.
Illustraon of tailpiece
Illustraon av medbringarpinnen
Max. 24 mm
Min. 10 mm

3. If the tailpiece is too short or too long
- insert a new (included) unscrew the
coverplate and go to step 4.
3. Om medbringarpinnen är för kort
eller för lång - montera en ny (medföljer)
skruva bort plaan och gå ll steg 4.
Max. 24 mm
Min. 10 mm
NOTE! Right length of tailpiece is very importanat
OBS! Rä längd på medbringarpinnen är väldigt vikgt
4. The new tailpiece - adjust the size
4. Den nya medbringarpinnen – anpassa längden
To avoid damaging the Danalock you
will have to shorten the new tailpiece. It
should only extend max. 24 mm from the
door surface.
Mark the right length with a pen and use
two pliers to break o - or a wire cuer to
shorten the tailpiece.
För a undvika a skada Danalock är det
mycket vikgt a korta den nya medbrin-
garpinnen. Den ska max scka ut 24 mm
från dörrbladet.
Markera rä längd med en penna och
använd två tänger för a knäcka av pinnen
i rä längd – Alternavt klipp av med en
avbitartång.
5.1 Mounng the back plate on the door
5.1 Montera monteringsplaan på dörren
Place the back plate where the thumb turn used
to be on your door. The round hole in the middle
is for the cylinder tailpiece.
Use the 2 screws from the thumb turn to aach
the back plate.
Placera monteringsplaan centrerad över det
digare vredets placering. Det runda hålet i
mien av monteringsplaan är för medbrin-
garpinnen. Använd de 2 skruvarna från det
digare vredet för a montera plaan.
NOTE! If Danalock hits the door frame see step 5A, 5B, 5C, 5D & 5E
OBS! Om Danalock slår i dörrkarmen se steg 5A, 5B, 5C, 5D & 5E
5.2 Danalock SCANDI Adaptor plate for doors that open outwards.
Use the adaptorplate to avoid the Danalock from hing the door frame.
5.2 Danalock SCANDI Adaptor plaa för dörrar som öppnas utåt.
Använd anpassningsplaa för a förhindra a Danalock slår i dörrkarm.
NOTE! If the door opens outwards you
normally need to use the adaptor plate so
that the Danalock does not hit the door
frame. If Danalock does not hit the door
frame see step 6.
OBS! Om dörren öppnas utåt måste vanligtvis
en anpassningsplaa användas för a
Danalock inte ska slå i dörrkarmen.
Om Danalock går fri från karm gå vidare
ll steg 6.
5A. Aach the rst adaptor plate
5A. Montera första anpassningsplaan
Place the rst of the 2 adaptor plates (the one
with all the holes) and fasten it to the door with
the screws that originally held the thumb turn.
These screws may need to be shortened.
Montera den första av 2 anpassningsplaor
(den med est hål) och skruva fast den med
de två skruvarna som det digare vredet var
monterat med. Ev. måste dessa skruvar
kortas något.
5B. Place the second adaptor plate
5B. Placera den andra anpassningsplaan
Put the second adaptor plate on top of the
rst one. This plate will be fastened to the
door when you aach the back plate.
(See step 5C)
Placera den andra anpassningsplaan över
den första. Denna plaa kommer a fästas
först när du skruvar på
Danalocks monteringsplaa. (Se steg 5C)
DANALOCK, Circle BT V2 Silver
Code/Arkel 440010
Images are for guidance only. If a product is found to be defecve aer or through incorrect xing
Poly-Control Internaonal ApS and Bröderna Miller AB will not be held liable.
Bilder är endast för vägledning. Om en produkt visar sig vara defekt eer eller genom felakg
montering kan Poly-Control Internaonal ApS och Bröderna Miller AB inte hållas ansvariga.
Step 5A, 5B, 5C, 5D, 5E only when
adaptor plate is needed.
Steg 5A, 5B, 5C, 5D, 5E endast när
anpassningsplaa måste användas.
Step 5A, 5B, 5C, 5D, 5E only when
adaptor plate is needed.
Steg 5A, 5B, 5C, 5D, 5E endast när
anpassningsplaa måste användas.
9. Power up the lock
9. Akvera låset
The Danalock comes with baeries inserted.
A thin plasc folio guarantees that your new
Danalock is fully charged. Remove the folio
and the Danalock lights up with a green light
for 5-10 seconds.
Danalock levereras med monterade baerier.
Dessa skyddas av en tunn plasilm för a
garantera full-laddade baerier. När du
avlägsnar plasilmen lyser en grön lampa på
Danalock i 5-10 sekunder.
Fasten the Danalock to the back plate by
ghtening the two unbraco screws on each
side (should be on top and on boom) of
the base with an 1,5 mm Allen key.
Fäst Danalock på monteringsplaan genom
a skruva åt de två insex-skruvarna på vardera
sida (skall vara på ovansida och undersida) av
enheten med en 1,5 mm insex-nyckel.
10. Click on the lid
10. Klicka på locket
Click the lid gently back on. Klicka försikgt fast framsidan
Click the link “Create new user” on the login
screen. Create an user and a password.
When you have installed the App and logged in, a
wizard will guide you through the calibraon and
adjustments of the Danalock.
12. Create an user
12. Skapa användare
Go to Google Play or App Store and down-
load the Danalock App. Search for the App
“Danalock”. The Bluetooth Smart Technol-
ogy is supported by iPhones from 4S, 5, 5S,
5C, 6 and iOS8 and Android from 4,4.
11. Download the Danalock App
11. Ladda ner Danalocks App
To lock the door, touch only briey the
touch sensor with one nger. Release the
nger, and the Danalock will lock or unlock
the door.
13. Lock/unlock door with touch sensor
13. Lås/öppna dörren med touch-sensor
8. Remove the lid
8. Avlägsna locket
To power up your Danalock you rst have to
remove the top lid from the housing base.
Remove the lid gently with a small at- head
screwdriver - look for the small groove. Be
careful not to scratch the surface.
För a akvera Danalock måste du först
avlägsna topplocket från enheten. Använd
fösikgt en liten pla skruvmejsel och bänd
bort locket - se försänkning på kanten. Var
försikg så a inte ytan repas.
5D. Aach adaptor that ts the tailpiece
5D. Montera insats som passar medpringarpinnen
Fit the green or red tailpiece insert depending
on the length of the tailpiece. Green insert is
shorter. Red insert is longer. Test which insert
ts best in the o center hole.
Montera grön eller röd insats beroende på
medbringarpinnens längd. Grön insats är
kortare. Röd insats är längre. Prova vilken
insats som passar bäst i det ocentrerade hålet.
5C. Mounng the back plate on the door
5C. Montera monteringsplaan på dörren
The U marked plate is the one you use on Scan-
dinavian doors. Place this back plate on top of
the adaptor plates. Use the 2 small screws from
the Danalock package to aach the back plate.
Den U-märkta plaan är den som används ll
Skandinaviska dörrar. Fixera monteringsplaan
på anpassningsplaorna genom a skruva fast
dem med de 2 medföljande små skruvarna.
Gå ll Google Play eller App Store och ladda
ner Danalocks App. Sök eer appen “Dan-
alock”. The Bluetooth Smart Technology
stödjs av iPhones från 4S, 5, 5S, 5C, 6 och
iOS8 och Android från 4,4.
Klicka på “Create new user” på appens startsida.
Skapa en ny användare och lösenord.
När du har installerat appen och loggat in
följer en instrukon för hur du kalibrerar
inställningarna för Danalock-låset.
För a låsa dörren, tryck försikgt på
touch-sensorn med e nger. Ly ngret,
och Danalock låser eller låser upp dörren.
Images are for guidance only. If a product is found
to be defecve aer or through incorrect xing Poly-
Control Internaonal ApS and Bröderna Miller AB will
not be held liable.
Bilder är endast för vägledning. Om en produkt visar
sig vara defekt eer eller genom felakg montering
kan Poly-Control Internaonal ApS och Bröderna
Miller AB inte hållas ansvariga.
Find more ng instrucons and
video guides on www.Danalock.com
Retailer Sweden/Återförsäljare
Sverige: Bröderna Miller AB,
www.millergroup.se
DANALOCK,
Circle BT V2 Silver
Code/Arkel 440010
5E. Fasten the Danalock
5E. Fäst Danalock
5D.
Fasten the Danalock to the back plate by
ghtening the two unbraco screws on each
side (should be on the sides) of
the base with an 1,5 mm Allen key.
Fäst Danalock på monteringsplaan genom
a skruva åt de två insex-skruvarna på vardera
sida (skall vara på sidorna) av enheten med
en 1,5 mm insex-nyckel.
6. Aach adaptor that ts the tailpiece
6. Montera adapter som passar medpringarpinnen
Fit the green or red tailpiece insert depending
of the length of the tailpiece. Green insert is
shorter. Red insert is longer. Test which insert
ts best in the center hole.
Montera grön eller röd insats beroende på
medbringarpinnens längd. Grön insats är
kortare. Röd insats är längre. Prova vilken
som passar bäst i det centrerade hålet.
7. Fasten the Danalock
7. Fäst Danalock
Step 5A, 5B, 5C, 5D, 5E only when
adaptor plate is needed.
Steg 5A, 5B, 5C, 5D, 5E endast när
anpassningsplaa måste användas.
Step 5A, 5B, 5C, 5D, 5E only when
adaptor plate is needed.
Steg 5A, 5B, 5C, 5D, 5E endast när
anpassningsplaa måste användas.
Repeat this exercise when changing the baeries.
4 x industrial lithium 3 V baeries (4 x CR123)
Upprepa dea steg när du byter baerier.
4 x industrial lithium 3 V baerier (4 x CR123)

Other danalock Door Lock manuals

danalock V3 BT HK SCANDI Installation instructions manual

danalock

danalock V3 BT HK SCANDI Installation instructions manual

danalock V3 SCANDI Product information sheet

danalock

danalock V3 SCANDI Product information sheet

danalock V3 BT HK SCANDI User manual

danalock

danalock V3 BT HK SCANDI User manual

danalock 125 User manual

danalock

danalock 125 User manual

danalock V3 EURO Expert Instruction sheet

danalock

danalock V3 EURO Expert Instruction sheet

danalock V3-BT User manual

danalock

danalock V3-BT User manual

danalock V3 BT HK SCANDI User manual

danalock

danalock V3 BT HK SCANDI User manual

danalock V3-BTZE User manual

danalock

danalock V3-BTZE User manual

danalock V3 BT HK SCANDI User manual

danalock

danalock V3 BT HK SCANDI User manual

danalock V3 SCANDI User manual

danalock

danalock V3 SCANDI User manual

danalock V3 EURO Installation instructions manual

danalock

danalock V3 EURO Installation instructions manual

danalock V3 EURO User manual

danalock

danalock V3 EURO User manual

danalock DANALOCKV2-BTZU-X User manual

danalock

danalock DANALOCKV2-BTZU-X User manual

danalock V3 BT HK SCANDI Installation instructions manual

danalock

danalock V3 BT HK SCANDI Installation instructions manual

danalock BTZES 100 User manual

danalock

danalock BTZES 100 User manual

danalock V3 BT HK SCANDI User manual

danalock

danalock V3 BT HK SCANDI User manual

danalock V3 BT HK SCANDI User manual

danalock

danalock V3 BT HK SCANDI User manual

danalock US-version User manual

danalock

danalock US-version User manual

danalock V3 SCANDI Installation instructions manual

danalock

danalock V3 SCANDI Installation instructions manual

danalock 125 Guide

danalock

danalock 125 Guide

Popular Door Lock manuals by other brands

Dormakaba SVA 2000 Mounting instructions

Dormakaba

Dormakaba SVA 2000 Mounting instructions

Tuffy 082 installation instructions

Tuffy

Tuffy 082 installation instructions

Avent Security M600 user manual

Avent Security

Avent Security M600 user manual

Abus HomeTec Pro CFA3000S manual

Abus

Abus HomeTec Pro CFA3000S manual

Milocks BLEF installation manual

Milocks

Milocks BLEF installation manual

SecuLock ND-S Series user manual

SecuLock

SecuLock ND-S Series user manual

Yale Assure Lock 2 Plus manual

Yale

Yale Assure Lock 2 Plus manual

DOM Unitecnic 1250 instruction manual

DOM

DOM Unitecnic 1250 instruction manual

latch C2 installation guide

latch

latch C2 installation guide

Schlage Everest Service manual

Schlage

Schlage Everest Service manual

Salto E1CD0x00fft installation guide

Salto

Salto E1CD0x00fft installation guide

Kwikset Premis Faq

Kwikset

Kwikset Premis Faq

FingerTec Keylock 7700 user guide

FingerTec

FingerTec Keylock 7700 user guide

Assa Abloy Sargent 6-Line installation instructions

Assa Abloy

Assa Abloy Sargent 6-Line installation instructions

FingerTec R3 user guide

FingerTec

FingerTec R3 user guide

Gainsborough Austral Lock Virtus Two Point Hinged Door Mortice... installation guide

Gainsborough

Gainsborough Austral Lock Virtus Two Point Hinged Door Mortice... installation guide

Carbine CDL-SL8 Installation instruction

Carbine

Carbine CDL-SL8 Installation instruction

Schlage V10 Use and care guide

Schlage

Schlage V10 Use and care guide

manuals.online logo
manuals.online logoBrands
  • About & Mission
  • Contact us
  • Privacy Policy
  • Terms and Conditions

Copyright 2025 Manuals.Online. All Rights Reserved.