manuals.online logo
Brands
  1. Home
  2. •
  3. Brands
  4. •
  5. De Raat
  6. •
  7. Safe
  8. •
  9. De Raat Technomax Trony GTR/4P User manual

De Raat Technomax Trony GTR/4P User manual

The safe is prepared for floor and/or wall
anchoring
Instructions Trony GTR/4P and GTR/6P
with “time delay”
High performance microprocessor.
Possible combinations: 10 billion.
Power supplied by a voltage transformer and 4 x LR6 AA
1.5-v alkaline batteries.
Alphanumeric keyboard with 12 keys: 10 keys with
numbers from 0 to 9 and 26 letters “ENTER” key to confirm
code set. The keyboard is of the membrane type with four
dedicated LEDS, and contacts for external emergency
power supply in the event of internal batteries being flat.
Internal button for programming new personal code.
DIGITS THAT CAN BE SET: minimum 4 –maximum 10
digits in permanent memory (the “ENTER” and “ON” keys
are not valid in the combination)
Technomax
Feautures
Test for opening using the service code “1111” (with door
open and bolts pulled out): Key in the service code “1111”
and press “ENTER”. The green “OK” LED lights up for about
five seconds. Within this time, with the green LED ON, turn
the knob clockwise to retract the bolts. If the combination is
incorrect, the red “ERROR” LED will light up and the buzzer
will sound. After three attempts with incorrect codes, the
keyboard will be disabled for one minute and this time will be
indicated by the red “ERROR” LED flashing. After this time,
renewed readiness for operation will be indicated by the
green “OK” LED lighting up and a beep
Introduction
ALL SAFES ARE PROVIDED WITH SERVICE CODE “1111”
AND NO TIME DELAY. Before installing the safe, check
that it works properly and read the instructions carefully to
understand the operation. Every time a key is pressed the
green “OK” LED lights up and the buzzer sounds; pressing
the “ENTER” key causes the green “OK” LED to light up for
correct procedures, or the red “ERROR” LED to light up in
the case of incorrect settings.
Instructions for use
Connect the plug of the voltage transformer to the wall
socket and the jack to its respective socket positioned on
the right face of the safe (see pic. 3). 2. Fit the 4 x 1.5-volt
batteries (only alkaline batteries must be used) in its plastic
seating on the back of the internal lock (see Pic. 2) and
completely remove (without screwing it back on) the black
screw marked with a special yellow label, which blocks the
magnet.
Storing the personal code and set time delay
The procedure for storing the new code must be carried out
with the door open and the bolts pulled out. Press the
programming button (see Pic. 2) near the top of the back of
the door once; the button is marked with a yellow
“PROGRAMMING” label The green “CODE” LED switches on
with a steady light and stays on for 10 seconds. Within 10
seconds, start keying in your new personal code (min. 4 –
max. 10 digits) and press “ENTER”. Key in your new code set
again and press “ENTER” to confirm. If the procedure has
been carried out correctly, a long sound with a number of
tones is emitted, thus indicating that your code has been
stored. While green LED is still on, enter desired time-delay,
whit 2 digit number ex. : 00 for no delay. 20 for 20 minutes
time-delay. If errors have been made while setting your new
code, this will be indicated by the red “ERROR” LED lighting
up and a beep. Repeat the procedure for setting your new
personal code again. The code set before the incorrect
procedure will remain in memory (for new safe “1111”).
Before finally closing the safe, it is advisable to check that
everything is OK by operating the opening and closing
mechanism a number of times with the door open.
Enter your personal code set earlier and press “ENTER”.
The green “OK” LED lights up for five seconds. Within this
time, turn the knob clockwise and open the door (if the
time-delay is 00 minutes).
Opening the safe using code Opening with emergency key
Remove the adhesive label marked with the letter “E” (see
pic. 1). Insert the key and open the lock up to the stop point.
Open the door. Once the door is open, turn the knob
anticlockwise until the bolts are fully extended. Close the lock
and remove the key.
Signal indicating that internal batteries is
going flat
When the internal battery begins to go flat, this is indicated
at the end of the opening procedure, by the red “BATTERY”
LED lighting up and a low beep tone. At this point, it will
still be possible to open the safe a number of times.
Replace the internal batteries with 4 x LLR6 AA 1.5V
alkaline batteries
Replace the 4 x LLR6 AA 1.5 V alkaline batteries every year
It must be remembered that even new, packed batteries
can sometimes be defective, for various reasons, or have a
brief duration. In the event of failure of the magnet
release, or other faults, first of all, replace the battery with
a new 4 x LR6 AA 1.5 V alkaline batteries (DURACELL LR6
AA is recommended) The manufacture declines all
responsibility for failure to observe the instructions given,
or for improper use of the safe, thus causing the warranty
to lapse.
Caution
Emergency opening in case of black out
and/ore flat batteries.
In these cases , a new 9-volt LR61 alkaline battery will be
necessary. Press the 9-volt battery contacts firmly on the
corresponding contacts on the keyboards, ensuring that
they are positioned correctly (the “-“ of the battery
touching the bigger contact and the “+” of the battery
touching the small contact). With the battery firmly in
position, key in code and open door. Replace internal
batteries immediately

This manual suits for next models

1

Other De Raat Safe manuals

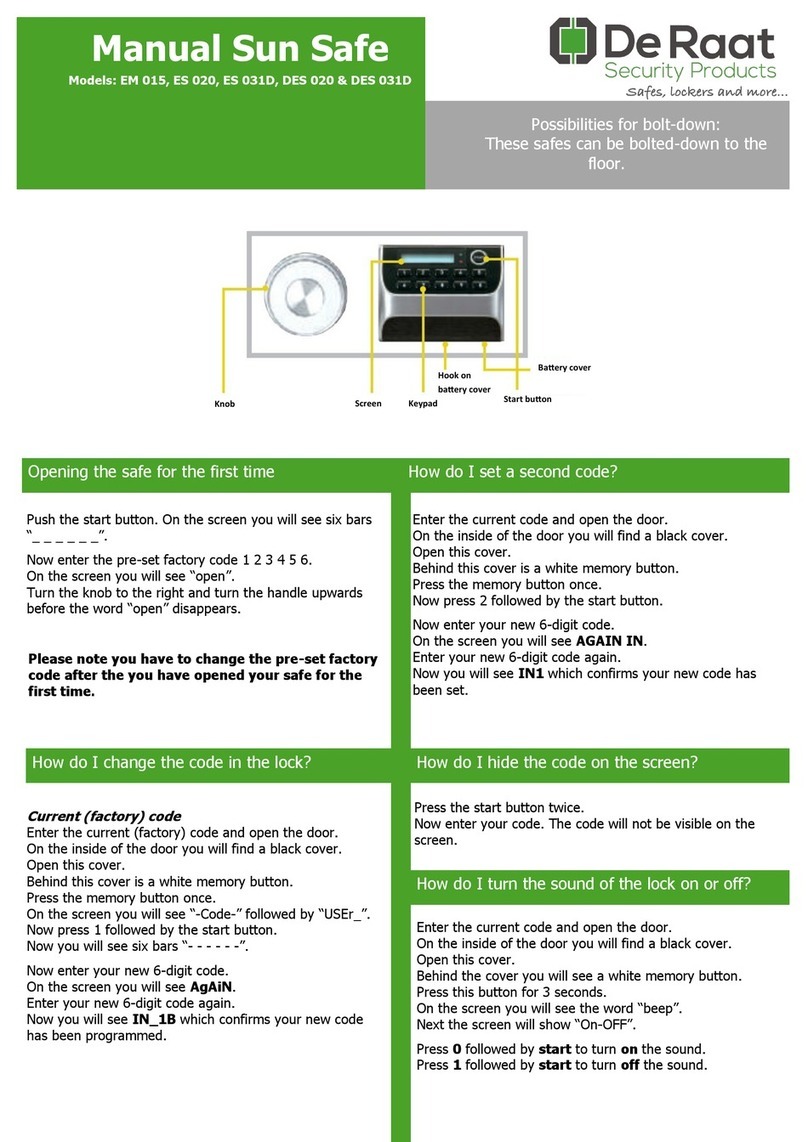
De Raat Protector depo cash plus 1 E User manual

De Raat

De Raat Protector depo cash plus 1 E User manual

De Raat Sentry User manual

De Raat

De Raat Sentry User manual

De Raat Firesafe FSP User manual

De Raat

De Raat Firesafe FSP User manual

De Raat VP Safe User manual

De Raat

De Raat VP Safe User manual

De Raat PROTECTOR 40E User manual

De Raat

De Raat PROTECTOR 40E User manual

De Raat Leisure plus User manual

De Raat

De Raat Leisure plus User manual

De Raat Code combi B 30 User manual

De Raat

De Raat Code combi B 30 User manual

De Raat EM 2020 User manual

De Raat

De Raat EM 2020 User manual

De Raat Sun Safe ES 045 User manual

De Raat

De Raat Sun Safe ES 045 User manual

De Raat EM 015 User manual

De Raat

De Raat EM 015 User manual

De Raat KS24E User manual

De Raat

De Raat KS24E User manual

Popular Safe manuals by other brands

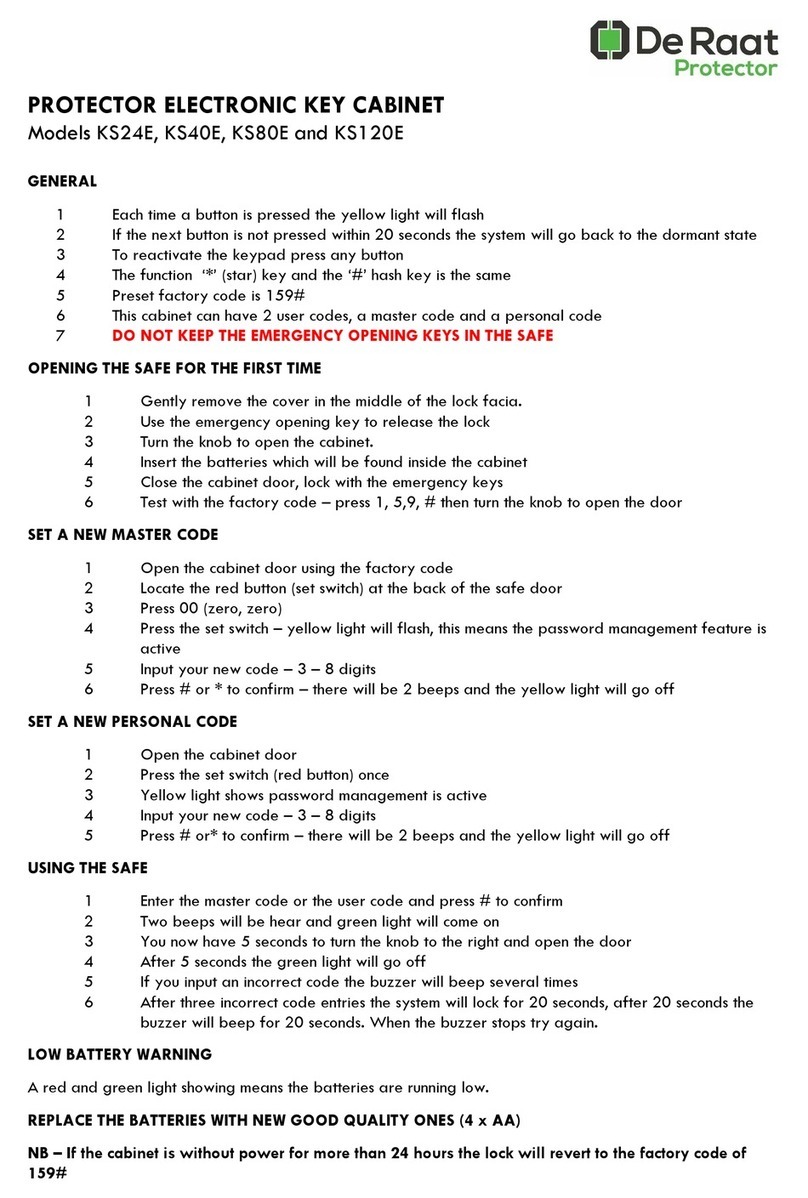
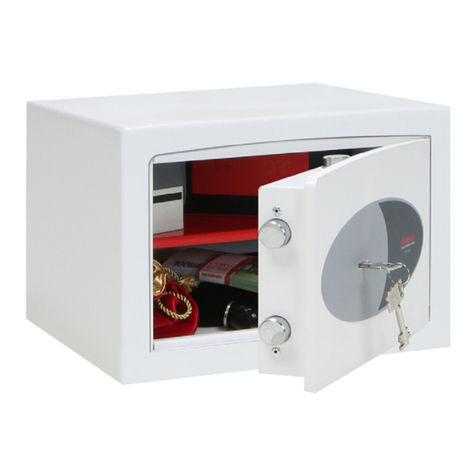
Phoenix Venus operating instructions

Phoenix

Phoenix Venus operating instructions

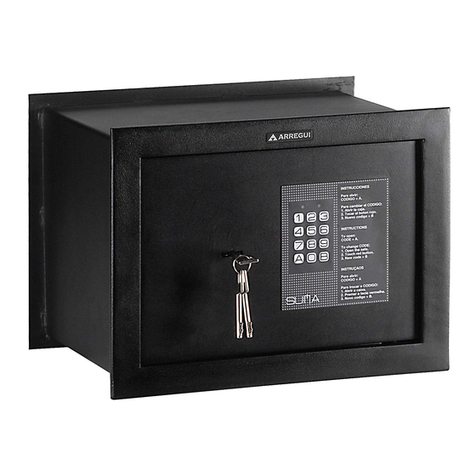
Arregui SUMA manual

Arregui

Arregui SUMA manual

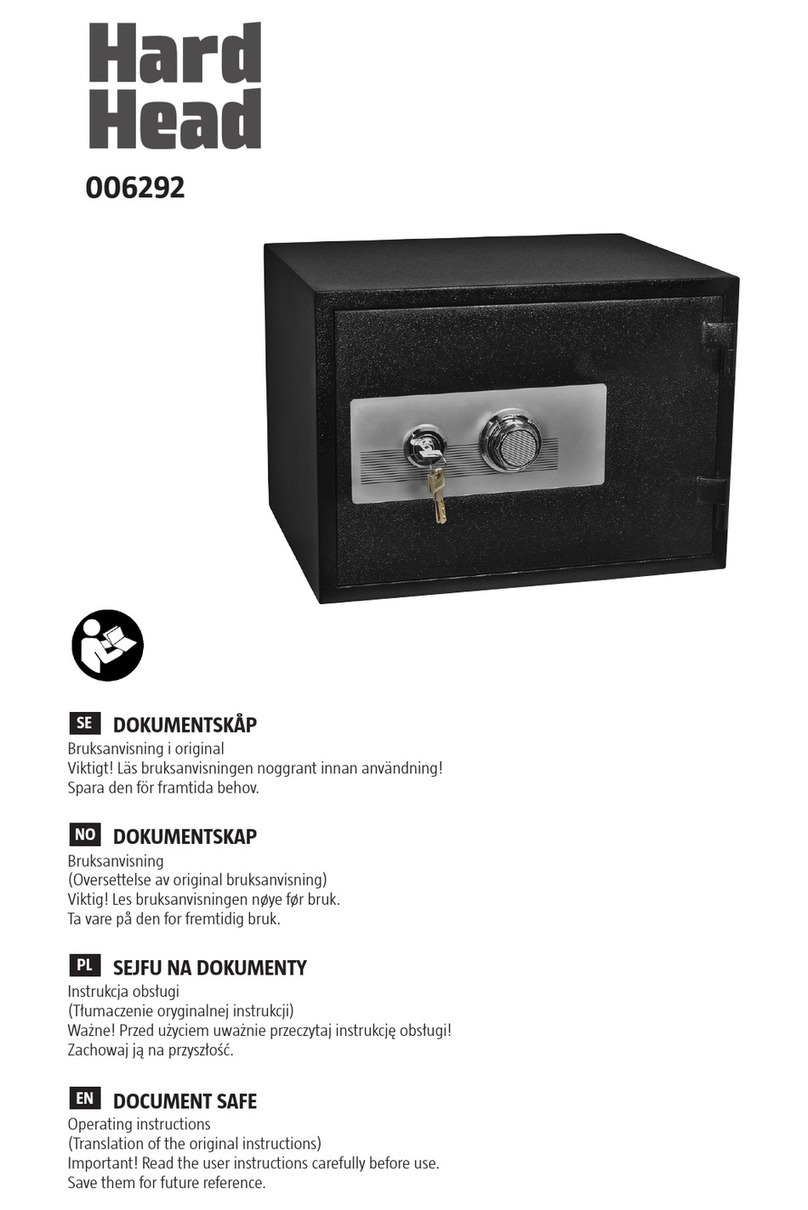
Hard Head 006292 operating instructions

Hard Head

Hard Head 006292 operating instructions

BOLERO CF129 instruction manual

BOLERO

BOLERO CF129 instruction manual

Steren SEG-480 instruction manual

Steren

Steren SEG-480 instruction manual

Chubbsafes EverydaySafe Installation and user guide

Chubbsafes

Chubbsafes EverydaySafe Installation and user guide

SentrySafe Fire-Safe user manual

SentrySafe

SentrySafe Fire-Safe user manual

Union 59549 Owner's manual & safety instructions

Union

Union 59549 Owner's manual & safety instructions

Burg Wächter MTD 34-38 F60 Aassembly Instructions

Burg Wächter

Burg Wächter MTD 34-38 F60 Aassembly Instructions

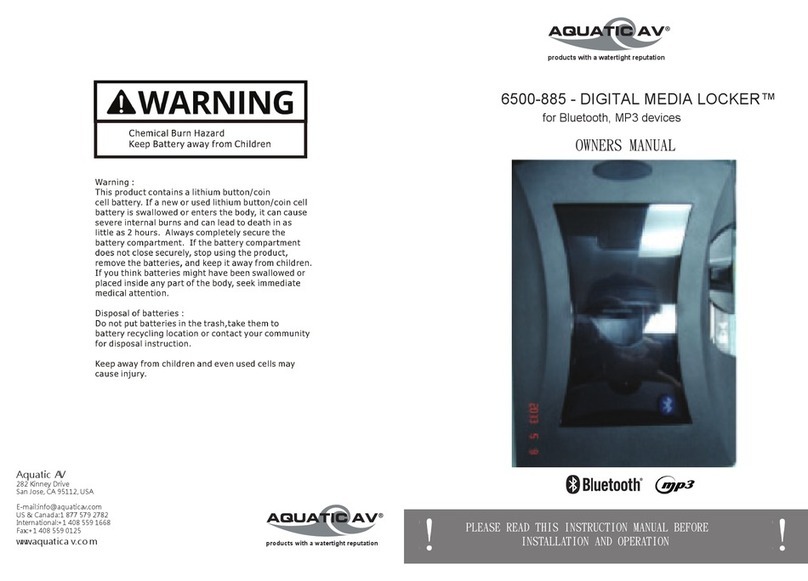
Aquatic 6500-885 owner's manual

Aquatic

Aquatic 6500-885 owner's manual

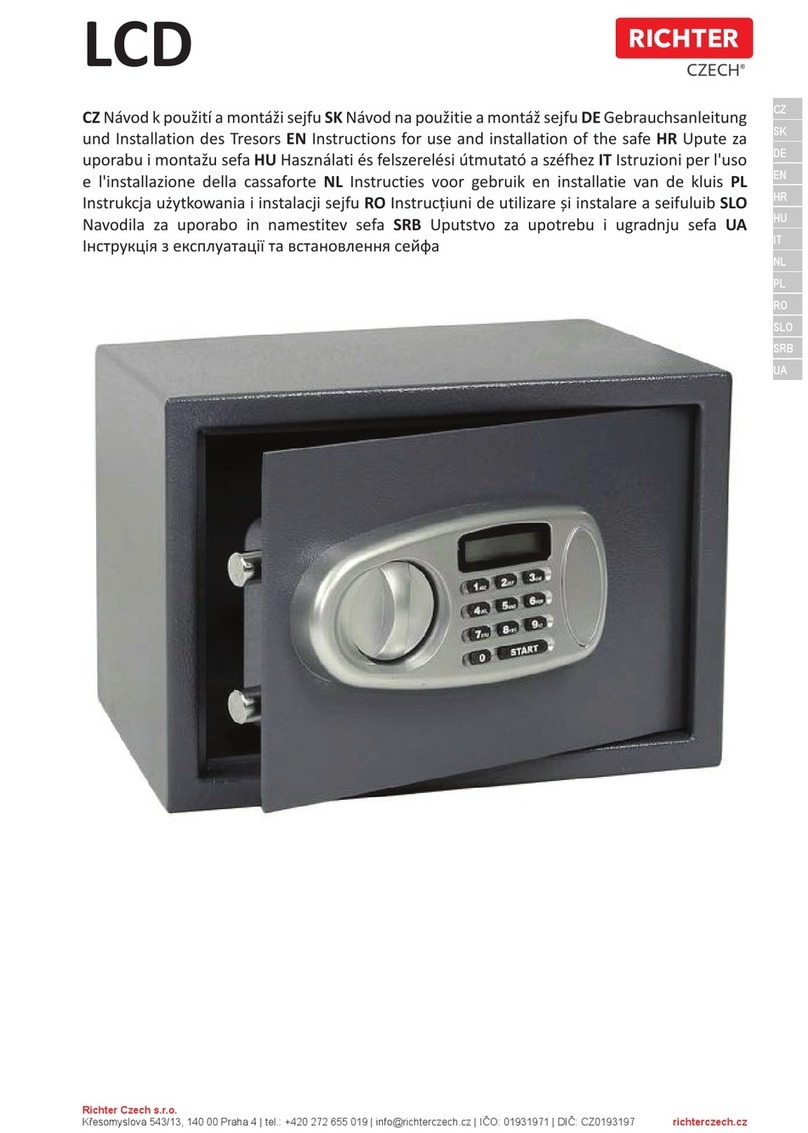
RICHTER CZECH RS.20.LCD Instructions for use and installation

RICHTER CZECH

RICHTER CZECH RS.20.LCD Instructions for use and installation

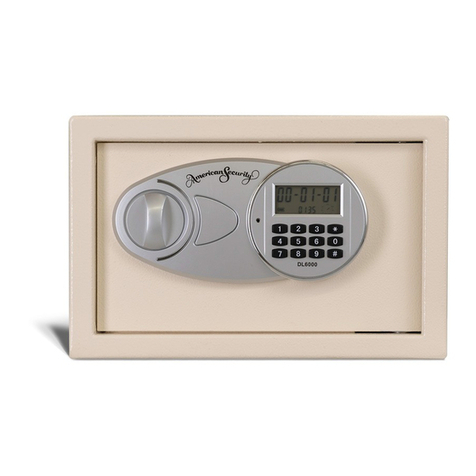
AMSEC EST813 Operating instructions and warranty

AMSEC

AMSEC EST813 Operating instructions and warranty

Viking Security Safe SX line VS-12SX Operational manual

Viking Security Safe

Viking Security Safe SX line VS-12SX Operational manual

Phoenix FORTRESS II SS1182E Instructions & Guarantee Registration

Phoenix

Phoenix FORTRESS II SS1182E Instructions & Guarantee Registration

Mail Boss Mail Manager Street Safe manual

Mail Boss

Mail Boss Mail Manager Street Safe manual

SentrySafe SF123ES manual

SentrySafe

SentrySafe SF123ES manual

AMSEC BF912 Operating instructions and warranty

AMSEC

AMSEC BF912 Operating instructions and warranty

ISLANDSAFE XN25 Series user manual

ISLANDSAFE

ISLANDSAFE XN25 Series user manual

manuals.online logo
manuals.online logoBrands
  • About & Mission
  • Contact us
  • Privacy Policy
  • Terms and Conditions

Copyright 2025 Manuals.Online. All Rights Reserved.