manuals.online logo
Brands
  1. Home
  2. •
  3. Brands
  4. •
  5. Definox
  6. •
  7. Control Unit
  8. •
  9. Definox DCX4 HP User manual

Definox DCX4 HP User manual

NI-285 Index 1 February 2022
On mechanism "14" and upper body "10". Position the upper body "10" on the mechanism and mount with screws "14".
Take the valve "3", place the valve seal "4", add the spacer "5", place the valve seal "6", add the sleeve "7".
Place the assembly onto the mechanism "15", taking care not to damage the seal and the segment "13", then screw and
tighten the valve using the flats on the valve (use thread locker), then (N.C. assembly, supply the mechanism "15", N.O.
assembly, cut off the air). Position the lower body "1" paying attention to the seal and tighten the nuts "9" on the dowel
pins "2". Then (N.C. assembly, turn off the air, N.O. assembly, supply the mechanism "15") and check the correct
centring of the valve by the lower track. When using for the first time, check for leaks of the lower section in the low
position, then of the upper section(s) and of the lantern in the high position.
N.B.:
−We recommend the use of a medium thread locker glue to secure the valve when reassembling on the mechanism.
−During sawing operations, please avoid the introduction of chips or filings inside the pipes and rinse the pipes with
a generous amount of water to avoid damage to the seals during commissioning.
8) STORAGE
We advise you to store your valves protected as much as possible from the pollution of the site (abrasive dust, impacts,
acid, or chlorinated products, U.V...) and if possible assembled to avoid the mixing of components.
9) EEC COMPLIANCE
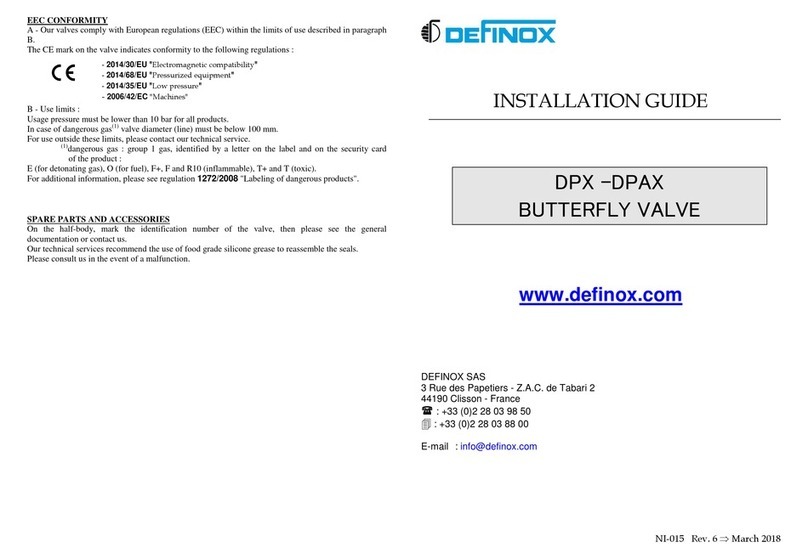
A-All our valves comply with European regulations (EEC) within the limits of use described in paragraph B.
The CE mark on the valve indicates compliance with the following directives:
B-Use limits:
According to Directive 2014/68/EU
The valve accepts a maximum operating pressure of 40 bar on liquids and gases of group 2, a
maximum temperature of 140°C, a permissible vacuum of 0.4 bar.
The use of hazardous gases of group 1(1) is not permitted.
The use of hazardous liquids of group 1(1) is limited to a pressure of 20 bar.
For usage outside these limits, please consult our technical service
(1) hazardous gases/liquids: Group 1 gases/liquids identified by a letter which you will find on the label and
on the product safety data sheet:
E (for explosive gas), O (for oxidizer), F+, F and R10 (flammable), T+ and T (toxic), Xn (Harmful), C
(Corrosive), Xi (Irritant), (non-exhaustive list)
For more details, see regulation 1272/2008 "Labelling of dangerous products".
10) SPARE PARTS AND ACTUATOR DISASSEMBLY
Note the identification number on the valve and refer to the general documentation or consult us. In the event of a
malfunction, please contact us.
Dismantling the mechanism is a simple but delicate operation that requires the use of appropriate tools and to follow
the valve's maintenance manual.
Please contact us for these instructions or to request maintenance operations at our premises or on site.
Note: The valve must be out of service before any work is carried out and disassembly of the components with the pre-
tensioned spring must be carried out according to the instructions in the maintenance manual.
All users of DEFINOX valves must periodically check the condition of the equipment installed, specially concerning
the parts playing a "safety" role (at a fixed frequency depending on the use and cleaning applied).
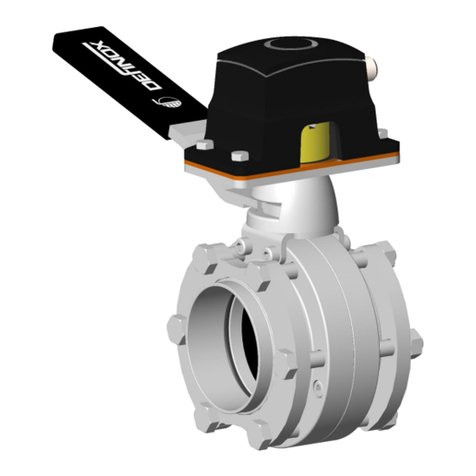
INSTALLATION GUIDE
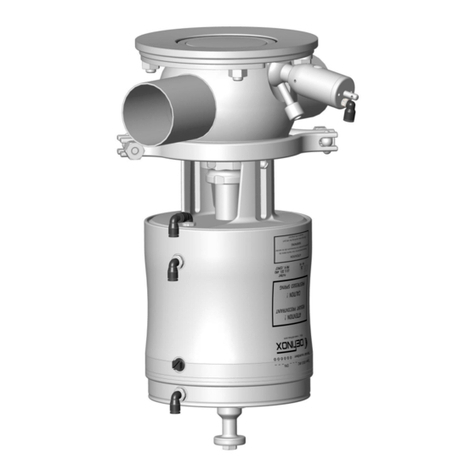
AUTOMATIC SHUT-OFF
VALVE DCX4 HP
www.definox.com
DEFINOX SAS
3 Rue des Papetiers - Z.A.C. de Tabari 2
44190 Clisson - France
:+33 (0)2 28 03 98 50
:+33 (0)2 28 03 88 00
E-Mail: [email protected]
- 2014/30/EU "Electromagnetic compatibility"
- 2014/68/EU "Pressurized Equipment"
- 2014/35/EU "Low pressure"
- 2006/42/EC "Machines"
NI-285 Index 1 February 2022
1) Lower body
2) Dowel pins
3) Valve
4) Valve seal
5) Spacer
6) Valve seal
7) Sleeve
8) Body seal
9) Nuts
10) Upper body
11) Body seal
12) Lantern seal
13) Segment
14) Screw
15) Actuator
AUTOMATIC VALVE DCX4 HP –2 bodies
To install your DEFINOX DCX4 HP valve in the best conditions, we advise you to read this manual which describes
the main steps of the commissioning and the instructions to follow:
1) VALVE IDENTIFICATION
DEFINOX shut-off valves have an identification number. This number will be used later to identify any spare parts you
may need.
2) TERMS OF SERVICE
The operating conditions of this valve are specified in the operating limits in paragraph 9 (EEC CONFORMITY) of
this document.
3) AIR SUPPLY REQUIREMENT
The jack is supplied with dry filtered air with a pressure of 4.5 to 8 bar. The air connections on the mechanism are
designed for connection with 4/6 diameter flexible hoses.
4) SEALS
The DCX4 HP valves are equipped exclusively with elastomer seals:
•EPDM, FKM food grade, (other grades on request)
The choice of the seal grade is very important for the proper functioning of the valve. This is not always easy to do, as
it is necessary to consider all the characteristics of the products flowing through the valve. We will be happy to help
you. Ensure that the greases used are compatible with elastomer seals, especially for EPDM.
5) ASSEMBLY N.C - N.O - D.A
As standard, DCX4 HP valves are delivered in N.C. configuration and require an air supply for valve disassembly.
On request, we can supply them in N.O. or D.A. configuration.
Important note: For any configuration changes, refer to the maintenance manual (NM.036).
6) PRECAUTIONS TO BE TAKEN WHEN WELDING THE BODIES
Adjust the pipes: check the perpendicularity, out-of-roundness, and offset (play<0.5 mm), to limit stresses due to
welding.
Any modifications to the valve body for welding must be made in agreement with Definox.
Support the pipework within 10D of the valve (Nominal valve diameter)
7) INSTALLATION OF THE VALVE IN THE PROCESS LINE
When installing the valve in the process line, it is necessary to separate the body to be welded from the rest of the
valve to avoid damaging the seals.
For this simple operation, proceed as follows, referring to the diagrams:
A- DCX4 HP N.F:
Put the valve in the "open" position by supplying power to mechanism "15". Remove the nuts "9”. Turn off the air and
separate the lower body "1" from the rest of the valve. Dismantle the valve assembly "3-4-5-6-7" by unscrewing the
valve "3" using the flats on the lower part of the valve "3", remove the screws "14", separate the upper body "10" and
fit the bodies "1-10" on the manifolds.
B- DCX4 HP N.O:
Do not energise the valve, remove the nuts "9". Energise the mechanism "15" and separate the lower body "1" from the
rest of the valve. Dismantle the valve assembly "3-4-5-6-7" by unscrewing the valve "3" using the flats on the lower
part of the valve "3", remove the screws "14", separate the upper body "10" and fit the bodies "1-10" on the manifolds.
After welding, reassemble the valve as described below:
Important: Subsequent dismantling of the mechanism and the valves requires that one of the bodies (preferably the
upper body) can be disconnected from the line. Please weld this body to a removable part or between fittings (fittings
compatible with the operating pressure conveyed).
C- Assembly of DCX4 HP valves
(N.C. assembly - valve not supplied, N.O. assembly - supply to mechanism "15") Check that the seal faces of bodies
"1" and "10" are clean. Check the position of the top and bottom seals "8" and "11" .../...
IMPORTANT: For any changes in the configuration of the mechanism, please refer to
the maintenance manual or contact our services.

This manual suits for next models

1

Other Definox Control Unit manuals

Definox VEOX PMO Operation and maintenance manual

Definox

Definox VEOX PMO Operation and maintenance manual

Definox VDCI-MC PFA User manual

Definox

Definox VDCI-MC PFA User manual

Definox DPX1EBC Operation and maintenance manual

Definox

Definox DPX1EBC Operation and maintenance manual

Definox ICS Operation and maintenance manual

Definox

Definox ICS Operation and maintenance manual

Definox DCX3 Operation and maintenance manual

Definox

Definox DCX3 Operation and maintenance manual

Definox Sorio Operation and maintenance manual

Definox

Definox Sorio Operation and maintenance manual

Definox DCX3 Operation and maintenance manual

Definox

Definox DCX3 Operation and maintenance manual

Definox Sorio Basic 1EV User manual

Definox

Definox Sorio Basic 1EV User manual

Definox DCX3 User manual

Definox

Definox DCX3 User manual

Definox DCX3 Operation and maintenance manual

Definox

Definox DCX3 Operation and maintenance manual

Definox DPAX GEN 2 User manual

Definox

Definox DPAX GEN 2 User manual

Definox VDCI-MC-FC Operation and maintenance manual

Definox

Definox VDCI-MC-FC Operation and maintenance manual

Definox VEOX SP 3 BODY Operation and maintenance manual

Definox

Definox VEOX SP 3 BODY Operation and maintenance manual

Definox DPAX User manual

Definox

Definox DPAX User manual

Definox DCX3 User manual

Definox

Definox DCX3 User manual

Definox DPX EBC User manual

Definox

Definox DPX EBC User manual

Definox DCX3 Operating and maintenance instructions

Definox

Definox DCX3 Operating and maintenance instructions

Definox Sorio Basic 3EV User manual

Definox

Definox Sorio Basic 3EV User manual

Popular Control Unit manuals by other brands

Vimar by-me Eikon 20546 manual

Vimar

Vimar by-me Eikon 20546 manual

Moog g77x Series Installation and operation instruction

Moog

Moog g77x Series Installation and operation instruction

4DSP AD484 user manual

4DSP

4DSP AD484 user manual

Sierra Wireless AirPrime SL808 Series Migration guide

Sierra Wireless

Sierra Wireless AirPrime SL808 Series Migration guide

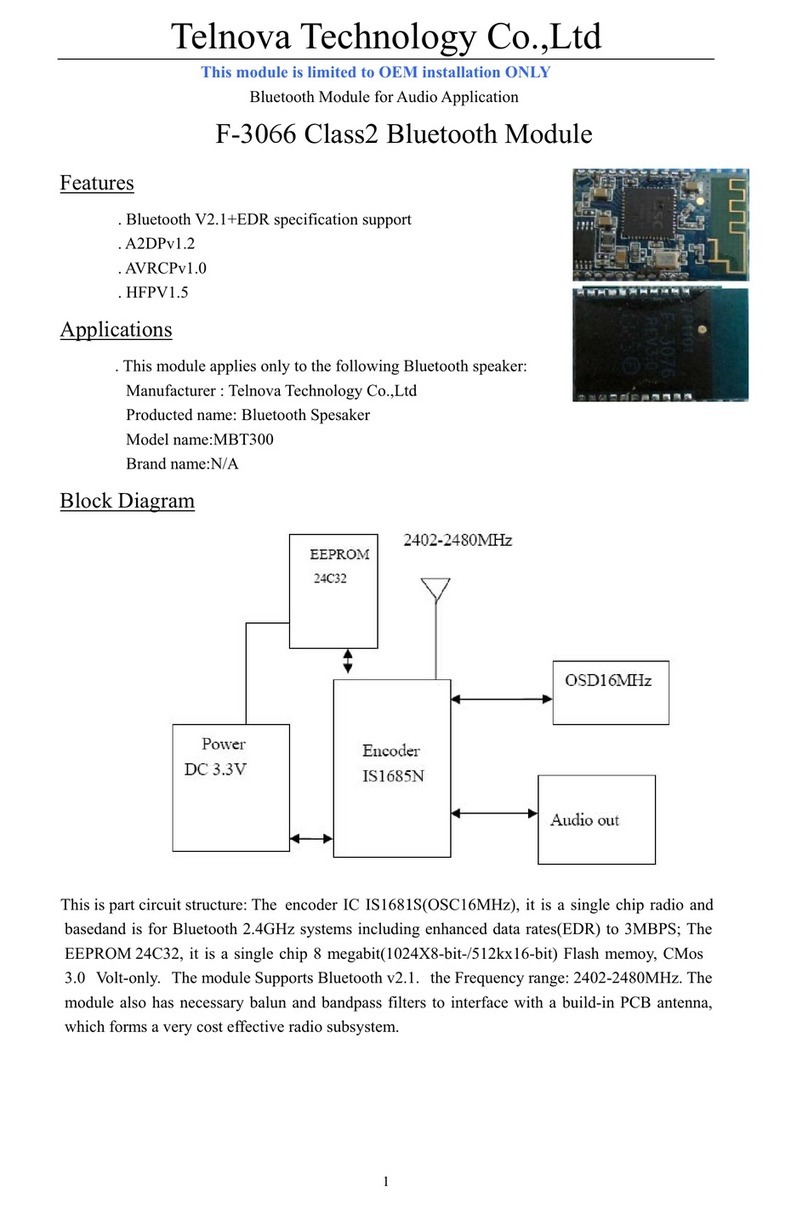
Telnova F-3066 user manual

Telnova

Telnova F-3066 user manual

Tormatic T 100 DES Mounting and operating instructions

Tormatic

Tormatic T 100 DES Mounting and operating instructions

Lutron Electronics TriPak Series installation guide

Lutron Electronics

Lutron Electronics TriPak Series installation guide

Ossur Icelock 552 Instructions for use

Ossur

Ossur Icelock 552 Instructions for use

Siemens HARS-T03 Series manual

Siemens

Siemens HARS-T03 Series manual

aquabrass SR3095 installation guide

aquabrass

aquabrass SR3095 installation guide

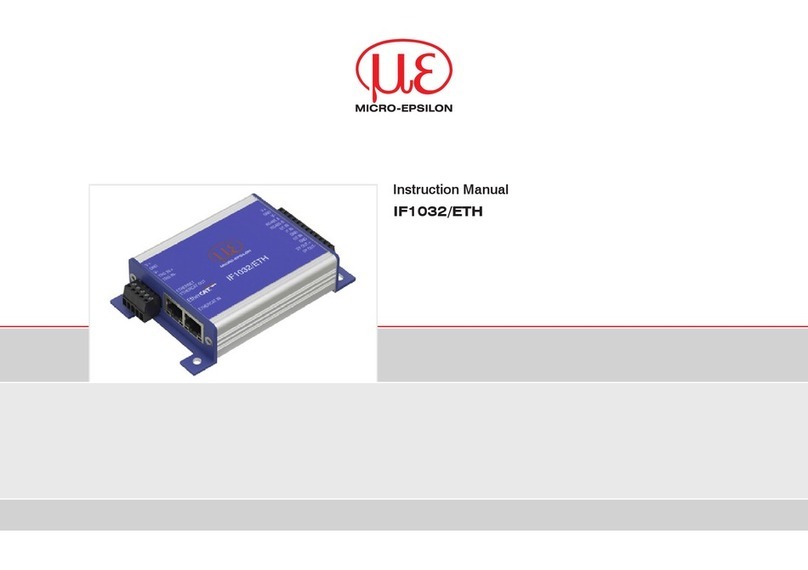
MICRO-EPSILON IF1032/ETH instruction manual

MICRO-EPSILON

MICRO-EPSILON IF1032/ETH instruction manual

Topcon ASC-10 Operator's manual

Topcon

Topcon ASC-10 Operator's manual

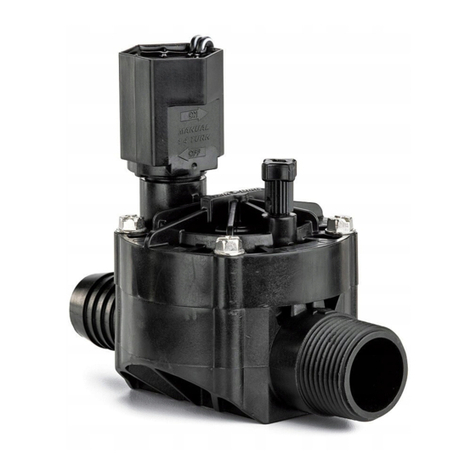
Rain Bird HV Series installation instructions

Rain Bird

Rain Bird HV Series installation instructions

RADWAG MW-04 user manual

RADWAG

RADWAG MW-04 user manual

Moen 82403 installation guide

Moen

Moen 82403 installation guide

EOS ECON D4 Assembly and operation instruction

EOS

EOS ECON D4 Assembly and operation instruction

STATUS SCIENTIFIC CONTROLS MCU3 Installation and Hardware Configuration Manual

STATUS SCIENTIFIC CONTROLS

STATUS SCIENTIFIC CONTROLS MCU3 Installation and Hardware Configuration Manual

Carlisle Ransburg CCV-5100 Service manual

Carlisle

Carlisle Ransburg CCV-5100 Service manual

manuals.online logo
manuals.online logoBrands
  • About & Mission
  • Contact us
  • Privacy Policy
  • Terms and Conditions

Copyright 2025 Manuals.Online. All Rights Reserved.