manuals.online logo
Brands
  1. Home
  2. •
  3. Brands
  4. •
  5. DELTA DORE
  6. •
  7. Thermostat
  8. •
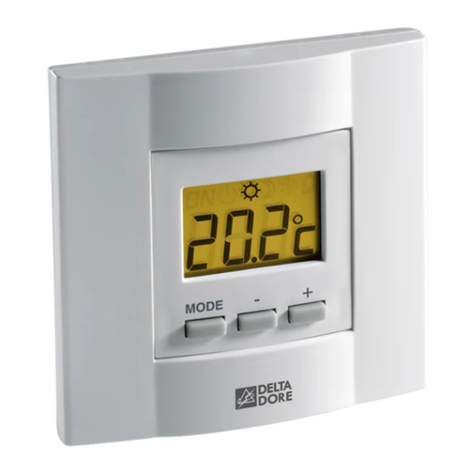
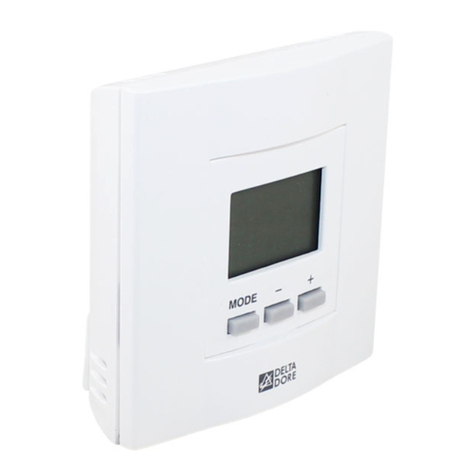
  9. DELTA DORE D10 User manual

DELTA DORE D10 User manual

FRANÇAIS
4. Configuration
Appuyez 10 secondes sur la touche MODE pour ent-
rer dans le mode configuration.
4.1 Sélection de l’affichage (tableau 4.1)
Vous pouvez choisir l’affichage permanent de la tem-
pérature ambiante ou de la température de consigne.
Pour modifier la sélection en cours, appuyez sur la
touche +, puis appuyez sur la touche MODE pour
valider et passer au réglage suivant.
4.2 Correction de la mesure de la température
ambiante (tableau 4.2)
Vous pouvez modifier la mesure de la température
jusqu’à + ou - 5°C :
Appuyez sur les touches + ou - pour modifier par pas
de 0,5°C, puis appuyez sur la touche MODE pour
valider et passer au réglage suivant.
4.3 Verrouillage du clavier (tableau 4.3)
Vous pouvez verrouiller le clavier (dans ce cas vous
ne pourrez ni modifier la consigne ni le mode) ou
déverrouiller le clavier.
Pour modifier la sélection en cours, appuyez sur la
touche +, puis appuyez sur la touche MODE pour
valider et sortir du mode configuration.
Pour déverrouiller le clavier, entrez à nouveau dans
le mode configuration (appui 10 secondes sur la tou-
che MODE).
ESPAÑOL
4. Configuración
Pulse 10 segundos la tecla MODE para entrar en
modo configuración.
Una vez en configuración cada pulsación breve
sobre MODE pasa al menú siguiente.
4.1 Selección de la visualización (tabla 4.1)
Puede elegir la visualización permanente de la tem-
peratura de ambiente o de la temperatura de cons-
igna.
Para modificar la selección en curso, pulse la tecla +
y pulse la tecla MODE para validar y pasar al menú
siguiente.
4.2 Corrección de la medida de temperatura de
ambiente (tabla 4.2)
Puede modificar la medida de temperatura en + o -
5°C :
Pulse las teclas + o - para modificar por pasos de
0,5°C, y pulse la tecla MODE para validar y pasar al
menú siguiente.
4.3 Bloqueo del teclado (tabla 4.3)
Puede bloquear el teclado, en este caso no se podrá
modificar la selección establecida.
Para bloquear el teclado, pulse la tecla +, pulse la
tecla MODE para validar y salir del modo configura-
ción.
Para desbloquear el teclado, repetir la operación 4.3.
DEUTSCH
4. Konfiguration
Drücken Sie 10 Sek.lang die MODE-Taste, um auf
Konfiguration umzuschalten.
4.1 Auswahl der Anzeige (siehe 4.1)
Sie haben die Auswahl zwischen der ständigen
Anzeige der Raumtemperatur oder der Solltemperatur.
Wenn Sie die aktuelle Auswahl ändern möchten, drük-
ken Sie die + Taste und anschließend zur Bestätigung
und zum Aufrufen der nächsten Einstellung die MODE-
Taste.
4.2 Korrektur der Raumtemperaturmessung (s.
Tab. 4.2)
So ändern Sie die Temperaturmessung um bis zu +
oder - 5°C:
Drücken Sie dieTaste + oder - für eine Änderung in
0,5 °C-Schritten und anschließend zur Bestätigung und
zum Aufrufen der nächsten Einstellung die MODE-
Taste.
4.3 Sperren derTastatur (s.Tab. 4.3)
Die Tastatur lässt sich auf Wunsch sperren.Bei
gesperrter Tastatur kann weder die Solltemperatur
noch die Betriebsart geändert werden.
Wenn Sie die aktuelle Auswahl ändern möchten, drük-
ken Sie die + Taste und anschließend zur Bestätigung
und zum Verlassen des Konfigurationsmodus die
MODE-Taste.
Zur Freigabe der Tastatur rufen Sie erneut den
Konfigurationsmodus auf (10 Sek. lang die MODE-
Taste drücken).
ANGLAIS
4. Configuration
Press and hold the MODE button for 10 seconds to
enter configuration mode.
4.1 Selecting the display (table 4.1)
You can select the permanent display of the room
temperature or the set-point temperature.
To change the current selection, press the + button,
then press the MODE button to confirm and move on
to the next setting.
4.2 Correcting the room temperature
measurement (table 4.2)
You can change the temperature measurement by up
to + or - 5°C:
Press the + or - buttons to change by steps of 0.5°C,
then press the MODE button to confirm and move on
to the next setting.
4.3 Locking the keypad (table 4.3)
You can lock the keypad, in which case you cannot
change the set-point or the mode, or unlock the
keypad.
To change the current selection, press the + button,
then press the MODE button to confirm and exit the
configuration mode.
You can unlock the keypad by entering the configura-
tion mode again (pressing the MODE button for
10 seconds).
Caractéristiques - Características - Daten - Characteristics
Alimentation - Alimentación 2 piles
Alcalines - 2 alkalinebatterijen
Versorgungsspannung - Power supply 1,5 V,LR03
Classe d’isolement - Clase de aislamiento classe II
Schutzklasse - Insulation class
Régulation PI (Proportionnelle intégrale) - Regulación PI (Proporcional
integral) - Proportional-Integral (PI)-Regler -
Regulation: PI (proportional integral)
Température de stockage - Temperatura de almacenaje
Lagertemperatur - Storage temperature -10°C ➔+70°C
Température de fonctionnement -Temperatura de funcionamiento
Betriebstemperatur - Operating temperature 0°C ➔40°C
Dimensions - Dimensiones 80 x 80 x 23 mm
Abmessungen - Dimensions
Action automatique - Accíon automática type 1.C - tipo 1.C
Automatikbetrieb - Automatic action typ 1.C - type 1.C
Indice de protection - Índice de proteccíon IP30
Schutzart - Protection index
Classement au feu - Clasificación al fuego Vo
Brandklasse - Fire rating
Pollution - Polucíon Normal - Normale
Verschmutzung - Pollution Normaal
Product compliant with the requirements of directives
2004/108/EEC (electromagnetic compatibility) and
2006/95/EEC (low voltage)
4.1
4.2
4.3
Température ambiante OU
Temperaturade ambiente O
Raumtemperatur ODER
Room temperature OR
Réglage de lamesure de température de + ou- 5˚C
Ajuste de lamedidade temperaturade + o- 5˚C
Verstellung der Temperaturmessung um + oder - 5˚C
Temperature measurement adjustment of + or - 5°C
Température de consigne (affichage par défaut)
Temperaturade consigna(visualización por defecto)
Solltemperatur (Standardanzeige)
Set-point temperature (default display)
Clavier verrouillé OU
Teclado bloqueado OU
Tastatur gesperrt ODER
Keypad locked OR
Clavier déverrouillé
Teclado desbloqueado
Tastatur freigegeben
Keypad unlocked
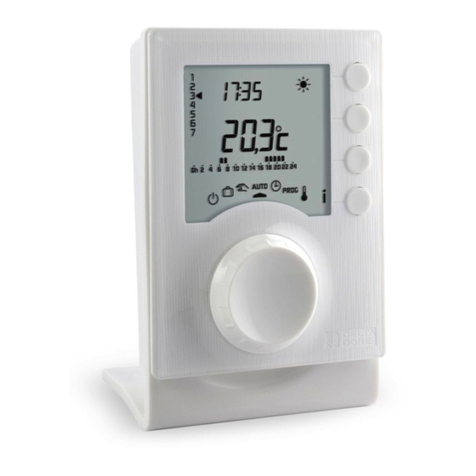
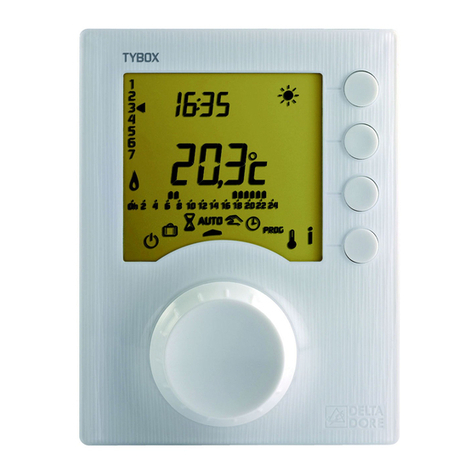
D10
Thermostat filaire pour commande de chauffage
Termostato digital filar para calefacción
Drahtgebundener Thermostat zur Heizungssteuerung
Fixed wire thermostat for heating control
España : Información : Tlf. : 93 699 65 53 / Fax.: 93 588 19 66
Web : www.deltadore.es - E-mail : [email protected]
DELTA DORE ELECTRÓNICA, S.A - C/ AntoniBorja, 13 -
Semi-sótano, local 1 y 2 - 08191 Rubí (Barcelona)
Deutschland : DELTA DORE Schlüter GmbH - Fichtenstraße
38 a - D - 76829 Landau
Telefon: 0049 7276 96690 - Telefax: 07276 502120 - Email:
info@delta-schlueter.de
France :
DELTA DORE
Bonnemain - 35270 COMBOURG
E-mail : [email protected]
Téléphone : voir sur le bon de garantie
-+
MODE
*2702006_rev1*
English :
FRANÇAIS
1. Raccordement (1)
2. Utilisation
La touche MODE permet de sélectionner les diffé-
rents modes de fonctionnement du thermostat
((2)Confort , (3) Economie , (4) Hors-gel , (5)
Arrêt ).
Pendant les modes Confort , Economie ou Hors-
gel , le thermostat affiche la température de consi-
gne en cours (pour modifier l’affichage, voir § 4.1).
Un appui bref sur les touches + ou - permet de
connaître la température ambiante, un second appui
sur les touches + ou - permet de modifier la consigne
en cours par pas de 0,5°C.
L’affichage du picto indique que le thermostat est
en demande de chauffe.
3. Remplacement des piles
Dès que le témoin d'usure des piles s'allume,
vous disposez d’un mois environ pour changer les
piles.
Ne laissez pas les piles usées séjourner dans l'appa-
reil (la garantie ne couvre pas les dégradations dues
à des piles déffectueuses).
ESPAÑOL
1. Conexión (1)
2. Utilización
El aparato se suministra preconfigurado con las tem-
peraturas de consigna de cada modo de funciona-
miento indicadas en los esquemas ((2)Confort , (3)
Economía , (4) Antihielo , (5) Paro ) y con la
visualización de la temperatura de consigna.
Para seleccionar un modo, pulse sucesivamente la
tecla MODE.
Para modificar la temperatura de consigna de un
modo, mantenga pulsadas las teclas + o -
Modificación por pasos de 0,5ºC.
Para visualizar la temperatura de ambiente (o de
consigna según configuración) pulse brevemente las
teclas + o -.
Para modificar la visualización de la pantalla entre en
modo configuración ver § 4.1.
La visualización del picto indica que el termosta-
to está activando la calefacción.
3. Cambio de las pilas
Cuando el testigo de pilas usadas se enciende,
tiene aproximadamente 1 mes para sustituirlas.
No deje las pilas usadas en el aparato (la garantía
no cubre las degradaciones debidas a pilas defectuo-
sas).
DEUTSCH
1. Anschluß (1)
2. Einsatz
Mit der MODE-Taste können Sie zwischen den
verschiedenen Betriebsarten des Thermostats wählen
((2) Komfort , (3) Sparbetrieb , (4) Frostschutz
, (5) Aus )).
Bei Komfort , Spar und Frostschutzbetrieb
zeigt der Thermostat jeweils die aktuelle
Solltemperatur an (Umstellen der Anzeige siehe 4.1).
Bei kurzem Tastendruck auf + oder - wird die
Raumtemperatur angezeigt, mit jedem weiteren
Tastendruck auf + oder - wird die aktuelle
Solltemperatur in 0,5 °C-Schritten geändert.
Das Symbol auf der Anzeige weist auf eine
Wärmeanforderung des Thermostats hin.
3. Batterien ersetzen
Wenn die Batterieanzeige leuchtet, haben Sie bis
zum Batteriewechsel noch etwa einen Monat Zeit.
Lassen Sie keine leeren Batterien im Gerät.
Durch defekte Batterien verursachte Schäden sind
von der Garantie ausgeschlossen.
ANGLAIS
1. Connection (1)
2. Use
The MODE button is used to select the different
operating modes of the thermostat ((2) Comfort ,
(3) Economy , (4) Frost protection , (5) Off ).
During the Comfort , Economy or Frost protection
modes, the thermostat displays the current
set-point temperature (to change the display,
see section 4.1).
Briefly pressing the + or - buttons will show the room
temperature, and pressing the + or - buttons a
second time changes the current set-point
temperature by steps of 0.5°C.
If the pictogram is displayed, this means that the
thermostat is in heating demand mode.
3. Replacing batteries
As soon as the battery level indicator is lit ,
you have approximately one month to change the
batteries.
Do not leave the flat batteries in the device
(the guarantee does not cover damage caused by
defective batteries).
12 4
3
+
+
1,50 m
Mini 20 cm
Installation / instalaciòn / Installations / Installation
Confort, Confort,
Komfort, Comfort
Economie, EconomÌa,
Sparbetrieb, Economy
réglable de 5 à 30˚C
einstellbar von 5 bis30˚C
adjustable from 5 to 30˚C
réglable de 5 à 30˚C
einstellbar von 5 bis30˚C
adjustable from 5 to 30˚C
Hors-gel, Antihielo,
Frostschutz, Frost protection
Arrêt, Paro,
Aus, Off
réglable de 5 à 15˚C
einstellbar von 5 bis15˚C
adjustable from 5 to 15˚C
(2)
(3)
(4)
(5)
Par souci de clarté, les schémas réalisés sont à retenir
dans leur principe. N'y figurent pas les protections et autres
accessoires exigés par les normes.
La norme UTE NF C15-100 et les règles de l'art doivent
être respectées.
Los esquemas realizados deben retenerse en su principio.
No figuran las protecciones u otros accesorios exigidos
por las normas.
La norma UTE NF C15-100 y las reglas del oficio deben
ser respetadas.
Die gezeigten Abbildungen sind der Übersichtlichkeit halber
vereinfacht. Normkonforme Schutzvorrichtungen und sonsti-
ge Zusatzausstattungen sind nicht abgebildet.
Anschluß gemäß UTE-Norm NF C15-100 und dem Stand
der Technik entsprechend.
The diagrams provided are simplified for greater clarity.
The protective units and other accessories required by the
standards are not illustrated.
Standard UTE NF C15-100 and good practice must be
complied with.
1
2
3
Commun
Commande
chauffage Sorties
2A max.
1
2
3
Común
Mando calefacción Salidas
2A máx.
1
2
3
Sammelleitung
Heizungssteuerung Ausgänge
max. 2 A
1
2
3
Common
Heating
control 2A max.
outputs
(1)

This manual suits for next models

1

Other DELTA DORE Thermostat manuals

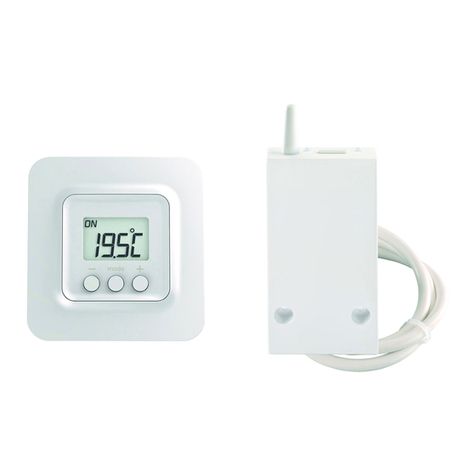
DELTA DORE D10 W RF User manual

DELTA DORE

DELTA DORE D10 W RF User manual

DELTA DORE Radio Tybox User manual

DELTA DORE

DELTA DORE Radio Tybox User manual

DELTA DORE TYBOX 610 User manual

DELTA DORE

DELTA DORE TYBOX 610 User manual

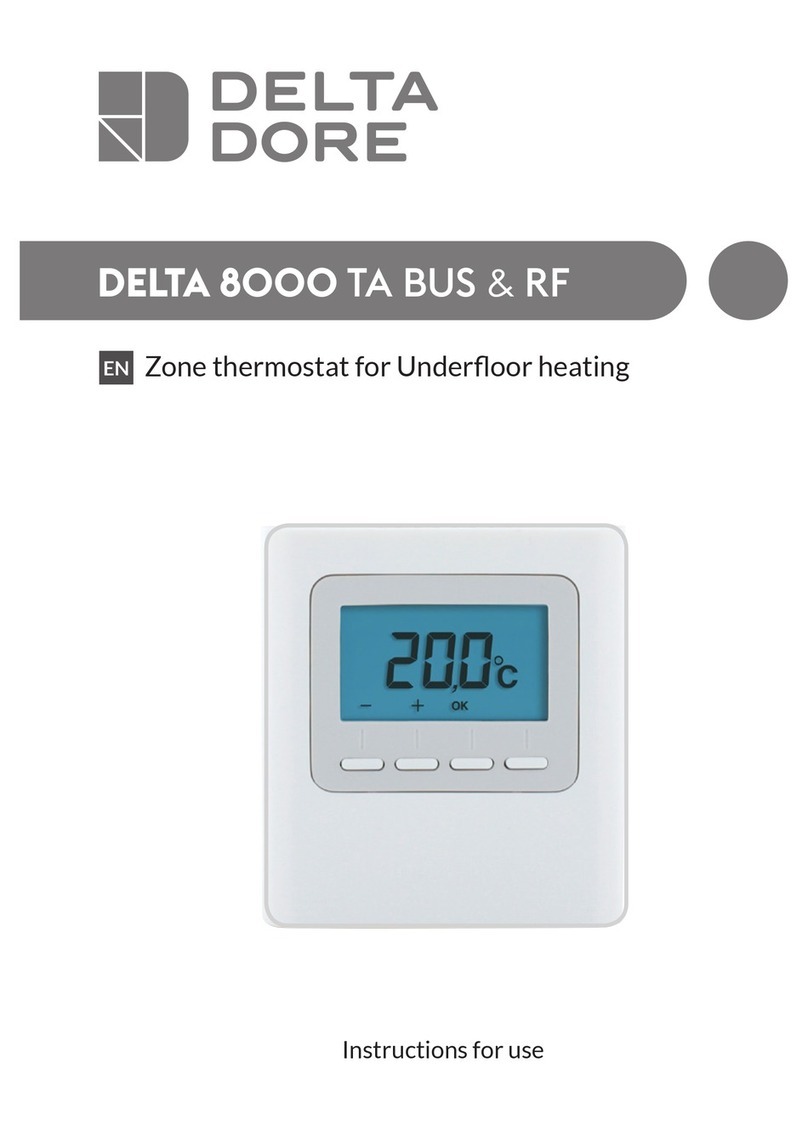
DELTA DORE DELTA 8000 TA BUS User manual

DELTA DORE

DELTA DORE DELTA 8000 TA BUS User manual

DELTA DORE TYBOX 21 User manual

DELTA DORE

DELTA DORE TYBOX 21 User manual

DELTA DORE Tybox 5300 User manual

DELTA DORE

DELTA DORE Tybox 5300 User manual

DELTA DORE D10 W RF User manual

DELTA DORE

DELTA DORE D10 W RF User manual

DELTA DORE Tybox 5701FP User manual

DELTA DORE

DELTA DORE Tybox 5701FP User manual

DELTA DORE Tybox 137 User manual

DELTA DORE

DELTA DORE Tybox 137 User manual

DELTA DORE DRIVER 610 User manual

DELTA DORE

DELTA DORE DRIVER 610 User manual

DELTA DORE Tybox 5701 FP User manual

DELTA DORE

DELTA DORE Tybox 5701 FP User manual

DELTA DORE PACK TYBOX 5000 User manual

DELTA DORE

DELTA DORE PACK TYBOX 5000 User manual

DELTA DORE TYBOX User manual

DELTA DORE

DELTA DORE TYBOX User manual

DELTA DORE DELTA 8000 TAP BUS User manual

DELTA DORE

DELTA DORE DELTA 8000 TAP BUS User manual

DELTA DORE TYBOX 817 W RF User manual

DELTA DORE

DELTA DORE TYBOX 817 W RF User manual

DELTA DORE 6053038 User manual

DELTA DORE

DELTA DORE 6053038 User manual

DELTA DORE TYBOX 21 User manual

DELTA DORE

DELTA DORE TYBOX 21 User manual

DELTA DORE 6050675 User manual

DELTA DORE

DELTA DORE 6050675 User manual

DELTA DORE DELTA 8000 MASTER User manual

DELTA DORE

DELTA DORE DELTA 8000 MASTER User manual

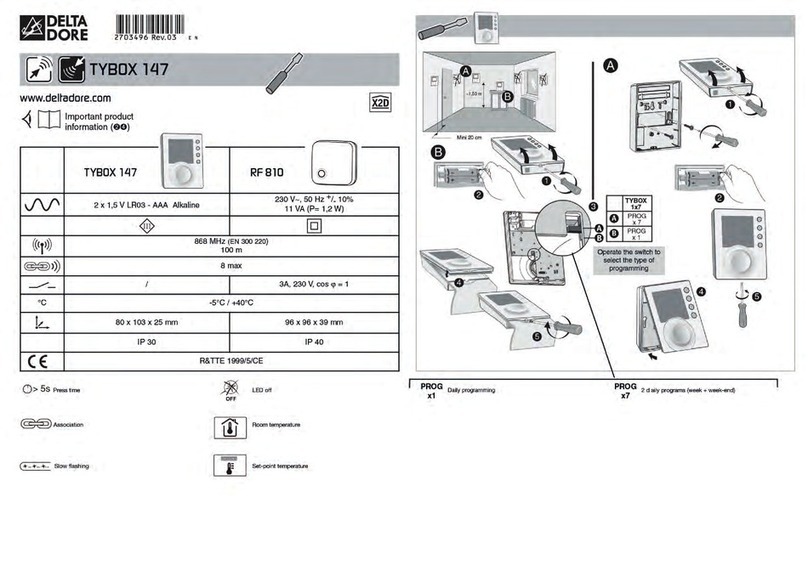
DELTA DORE TYBOX 147 User manual

DELTA DORE

DELTA DORE TYBOX 147 User manual

DELTA DORE Tybox 5701FP User manual

DELTA DORE

DELTA DORE Tybox 5701FP User manual

DELTA DORE Tybox 1117 User manual

DELTA DORE

DELTA DORE Tybox 1117 User manual

DELTA DORE MINOR 11 User manual

DELTA DORE

DELTA DORE MINOR 11 User manual

DELTA DORE DRIVER 620 User manual

DELTA DORE

DELTA DORE DRIVER 620 User manual

Popular Thermostat manuals by other brands

Roth Minishunt Installation

Roth

Roth Minishunt Installation

S+S Regeltechnik FST-3 Operating Instructions, Mounting & Installation

S+S Regeltechnik

S+S Regeltechnik FST-3 Operating Instructions, Mounting & Installation

Honeywell T6360 installation instructions

Honeywell

Honeywell T6360 installation instructions

Tekmar 308 Data brochure

Tekmar

Tekmar 308 Data brochure

Uponor SetPoint 501 Installation and operation manual

Uponor

Uponor SetPoint 501 Installation and operation manual

White Rodgers 90 SERIES Installation &  configuration guide

White Rodgers

White Rodgers 90 SERIES Installation & configuration guide

Honeywell TC300 Integration guide

Honeywell

Honeywell TC300 Integration guide

Viega 15118 Product instructions

Viega

Viega 15118 Product instructions

Zonex 101PROG installation guide

Zonex

Zonex 101PROG installation guide

Daikin TSTATD1152-2 owner's manual

Daikin

Daikin TSTATD1152-2 owner's manual

AURATON 2100 TX manual

AURATON

AURATON 2100 TX manual

Watts Radiant 519 Installation & operation manual

Watts

Watts Radiant 519 Installation & operation manual

Nortek Security & Control 2GIG Z-Wave Plus 2GIG-STZ-1 user guide

Nortek Security & Control

Nortek Security & Control 2GIG Z-Wave Plus 2GIG-STZ-1 user guide

White Rodgers 1F86-0244 Installation and operating instructions

White Rodgers

White Rodgers 1F86-0244 Installation and operating instructions

Gewiss GW 16 971CB installation manual

Gewiss

Gewiss GW 16 971CB installation manual

meitav-tec FMH-220-HP11-3S-IR owner's manual

meitav-tec

meitav-tec FMH-220-HP11-3S-IR owner's manual

ES ANASOL quick start guide

ES

ES ANASOL quick start guide

Siemens RDF510.2 manual

Siemens

Siemens RDF510.2 manual

manuals.online logo
manuals.online logoBrands
  • About & Mission
  • Contact us
  • Privacy Policy
  • Terms and Conditions

Copyright 2025 Manuals.Online. All Rights Reserved.