manuals.online logo
Brands
  1. Home
  2. •
  3. Brands
  4. •
  5. DELTA DORE
  6. •
  7. Thermostat
  8. •
  9. DELTA DORE TYBOX User manual

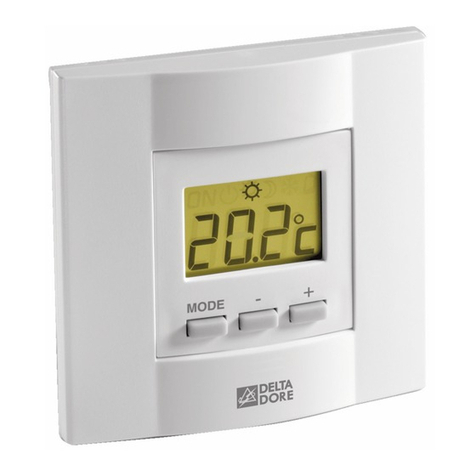
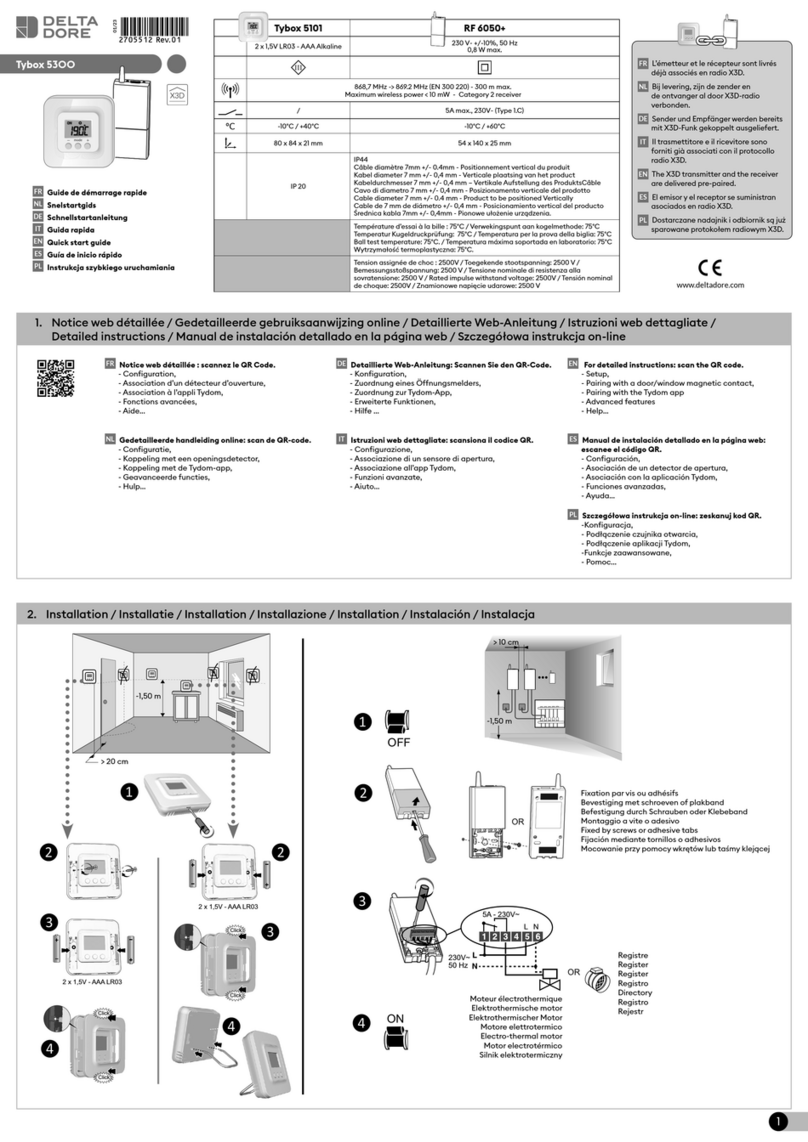
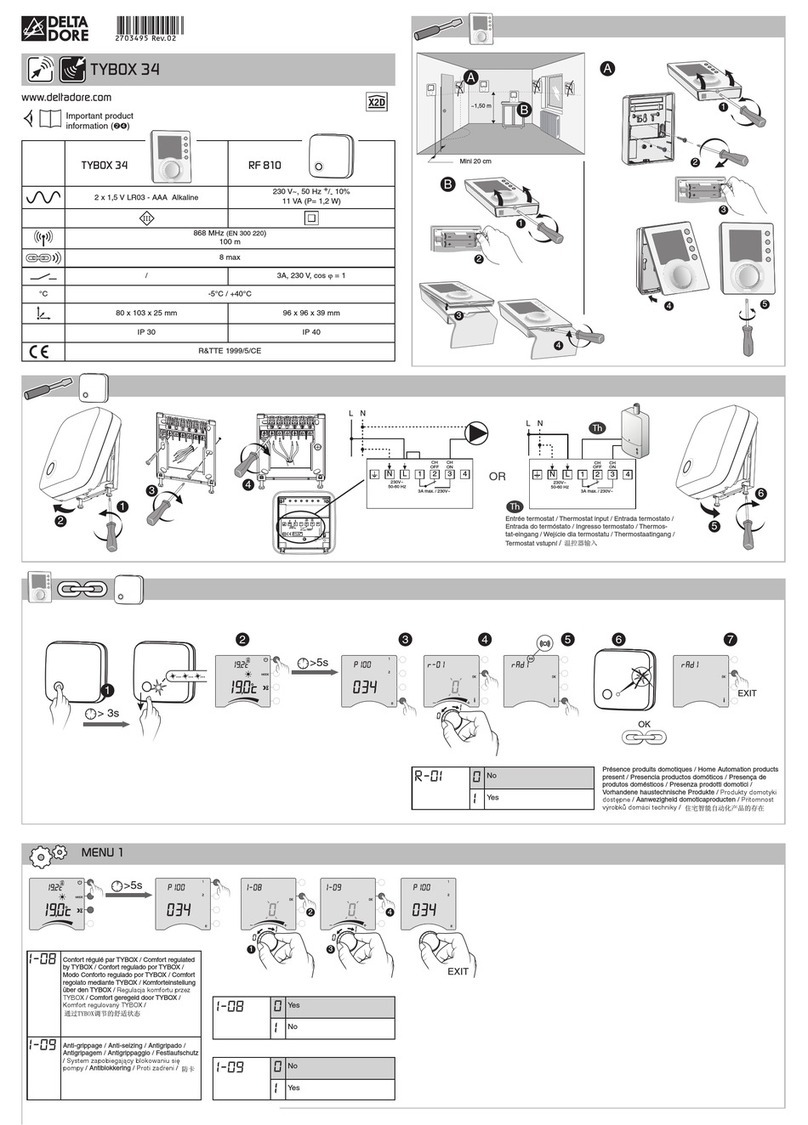
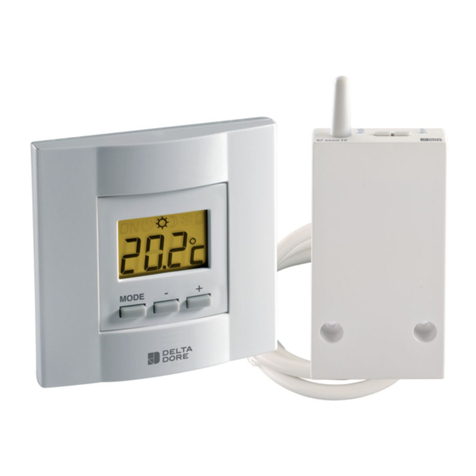
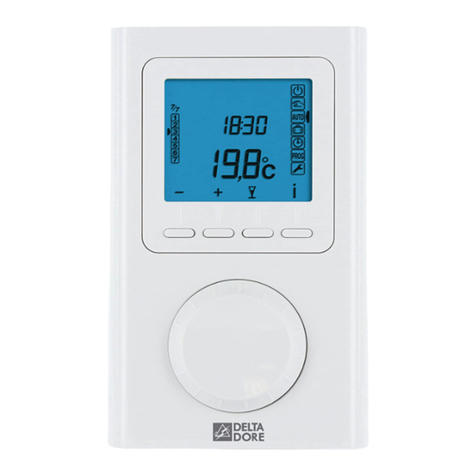
DELTA DORE TYBOX User manual

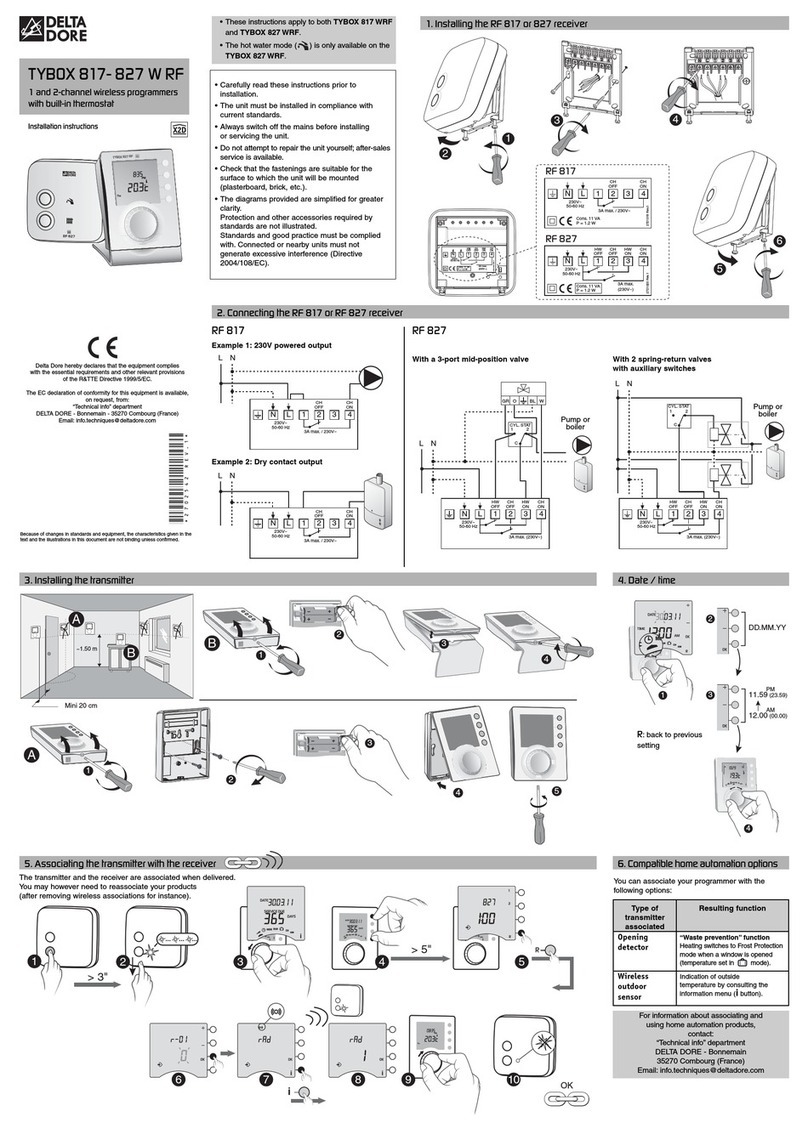
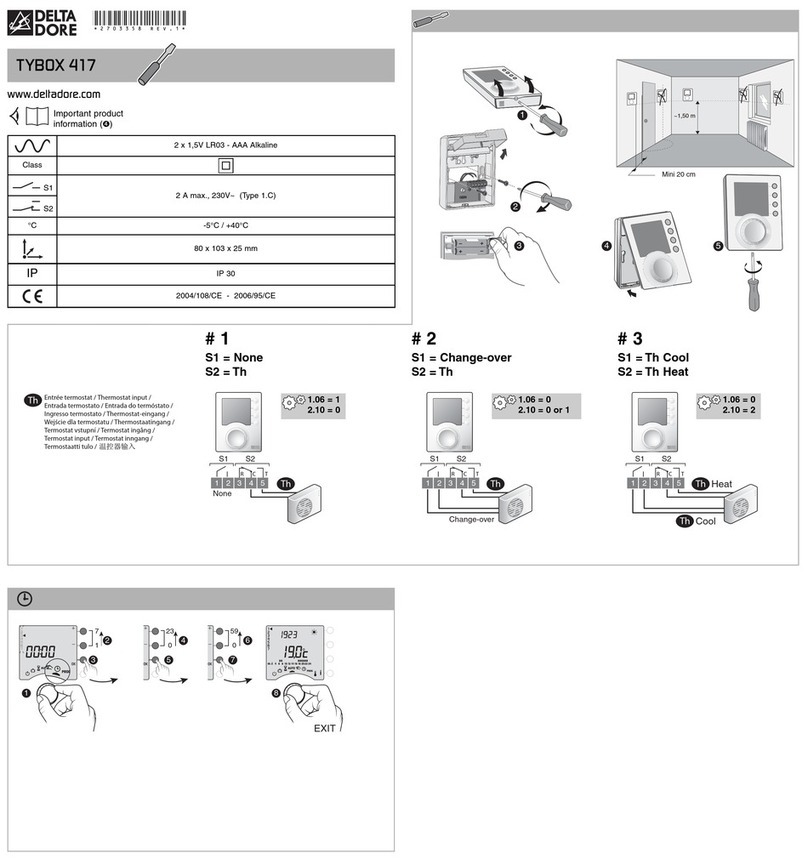
• Carefully read these instructions prior to installation.
• Do not attempt to repair the unit yourself;
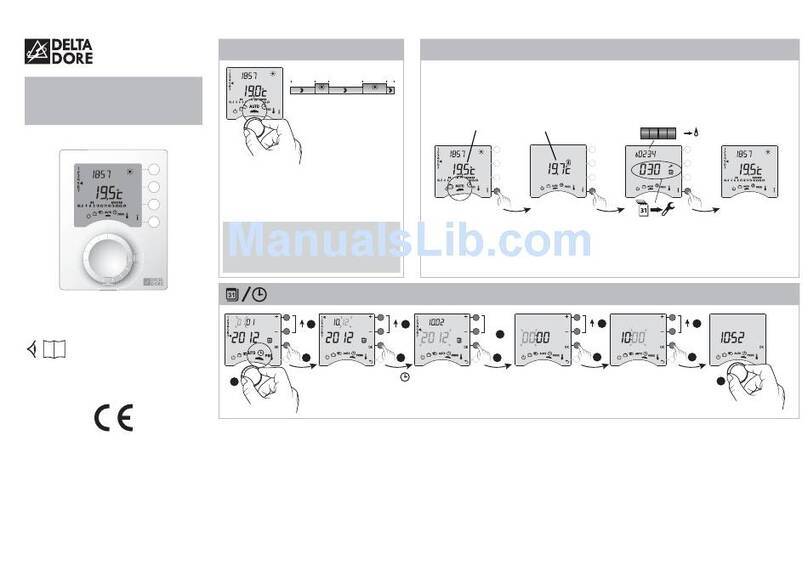
after-sales service is available. Turn the selector dial to AUTO.
Your thermostat will function according to the program.
NOTE:
According to the configuration during installation,
your unit will continuously display the set-point
temperature or the temperature of the room.
To change these settings, refer to the installation
section of these instructions, or contact our customer
service department or your installer.
In automatic mode, override is used to go from
Comfort to Setback mode (or conversely) until
the next program change.
6h 8h 0h0h 17h15h30 23h
This mode is used to choose a set-point temperature
that remains constant.
Turn the selector dial to .
To exit this mode, turn the selector dial.
This thermostat lets you program your heating system
to Comfort or Setback mode.
1. Presentation
2. Automatic mode
4. Timer mode 5. Continuous mode 6. Absence mode
3. Override
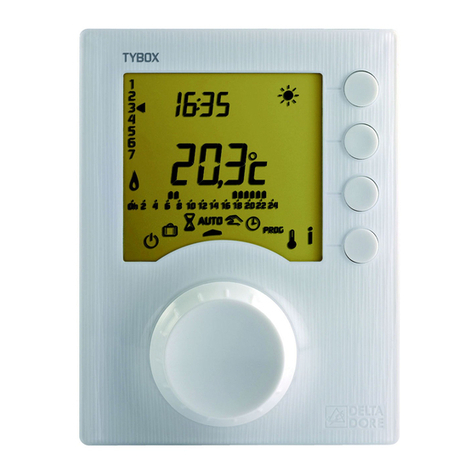
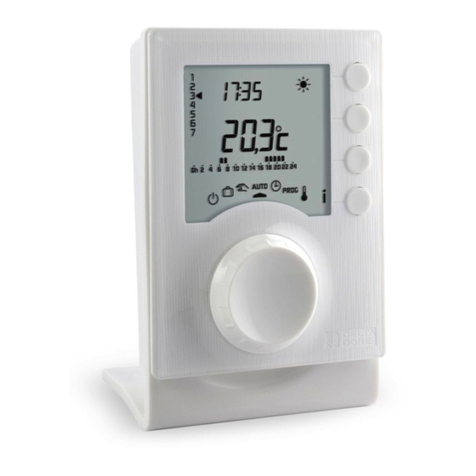
TYBOX
TYBOX
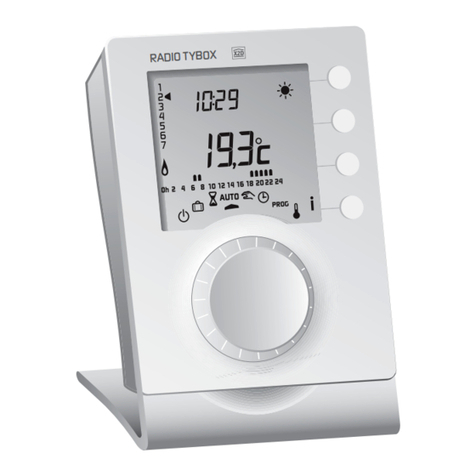
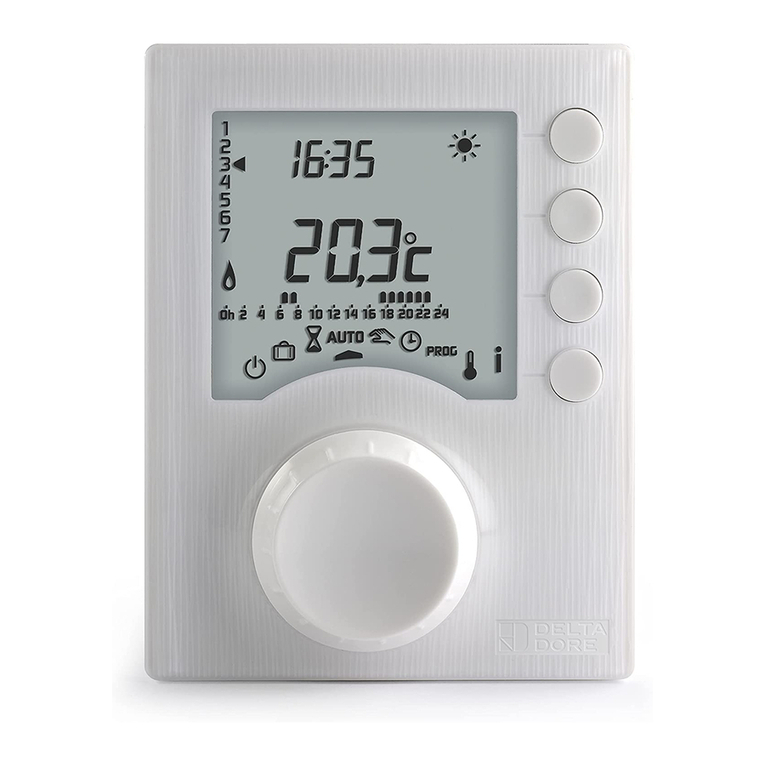
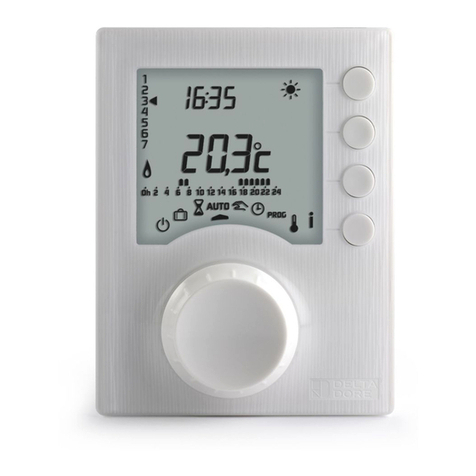
Daily/weekly programmable thermostat
User guide
Selector dial
position
Modification
buttons
Time
Current day
Example: it is 15:30 and you would like to switch to
Comfort mode before the set time (17:00).
Current day programming
Press the override
button.
Override
currently
active
Confirm Confirm
Confirm
Change of the
set-point temperature
Set-point
temperature
Confirm
Adjustment of the set-point
temperature (from 5 to 30°C)
Adjustment of the duration from 15
minutes to 72 hours (in increments
of 15 minutes) Choice of set-point
temperature (from 5 to
30°C)
Return to AUTO mode
at the end of the
countdown
At 17:00, the program will
return to its usual program.
To cancel the current override,
press the button once more.
Room
temperature
Current day
programming
Current mode
Display in automatic mode
Override
Information
button
Selector
dial
Shutdown mode
Absence mode
Timer mode
Automatic mode
Continuous mode
Time setting
Programming
Set-point temperature
adjustment
This mode is used to choose a set-point temperature for
a given amount of time.
Turn the selector dial to .
To make changes to the
current mode, press OK
once more. in corso, premete
nuovamente sul tasto OK.
To cancel the current timer
mode,turn the selector dial.
To make changes to the current
mode, press OK once more.
To cancel the current timer mode,
turn the selector dial.
This mode lets you place your home under
FrostProtection if you need to leave for several days.
Turn the selector dial to .
Adjustment of the number of days
(1 to 365)
Example: for a departure on 1 March
and a return on 16 March, program 15
days of absence.Automatic operation
will resume on 16 Marchat midnight.
Adjustment of the set-point
temperature (from 5 to 15°C)
Confirm and start the
calendar countdown.
Return to AUTO mode
at the end of the
countdown
Delta Dore hereby declares that the equipment complies
with the essential requirements and other relevant provi-
sions of the R&TTE Directive 2004/108/CE
(Electromagnetic Compatibility) and 2006/95/EC
(Low Voltage safety).
The EC declaration of conformity for this equipment is
available, on request, from:
"Technical information" department
DELTA DORE - Bonnemain - 35270 Combourg (France)
E-mail : info[email protected]
Because of changes in standards and equipment, the characteristics given in the text
and the illustrations of this document are not binding unless confirmed by our services.
*2702543_Rev.1*
This mode shuts down your heating system.
Turn the selector dial to .
To exit this mode, turn the
selector dial.
Turn the selector dial to .
The days flash.
Press + or - to change the day, then press OK
to confirm and continue on to the next setting.
Repeat the operations to set the hours and minutes.
To leave the “setting the time” mode, turn the selector
dial.
Turn the selector dial to PROG.
The default program is a Comfort period from 6:00
to 23:00.
1. Create your program
Programming starts on day 1 at midnight.
Press the or buttons to create different Setback
or Comfort periods.
2. Confirm and copy the program
Press and hold the OK button for 3 seconds to
confirm the program you created and copy it to the
next day.
OR
3. Confirm the program
Press the OK button to confirm and continue on
to the next day to program it separately.
4. Check your program
Press the button repeatedly to check the accuracy
of the Comfort and Setback periods you created.
Press OK to check the next day.
To exit the mode, turn the selector dial to another
mode.
COMMENTS: Depending on the configuration made
during installation, programming can be weekly or
daily. Likewise, this programming may be done in
increments of one hour, 30 minutes, or 15 minutes.
To change these settings, refer to the installation
section of these instructions, or contact our customer
service department or your installer.
In AUTO mode, pressing the iibutton gives you the
temperature of the room or the set-point temperature
according to the installation configuration.
Nothing is displayed on the room unit screen.
There is no power supply or batteries.
Check your circuit breaker or your batteries
The unit is in time setting mode.
There was a mains disruption that lasted more than 2 hours.
Set the time. All other settings have remained unchanged.
When setting the time,there is no option to set the day.
You are in daily programming.
To switch to weekly programming, refer to the installation
section of these instructions, or contact your installer or our
customer service department.
When creating a program,the and symbols do
not appear on the screen.
Changing programs is not allowed.
Refer to the installation section of these instructions, or
contact your installer or our customer service department.
The temperature displayed does not match the
temperature measured in the room (thermometer).
Refer to the installation section of these instructions or
contact your installer or our customer service department.
The programs cannot be modified and set-point
temperature adjustment is limited (Comfort:16 to 22°C,
Setback:13 to 19°C, Frost Protection:5 to 11°C)
Refer to the installation section of these instructions or
contact your installer or our customer service department.
Your heating system is in Frost-Protection mode.
The thermostat is in ,
,PROG o
position.
- Ensure that the +/- polarities are correctly placed
when the battery is fitted into the unit.
- Do not dispose of used batteries in unauthorized
places (you should respect the environment by
taking the batteries to a suitable collection site).
- Do not recharge the batteries.
- You have approximately 30 seconds to change
the batteries before the time is reset to zero
(if this happens, reset the date and time).
When the battery level symbol
appears, you have around
1 month to change the batteries
(two 1.5 V alkaline batteries,
LR03 or AAA).
The following precautions must be respected:
12
3 4
7. Shutdown mode
9. Setting the time
10. Programming
10. Programming 11. Information button 12. Replacing batteries (version TYBOX 710-713) 13. Troubleshooting
8. Set-point Temperature Setting
Room
temperature Configuration menu
access button
(press and hold for
5 seconds)
Adjustment of the Comfort
set-point temperature (from 5
to 30°C in increments of 0.5°C)
Confirm switch to Setback
temperature setting
Confirm
Adjustment of the Setback
set-point temperature (from 5 to
30°C)
Set-point temperature display
Battery level symbol
Separate the thermostat
from its
support
Replace the batteries,
making sure they are
the right way round
Lock the thermostat
Position the thermostat
on its base
Return to normal display
(automatic after 2 minutes)
Minutes
Hours
Days
(1: Monday…
7: Sunday) Day
1st time slot
Time slot
consulted
Verification of the
different or
periods
Program
profile
Comfort period
adjustment
Setback period
adjustment
If your thermostat displays the temperature of the room
6h 8h 0h0h 17h 23h
E.g. Comfort from 6:00 to 8:00 and from 17:00 to 23:00
Press and hold
until you reach 06:00
Press and hold
until you reach 17:00
Press and hold
until you reach 00:00
Copy and confirm
or simply confirm
Press and hold
until you reach 23:00
Press and hold
until you reach 08:00

Other DELTA DORE Thermostat manuals

DELTA DORE TYBOX 21 User manual

DELTA DORE

DELTA DORE TYBOX 21 User manual

DELTA DORE D10 User manual

DELTA DORE

DELTA DORE D10 User manual

DELTA DORE Tybox 137+ User manual

DELTA DORE

DELTA DORE Tybox 137+ User manual

DELTA DORE Tybox 117+ User manual

DELTA DORE

DELTA DORE Tybox 117+ User manual

DELTA DORE TYBOX 117 User manual

DELTA DORE

DELTA DORE TYBOX 117 User manual

DELTA DORE CALYBOX 110 User manual

DELTA DORE

DELTA DORE CALYBOX 110 User manual

DELTA DORE 6050675 User manual

DELTA DORE

DELTA DORE 6050675 User manual

DELTA DORE D10 W RF User manual

DELTA DORE

DELTA DORE D10 W RF User manual

DELTA DORE PACK TYBOX 5000 User manual

DELTA DORE

DELTA DORE PACK TYBOX 5000 User manual

DELTA DORE Tybox 137 User manual

DELTA DORE

DELTA DORE Tybox 137 User manual

DELTA DORE Tybox 1117 User manual

DELTA DORE

DELTA DORE Tybox 1117 User manual

DELTA DORE TYBOX 5100 User manual

DELTA DORE

DELTA DORE TYBOX 5100 User manual

DELTA DORE TYBOX 5100 User manual

DELTA DORE

DELTA DORE TYBOX 5100 User manual

DELTA DORE TYBOX 610 User manual

DELTA DORE

DELTA DORE TYBOX 610 User manual

DELTA DORE TYBOX BUS OT User manual

DELTA DORE

DELTA DORE TYBOX BUS OT User manual

DELTA DORE DRIVER 230 CPL User manual

DELTA DORE

DELTA DORE DRIVER 230 CPL User manual

DELTA DORE DELTA 8000 TAP BUS User manual

DELTA DORE

DELTA DORE DELTA 8000 TAP BUS User manual

DELTA DORE TYBOX PAC User manual

DELTA DORE

DELTA DORE TYBOX PAC User manual

DELTA DORE TYBOX 21 User manual

DELTA DORE

DELTA DORE TYBOX 21 User manual

DELTA DORE Tybox 5701FP User manual

DELTA DORE

DELTA DORE Tybox 5701FP User manual

DELTA DORE TYBOX 5150 User manual

DELTA DORE

DELTA DORE TYBOX 5150 User manual

DELTA DORE DELTA 8000 MASTER User manual

DELTA DORE

DELTA DORE DELTA 8000 MASTER User manual

DELTA DORE TYBOX 21 User manual

DELTA DORE

DELTA DORE TYBOX 21 User manual

DELTA DORE DELTA 8000 TAP RF User manual

DELTA DORE

DELTA DORE DELTA 8000 TAP RF User manual

Popular Thermostat manuals by other brands

Sencor SDC 1200 user manual

Sencor

Sencor SDC 1200 user manual

Levoit Aura Sensor user manual

Levoit

Levoit Aura Sensor user manual

Honeywell FocusPRO TH5000 Series installation guide

Honeywell

Honeywell FocusPRO TH5000 Series installation guide

Aube Technologies TH106 owner's manual

Aube Technologies

Aube Technologies TH106 owner's manual

resideo Honeywell Home PRO TH1000E1 Series installation guide

resideo

resideo Honeywell Home PRO TH1000E1 Series installation guide

Mohlenhoff Alpha Thermostat AR 2010 C2 technical information

Mohlenhoff

Mohlenhoff Alpha Thermostat AR 2010 C2 technical information

ritetemp 6022 Operation guide

ritetemp

ritetemp 6022 Operation guide

JUMO ATH.-SE Series operating manual

JUMO

JUMO ATH.-SE Series operating manual

Venstar T1100FS installation instructions

Venstar

Venstar T1100FS installation instructions

Copeland TSTAT TS4275 Series Installation and operating instructions

Copeland

Copeland TSTAT TS4275 Series Installation and operating instructions

Siemens REV17 Series operating instructions

Siemens

Siemens REV17 Series operating instructions

TemperZone TZT-100 Installer manual

TemperZone

TemperZone TZT-100 Installer manual

Siemens Powers ET 134 Technical instructions

Siemens

Siemens Powers ET 134 Technical instructions

White Rodgers 1F91-71 Operation guide

White Rodgers

White Rodgers 1F91-71 Operation guide

XCI Controls TrueTouch TSZ-2 instruction manual

XCI Controls

XCI Controls TrueTouch TSZ-2 instruction manual

CEWAL MITHOS BT user manual

CEWAL

CEWAL MITHOS BT user manual

Jaga RDG100 operating instructions

Jaga

Jaga RDG100 operating instructions

ESI ESRTM User instructions

ESI

ESI ESRTM User instructions

manuals.online logo
manuals.online logoBrands
  • About & Mission
  • Contact us
  • Privacy Policy
  • Terms and Conditions

Copyright 2025 Manuals.Online. All Rights Reserved.