manuals.online logo
Brands
  1. Home
  2. •
  3. Brands
  4. •
  5. DELTA DORE
  6. •
  7. Thermostat
  8. •
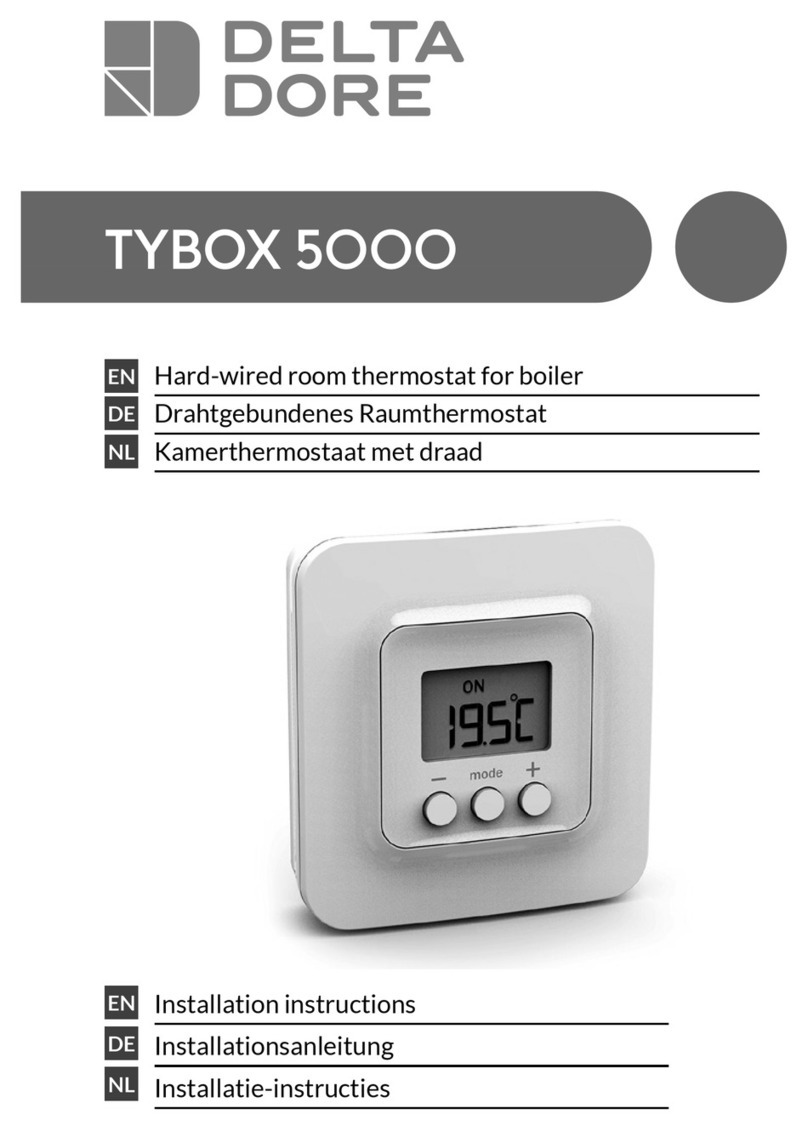
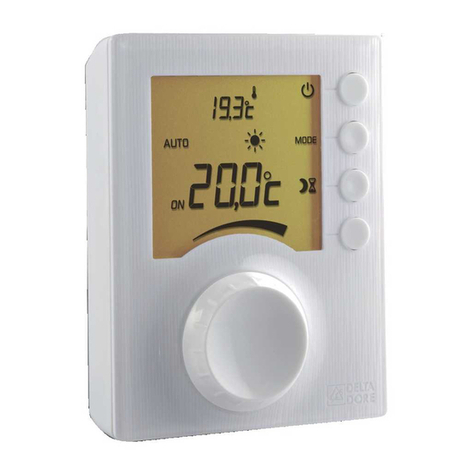
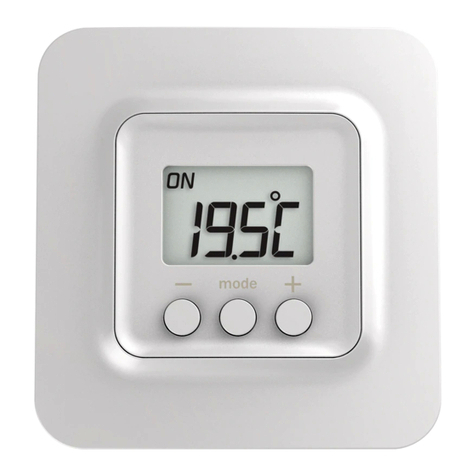
  9. DELTA DORE TYBOX User manual

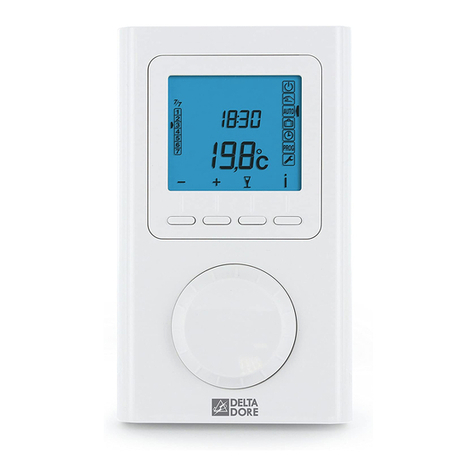
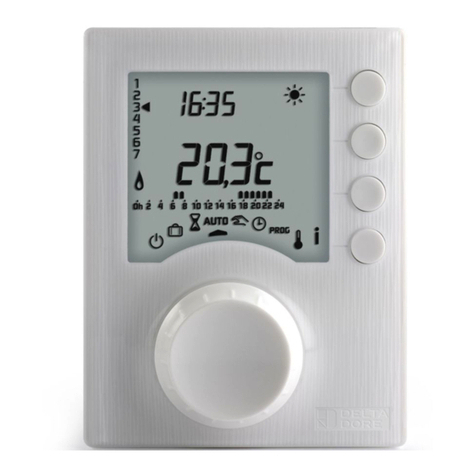
DELTA DORE TYBOX User manual

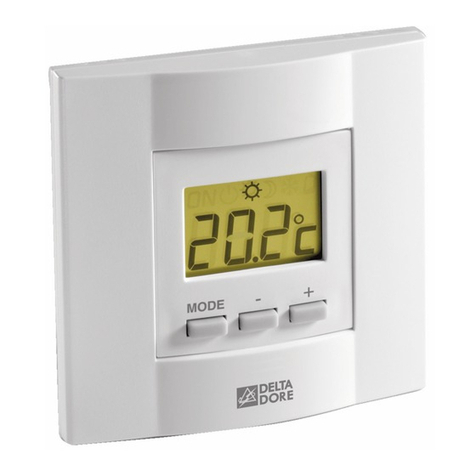
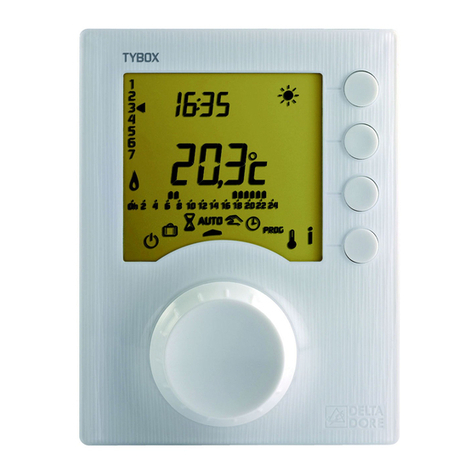
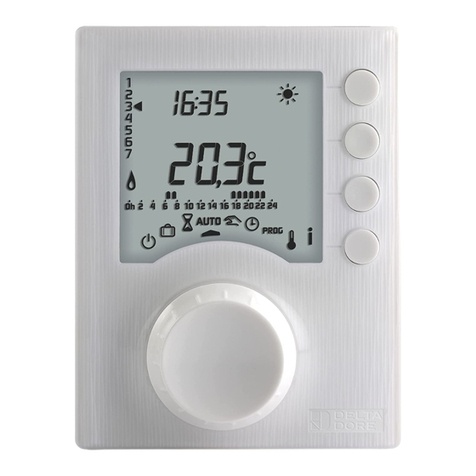
TYBOX
• Carefully read these instructions prior to
installation.
• The unit must be installed in compliance with
currently applicable standards.
• Always switch off the mains before installing or
servicing the unit.
• Do not attempt to repair the unit yourself;
after-sales service is available.
• Check that the fastenings are suited to the
surface that the unit will be attached to (sheet
of plaster, brick, etc.).
• The diagrams provided are simplified for greater
clarity.The protective units and other accessories
required by the standards are not illustrated.
Standard UTE NF C15-100 and good practice
must be complied with. Connected or nearby
equipment must not generate excessive
interference (directive 2004/108/EEC).
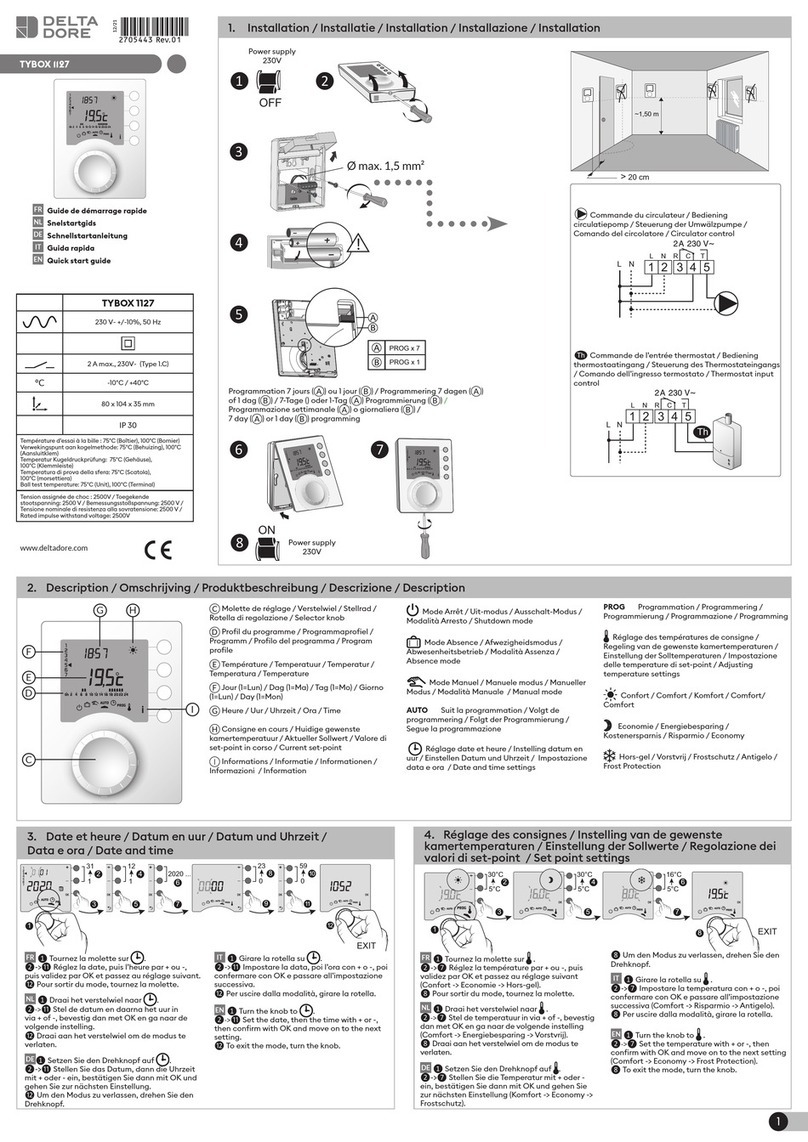
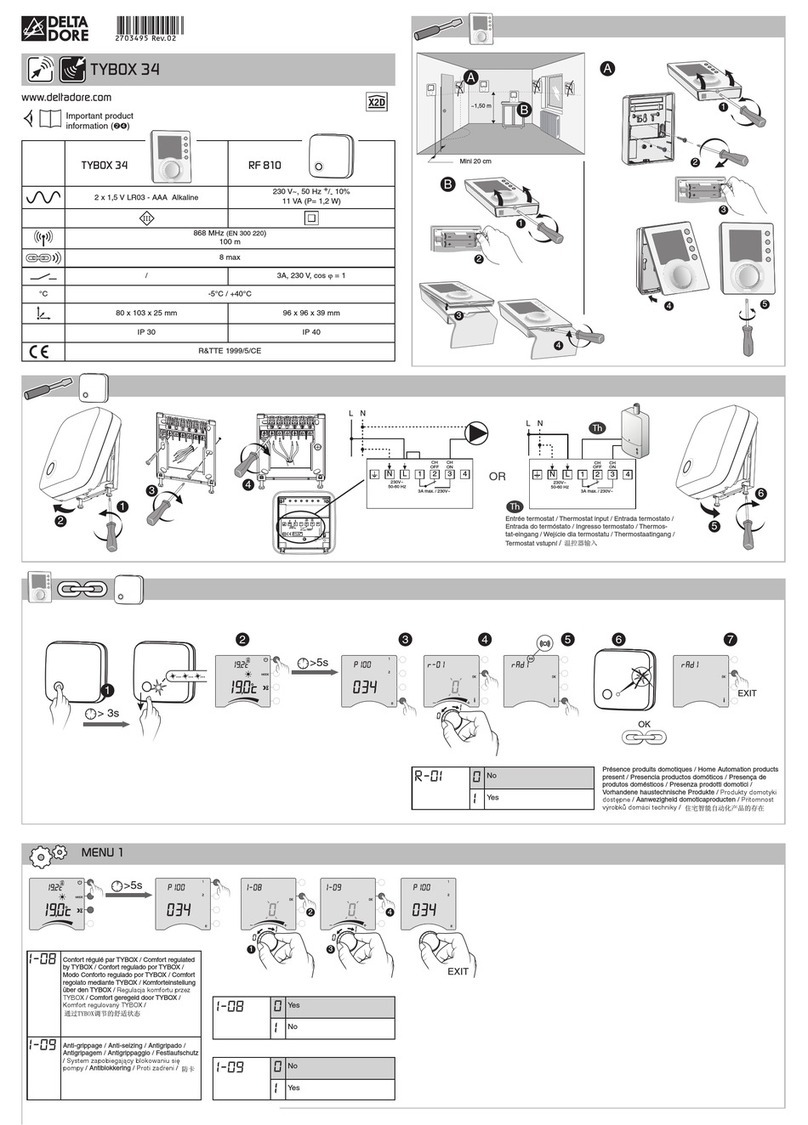
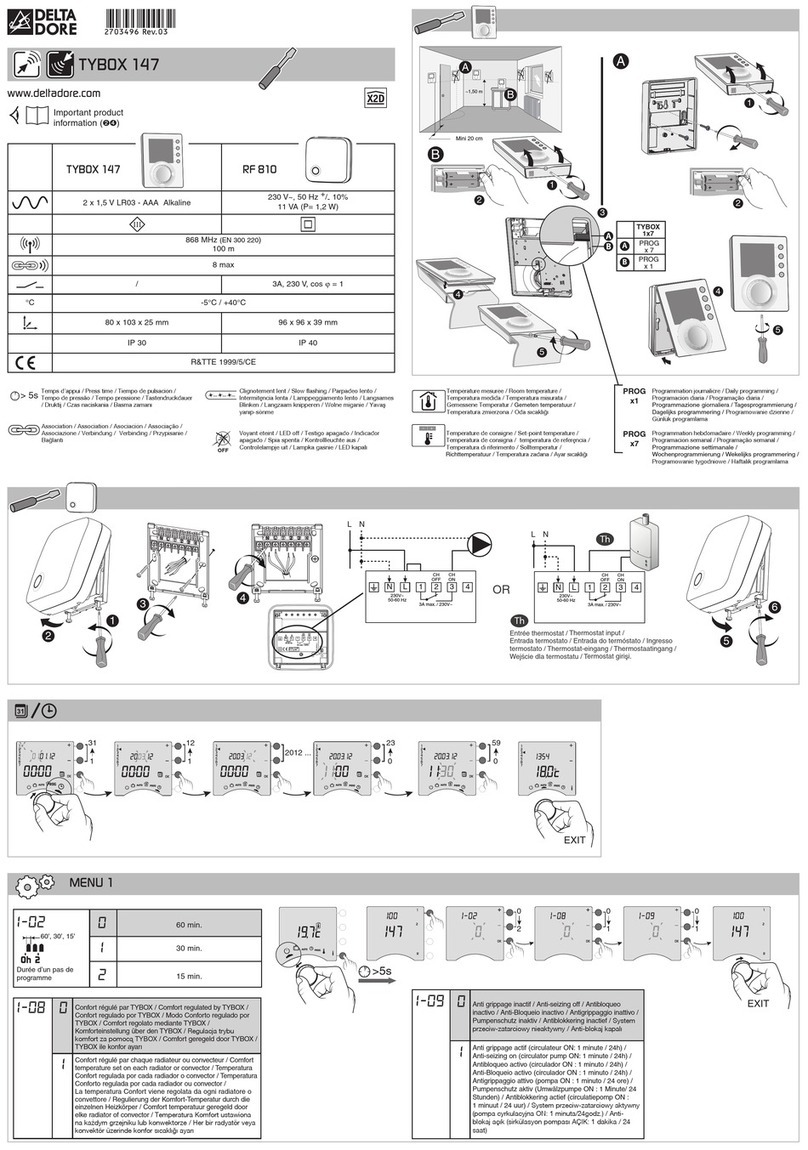
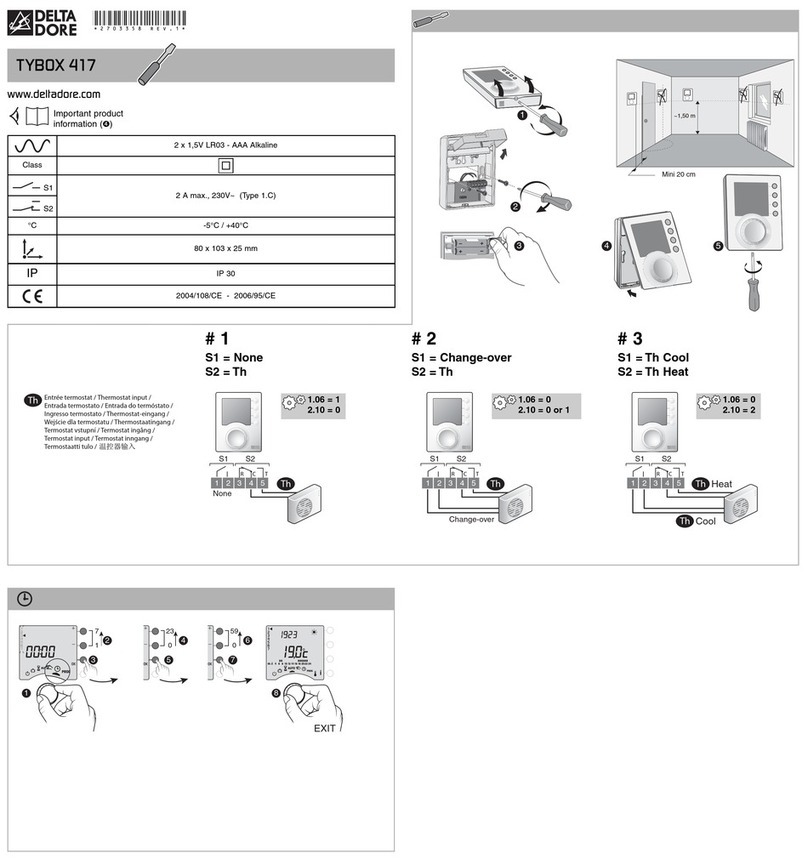
The room unit must be installed at
a height of approximately 1.5 m,
so that it is within arm's reach for
ease of use. Remove the batteries'
protective tabs (only for
the TYBOX battery version).
To mount the unit on the wall,
it must be separated from its
support.
To do so, unlock the casing, then separate
the thermostat from its base.
Unscrew the terminal box
cover and lift it up as high as it
will go to block it, then
position the base on the wall
running the wires out through
the hole in the cover.
Secure the base using suitable
screws and screw anchors or
fit onto a flush-mounted box
(distance between centres 60 mm).
Connect the control wires.
Close the box and fully tighten the terminal box cover
screw.
1. Room unit mounting
Esempio: versione a batterie.
2. Connection
Wet heating system with thermostat input
or replacement of a 2-wire thermostat
NL
NL
If necessary, remove the
shunt (electric wire)
connecting the two
thermostat input terminals.
If the heating system has
a clock input, do not
mistake it for the
thermostat input.
Heating system with no thermostat input
NL
NL
NL
If the old thermostat is
earthed (green/yellow
wire) or has an
anticipator, remove
the corresponding
wire.
NL
NL
If the boiler
does not have a
thermostat input,
you can directly
control the
circulator pump.
Electric Convectors
A1
A2
NL
NL
Important :
Certain contactors generate interference which may
affect the thermostat's operation.
Where this happens, it is advisable to connect a 230V
RC auxiliary anti-interference device to the terminals of
the contact switch coil(see manufacturer's catalogue).
To control electrical convectors, you MUST use a
power contact switch that is suitable for the total
power to be controlled.
Replacement of a 3-wire thermostat
Technical characteristics
Battery version
• Powered by 2 x LR03 or AAA batteries (supplied)
• Clock save: 30 seconds
Mains version
• 230 V, 50 Hz power supply, ±10%
• Power consumption: 2 VA
• Clock back-up in event of mains outage:
1 hour (by capacitor)
• 2A / 230V output
• Dimensions: WxHxD = 80 x 103 x 25 mm
• Protection index: IP 30
• Install in an environment with normal pollution
levels
• Storage temperature: -10°C to +70°C
• Operating temperature: 0°C to +40°C
• Type 1C brownout
• Class II insulation
TYBOX
Daily/weekly programmable thermostat
Installation guide
Battery version
Thermostat
input
example: boiler
Convectors
Contact
switch
Thermostat
input
example: boiler
Mains version
Battery version Mains version
Battery version
old thermostat’s
wire wire to be removed :
- anticipator
- earthed
(green/yellow wire)
old thermostat’s
wire
Mains version
Example of a boiler
terminal box
do not mistake for the
clock input (on some
boiler models)
remove the
shunt
wires to be connected
tothe thermostat
Delta Dore hereby declares that the equipment complies
with the essential requirements and other relevant provi-
sions of the R&TTE Directive 2004/108/CE
(Electromagnetic Compatibility) and 2006/95/EC
(Low Voltage safety).
The EC declaration of conformity for this equipment is
available, on request, from:
"Technical information" department
DELTA DORE - Bonnemain - 35270 Combourg (France)
E-mail : info.techniques@deltadore.com
Because of changes in standards and equipment, the characteristics given in the text
and the illustrations of this document are not binding unless confirmed by our services.
*2702022_Rev.2*
To go to the configuration menus:
turn the selector dial to
, then press and hold
the ibutton for 5
seconds.
The unit will propose 2 configurations to choose
from:
4. Configuration
After each menu has been
configured, the unit returns
to the choice of menus.
To exit the onfiguration,
turn the selector dial to the
right.
5. Basic configurations (menu 1)
Press button 1,
To change the various settings, press the + or - but-
tons, then press OK to confirm the change and go to
the next setting.
With electric heating or hot water heater with
thermostatic valve, the Comfort temperature can be
provided by adjusting the thermostat of each radiator.
In this case, only Setback and Frost Protection
temperatures are set by the TYBOX.
Menu available only inTYBOX 711
Returning to the factory configuration is possible for
each of the menus.Turn the selector dial to , then
press and hold the ibutton for 5 seconds.
Follow the same steps for the other menus.
To exit the mode, turn the selector dial to another
mode.
7. Return to the factory configuration
8. Summary table of configurations
1-01 Type of program
0 = weekly 1 = daily
1-02 Programming increments
0 = 1 hour 1 = 30 minutes 2 = 15 minutes
1-08 Controlling the Comfort temperature
0 = controlled by the TYBOX
1 = by each radiator or convector
1-09 Circulator pump anti-seizing
0 = off 1 = on
2-01
Modification authorization
0 = program and settings may be changed
1 = program not modifiable and set-point temperature
settings limited (Comfort:16 to 22°C, Setback:13
to 19°C, Frost Protection:5 to 11°C)
2-02 Correction of the temperature measured
by -5°C to +5°C in increments of 0.1°C
2-04 Automatic mode temperature display option
0 = Set-point temperature display
1 = Room temperature display
2-09
(Menu available only in TYBOX 711)
Contact type for control
0 = NO contact
1 = NC contact
To change the various settings, press the + or - buttons,
then press OK to confirm the change and go to
the next setting.
6. Advanced configurations (menu 2)
Press button 2.If there is a difference between the temperature noted
(thermometer) and the temperature measured and
displayed by the unit, function 2-02 modifies the way
the probe takes measurements so as to compensate
for this difference. Example:
If the temperature displayed
by the unit is 19°C and
the temperature measured
is 20°C, add 1°C to the
display and confirm by
pressing OK.
Important:
In order to change this setting, the unit has to have
been running for at least 2 hours beforehand.
When you turn the unit on for the first time, you will
need to set the time.
Turn the selector dial to .
The days flash.
Press + or - to change the day, then press OK
to confirm and continue on to the next setting.
Repeat the operations to set the hours and minutes.
To leave the “setting the time” mode, turn the selector
dial.
3. Starting up - Setting the time
2-01
Modification
authorization for
the user
0Program and set-point (from 5 to
30°C) modification authorized
1Program and set-point setting
modification unauthorized
(Comfort: 16 to 22°C,
Setback: 13 to 19°C,
Frost Protection:5 to 11°C)
2-04
Automatic mode
temperature
display option
0Continuous set-point temperature
display (by default).
With this option, press ito display the
room temperature.
1Continuous room temperature display.
With this option, press ito display the
set-point temperature.
1-01
Choice of
programming
0Weekly (by default)
1Daily
1-08
Controlling
the Comfort
temperature
0Comfort temperature set by the
TYBOX (by default)
1Comfort temperature set on each
radiator or convector.
In this option the screen displays
ConF
1-09
Circulator pump
anti-seizing
0Anti-seizing off (by default)
1Anti-seizing on(circulator pump
operates for 1 minute every 24
hours)
2-09
Contact type
for control
0NO contact (by default)
(closed = heating on)
1NC contact (open = heating on)
1-02
Choice of
programming
increments
01-hour increments (by default)
130-minute increments
215-minute increments
2-02
Correction of the
temperature
measured
Correction possible from -5°C to
+5°C inincrements of 0.1°C. Press
the + or - buttons to make changes,
and confirm with the OK button.
Press the button of the
menu you wish to rest, and
hold the button for 5 seconds
(example for menu 1).
Then press the OK button
to confirm the reset.
Unit reference (for example, TYBOX 710)
Minutes
Hours
Days
(1: Monday…
7: Sunday)
5 sec.
Unit version
Configuration
mode
Basic configurations
Advanced configurations
Other DELTA DORE Thermostat manuals

DELTA DORE TYBOX 127 User manual

DELTA DORE

DELTA DORE TYBOX 127 User manual

DELTA DORE TYBOX 117 User manual

DELTA DORE

DELTA DORE TYBOX 117 User manual

DELTA DORE RADIO TYBOX User manual

DELTA DORE

DELTA DORE RADIO TYBOX User manual

DELTA DORE TYBOX BUS OT User manual

DELTA DORE

DELTA DORE TYBOX BUS OT User manual

DELTA DORE Connected Tybox 5100 Pack User manual

DELTA DORE

DELTA DORE Connected Tybox 5100 Pack User manual

DELTA DORE PACK TYBOX 5000 User manual

DELTA DORE

DELTA DORE PACK TYBOX 5000 User manual

DELTA DORE TYBOX 1127 User manual

DELTA DORE

DELTA DORE TYBOX 1127 User manual

DELTA DORE TYBOX 117 User manual

DELTA DORE

DELTA DORE TYBOX 117 User manual

DELTA DORE TYBOX 610 RF User manual

DELTA DORE

DELTA DORE TYBOX 610 RF User manual

DELTA DORE TYBOX User manual

DELTA DORE

DELTA DORE TYBOX User manual

DELTA DORE DELTA 8000 MASTER User manual

DELTA DORE

DELTA DORE DELTA 8000 MASTER User manual

DELTA DORE TYBOX BUS OT User manual

DELTA DORE

DELTA DORE TYBOX BUS OT User manual

DELTA DORE TYBOX 117 User manual

DELTA DORE

DELTA DORE TYBOX 117 User manual

DELTA DORE TYBOX 5100 User manual

DELTA DORE

DELTA DORE TYBOX 5100 User manual

DELTA DORE TYBOX 5101 User manual

DELTA DORE

DELTA DORE TYBOX 5101 User manual

DELTA DORE TYBOX 137 User manual

DELTA DORE

DELTA DORE TYBOX 137 User manual

DELTA DORE TYBOX 34 User manual

DELTA DORE

DELTA DORE TYBOX 34 User manual

DELTA DORE TYBOX 147 User manual

DELTA DORE

DELTA DORE TYBOX 147 User manual

DELTA DORE Tybox 1117 User manual

DELTA DORE

DELTA DORE Tybox 1117 User manual

DELTA DORE TYBOX 31 User manual

DELTA DORE

DELTA DORE TYBOX 31 User manual

DELTA DORE TYBOX 417 User manual

DELTA DORE

DELTA DORE TYBOX 417 User manual

DELTA DORE TYBOX 21 User manual

DELTA DORE

DELTA DORE TYBOX 21 User manual

DELTA DORE DELTA 200 User manual

DELTA DORE

DELTA DORE DELTA 200 User manual

DELTA DORE PACK TYBOX 5000 User manual

DELTA DORE

DELTA DORE PACK TYBOX 5000 User manual

Popular Thermostat manuals by other brands

Fluke Calibration 6054 user manual

Fluke Calibration

Fluke Calibration 6054 user manual

AURATON Tucana instruction manual

AURATON

AURATON Tucana instruction manual

Aube Technologies TH147 Installation and user guide

Aube Technologies

Aube Technologies TH147 Installation and user guide

meitav-tec FMH24-PD-1S-IR owner's manual

meitav-tec

meitav-tec FMH24-PD-1S-IR owner's manual

Aube Technologies TH106-A-347S4 user guide

Aube Technologies

Aube Technologies TH106-A-347S4 user guide

INTERTECHNO ITH-610 operating instructions
INTERTECHNO

INTERTECHNO ITH-610 operating instructions
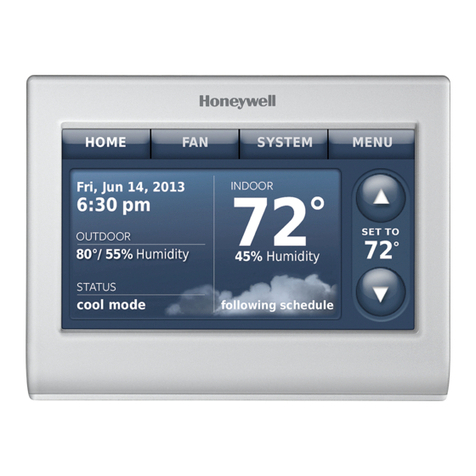
Honeywell RTH9580 Wi-Fi user guide

Honeywell

Honeywell RTH9580 Wi-Fi user guide

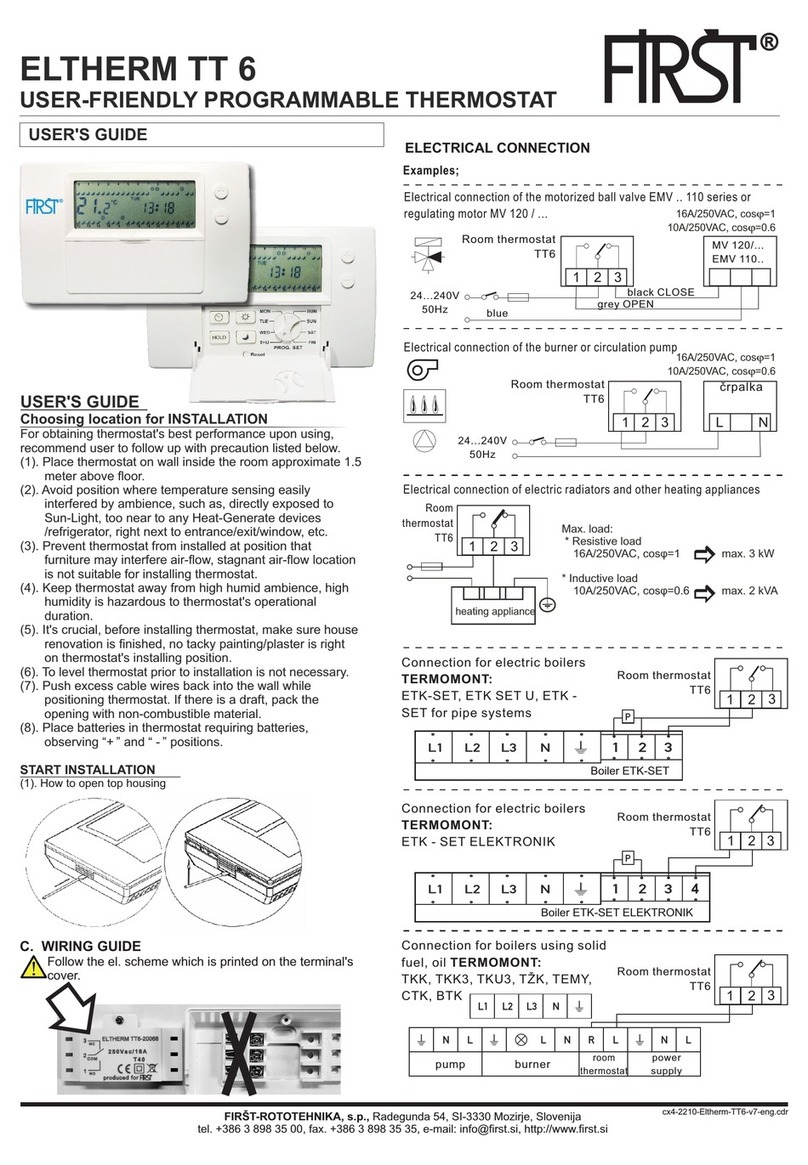
First ELTHERM TT 6 user guide

First

First ELTHERM TT 6 user guide

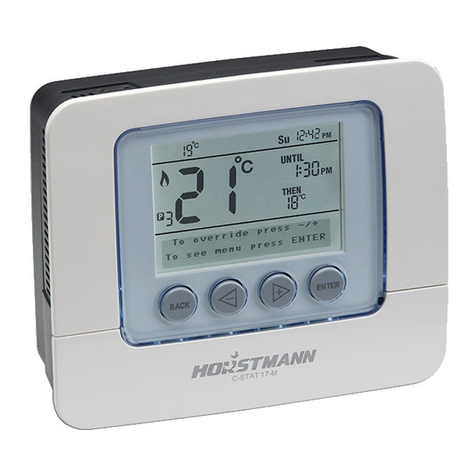
Horstmann C-Stat 11-M installation instructions
Horstmann

Horstmann C-Stat 11-M installation instructions
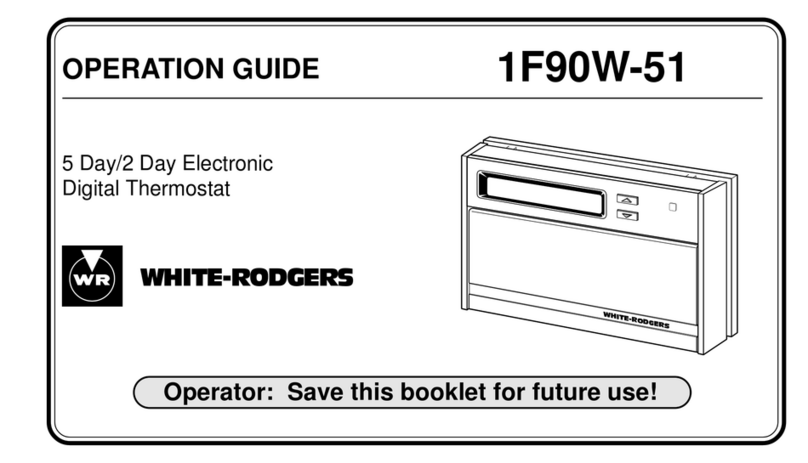
White Rodgers 1F90W-51 Operation guide
White Rodgers

White Rodgers 1F90W-51 Operation guide

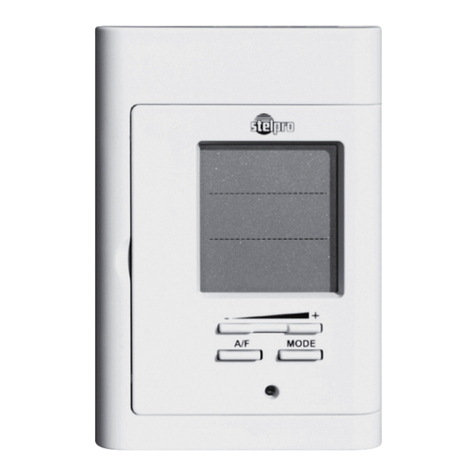
Stelpro STCP user guide

Stelpro

Stelpro STCP user guide

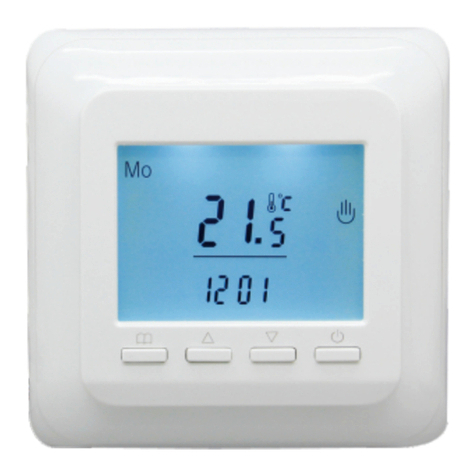
Beok Controls TOL62A Series manual

Beok Controls

Beok Controls TOL62A Series manual

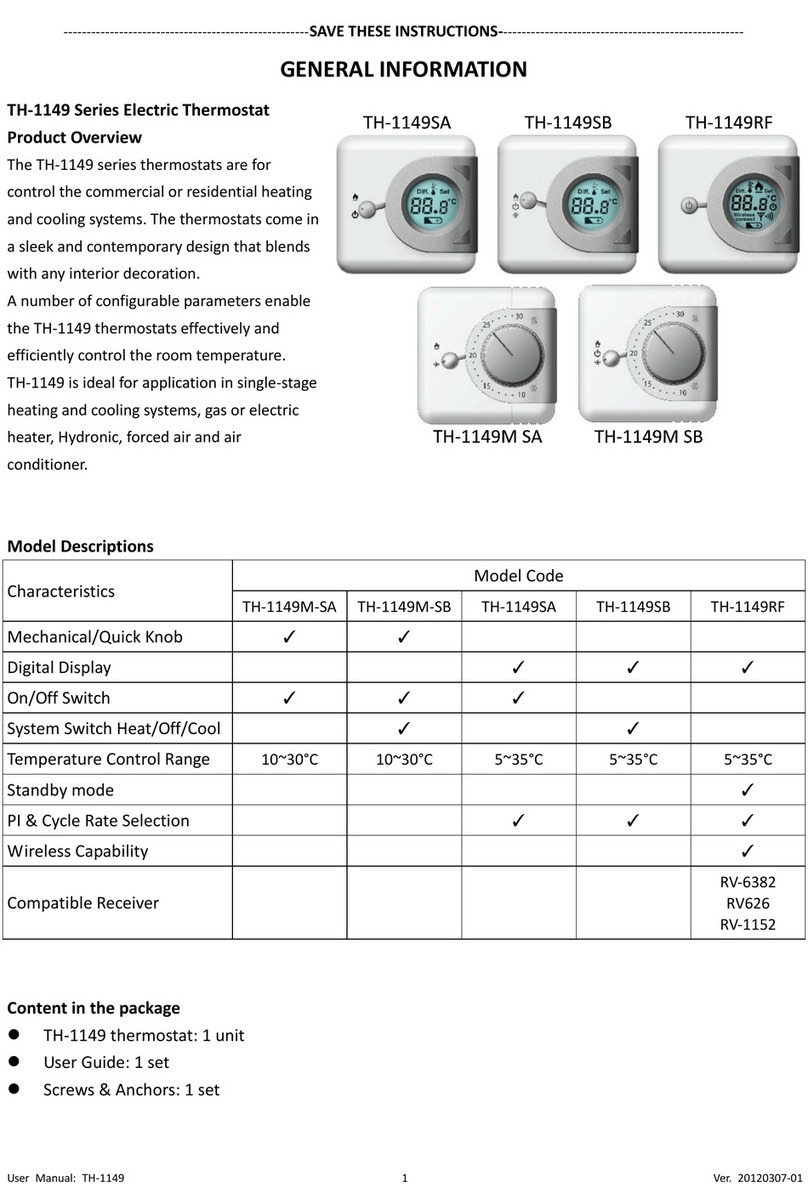
Coronado TH-1149M-SA General information

Coronado

Coronado TH-1149M-SA General information

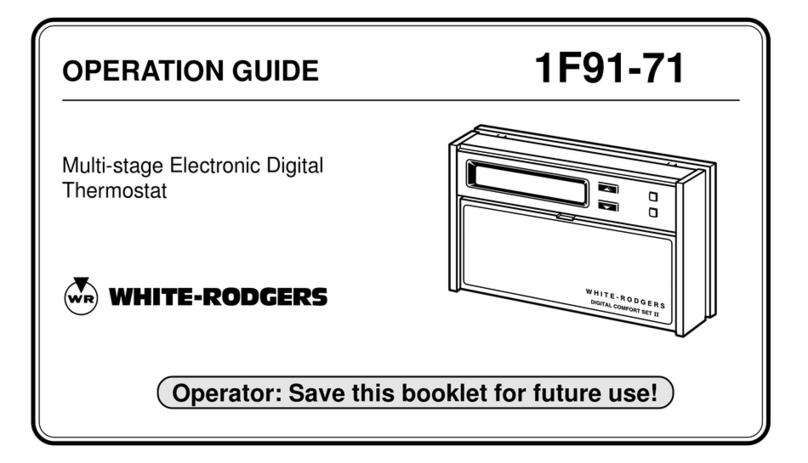
White Rodgers 1F91-71 Operation guide

White Rodgers

White Rodgers 1F91-71 Operation guide

WARMZONE UWG5 user manual

WARMZONE

WARMZONE UWG5 user manual

Robertshaw RS9320T installation manual

Robertshaw

Robertshaw RS9320T installation manual

SureSTAT DT10 user manual

SureSTAT

SureSTAT DT10 user manual

Home Automation 13R00-4 owner's manual

Home Automation

Home Automation 13R00-4 owner's manual

manuals.online logo
manuals.online logoBrands
  • About & Mission
  • Contact us
  • Privacy Policy
  • Terms and Conditions

Copyright 2025 Manuals.Online. All Rights Reserved.