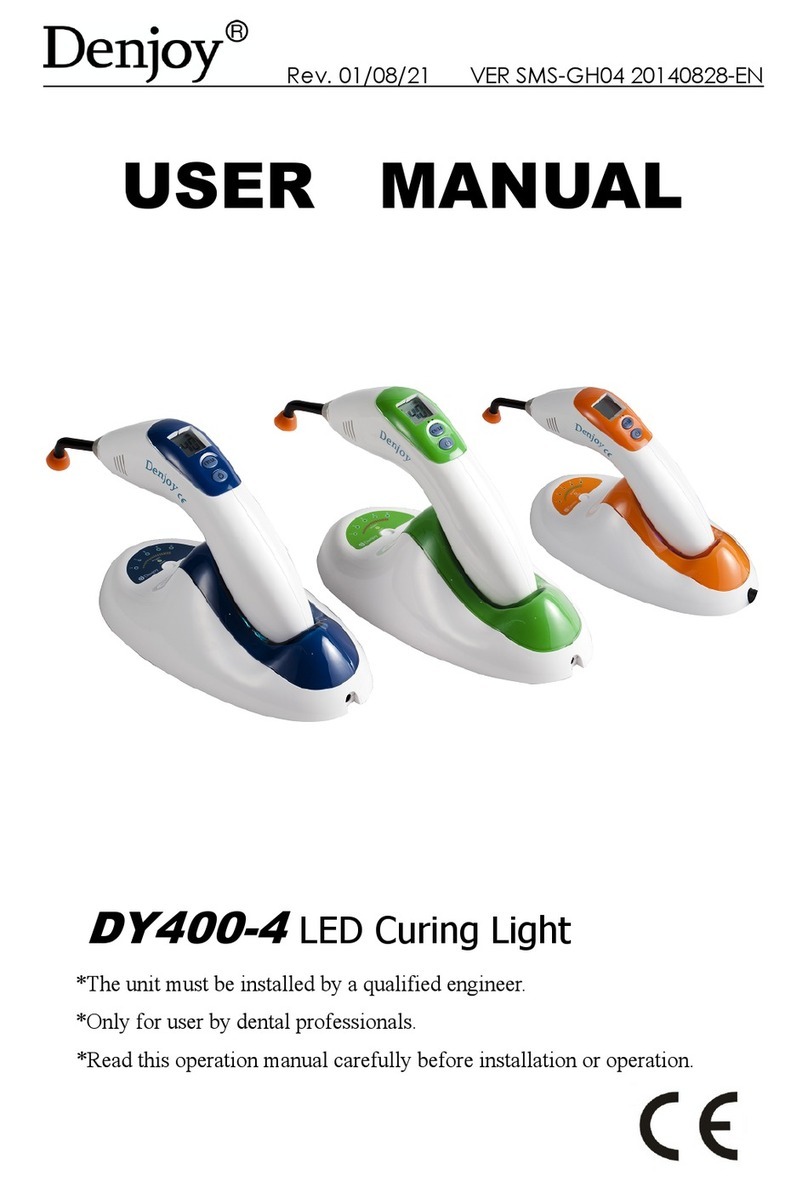
Denjoy DY400-4 User manual


3
SECTION I. DESCRIPTION
Thank you for purchasing our DY400-4 LED curing light!
LED Curing Light DY400-4 is a perfect combination of the
highly-efficient LED tube, the micro-control electric circuit and
the rechargeable lithium battery. It is used for polymerize
composite material. Because of high-efficiency,outstanding
function, convenient operation, and longevity, it becomes the
latest top curing light in the global market.
SECTION II. FEATURES
1. Latest LED technology with longevity
Continuous operating time: Avg. 40 min with fully charged
battery
The life of lamp: charging for 10,000 times
Light Intensity: >1000 Mw/cm2 (tested by meter made by Kerr.
Kerr meter is said to be most accurate in testing light intensity!
2. Beep sound design
Beep at every 5 seconds to remind the user of remaining
curing time!
3. Cord/Cordless interchangeable
Cordless or cord use are both available!
When running out of battery, the unit can be still used
directly with power charger.
4
4. Curing Program
①Curing Program 1: Full power till end
②Curing Program 2: Soft start in first 5S to full power till end
③Curing Program 3: Soft start in first 5S to half power till end
5. Curing Time
Curing time available: 5/10/15/20/25/30/35/40S
※ Except for full power grogram, the curing time for other
programs should be started from 10 seconds. User should follow
the original instructions of the composite when curing.
6. Battery Sign
When flashed on the panel, the battery needs to be
charged at least 2.5 hours.
Directly connecting the charger with the handpiece can
also charge the battery.
When full battery sign on the LCD panel appear and
stop flashing, this indicates that the battery is fully charged.

5
7. Specially made battery: reliable and powerful
a. To support continuous time for 40 minutes and curing time
at 35S and 40S.
When the user sets curing time at 30S/35S/40S often, if there
is no reliable and powerful battery as strongest supporter, the
lamp is easily aging to shorten the life.
b. To ensure the inactive time of 200 hours. If the unit is
nonuse, the unit will have electricity power inside for the duration
of about three months.
c: To guarantee the stability of performance
8. Specially design for eye-protection cover
Eye-protection cover tip
Convenient for curing on the molar teeth.
9. Equipped with radiating fan to ensure the continuous
operation for a long time!
It can guarantee the stability of performance to avoid
over-heat. Not many manufacturers make the unit with radiating
fan inside!
10. Build-in meter on the front of charging base to check the
intensity.
It is fairly obvious to know the light intensity just to see how
many light indicators become bright simultaneously.
6
Inset the light guide to intensity test hole after plug charger
into the outlet of power.
The meter will measure the intensity of LED curing light by
lighting-up the LED indicators. The operator can use the reading
to adjust the curing time.
11. Sleeping Mode
When the unit is no longer in using for 2 minutes, the
handpiece will turn into sleeping mode to save power.
SECTION III. COMPONENTS
①Curing Program: Soft start to full power ④Curing Time
②Curing Program: Full power Beep⑤Sound Sign
③Curing Program: Soft start to half power Battery Sign⑥

7 8
1) Eye-protection Cover 2) Light Guide
3)LCDPanel 4)FunctionSwitchforCuringTime
5) Function Switch for Turning on the Unit and Curing Program
6) Charger Port 7) curing Switch 8) Charging interface
9) Charger Port 10) Light Intensity Indicator
11) Status Indicator 12) Test Hole 13) Charger Connector
Standard Accessories
Handpiece 1 PC Charging Base 1 PC
Light Guide 1 PC Charger 1 PC
Eye-protection Cover 3 PCS User Manual 1 PC
Optional Accessories
Oval eye-protector 1 pc

9
SECTION IV. MAIN TECHNICAL INDEX
1. Classification: Class I
2. Power source:
a) Power supply-Power Charger:
Input: 100-240V, 50-60Hz Output voltage: 8.7-8.8V DC
Output current: 500mA
b) Internal power supply- Lithium battery
Voltage:7.4V Capacity:1350mAh
Charging time: Approx. 2.5 hours (New Battery for 4 hours)
Continuous Operating time: Avg. 40 min with fully charged
battery
3. LED lamp
Model: 5W, Wavelength: 420-480nm
4. Dimension: W300×H120×D150mm
5. Net Weight: about 700g
SECTION V. INSTALLATION
1. Charge battery
For best performance—charging time is at least 2.5 hours!
(Charging time is at least 4 hours for the first time). The light
indicator of charger is red when charging,
When full battery sign on the LCD panel appear and
stop flashing, it shows that the battery is fully charged. And the
light indicator of charger turns into green accordingly.
10
2. Install the eye-protection cover
Directly insert it onto the front of the handpiece. It still can be
rotated when proper installed.
3. Install light guide
Directly insert the light guide to the handpiece, make sure it
has been totally insert and fixed steadily. It still can be rotated
when proper installed.
After use, the user is free to pull out the light guide with care
and keep it in the package.
※Optional※
4. Connect power charger
This unit is available to use directly with power charger when
battery run out of power.
Directly connect the power charger to the connector which
is located on the bottom of handpiece, then plug the charger
into the outlet. (AC100-240V).
SECTION VI. OPERATION
Power switch and function switch
1. Turn on the unit.
Extended press the power button can turn on the unit. LCD
panel is working.

11
2. Set curing program
Short press function switch can select suitable curing
program.
①Curing Program 1: Full power
②Curing Program 2: Soft start to full power
③Curing Program 3: Soft start to half power
3. Set curing timer
Press function switch to select curing time between
5,10,15,20,25,30,35 and 40 seconds.
When choosing Curing Program 2 and Curing
Program 3 , the cutting time should start from 10 seconds.
4. Start to operate
Press curing switch to start curing program. “Beep” sound will
be heard every 5 seconds. To interrupt a program, just press
curing switch again. When the program is finished, the unit will
turn off the light immediately.
5. Low Battery Sign
When low battery sign is flashing on the panel, the
battery needs to be charged immediately or connecting the
charger with the handpiece for continuous use.
12
6. Turn off the power
When the unit turns into sleeping mode automatically, it will
shut down all the function except the battery sign, beep sound
sign and curing program sign on LCD panel to save the power.
7. Use Build-in meter
For better curing performance, user should check the light
intensity of LED before use. It is fairly obvious to know the light
intensity just to see how many light indicators become bright
simultaneously.
Inset the light guide to intensity test hole after plug charger
into the outlet of power.
The meter will measure the intensity of LED curing light by
lighting-up the indicators. User can use the reading to adjust the
curing time.
If five indicators become bright simultaneously, it stands for
the intensity is at least1000 Mw/cm2. If only three indicators
become bright simultaneously, it stands for the intensity is a little
lower! In this situation, the user had better charge the unit at
once!

13
The※reading comes from the meter is as reference for
dentist to adjust the appropriate curing time. Dentists still need to
follow the curing procedures which are provided by composite
manufacturer.
※The light source must aim at the fixed position when
operated. The working distance must be within 3mm from the
fixed position. The depth of the polymerization of material is not
less than 2mm. Curing layer by layer is recommended if the
material is very thick!
SECTION VII. SAFETYPRECAUTIONS
a). Before operation, you have to read usage manual
carefully.
b). CAUTION: This curing unit produces high output
curing energy!
Do not place light directly on or toward unprotected gingival
or skin.
he light source has to shoot directly in the polymerization
of resin material when it is in clinical use. Improper radiation
which may affect the curing result should be avoided.
c). CAUTION: Do no look directly at the light emitted
from this curing unit. Do not use this device without suitable
14
protective eye ware for the operator, assistant and patient.
Suitable protective eye ware blocks all energy below 550nm.
d). CAUTION: Persons having a history of
photosensitive reactions or who are using photosensitizing drugs
should not be exposed to light from this unit.
e). CAUTION: Equipment not suitable for use in the
presence of flammable anesthetic mixture with air or nitrous
oxide.
f). To keep the safety operation, we suggest that check your
local AC power supply voltage before you buy this product
oversea.
g) The curing light should be placed in the original packing
box in a dry and clean cupboard, in case of its drop onto the
floor.
SECTION VIII. MAINTENANCE
1. This unit can not be dismantled privately; otherwise the unit
will be damaged wholly.
2. For non-use for a long time, the unit should be cleaned and
then put away it inside the original package.
3. Be sure there is no any resin or material sticking on the
surface of the light guide
4. If the materials are sticking on the light guide, immediately

15
clean it with cloth. Keep it clean for better light output and curing
performance
5. The light guide should be sterilized after each use. It can be
safely autoclaved at 121℃, 1060hPa for 30minutes.
6. The other accessories such as oval protector …etc., which is
close to patients should be scrubbed by pure water or antiseptic
and follows the standard disinfection procedure to disinfect the
materials.
7. Please use the original charger, any other charger may
result in the damage of the battery and the controlled electric
circuit; even the machine will be greatly damaged.
SECTION IX. TROUBLE SHOOTING
Question 1: When charging the unit, green and red light
indicators of power charger flash by turns.
Solution: Check whether the handpeice is connected well with
the charging base or not. Reconnect the handpiece with the
charging base, making sure that connection is well and stable.
Question 2: The unit can not be turned on and LCD screen
does not work.
Solution:
1. Possible cause: low battery. Charge with power charger at
once for a short time, then turn on the unit again to check.
2. Possible cause: power button
16
Please try to press power button extendedly
Please check the power button is in good order.
Question 3: Curing program and curing time can not be
adjusted.
Solution: Check that function buttons are in good order.
Question 4: Solidification effect is not good.
Solution: Check that the light intensity is high enough for
curing. Check that the curing program is correct.
Question 5: The unit can not be charged and the battery sign
does not show charging condition.
Solution:
1)Check that the light indicator of charger show red.
2)Check that the charger or charging base is connected
with handpiece properly.
3)Check that the metal dome (interface) on the handpiece
is loose or damaged.
4) Check that the metal dome (interface) on the charging
base is loose or damaged.
Question 6: It is unable (or hard) to insert the light guide to the
handpiece.
Solution: Check that the size of light guide is suitable for
handpiece.

17
SECTION X. STORAGE & TRANSPORT ENVIRONMENT:
Ambient temperature: -40℃~ +55℃
Relative humidity range: 10% ~ 90%
Atmospheric pressure: 500Pa ~ 1060hPa
Handle with care.
SECTION XI. WARRANTY STATEMENT
This instrument described below has been fully inspected and
confronts to the current products specification.
This instrument is guaranteed for its designated use, against
original defects in materials and workmanship for a period of 12
months from date of purchase.
Products warranty or service will not be extended if (1) the
product is repaired, modified, misused, disassembled, or using
the parts are not provided by the manufacturer, (2)The serial
number at the bottom of product is defaced or missing.
Other manuals for DY400-4
1
Table of contents
Other Denjoy Dental Equipment manuals
Popular Dental Equipment manuals by other brands
Refine
Refine A7 instruction manual
Owandy Radiology
Owandy Radiology i-max touch 3D user manual
Dentsply Sirona
Dentsply Sirona Midwest Tradition TB Instructions for use
Dentsply Sirona
Dentsply Sirona Gutta-Smart Getting started guide
Ivoclar Vivadent
Ivoclar Vivadent 747825BE operating instructions
NSK
NSK EX-5B Operation manual
B.A. International
B.A. International Optima E+ manual
mectron
mectron PIEZOSURGERY plus Use and maintenance manual
RAM PRODUCTS
RAM PRODUCTS BP50 owner's manual
Metasys
Metasys H1 Assembly, operation and maintenance
Aseptico
Aseptico AEU-7P Operation and maintenance instruction manual
BIOLUX
BIOLUX OrthoPulse user guide

