Features
High quality
0Equipped with a high-quality class D amplifier
The amplifier section incorporates DDFA® technology from CSR. The
output stage circuit has a discrete construction which realizes higher
S/N and lower distortion compared to conventional class D amplifiers.
Additionally, the high 50 W/4 Ω output which exceeds the size of the
housing lets you enjoy Denon’s ideal audio playback environment that
delivers “delicate yet powerful sound”.
0Advanced AL32 Processing
Equipped with Advanced AL32 Processing, Denon’s unique analog
wave reproduction technology. Reproducibility of weak signals is
increased by expanding the 16-bit digital data to 32 bits.
High performance
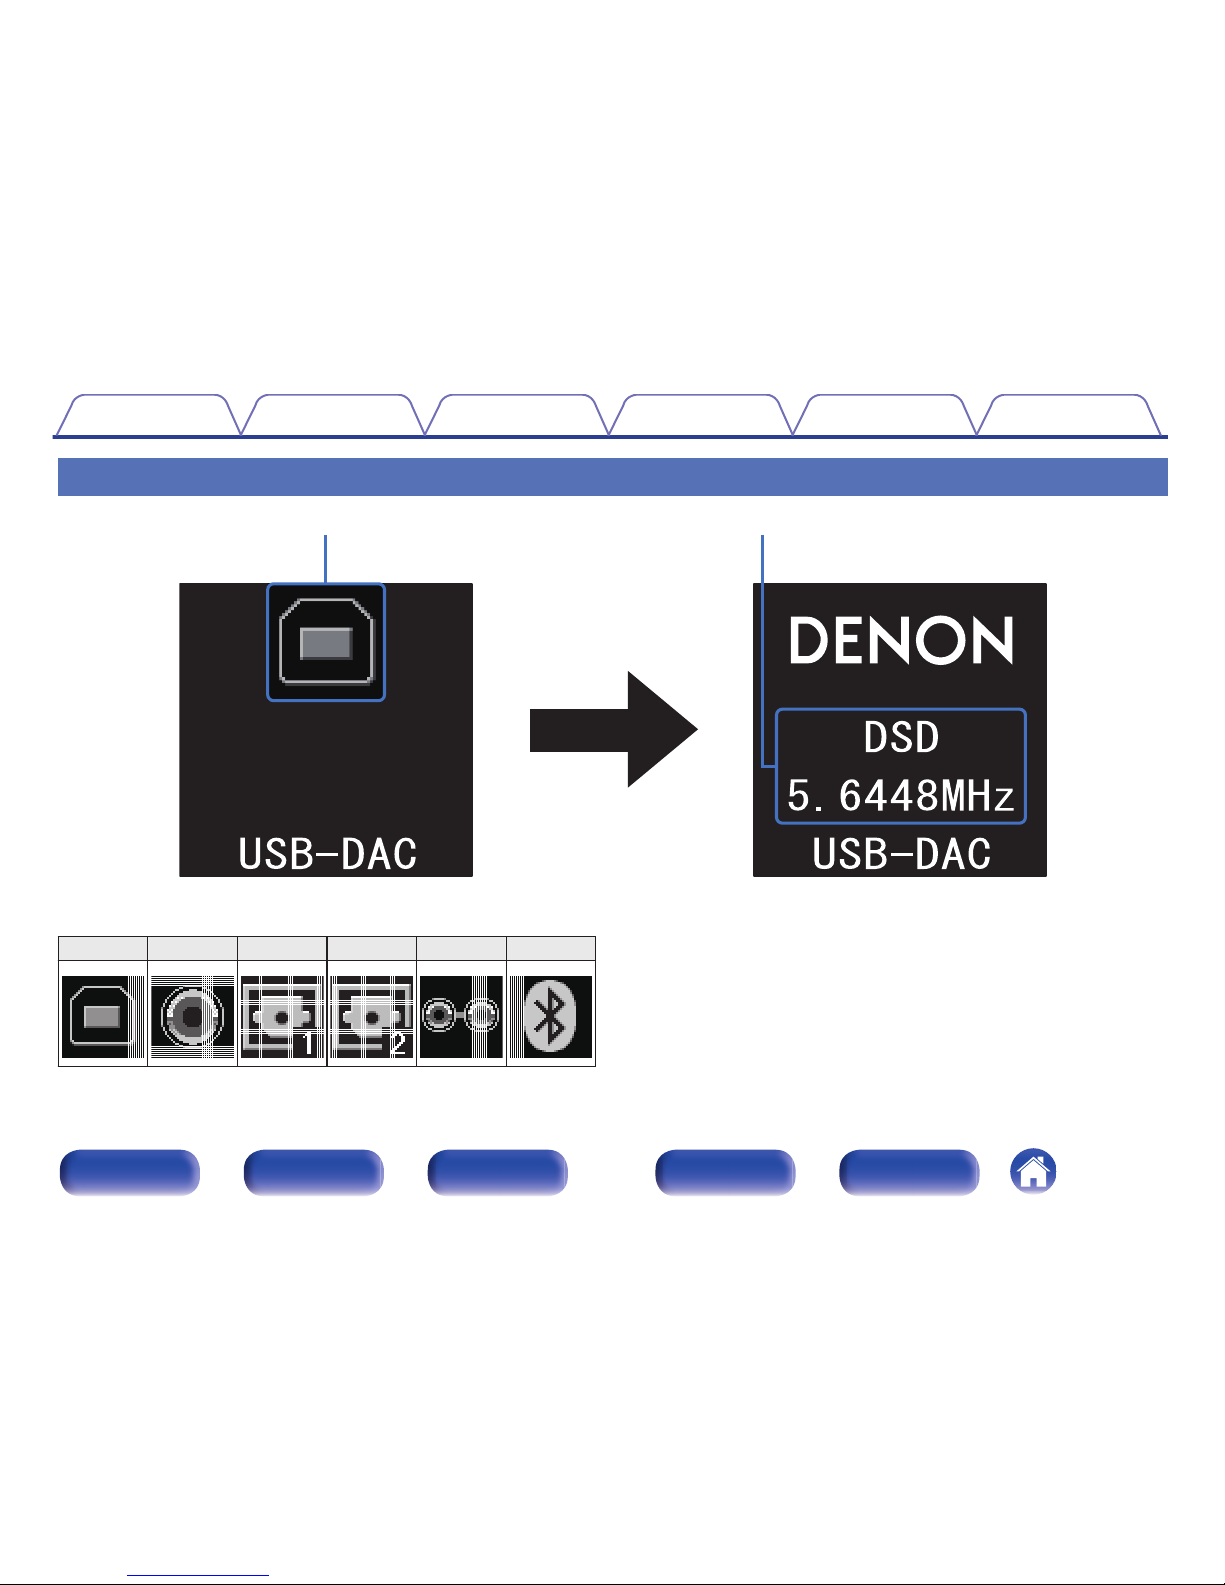
0Supports playback of high resolution audio files
DSD signals and up to 192 kHz/24 bit PCM signals are supported. You
can enjoy high-quality audio playback from this unit by inputting music
files into this unit from a computer via USB connection.
0Wireless connection with Bluetooth enabled devices (v p. 37)
You can connect Bluetooth enabled devices such as smartphones and
tablets with this unit to listen to music while browsing email and Web
sites in the Internet away from this unit. In addition, this unit supports
high quality audio codecs, aptX and AAC, to enjoy music and games
with a powerful sound.
0NFC function included that enables one touch
connection (v p. 42)
You can just touch this unit with an NFC enabled smartphone or tablet
to turn on power to this unit and establish the Bluetooth connection.
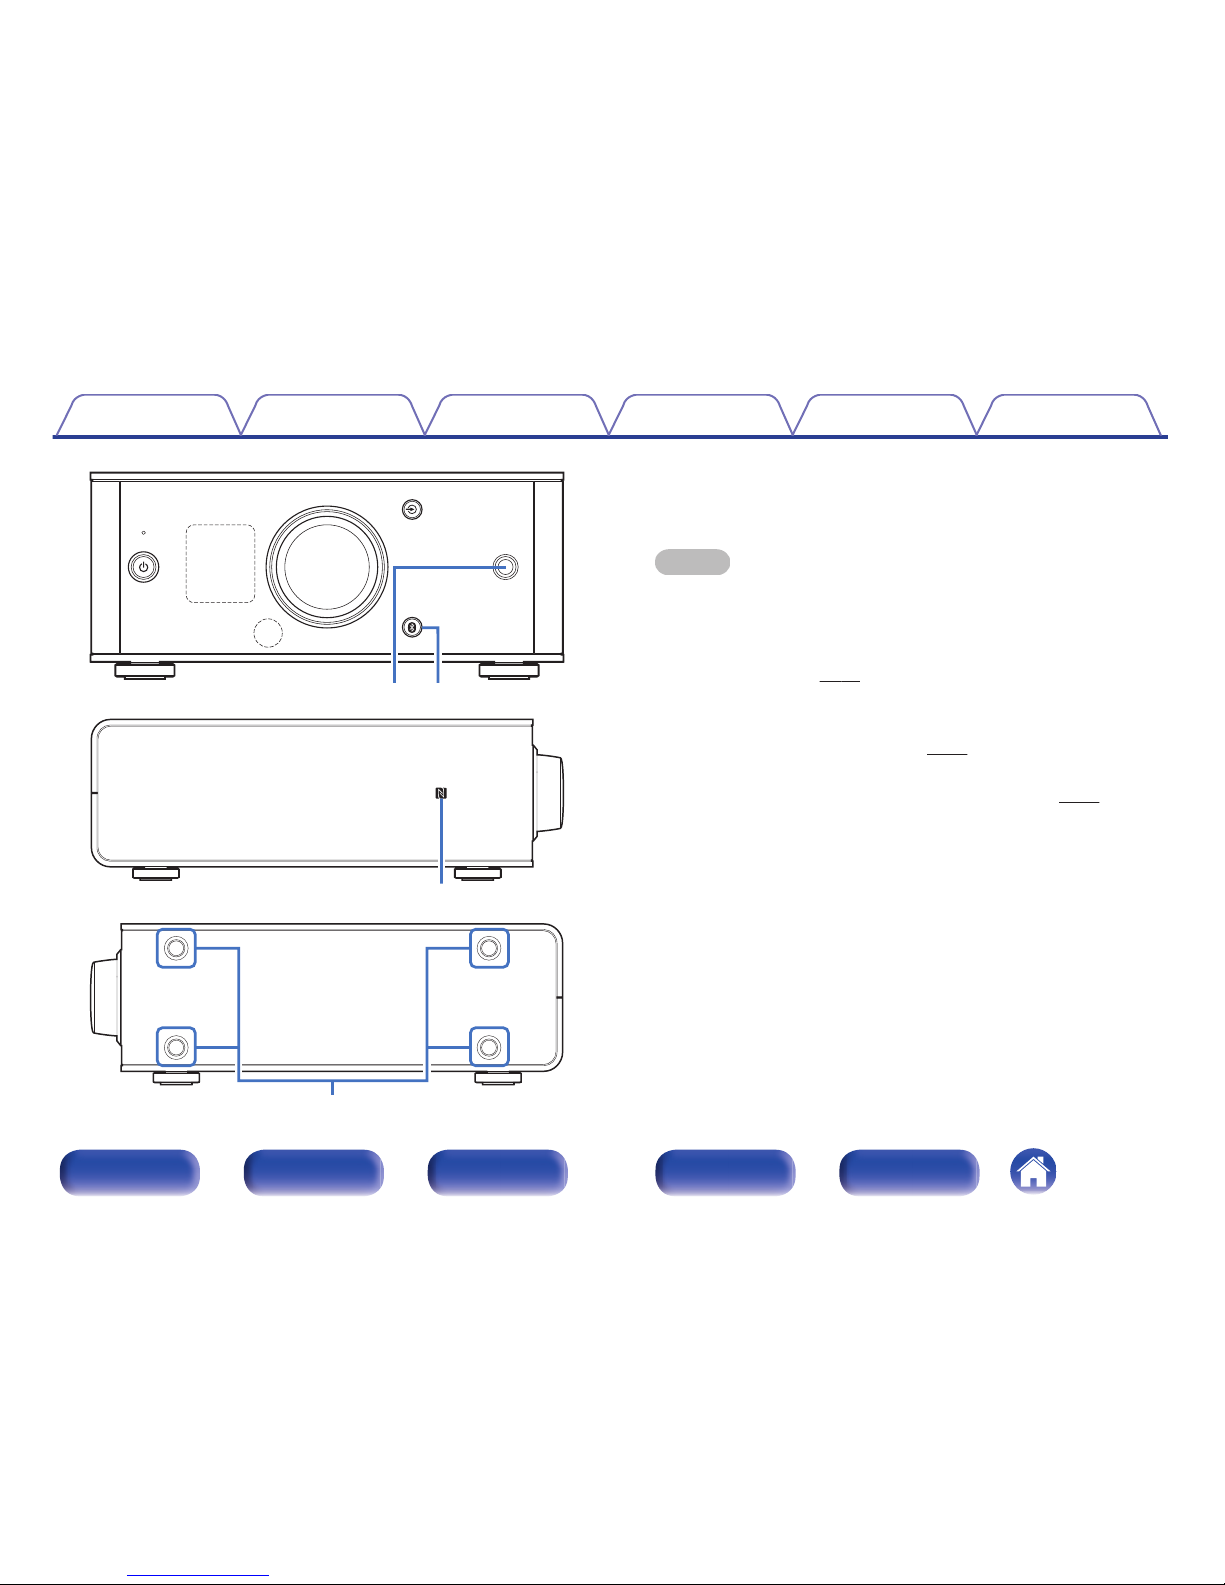
0Supports vertical installation
This unit can be installed vertically or horizontally. The display
automatically rotates to match the installation orientation.
Contents Connections Playback
Setting procedure
Tips Appendix
5
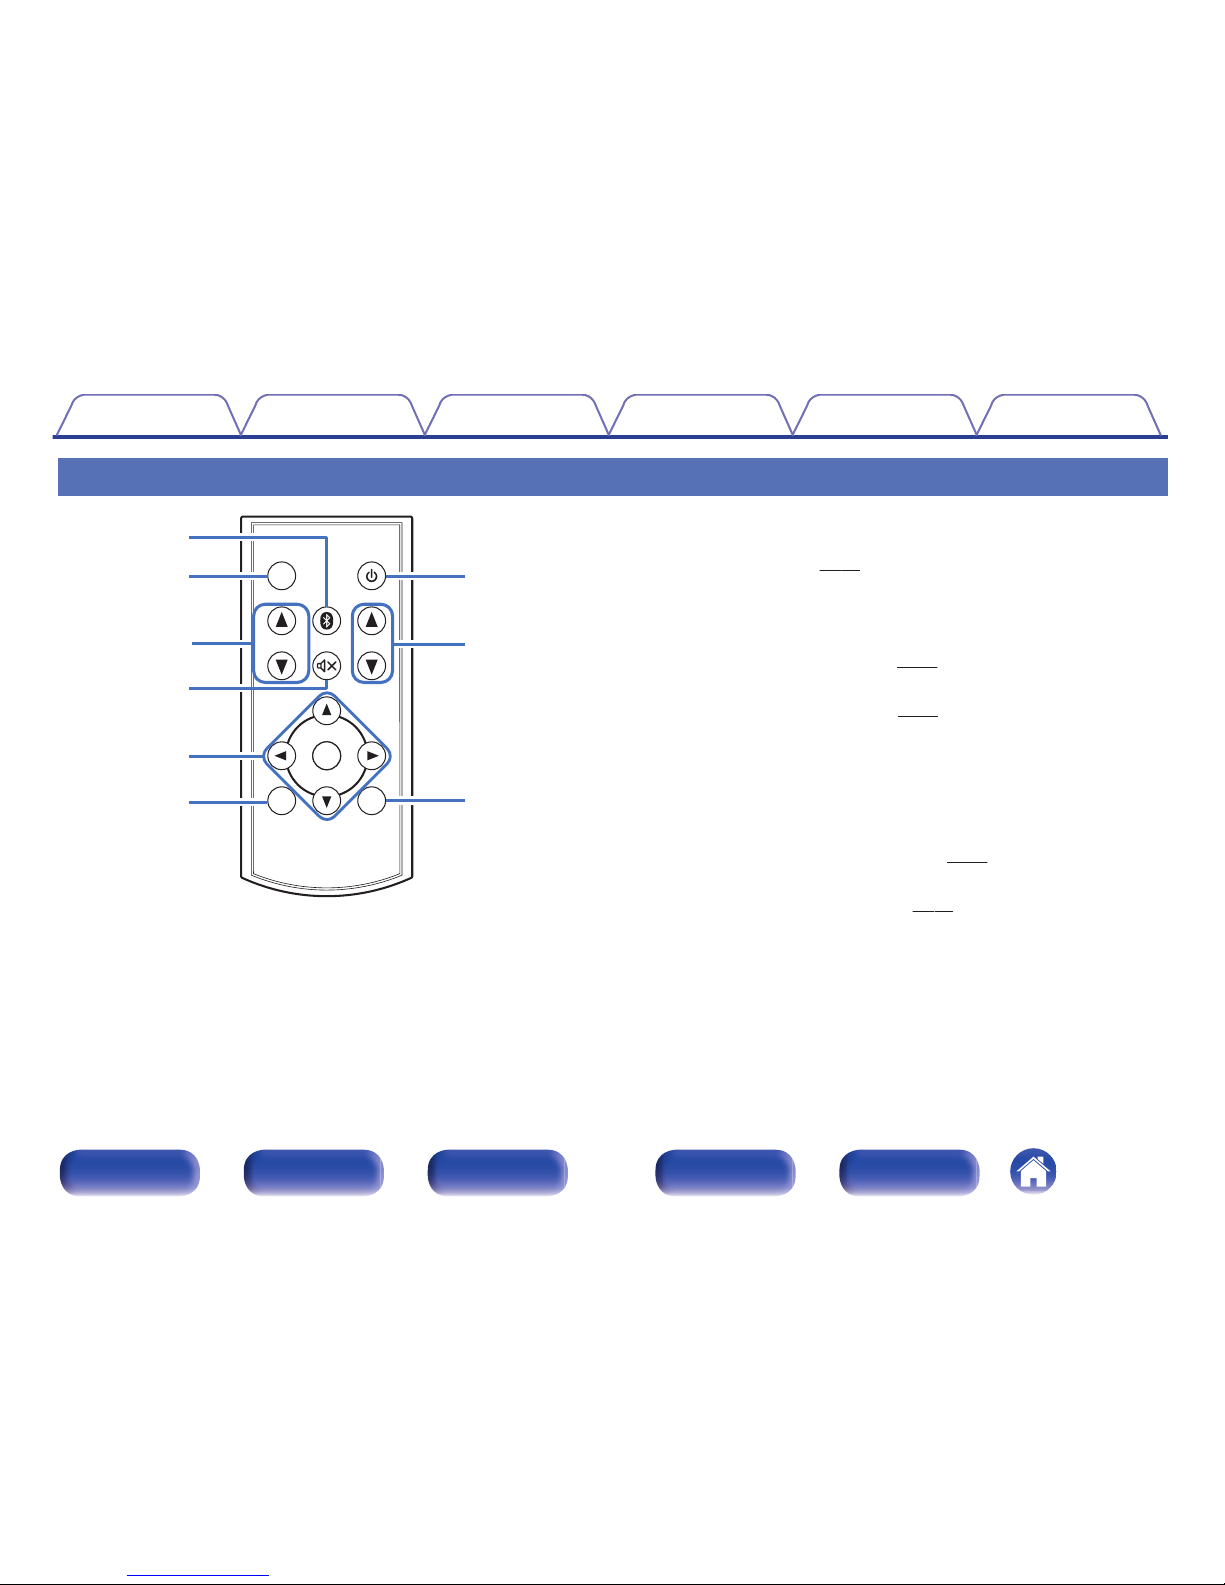
Front panel Display Rear panel Remote Index