7
7
7
7
8
8
8
8
9
9
9
9
9
10
10
10
10
10
11
11
11
11
11
11
11
12
12
12
13
13
13
13
14
14
14
14
14
15
15
15
15
16
16
16
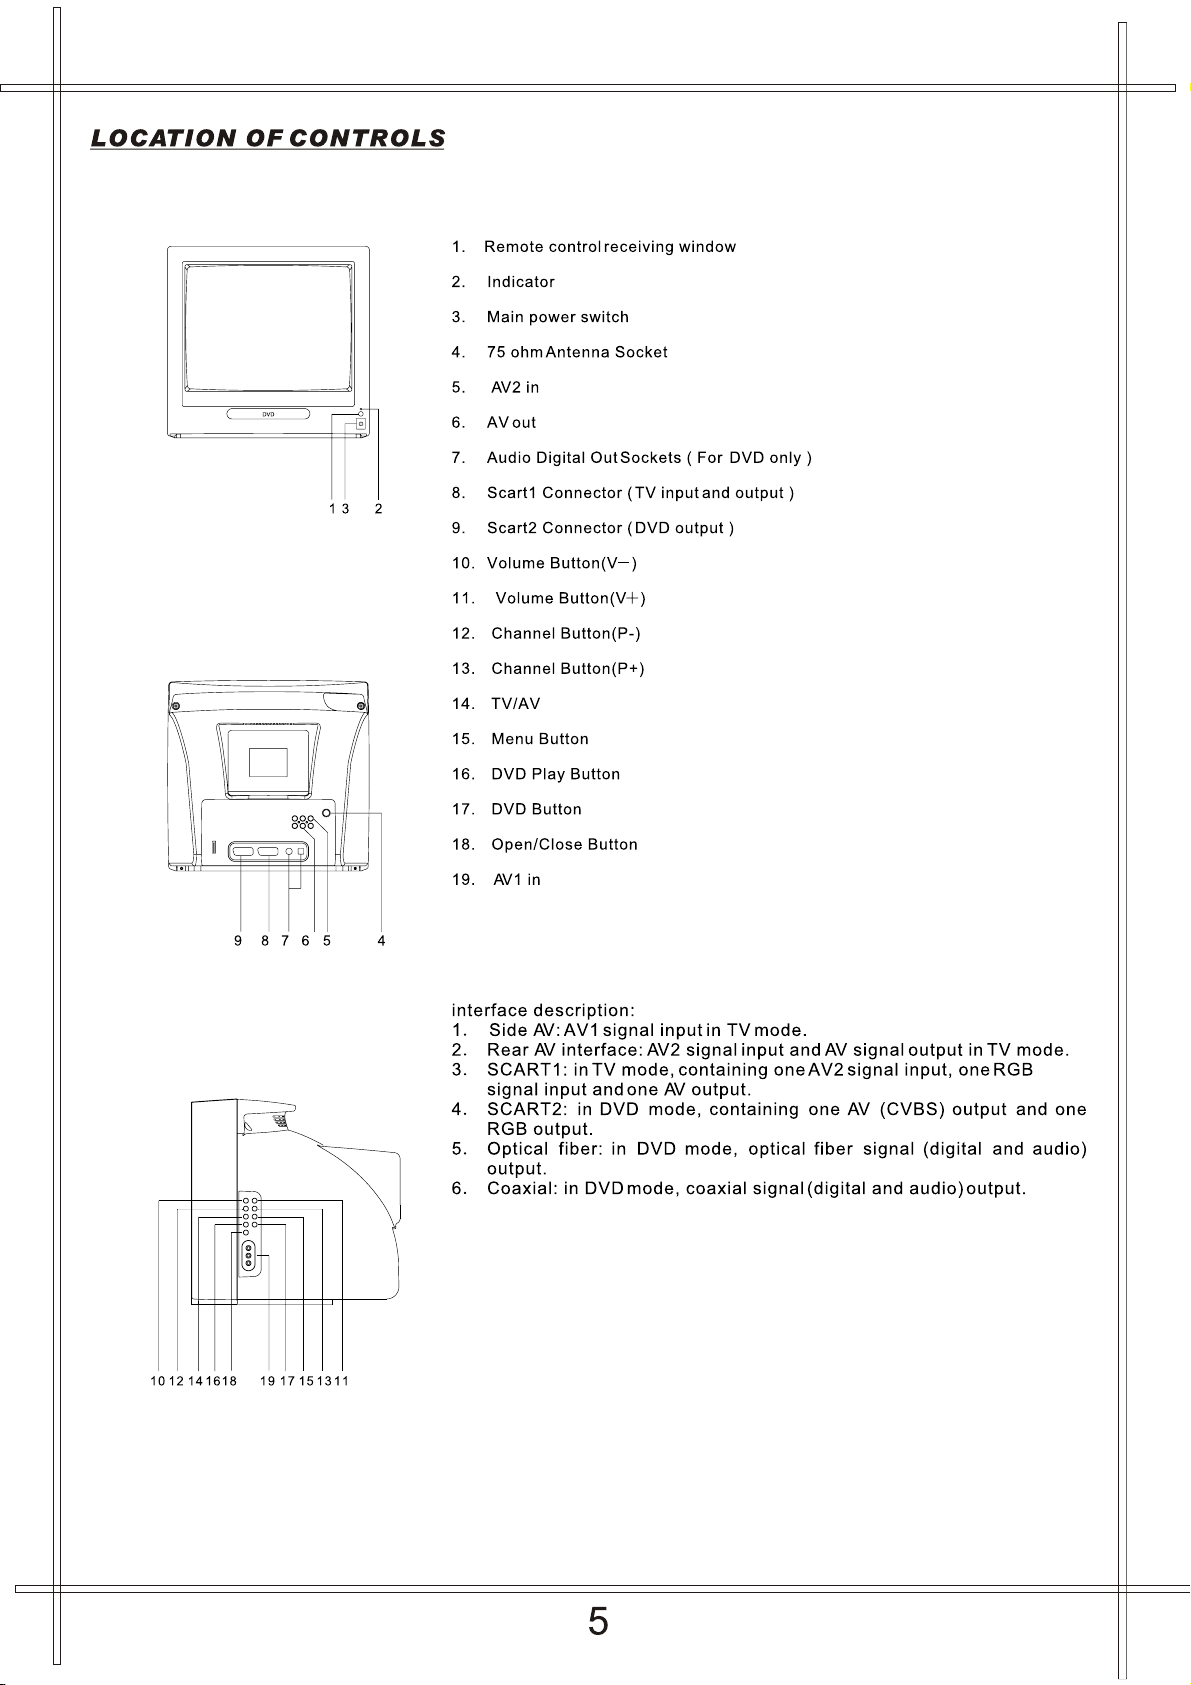
17
17
17
17
17
17
17
17
17
18
18
18
18
18
18
18
19
20
21
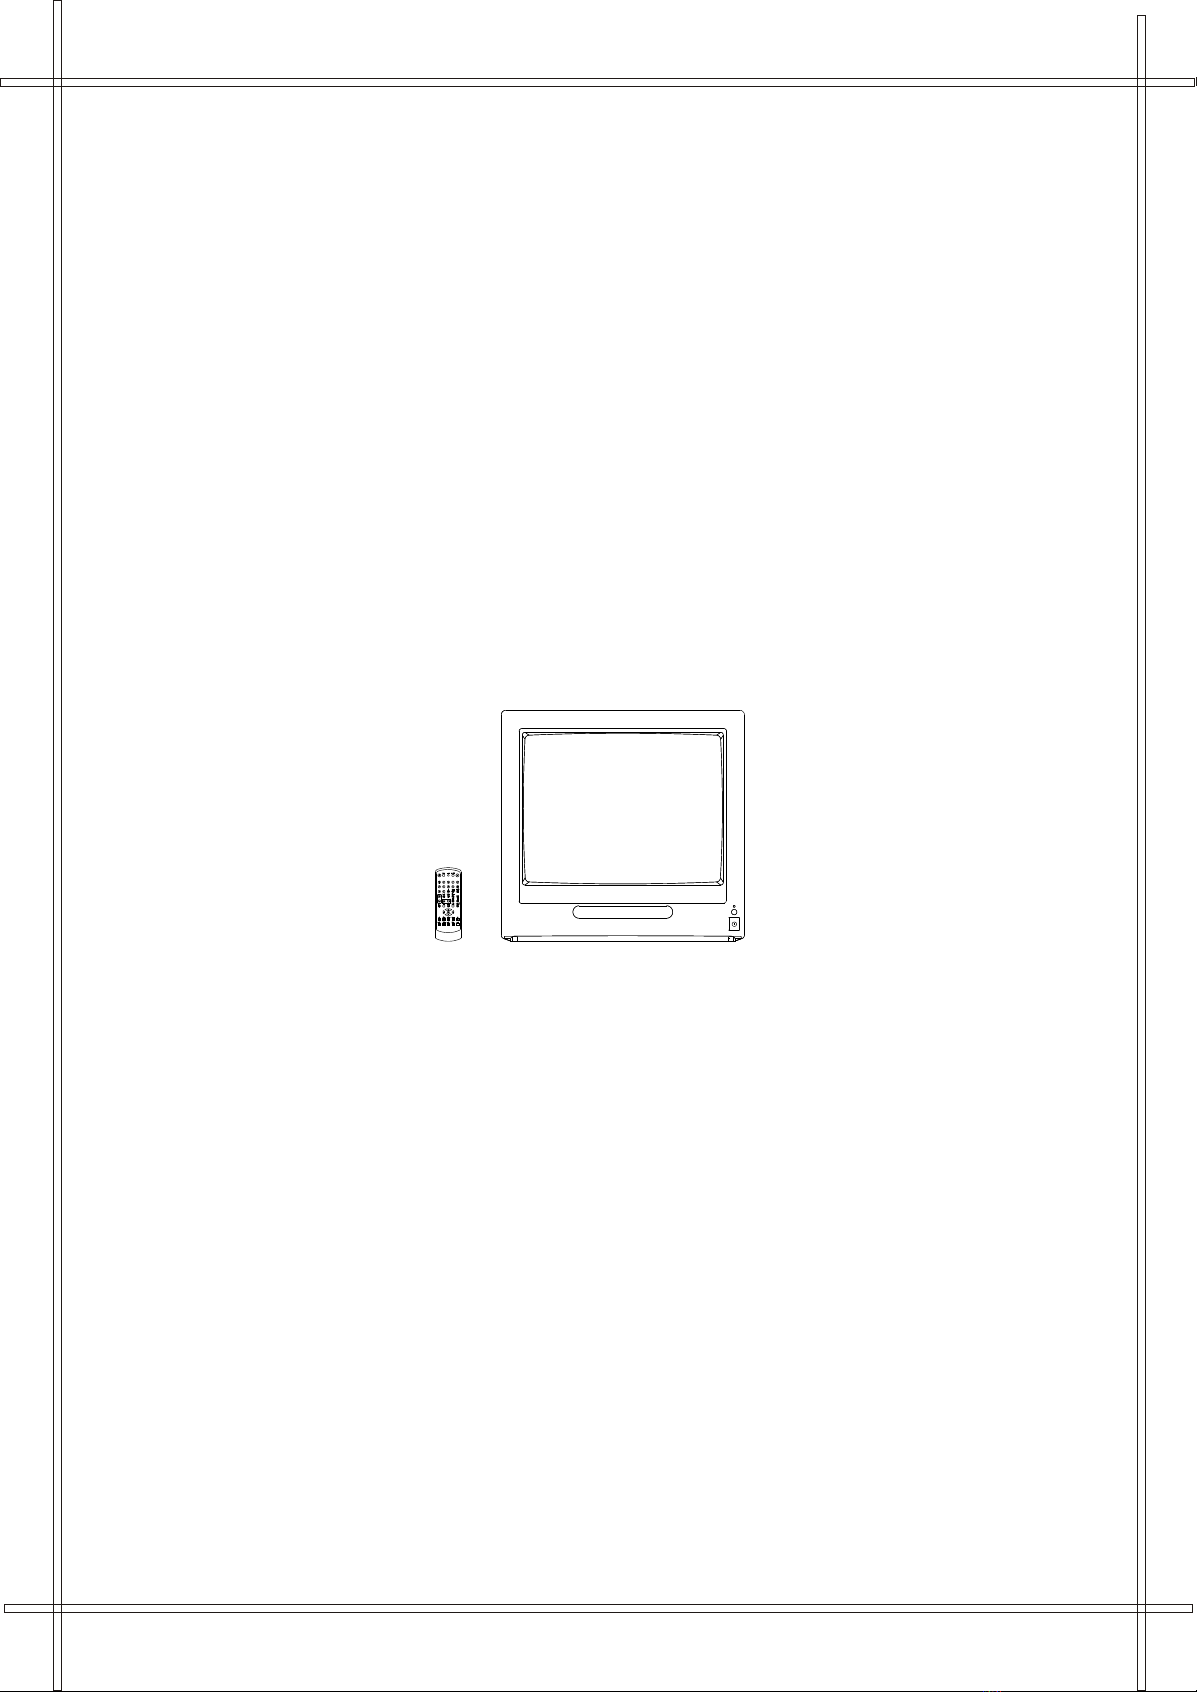
1
Safety Precautions.......................
Antenna connection......................
Location of Controls (Main Unit)...
Remote Control Units...................
TV Reciever Operation
Tuning Operation
Auto Search ........................................
Manual Search ....................................
Adjusting Program ...............................
Deleting Program ................................
Exchange Program.................................
Picture Operation ..................................
Sound Operation....................................
Time Operation
Set Clock ..........................................
Set Off , On Time and Program ............
Set Remind Time and Program ............
Set Sleep Timer..................................
Setup Operation
Set OSD Language ............................
Set Background .................................
Set Black Stretch ...............................
Set Auto Volume Limit ........................
Teletext Operation
Enter Teletext Mode ...........................
Browse Pages ...................................
Function Buttons Operation ................
Operating With Remote Control
Program Selection .............................
Standby Button .................................
Mute Button .......................................
Display Button ...................................
AV Button ..........................................
PP Button ..........................................
Effect Button ......................................
DVD Player Operation
General Setup
TV Display..........................................
Angle Mark..........................................
OSD Language....................................
Digital Output......................................
Screen Saver.......................................
Analog Audio Setup
Downmix.............................................
Dolby Digital Setup
Dual Mono ..........................................
Dynamic .............................................
Contents
Video Setup
Component .............................
Sharpness ..............................
Brightness .............................
Contrast ................................
Preference Setup
TV Type .................................
Audio .....................................
Subtitle ..................................
Disc Menu ..............................
Parental .................................
Password ...............................
Default ..................................
DVD Operation
Play Discs ..............................
Pause Mode ...........................
OSD ......................................
DVD Menu Play ......................
Select With Number Button ......
Audio Mode ............................
Fast .......................................
Slow Play ...............................
Repeat Mode ..........................
Repeat A-B.............................
Subtitle ..................................
Angle .....................................
Goto ......................................
Display (Resume Time)............
Resume Play...........................
Zoom .....................................
Program Mode ........................
Picture CD ..............................
Specifications ..........................
2 - 4
5
6
4