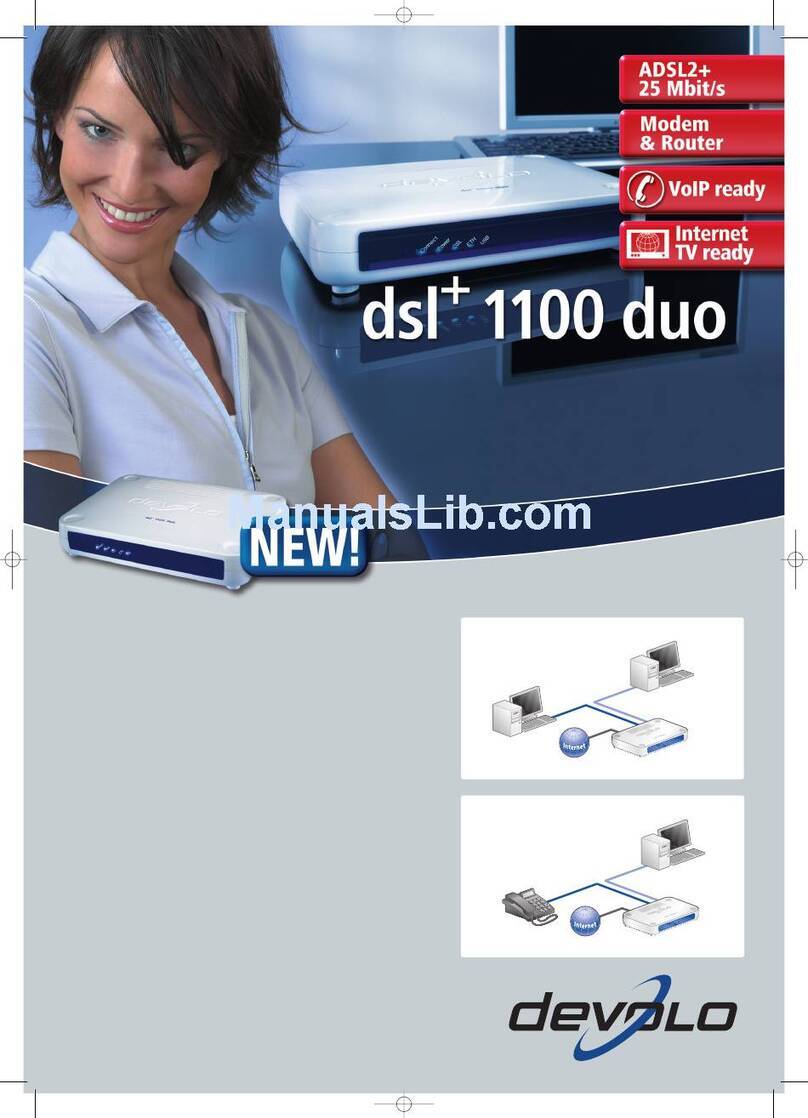
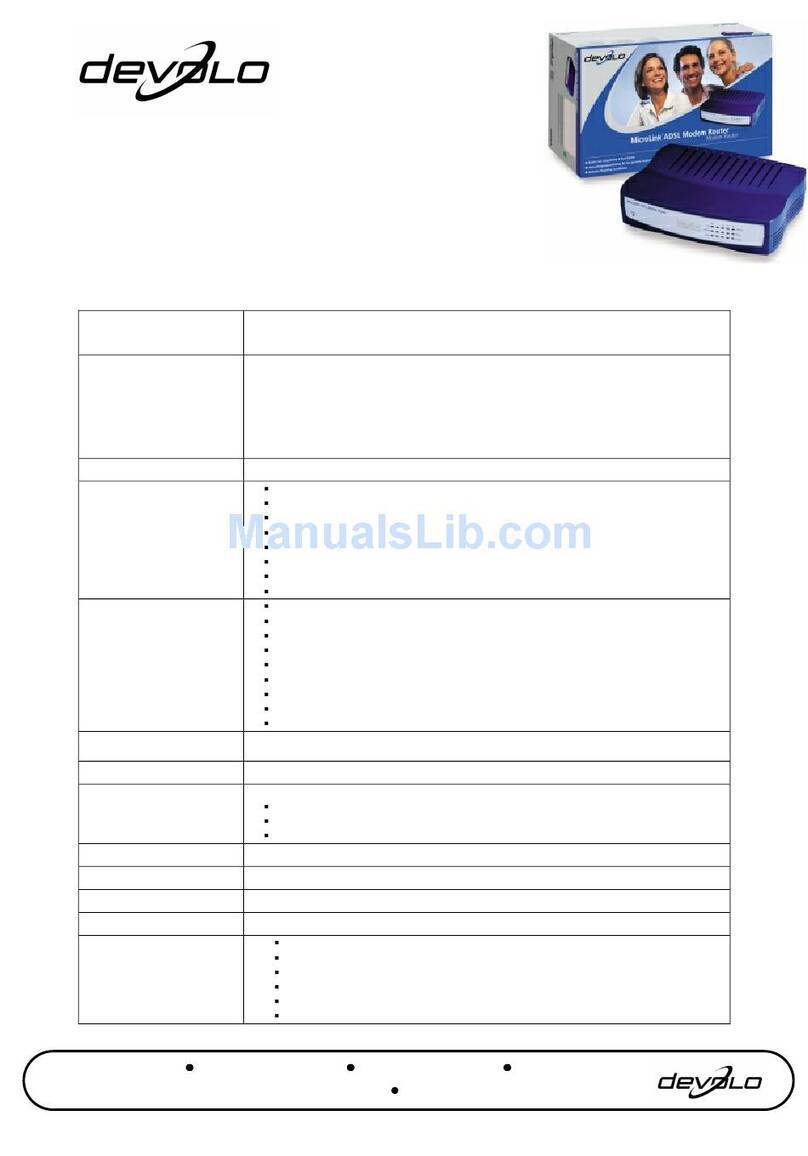
Devolo dsl+ 1100 duo User manual

dsl+
1100 duo

© 2006 devolo AG, Aachen (Germany)
While the information in this manual has been compiled with great care, it may not be deemed an assurance of product char-
acteristics. devolo shall be liable only to the degree specified in the terms of sale and delivery.
The reproduction and distribution of the documentation and software supplied with this product and the use of its contents is
subject to written authorization from devolo. We reserve the right to make any alterations that arise as the result of technical
development.
You can find all declarations and certifications of compliance for the products, as long as they were available at the time of
publication, in the appendix of this documentation.
Trademarks
Windows®and Microsoft®are registered trademarks of Microsoft, Corp.
Mac®is a registered trademark of Apple Computer, Inc.
Linux®is a registered trademark of Linus Torvalds.
The firmware package from devolo contains files which are covered by different licenses, in particular under devolo proprietary
license and under open source license (GNU General Public License, GNU Lesser General Public License or FreeBSD License).
The source code which is available for Open Source distribution can be requested in writing from [email protected].
devolo and the devolo logo are registered trademarks of devolo AG. All other names mentioned may be trademarks or regis-
tered trademarks of their respective owners.
Subject to change without notice. No liability for technical errors or omissions.
devolo AG
Sonnenweg 11
52070 Aachen
Germany
www.devolo.com
Aachen, August 2006

|
|devolo dsl+ 1100 duo |
Preface
Thank you for placing your trust in this devolo product.
With the dsl+ 1100 duo you have chosen a DSL modem router which cleverly
combines the functions and advantages of a router and DSL modem according
to the latest ADSL2+ standard—including a preconfigured firewall for protec-
tion against attacks from the Internet. The really simple and straight forward
installation of the dsl+ 1100 duo is at the focus of attention. In a few steps the
dsl+ 1100 duo offers you an optimal and user-friendly network and Internet
access solution for your home—both for private use or in a SOHO (Small Office/
Home Office).
With the integrated DSL modem according to the latest ADSL2+ standard you
are prepared both for current standard DSL connection speeds of 1 Mbps to 6
Mbps and also for future DSL connection speeds of up to 25 Mbps.
About this manual
Exacting manufacturing standards and stringent quality control are the basis for
high product standards and consistent quality to ensure your fullest satisfaction
with this dsl+ 1100 duo.
This documentation was compiled by several members of our staff from a variety
of departments in order to ensure you the best possible support when using your
product.
For further information, please visit 'www.devolo.com'
Our online services (www.devolo.com) are available to you around the clock
should you have any queries or require any further support.

|
|devolo dsl+ 1100 duo |
Package contents
Please ensure that the delivery is complete before beginning with the installation
of your router:
dsl+ 1100 duo
Mains power adapter for connection to a power supply
DSL cable (length: 5 m) for the connection of the dsl+ 1100 duo with the DSL
connector
Network cable (length: 3 m) for the connection of the dsl+ 1100 duo with a
computer, network switch or hub
USB cable (length:1.5 m) for the connection of the dsl+ 1100 duo with a
computer
Printed installation flyer
dsl+ 1100 duo CD with
Installation wizard
Product manual
Network manual
Software
devolo AG reserves the right to change the package contents without prior
notice.
Description of the symbols
Here we briefly describe the meaning of the symbols used in this manual.
Very important notice which, if ignored, may lead to damage.
Important notice which should be heeded.
Additional information which is useful to know, but not vital.

|
|devolo dsl+ 1100 duo |
Contents
1 Introduction ..................................................................................... . . . . . . . . . . . . . 7
1.1 What is ADSL? ............................................................................... . . . . . . . . . . . . . 7
1.2 What does the dsl+ 1100 duo have to offer?................................... . . . . . . . . . . . . . 8
1.3 Virus scanner ................................................................................ . . . . . . . . . . . . . 10
1.4 Protect your child in the Internet with OrangeBox Web Home ........ . . . . . . . . . . . . . 10
2 Connection and installation ............................................................ . . . . . . . . . . . . 11
2.1 Display and connections .............................................................. . . . . . . . . . . . . . 11
2.2 Connecting the dsl+ 1100 duo ...................................................... . . . . . . . . . . . . . 12
2.2.1 Initial operation ............................................................. . . . . . . . . . . . . . 13
2.2.2 Installation of the USB driver under Windows ................. . . . . . . . . . . . . . 13
2.2.3 Installation of the USB driver on a Mac ........................... . . . . . . . . . . . . . 15
2.2.4 Installation of the USB driver under Linux ....................... . . . . . . . . . . . . . 15
2.3 Networking example ..................................................................... . . . . . . . . . . . . . 18
3 Router configuration ....................................................................... . . . . . . . . . . . . 19
3.1 Setting up Internet access using the configuration wizard ............. . . . . . . . . . . . . . 19
3.2 Setting up Internet access via a browser ........................................ . . . . . . . . . . . . . 20
3.3 Connection status ......................................................................... . . . . . . . . . . . . . 21
3.4 Expert configuration ...................................................................... . . . . . . . . . . . . . 21
3.4.1 Change configuration ..................................................... . . . . . . . . . . . . . 22
3.4.2 Save configuration file .................................................... . . . . . . . . . . . . . 25
3.4.3 Restore configuration file ............................................... . . . . . . . . . . . . . 26
3.4.4 Update firmware ............................................................ . . . . . . . . . . . . . 26
4 devolo software ............................................................................... . . . . . . . . . . . . 28
4.1 Overview of the devolo software .................................................... . . . . . . . . . . . . . 28
4.1.1 Informer ......................................................................... . . . . . . . . . . . . . 28
4.1.2 Extended Port Forwarding .............................................. . . . . . . . . . . . . . 28
4.1.3 EasyShare ...................................................................... . . . . . . . . . . . . . 28
4.1.4 EasyClean ...................................................................... . . . . . . . . . . . . . 28
4.2 Installing the devolo software ....................................................... . . . . . . . . . . . . . 28
4.3 Overview in the network with the Informer .................................... . . . . . . . . . . . . . 29
4.4 Port forwarding with Extended Port Forwarding ............................. . . . . . . . . . . . . . 30
4.5 Communication in the network using EasyShare ............................ . . . . . . . . . . . . . 31
4.5.1 Configuration ................................................................. . . . . . . . . . . . . . 31
4.6 Maintain your privacy with EasyClean ............................................ . . . . . . . . . . . . . 33
|
|devolo dsl+ 1100 duo |
5 Appendix .......................................................................................... . . . . . . . . . . . . 35
5.1 Performance data and specifications ............................................. . . . . . . . . . . . . . 35
5.2 Declaration of conformity .............................................................. . . . . . . . . . . . . . 37
5.3 Care and maintenance of the device .............................................. . . . . . . . . . . . . . 38
5.4 CE conformity ............................................................................... . . . . . . . . . . . . . 38
5.5 Warranty conditions ...................................................................... . . . . . . . . . . . . . 39

|Introduction 7
|devolo dsl+ 1100 duo |
1 Introduction
1.1 What is ADSL?
The sheer speed of development of computer technology over the last few years
has resulted in a huge increase in the volume of electronic data traffic. More
users want to send and receive a constantly increasing volume of data. A
demand which offers fertile grounds for the development of broadband technol-
ogy.
ADSL (Asymmetric Digital Subscriber Line) and the advanced ADSL2+ is a trans-
mission technology which offers genuine broadband communication to the user.
The “last mile” connects the customer to the network via copper telephone lines.
Because telephone lines are used to transmit data, the spread of this access
technology has been relatively fast.
Together with the ADSL technology on the copper twin wire of the telephone
lines, three differently large frequency ranges are used: Two for data communi-
cations and one for telephony. The term 'Asymmetric' indicates that the trans-
mitting and receiving channels can carry different quantities of data:
When the user surfs the Internet, the data sent to the Internet service pro-
vider (ISP) tends to carry less information (e. g. addresses of web sites or e-
mails). The transmission rate of up to 1 Mbps is generally sufficient for this
purpose.
To load multimedia content (video sequences, animations, images etc.) onto
the computer from the Internet at acceptable quality and speed, a transmis-
sion rate of up to 25 Mbps brings significant savings in terms of cost and
time.

Introduction |
|devolo dsl+ 1100 duo |
8
1.2 What does the dsl+ 1100 duo have to offer?
The dsl+ 1100 duo is a DSL modem router for the simple and fast connection to
the Internet. The various connection possibilities of the dsl+ 1100 duo enable
one or more computers to be connected with your DSL connection. Every con-
nected computer can go on the Internet via the dsl+ 1100 duo.
Quickly and simply online!
The very easily understandable and easy-to-use web browser configuration with
a setup wizard helps you quickly and simply to the correct configuration of your
DSL Internet access.
Connect the dsl+ 1100 duo to the mains power via the supplied mains
power adapter
Connect the dsl+ 1100 duo with the supplied DSL cable to the existing DSL
connection.
Connect the dsl+ 1100 duo to the computer with the enclosed network cable
or a USB cable.
Configuring the Internet access:
For Windows users: Insert the CD and configure the Internet access with
the help of the configuration wizard.
For Mac and Linux users: Configure Internet access with the help of the
setup wizard in the web browser.
Ready!
Faster in the Internet!
With the dsl+ 1100 duo you can surf with download rates of up to 25 Mbps on
the Internet, download files, play online games and much more. The “World
Wide Wait” is a thing of the past.
Surf together!
Use a DSL line to go into the Internet at the same time and have fun together.
The dsl+ 1100 duo enables the simultaneous Internet access of two PCs. If this
is not enough, then connecting a switch to the network will provide a greater
number of computers with Internet access.
Simultaneous surfing and telephoning via the Internet!
Using the dsl+ 1100 duo you can employ Voice-over-IP (VoIP) for your phone
calls. In order to ensure good speech quality even when you are surfing the

|Introduction 9
|devolo dsl+ 1100 duo |
Internet, the packets necessary for speech transmission are given priority by the
dsl+ 1100 duo. Please note that for the use of Internet telephony, registration
with an Internet telephone service provider as well as additional PC software
(Softphone) or hardware (IP telephone, VoIP adapter) are necessary.
Meets the highest quality standards!
The products from devolo are subjected to thorough German quality assurance.
In this way, devolo assures the optimal functionality with operating systems,
international versions and protocols.
Security plays a big role!
The security of the PCs is assured as optimal access protection is provided by the
integrated firewall with powerful filters. In addition anti-virus software is also
supplied.
Configuration for experts!
Further special settings for experienced users can be made after you connect the
dsl+ 1100 duo to one or more computers or a network hub or switch, via the
user interface of the dsl+ 1100 duo. Access is open to anyone with a computer
connected to the dsl+ 1100 duo.
1.3 Virus scanner
The dsl+ 1100 duo is supplied with the Norman Virus Control software. Norman
Virus Control is an anti-virus program that monitors your PC for malicious soft-
ware, also referred to as malware. The most common types of malware are
viruses, worms, and trojans. For the sake of simplicity, we often use the term
virus as a collective description.
Norman Virus Control can detect and remove known and unknown viruses from
hard disks, floppy disks, e-mail attachments, etc. Norman Virus Control checks
files when they are accessed, and possible viruses are removed automatically. If
Norman Virus Control is unable to clean an infected file, you will receive a warn-
ing and instructions on how to proceed.

Introduction |
|devolo dsl+ 1100 duo |
10
1.4 Protect your child in the Internet with
OrangeBox Web Home
The Internet has become an everyday tool for everybody: Large or small, young
or old, for private use or for business—the whole world is using the worldwide
web as a platform for exchanging information. But there are also potential
threats which parents need to protect their children from.
The OrangeBox Web Home software, which is supplied with the dsl+ 1100 duo,
provides more protection for your child in the Internet. It allows you to set filters
that allow Internet pages to be accessed or blocked. Internet access can even be
blocked completely.

|Connection and installation 11
|devolo dsl+ 1100 duo |
2 Connection and installation
In this chapter, we will explain the displays and connections of the dsl+ 1100
duo and show you how to set up the device. In addition, we describe the con-
nection of the computers and the installation of the USB driver. A network
example is illustrated at the end of the chapter.
2.1 Display and connections
Connect Lit when an active Internet connection exists.
Power Lit when it is switched on.
DSL DSL connection; flashes while setting up a connection; lit
when a connection exists.
ETH Lit when a computer or another network device is connected;
flashes during data transfers.
USB Lit when a computer or another network device is connected;
flashes during data transfers.

Connection and installation |
|devolo dsl+ 1100 duo |
12
The plate on the back of the device is removable.
2.2 Connecting the dsl+ 1100 duo
Connecting one or more computers
Two computers can be directly connected to the dsl+ 1100 duo via a USB con-
nection and also a network connection. You can attach a network hub or a
switch to the network connection and therefore connect further computers to
the dsl+ 1100 duo. All computers connected to the dsl+ 1100 duo are in the
same network and can access shared files or printers on that network.
Prerequisites for operation
In order to be able to work with your dsl+ 1100 duo, you will need a computer
with a network-capable operating system and web browser (e.g. Windows 98,
DSL RJ11 socket for DSL cable to DSL port.
USB USB socket for USB cable to connect a computer or another
network device in the LAN
ETH RJ45 socket for network cable (patch cable, at least UTP
CAT5) to connect a computer in the LAN or additional
switches.
Factory Default Button for manual reset.
If this button is pressed, the router restarts;
if this button is pressed for longer than five seconds, all of
the stored configuration data will be deleted and the router
will be restored to its factory defaults.
9V DC Connection to a power supply
Off/On Power switch

|Connection and installation 13
|devolo dsl+ 1100 duo |
Windows ME, Windows 2000, Windows XP (32-bit), Mac OS X, Linux) which is
connected to the dsl+ 1100 duo via the LAN, either by network or USB interface.
Internet connection for all computers
All computers connected to the dsl+ 1100 duo can access the Internet. Internet
access account data is required in order to create an Internet connection. The
dsl+ 1100 duo establishes the Internet connection; for this to happen, the
Internet connection data must be entered in the dsl+ 1100 duo. The dsl+ 1100
duo works as a DSL router, and all connected computers can simultaneously
access the Internet. Protection of the network from attacks from the Internet is
provided by the integrated and preconfigured firewall of the dsl+ 1100 duo.
2.2.1 Initial operation
햲Remove the plate on the back of the device.
햳Connect the dsl+ 1100 duo to the mains power via the provided mains
power adapter.
햴Then switch the device on using the switch located on the back. The 'Power'
light will illuminate on the front.
햵Connect the DSL cable to the DSL connection of your router and then con-
nect the other end to the DSL connection provided by your Internet provider.
햶Connect the supplied network cable to the 'ETH' network connection of your
router and then connect this to the network connection on your computer.
Alternatively, connect a USB cable to the USB interface of your router and
then connect this to the USB interface on your computer. Now start up the
connected computer. The corresponding control lamps 'ETH' or 'USB' will
illuminate.
2.2.2 Installation of the USB driver under Windows
When using the USB connection under Windows operating systems, an installa-
tion of the USB driver is necessary. It will be described under the operating sys-
tems Windows 98, Windows Me, Windows 2000 and Windows XP (32-bit).
The dsl+ 1100 duo supports plug&play. This makes installation much easier.
Windows wizards guide you through the installation process and request the
required data.

Connection and installation |
|devolo dsl+ 1100 duo |
14
Windows 98
햲Put the devolo product CD in your CD-ROM drive.
햳Windows starts the hardware wizard and reports that new hardware has
been detected. Confirm by clicking Next.
햴Windows provides you with two options for searching for drivers. Select the
'Search for the best driver for your device (Recommended)' option and click
Next.
햵The correct driver can be found on the devolo product CD. Activate the 'CD-
ROM drive' option and deactivate all other boxes. Then click Next. The
driver installation is started.
햶Click Next to continue the installation.
You may be prompted to insert the Windows 98 CD. Insert it into your CD-ROM
drive and click
OK
.
햷By clicking Finish you'll exit the installation.
햸Click Yes to any prompts to restart the computer.
Windows Me
햲Put the devolo product CD in your CD-ROM drive.
햳Windows starts the hardware wizard and reports that new hardware has
been detected. Confirm by clicking Next.
햴Windows provides you with two options for searching for drivers. Select the
'Automatic search for a better driver (Recommended)' option and click
Next. The driver installation is started.
햵By clicking Finish you'll exit the installation.
햶Confirm any prompts to restart the computer with Yes.
Windows 2000
햲Put the devolo product CD in your CD-ROM drive.
햳Windows 2000 starts the hardware wizard and reports that new hardware
has been detected. Click Next.
햴The wizard offers two options to search for the driver. Select the 'Search for
a suitable driver for my device (recommended)' option and click Next.

|Connection and installation 15
|devolo dsl+ 1100 duo |
햵The correct driver can be found on the devolo product CD. Activate the 'CD-
ROM drives' option and deactivate all other boxes. Then click Next. The
driver installation is started.
햶Click Next to continue the installation.
햷By clicking Finish you'll exit the installation.
Windows XP
햲Put the devolo product CD in your CD-ROM drive.
햳Windows XP starts the hardware wizard and reports that new hardware has
been detected.
햴In the following dialog window activate the option 'Install the software
automatically (Recommended)'. Click Next. The driver installation is
started.
햵By clicking Finish you'll exit the installation.
2.2.3 Installation of the USB driver on a Mac
When using the USB connection under Mac operating systems, the USB drivers
are installed automatically.
2.2.4 Installation of the USB driver under Linux
If you have connected the dsl+ 1100 duo via USB, your computer will recognise
the router as a network interface, which means that the dsl+ 1100 duo is to be
treated like any other network interface (e.g. a PCI network card).
Please note that the command
ifconfig -a
can only be executed as "root".
Entering the command ifconfig -a displays all network interfaces. Each net-
work connection has an identifier that consists of 'eth' and a unique number
(e.g. "0" for the first device, "1" for the second, etc.).
Configuration—single application (for installation test)
All of the IP addresses named here are examples only. They refer to the first net-
work interface eth0.
After listing all of the network interfaces with the command ifconfig -a, con-
tinue with the configuration with the following entry ifconfig eth0 198.168.0.1
netmask 255.255.255.0 up.

Connection and installation |
|devolo dsl+ 1100 duo |
16
Make sure that the new IP addresses are not already being used in your network
and that they lie within your existing range of IP addresses.
Configuration under SUSE Linux—permanent installation
The following procedure can only be executed as "root".
For the permanent installation under SUSE Linux, create a text file with the nec-
essary information for the adapter. Open any text editor (e.g. edit, pico) and
enter the following information:
if IP addresses are to be assigned dynamically:
BOOTPROTO='dhcp'
STARTMODE='hotplug'
Finally, save the file under the unique identifier of the network adapter
as follows: /etc/sysconfig/network/ifcfg-eth0
if IP addresses are to be assigned statically:
BOOTPROTO='static'
STARTMODE='hotplug'
IPADDR='192.168.0.1'
NETMASK='255.255.255.0'
Finally, save the file under the unique identifier of the network interface
as follows: /etc/sysconfig/network/ifcfg-eth0
Make sure that the new IP addresses are not already being used in your network
and that they lie within your existing range of IP addresses!
To define a gateway, create the file /etc/sysconfig/network/ifroute-eth0
and enter default 192.168.0.253
Make sure that the IP address is the same as that for the dsl
+
1100 duo. In most
cases the router in the network is the gateway.
A dsl
+
1100 duo connected by USB cannot be configured graphically with Yast.
If the dsl
+
1100 duo is connected via Ethernet you can configure the network
interface using Yast.
Configuration under Debian Linux—permanent installation
Please note that this procedure can only be executed as "root".
Under Debian Linux, append the following information to the file /etc/inter-
faces :

|Connection and installation 17
|devolo dsl+ 1100 duo |
if IP addresses are to be assigned dynamically:
auto eth0
iface eth0 inet dhcp
if IP addresses are to be assigned statically:
auto eth0
iface eth0 inet static
address 192.168.0.1
netmask 255.255.255.0
gateway 192.168.0.253 (only required for Internet access)
The file /etc/resolv.conf must be edited to ensure that the name resolution
(DNS) is executed correctly. Enter the IP address for the DNS server into this file,
e.g. nameserver 192.168.0.253 (only for Internet access)
Make sure that the IP address is the same as that for the dsl
+
1100 duo. In most
cases the network router is the DNS server.
Please note that operating multiple network interfaces can potentially cause
problems with DNS and routing. We recommend the use of DHCP for the assign-
ment of IP addresses so that the DNS and gateway are adapted automatically.
2.3 Networking example
Networking of two workstations via Ethernet and USB; Internet access via the
dsl+ 1100 duo
Information for the configuration of the dsl
+
1100 duo is available in the follow-
ing chapter Router configuration.
via USB
via Ethernet
devolo dsl+1100 duo

|Router configuration 19
|devolo dsl+ 1100 duo |
3 Router configuration
This chapter will explain how to set up Internet access and how to take advan-
tage of additional functions and settings of your router with advanced configu-
ration.
For configuring the network and setting up Internet access, we recommend
using the setup wizard, which will help you configure the necessary settings
(Setting up Internet access using the configuration wizard ).
Alternatively, you may also set up Internet access using browser-based config-
uration (Setting up Internet access via a browser). The dsl
+
1100 duo is already
optimally pre-configured for simple Internet access.
The additional functions of the router must be set up manually using the
browser-based configuration (Expert configuration).
3.1 Setting up Internet access using the configura-
tion wizard
If you are using a computer with a Windows operating system to configure the
router, you have the option of using the setup wizard.
햲Put the enclosed devolo product CD in your CD-ROM drive. The 'devolo dsl+
1100 duo' setup application will start automatically.
If the Setup software does not start automatically, run the file ’autorun.exe’ in
the root folder of the product CD.
햳Select 'Install dsl+ 1100 duo'.
햴The wizard will now install the selected devolo software on your computer.
When the installation is complete, the router configuration wizard will auto-
matically start. During this process, the wizard first checks the computer's
network settings and modifies them as necessary. Then the wizard helps you
set up Internet access for the router.
햵Finally, the wizard will contact the website www.devolo.com to ensure that
the Internet access is working. If the Internet connection is working cor-
rectly, configure the other connected computer. Insert the devolo product
CD in the computers to be configured and install 'dsl+ 1100 duo installation'
as a minimum. The wizard will then check the settings of the network and

Router configuration |
|devolo dsl+ 1100 duo |
20
correct them as necessary, and will skip setting up Internet access again if
so requested.
3.2 Setting up Internet access via a browser
If you cannot use the configuration wizard (e.g. if you are not using Windows as
your operating system) you can carry out the settings via the user interface.
The computer which is networked with the dsl
+
1100 duo must be set to auto-
matically acquire network information (DHCP). Further information regarding
the correct setting is available in the documentation of your operating system.
햲Open your web browser and enter the URL 'http://192.168.0.253'.
햳Click on the "Setup wizard" in order to configure your Internet access.
햴Select your country and click on Next.
햵Select your Internet provider and click on Next.
햶Enter your access information provided by your Internet provider (username,
password). Confirm the password and click on Next.
햷Complete the setting up of your Internet access with Finish. Your input is
then saved.

|Router configuration 21
|devolo dsl+ 1100 duo |
3.3 Connection status
If you have successfully set up the Internet connection, the router can automat-
ically make a connection to the Internet on behalf of the computer in the net-
work.
'DSL connection': Status of the DSL network connection. The DSL network
connection is used to establish the connection to the Internet. The DSL con-
nection can also be active even when there is no connection to the Internet
provider.
'Internet connection': The current IP address allocated by the Internet pro-
vider can be found here.
'PC connection': Status of the connection of the dsl+ 1100 duo to the com-
puter.
3.4 Expert configuration
In this chapter we will guide you through the expert configuration of the dsl+
1100 duo and explain its functions and settings.
햲Open your browser and enter the URL 'http://192.168.0.253'.
햳Select the link 'Expert configuration'.
햴Select the link 'Change configuration'.
Other manuals for dsl+ 1100 duo
2
Table of contents
Other Devolo Network Router manuals

Devolo
Devolo MicroLink ADSL Modem User manual

Devolo
Devolo MicroLink dLAN ADSL Modem User manual

Devolo
Devolo dLAN 200 AV Wireless G User manual

Devolo
Devolo MicroLink dLAN ISDN Router User manual

Devolo
Devolo MicroLink dLAN ISDN Router User manual

Devolo
Devolo MicroLink ISDN Router User manual

Devolo
Devolo 8577 User manual

Devolo
Devolo MicroLink ADSL Modem User manual

Devolo
Devolo dsl+ 1100 duo User manual

Devolo
Devolo MicroLink dLAN ADSL Modem User manual