Digi Customizing Platform Code In Digi Embedded Linux
Copyright 2009 Digi International Page 7/8
V1.0
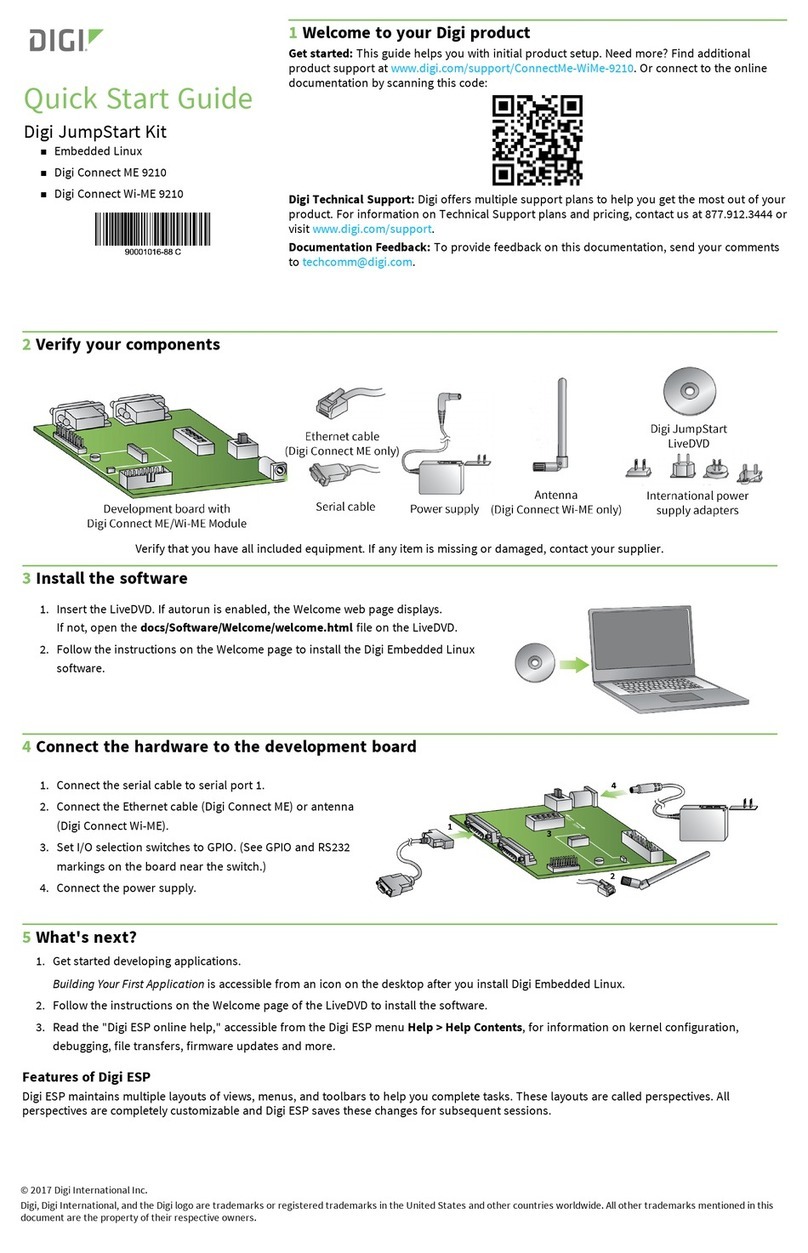
4 Hardware Setup
Turn off the development board.
Connect the power cable.
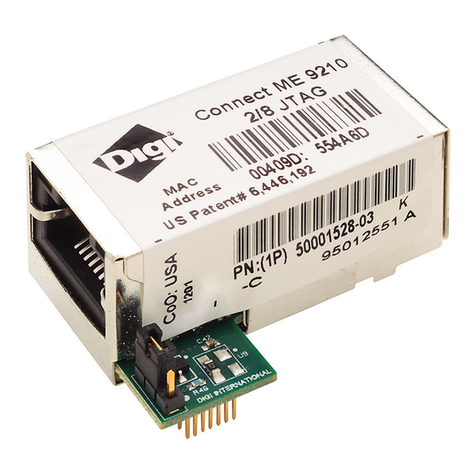
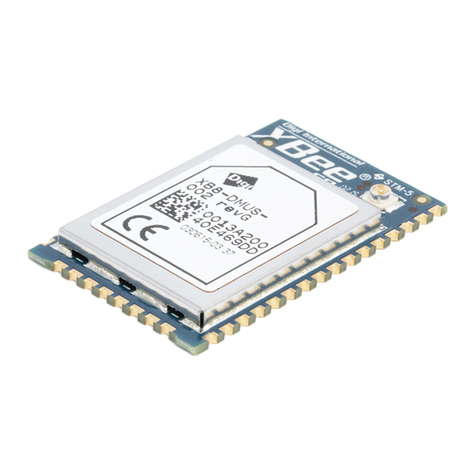
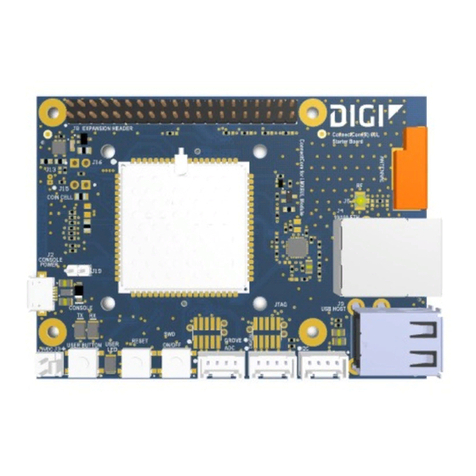
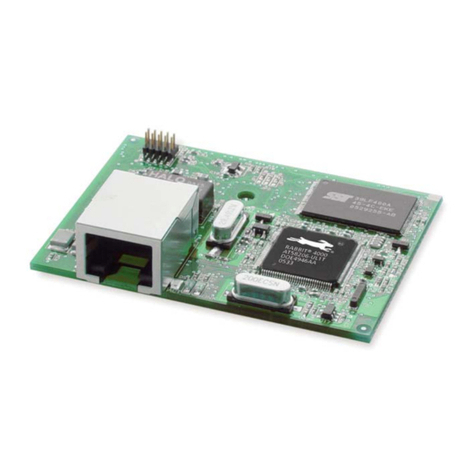
Plug Connect ME 9210 module to the development board.
Connect Ethernet cable to Connect ME 9210 to your development PC (for
updating firmware).
Connect a serial null modem cable (pins 2 and 3 crossed) to your host computer
(e.g. COMA is the CONSOLE). Plug the cable into Serial Port A of the Digi
development board.
Connect a serial null modem cable (pins 2 and 3 crossed) to your host computer
(e.g. COMB is the serial Port 2). Plug the cable into Serial Port B of the Digi
development board.
Set the devboard SW3 dip switches to any hardware handshake you have enabled
in the kernel config
5 Testing
Run the new build kernel on the Digi Connect ME 9210 module (e.g. update the image in
flash build in section 3).
Start a terminal program with 38400 8N1 on your development host on COM1 (console)
and COM2 (serial port 2). Boot Linux on the Digi Connect ME 9210 module. On the
serial console (COM1), configure the serial interface:
# stty -F /dev/ttyNS2 38400
Send some test string from the ConnectME 9210 serial port A (console) to the
development host (COM2 serial port B):
# echo “Hello World” >/dev/ttyNS2
Check if the test string is received by your terminal program on COM2.
Send some test string from the development host via the serial port 2 to the Digi Connect
ME 9210. First start a program on the Connect ME 9210 which is able to receive the
chars, e.g.:
# cat /dev/ttyNS2
Enter some string on the COM2 serial port 2 terminal program of your development host
(press Enter, if everything is configured in line mode which is the default) and check if it
is received on the Connect ME 9210 console.
