manuals.online logo
Brands
  1. Home
  2. •
  3. Brands
  4. •
  5. Digi
  6. •
  7. Switch
  8. •
  9. Digi One IAP User manual

Digi One IAP User manual

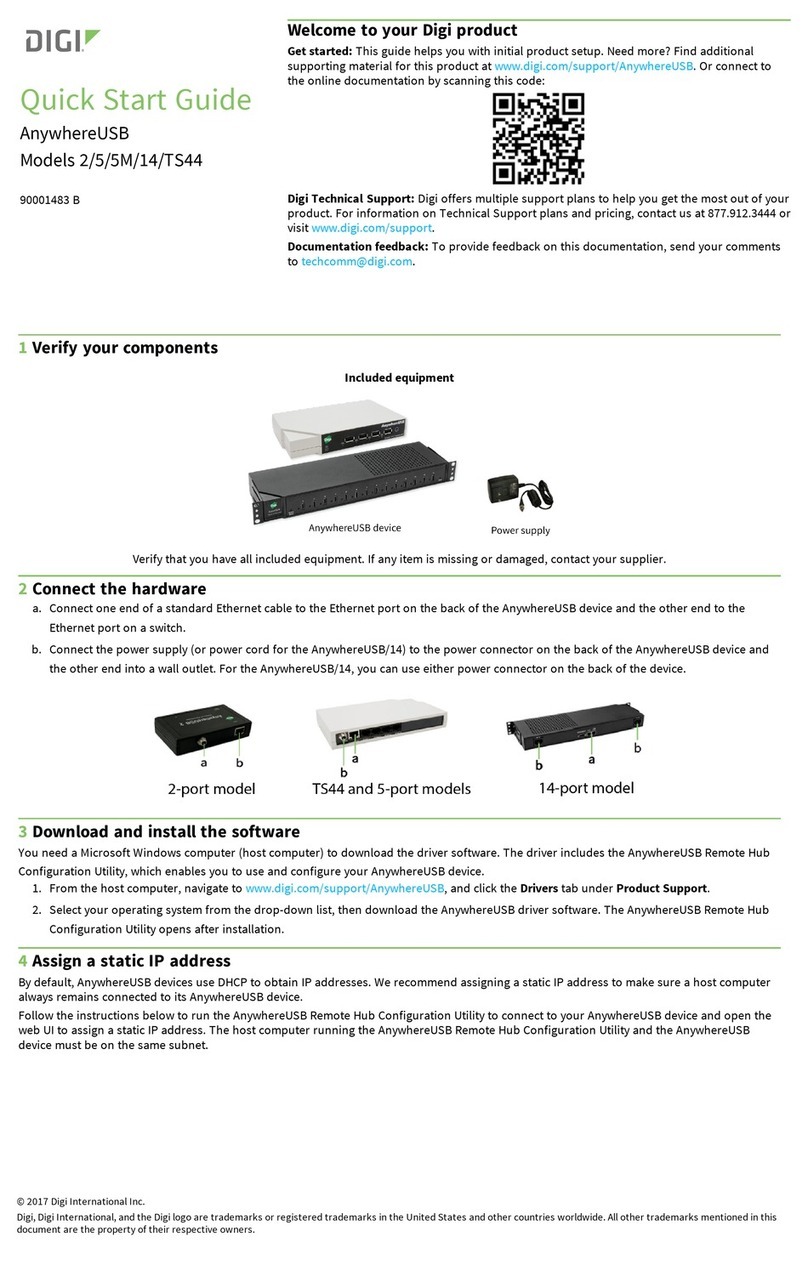
Quick Start Guide
Digi One™ IAP, Digi One™ IA, Digi
One™ IAP HAZ
Welcome to your Digi product
Get started: This guide helps you with initial product setup. Need more? Find additional
supporting material for this product at www.digi.com/products/serial-servers/digioneiapfamily.
Or connect to the online documentation by scanning this code:
Digi Technical Support: Digi offers multiple support plans to help you get the most out of your
product. For information on Technical Support plans and pricing, contact us at 877.912.3444 or
visit www.digi.com/support.
Documentation feedback: To provide feedback on this documentation, send your comments to
techcomm@digi.com.
1Verify your components
Included equipment
Verify that you have all included equipment. If any item is missing or damaged, contact your supplier.
2Set the DIPswitch or screw-terminal pins
1. Set the serial DIP switch according to your serial device requirements (EIA-232/422/485). The pinouts are on the back of the device.
Switch settings
*If switch 4 is up, termination resister is connected.
If down, termination resistor is not connected.
DB-9 RS-232 RS-422/485
Full-duplex
RS-485
Half_duplex Screw term
2 RxD RxD+ RxD+ 6
3 TxD TxD+ TxD+ 3
7 RTS RTS+ Not used 1
8 CTS CTS+ Not used 8
5 GND GND GND 5
6 DSR RxD- RxD- 7
1 DCD CTS- Not used 9
4 DTR RTS- Not used 2
9 NA TxD- TxD- 4
© 2017 Digi International Inc.
Digi, Digi International, and the Digi logo are trademarks or registered trademarks in the United States and other countries worldwide. All other trademarks mentioned in this
document are the property of their respective owners.
2. Digi One IAP only: Set pass-through settings.
Switch position Port 1 screw term Port 2 DB-9 Flow control
ON Follows switch
(232/422/485)
RS-232
only
Hardware flow
control supported
OFF Follows switch
(232/422/485)
Follows switch
(232/422/485)
Hardware flow
control supported
Connect the hardware
a. Connect serial cable (DB-9 shown).
b. Connect the Ethernet cable (not provided).
c. Connect the power source.
Note Ethernet link LED
Green = good link
Off = no link
Note Wiring terminals should be tightened to 5 inches per pound. Use
copper conductors only.
What's next?
Download the necessary drivers and utilities from the Product Support section at www.digi.com/products/serial-servers/digioneiapfamily. You
can also find additional information at knowledge.digi.com.

Other manuals for One IAP

1

This manual suits for next models

2

Other Digi Switch manuals

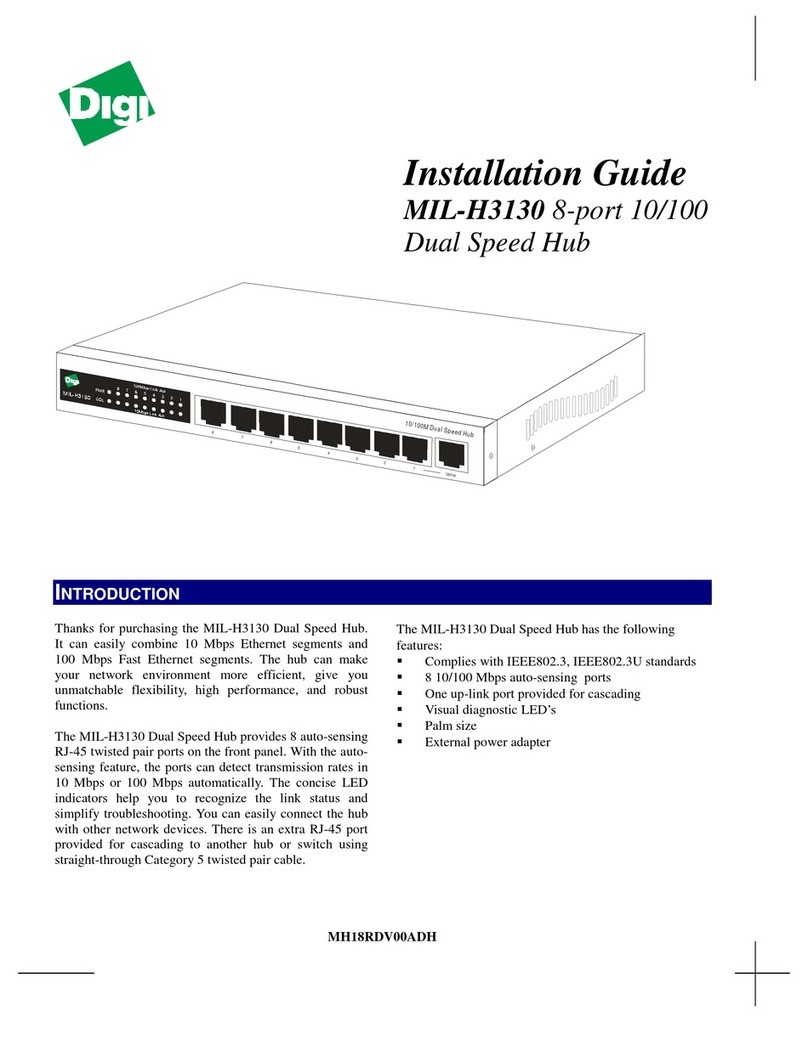
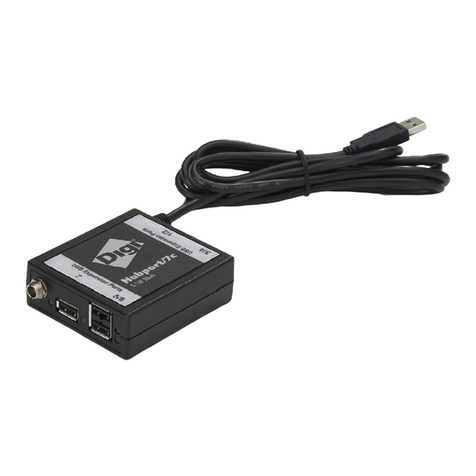
Digi Hubport /4 User manual

Digi

Digi Hubport /4 User manual

Digi MIL-4511H User manual

Digi

Digi MIL-4511H User manual

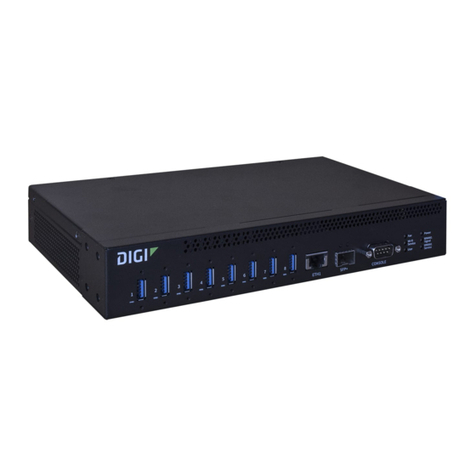
Digi ANYWHEREUSB Operational manual

Digi

Digi ANYWHEREUSB Operational manual

Digi CM User manual

Digi

Digi CM User manual

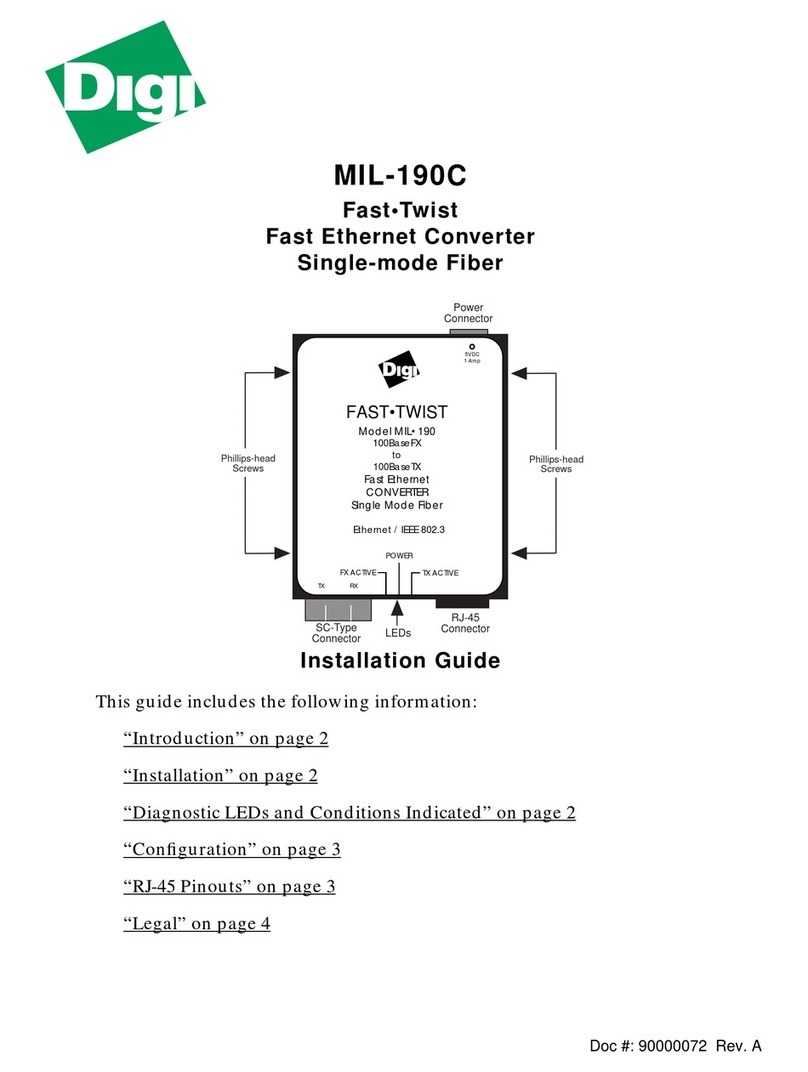
Digi MIL-190C User manual

Digi

Digi MIL-190C User manual

Digi MIL-S3120 User manual

Digi

Digi MIL-S3120 User manual

Digi MIL-S3160 User manual

Digi

Digi MIL-S3160 User manual

Digi EL 2 Owner's manual

Digi

Digi EL 2 Owner's manual

Digi AnywhereUSB Plus User manual

Digi

Digi AnywhereUSB Plus User manual

Digi Hubport Series User manual

Digi

Digi Hubport Series User manual

Digi MIL-H3130 User manual

Digi

Digi MIL-H3130 User manual

Digi ConnectPort TS 8 User manual

Digi

Digi ConnectPort TS 8 User manual

Digi MIL-4711H User manual

Digi

Digi MIL-4711H User manual

Digi AnywhereUSB Plus Series User manual

Digi

Digi AnywhereUSB Plus Series User manual

Digi 910H User manual

Digi

Digi 910H User manual

Digi MIL-5008H User manual

Digi

Digi MIL-5008H User manual

Digi ANYWHEREUSB User manual

Digi

Digi ANYWHEREUSB User manual

Digi 5220 Series Operational manual

Digi

Digi 5220 Series Operational manual

Digi DIGI EIA-422 Technical manual

Digi

Digi DIGI EIA-422 Technical manual

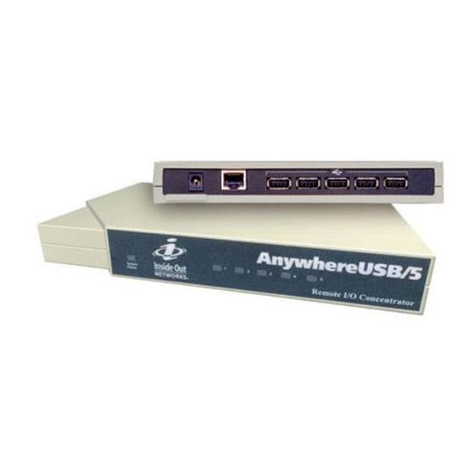
Digi AnywhereUSB/5 User manual

Digi

Digi AnywhereUSB/5 User manual

Digi MIL-510H User manual

Digi

Digi MIL-510H User manual

Digi AnywhereUSB Series User manual

Digi

Digi AnywhereUSB Series User manual

Digi AnywhereUSB Plus Series User manual

Digi

Digi AnywhereUSB Plus Series User manual

Digi Digi Utility User manual

Digi

Digi Digi Utility User manual

Popular Switch manuals by other brands

Lindy CPU Switch Duo Installation and use

Lindy

Lindy CPU Switch Duo Installation and use

NETGEAR GS728TPS Smart Switch installation guide

NETGEAR

NETGEAR GS728TPS Smart Switch installation guide

Vipergear ICP V1.7 Operation

Vipergear

Vipergear ICP V1.7 Operation

Ascale AS?6244C user manual

Ascale

Ascale AS?6244C user manual

ATEN ALTUSEN SN0108 user manual

ATEN

ATEN ALTUSEN SN0108 user manual

IOGear MiniView Extreme GCS1732 user manual

IOGear

IOGear MiniView Extreme GCS1732 user manual

TRENDnet TEG-S80ES user guide

TRENDnet

TRENDnet TEG-S80ES user guide

Belkin F1U126-KIT user manual

Belkin

Belkin F1U126-KIT user manual

Festo SMT-8M-***-24V Series quick start guide

Festo

Festo SMT-8M-***-24V Series quick start guide

CHINT YBLX-ME Mounting instructions

CHINT

CHINT YBLX-ME Mounting instructions

Hama 00176551 operating instructions

Hama

Hama 00176551 operating instructions

Ruijie RG-NBS5200 Series Hardware  installation and reference guide

Ruijie

Ruijie RG-NBS5200 Series Hardware installation and reference guide

Videotec SW42K operating instructions

Videotec

Videotec SW42K operating instructions

SMC Networks TigerSwitch Management guide

SMC Networks

SMC Networks TigerSwitch Management guide

Fujitsu KVM0108A user guide

Fujitsu

Fujitsu KVM0108A user guide

Lantronix SISTP1040-382B-LRT install guide

Lantronix

Lantronix SISTP1040-382B-LRT install guide

Honeywell Krom Schroder DG H Series operating instructions

Honeywell

Honeywell Krom Schroder DG H Series operating instructions

Crestron GREEN LIGHT GLPX-HSW-FT installation guide

Crestron

Crestron GREEN LIGHT GLPX-HSW-FT installation guide

manuals.online logo
manuals.online logoBrands
  • About & Mission
  • Contact us
  • Privacy Policy
  • Terms and Conditions

Copyright 2025 Manuals.Online. All Rights Reserved.