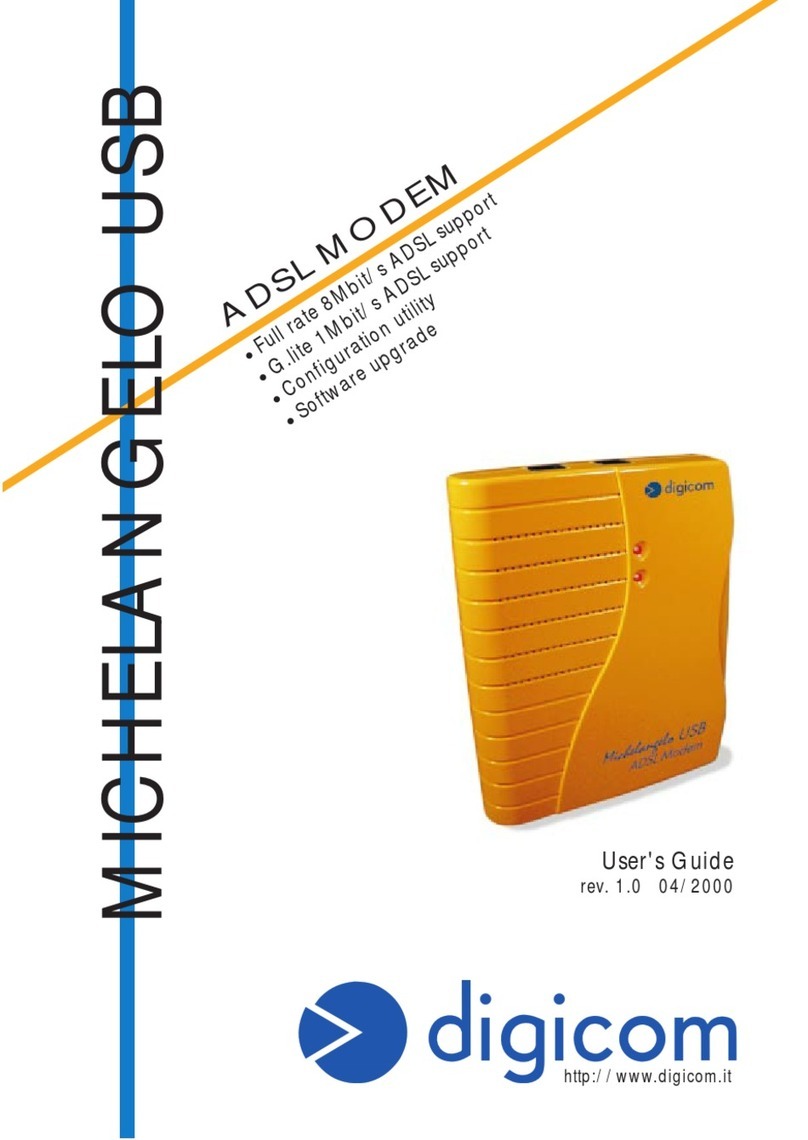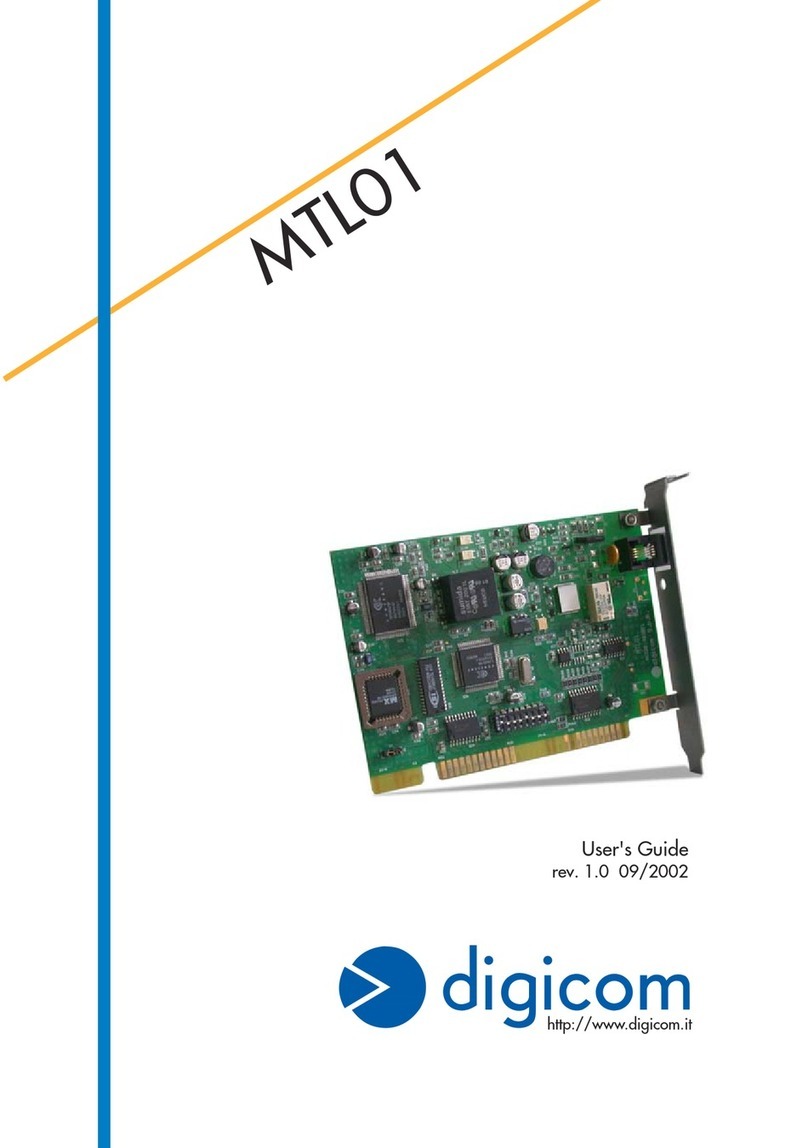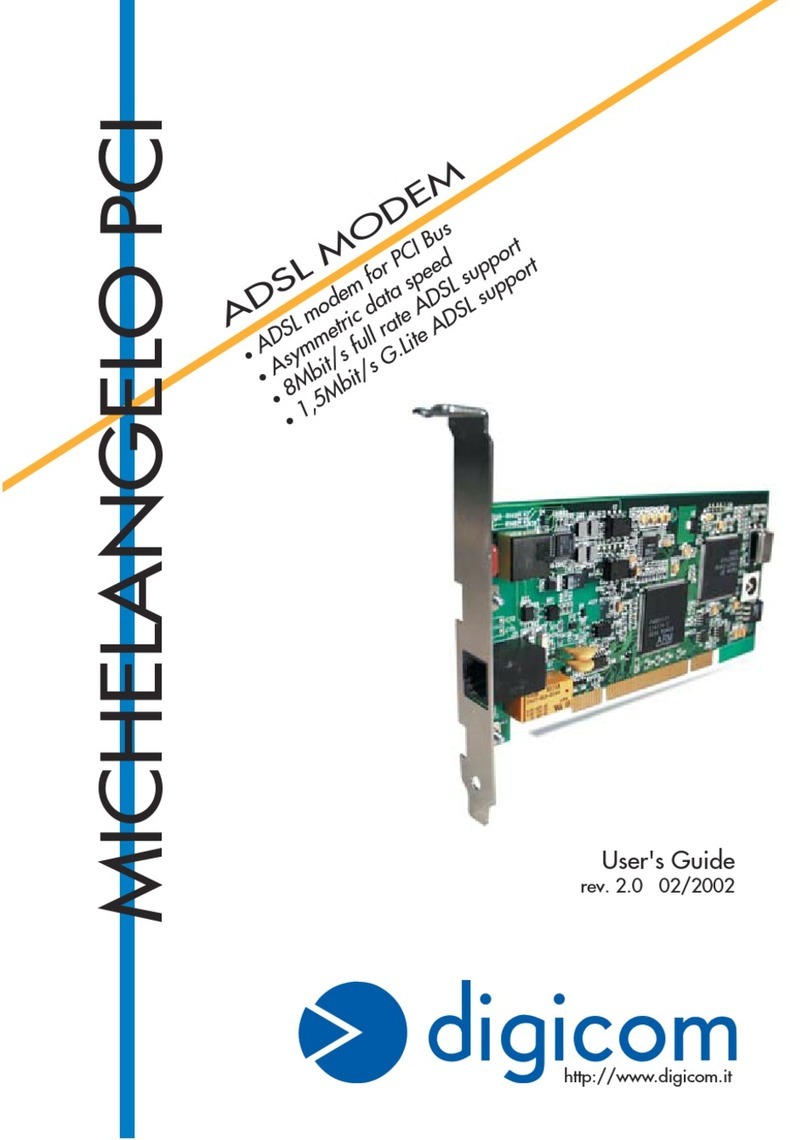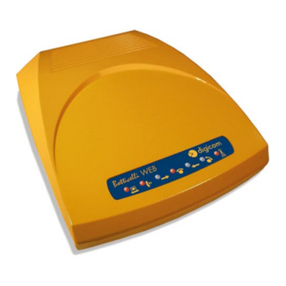
This quick guide describes the installation procedure
for Michelangelo PCI. The complete manual is present
in the CD-ROM.
HARDWARE INSTALLATION
Caution: Power off your computer and remove
the plug before going on with the following
procedure:
l Remove the computer cover.
l Choose a free PCI bus slot.
l Remove the slot cover and keep the screw.
l Carefully insert Michelangelo PCI into the
selected slot.
l Secure the bracket with the screw.
l Close the computer cover and plug it.
l Connect the telephone cable to the ADSL line.
l For the next steps see the Software Installation section.
SOFTWARE INSTALLATION
(WINDOWS® XP,2000, ME, 98)
At the next reboot, Windows® (98/98SE, ME, 2000) will automatically detect a new
hardware and start the driver installation process. Follow the instructions.
For a right installation you have to cancel the driver installation and then perform the
conguration utility. This will automatically install the right driver with your provider
conguration.
l Click on the “Cancel” button displayed in the PCI System Peripheral and PCI
ATM Controller windows.
l In the MichelangeloPCI folder, present in the CD-Rom, (D:\Utility\MichelangeloPCI)
double click the “Setup.exe” le.
l In the “Install the DSL Device” windows click on the “Next>” button.
l You have to select the right conguration. Ask your Provider for the prole to be
used. If a provider prole is already available, select it; otherwise cloose among
these generic prole:
Name RFC Description
EoA RFC1483 Routed IP over ATM LLCSNAP
PPPoA RFC2364 PPP over ATM VCMUX
PPPoE RFC2516 PPP over Ethernet LLCSNAP
Click on the “Next” button to continue the installation.
The utility conguration will now install and congure Michelangelo PCI. This could
take a few minutes. It’s possible that you have to restart the PC and insert the
CD-Rom of your operating system.
l Click on “Finish” to conrm the installation.
VERIFICA CONNESSIONE
E’ possibile vericare lo stato della connessione attraverso l’utility “Michelangelo
Control Panel”, di cui trovate un collegamento sul desktop.
Nel caso di problemi nel stabilire la connessione (operazione che potrebbe
richiedere alcuni minuti), è possibile modicare un parametro nella congurazione
di linea:
Eseguite Michelangelo Control Panel e premete i tasti ALT+P. Selezionate la
nestra Line Setup e modicare il parametro ADSL Head End ENV. da No Line
Driver (BNA) in Non-Specic.
CHECK THE CONNECTION
In order to check the connection use the “Michelangelo Control Panel” utility, you
will nd it on the Desktop.
If you experience any problem you can change the setting in Line Setup:
Use the “Michelangelo Control Panel” utility, press the “ALT and “P” key , chose
the Line Setup window and change the ADSL Head End ENV. parameter from No
Line Driver (BNA) to Non-Specic.

