PAGE 1 PAGE 2
(314) 205-3033 WWW.DIODEDYNAMICS.COM
1. On the driver side, remove the four bolts on
the cowl as shown in the picture to the left using
a T40 Torx bit and ratchet.
4. Repeat steps 1 through 3 on passenger side of the vehicle.
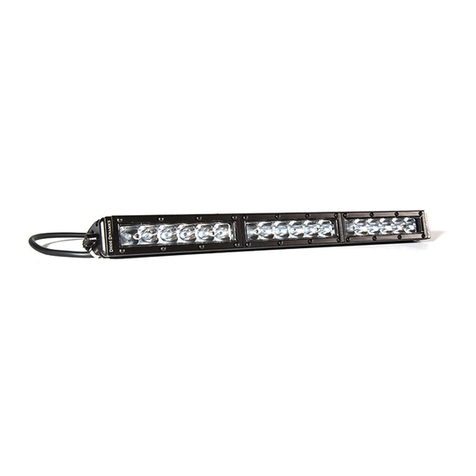
5. Assemble your lightbar using the included CrossLink lightbar instructions. Then mount
the assembled SS5 lightbar on the three mounting holes securing it loosely with the provided
M6 hardware. Adjust supports as needed.
If you purchased the SS50 kit, install the lightbar onto any of the three mounting holes
securing it loosely with the provided M6 hardware.
See back for further wiring instructions.
2. Secure the provided spacers on the four
bolt dimples.
NOTE: The two longer spacers are for the upper
bolt dimples near the windshield wiper and the
two shorter spacers are for the bottom bolt
dimples near the door hinge.
3. Before securing the bracket to the vehicle,
route your wiring harness behind the bracket.
Then place the windshield bracket on the
spacers and secure using the provided bolts
and a T40 torx bit and rachet.
NOTE: The two longer bolts are for the upper
bolt dimples near the windshield wiper and
the two shorter bolts are for the bottom
bolt dimples near the door hinge.
Tools Needed: T40 torx bit and ratchet
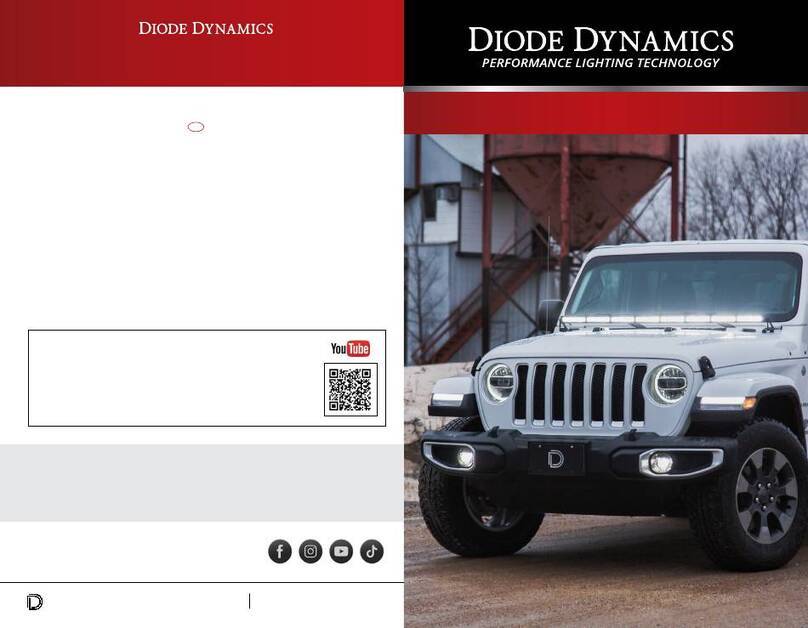
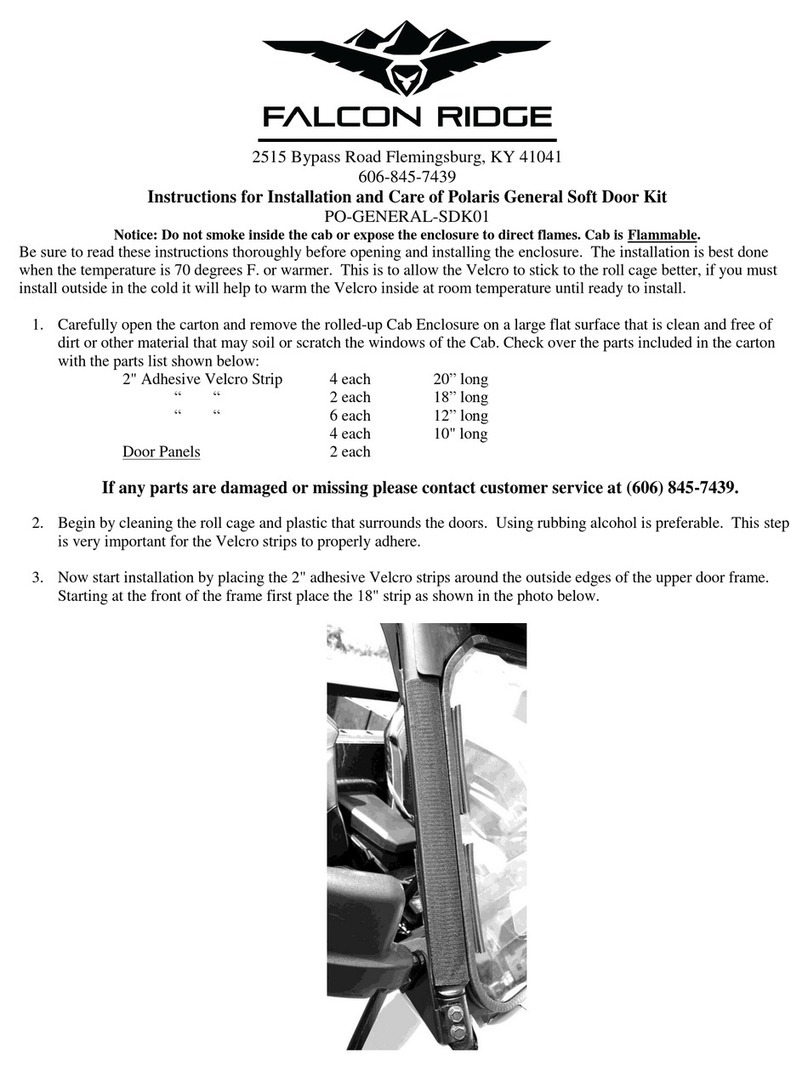
Thank you for your purchase of our new SS5 CrossLink or SS50 Windshield
Lightbar Kit. CAD-designed to use existing mounting points, this kit is
compatible with the 2018+ Jeep JL Wrangler and 2020+ Jeep JT
Gladiator. Installation instructions are included below.
Please contact us if you have any questions.
The following instructions are for the included OEM Auxiliary Switch Wiring Harness. This
harness is compatible with JL Wranglers and JT Gladiators with an Auxiliary Switch Bank.
If you do not have the Auxiliary Switch Bank, use the included heavy-duty harness to
complete the installation. All power sources must be fused.
Wiring Instructions
Factory grounding point
Main beam wire
7. Locate the four power wires for the Auxiliary
Switch Bank near the battery. Connect to one
of the 40A power wires. Using wire strippers,
remove enough insulation to make a good
connection. Insert the wire into the butt
connector and crimp it to secure
the connection.
Orange 10A Blue 10A
Brown 40AGreen 40A
8. Tap the backlight wire to your desired vehicle function. Any power source tapped must be
appropriately fused. If you are unsure, please contact a qualied installer. T-Taps are
included for this purpose.
Backlight wire
6. Route the included harness to the light(s) through the engine bay.
