Diode Dynamics DD7059 User manual
Other Diode Dynamics Automobile Accessories manuals
Diode Dynamics
Diode Dynamics DD5002 User manual
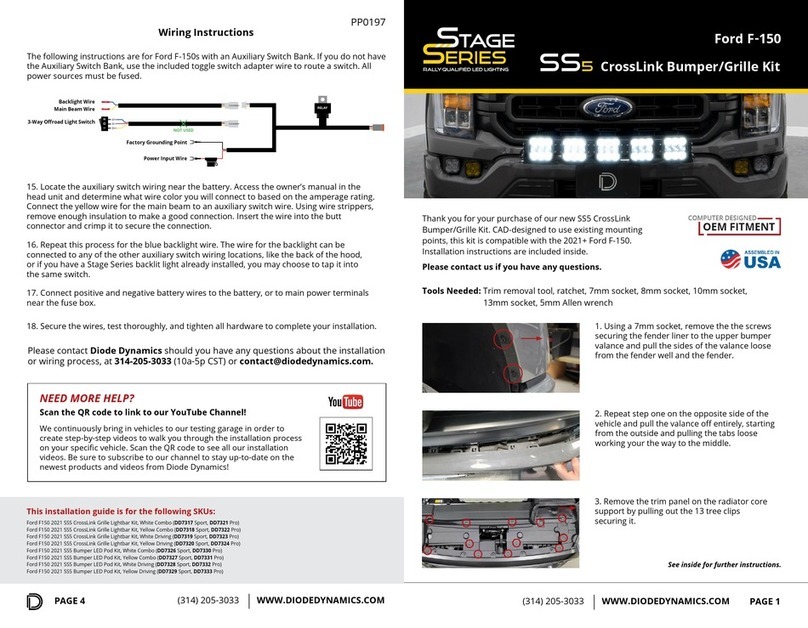
Diode Dynamics
Diode Dynamics SS5 User manual
Diode Dynamics
Diode Dynamics DD0442 User manual
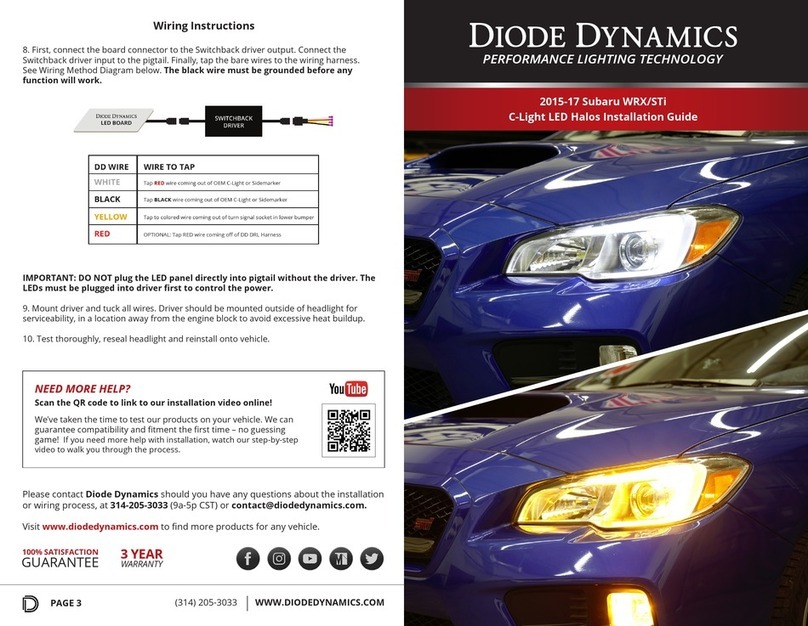
Diode Dynamics
Diode Dynamics C-Light LED Halos User manual
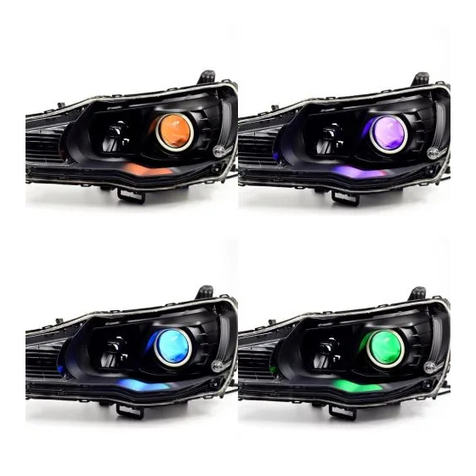
Diode Dynamics
Diode Dynamics Demon Eyes User manual
Diode Dynamics
Diode Dynamics DD6090 User manual
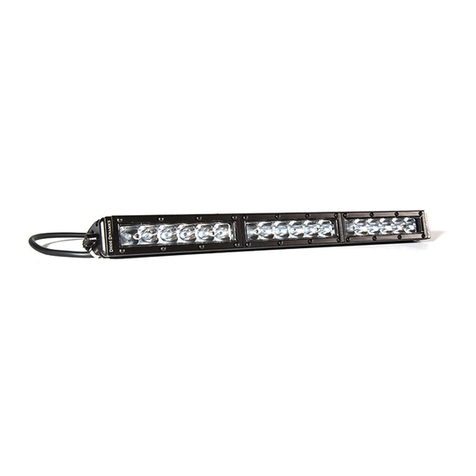
Diode Dynamics
Diode Dynamics SS18 Bracket Kit User manual
Diode Dynamics
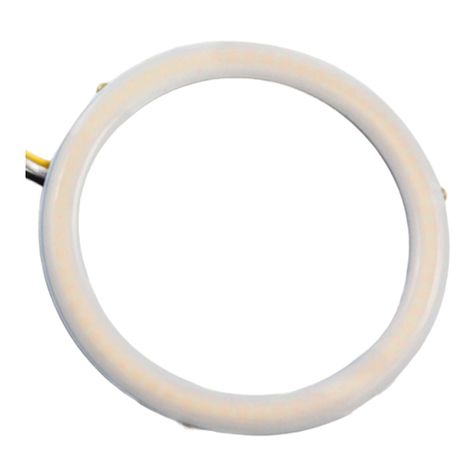
Diode Dynamics HD Halo User manual
Diode Dynamics
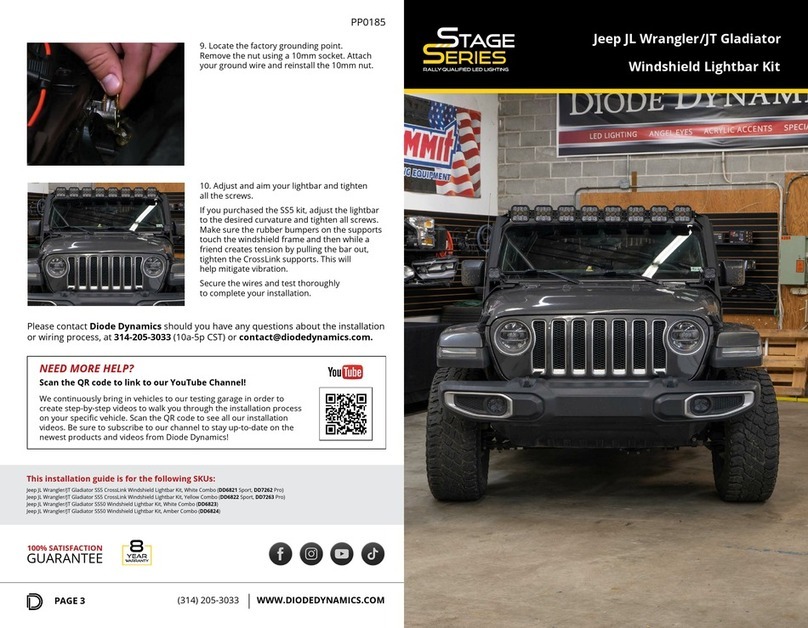
Diode Dynamics STAGE Series User manual

Diode Dynamics
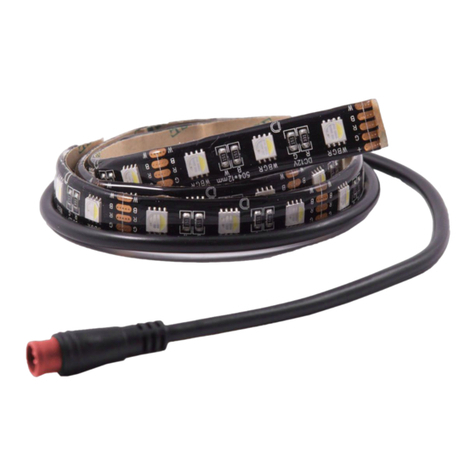
Diode Dynamics Stage Series User manual
Diode Dynamics
Diode Dynamics DD0438 User manual
Diode Dynamics
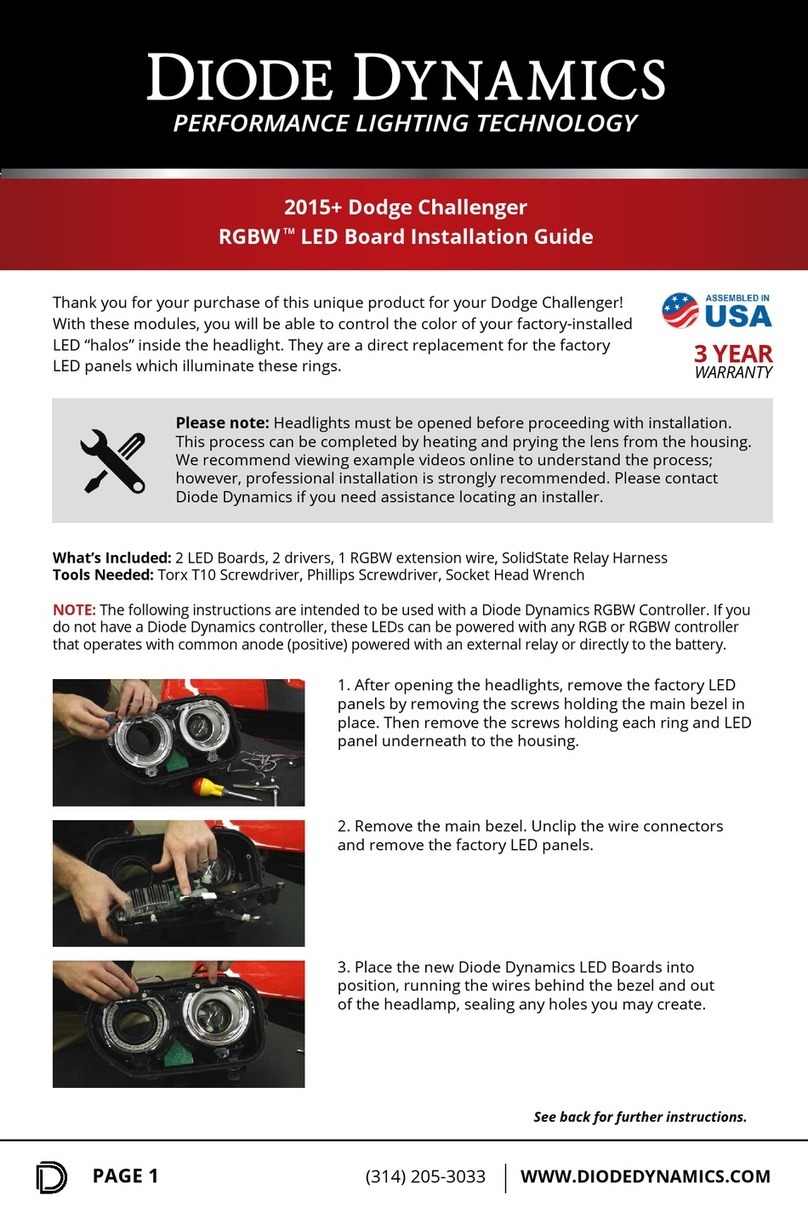
Diode Dynamics RGBW DD2163 User manual
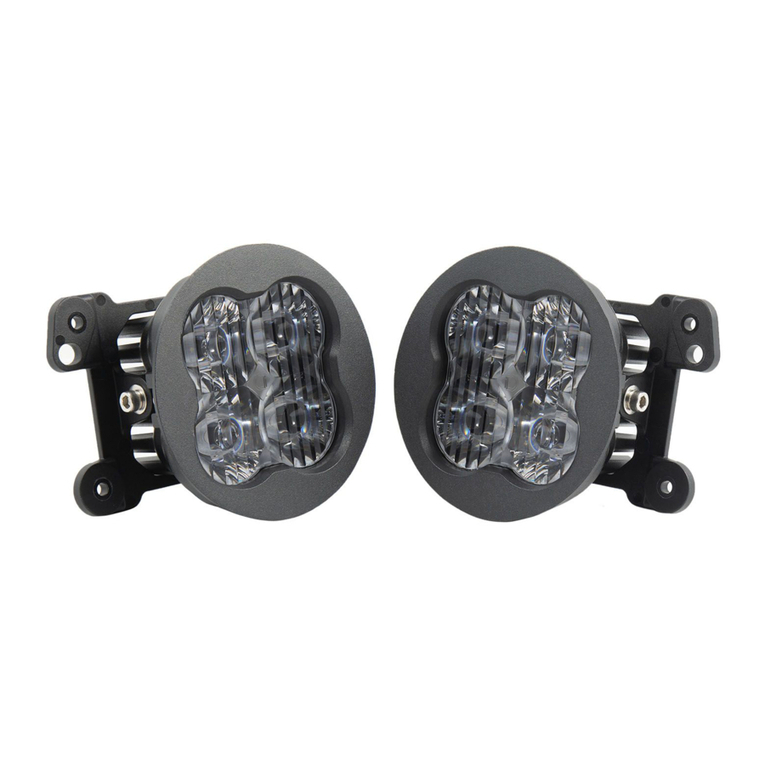
Diode Dynamics
Diode Dynamics Stage Series SS3 User manual
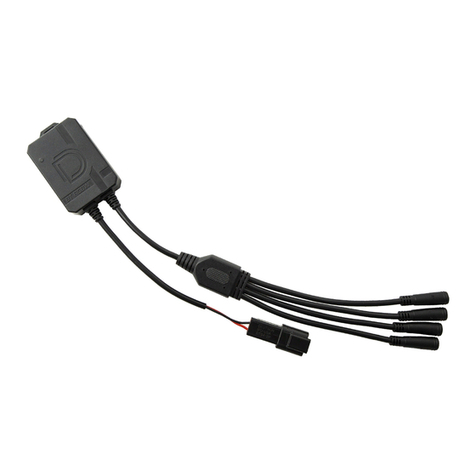
Diode Dynamics
Diode Dynamics RGBW LED Board User manual
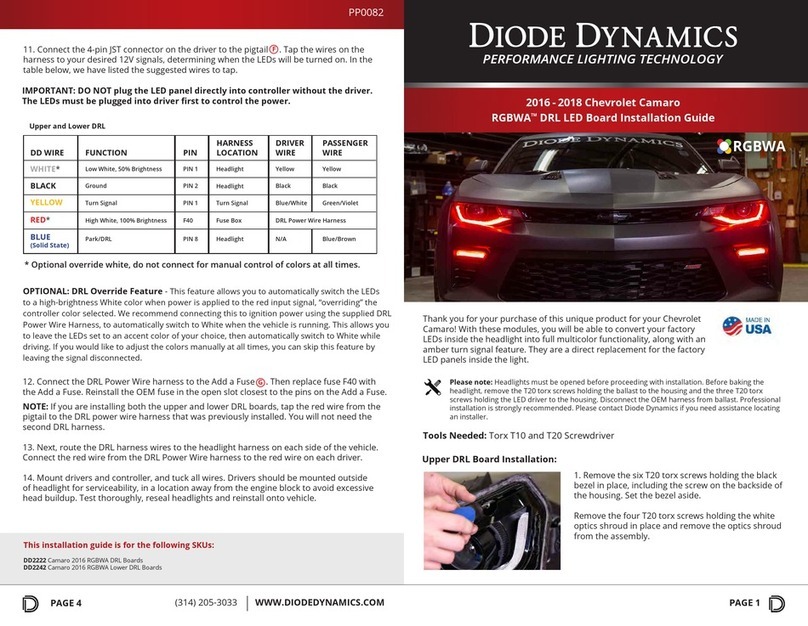
Diode Dynamics
Diode Dynamics RGBWA DRL DD2222 User manual
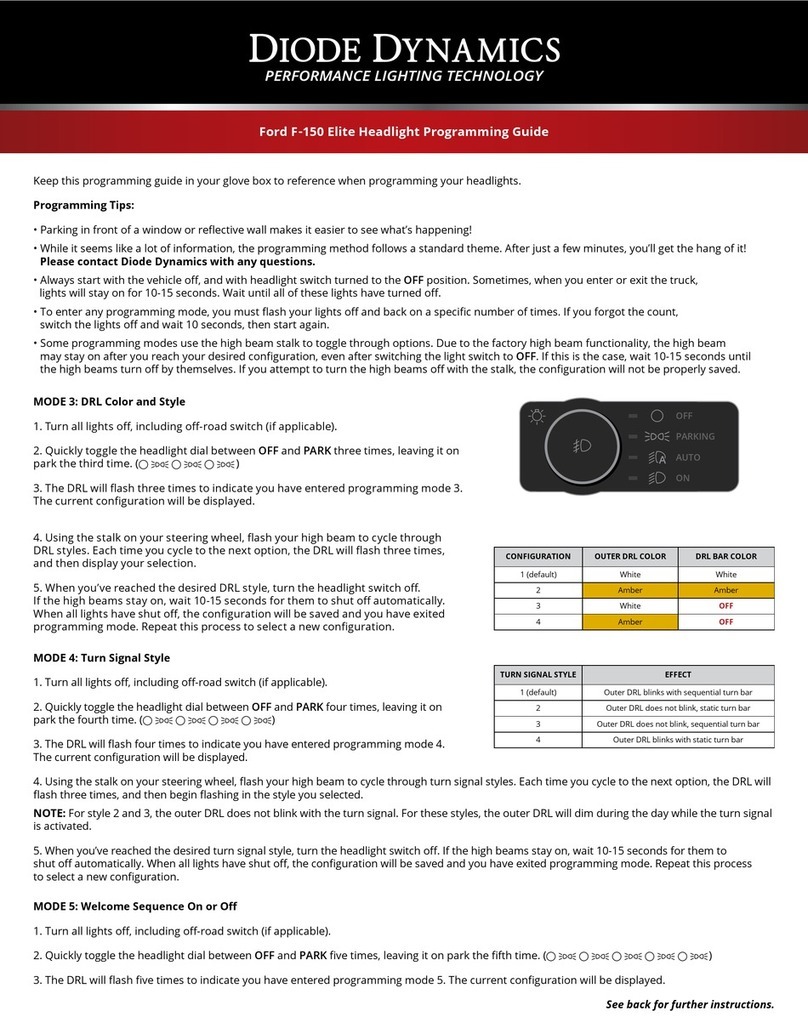
Diode Dynamics
Diode Dynamics DD5167 Operating instructions

Diode Dynamics
Diode Dynamics STAGE Series User manual
Popular Automobile Accessories manuals by other brands

Prima
Prima Maniglie P.119 quick start guide
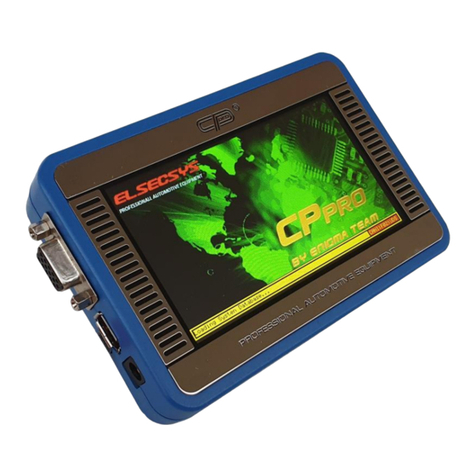
ELSECSYS
ELSECSYS CPPRO user manual

BrandMotion
BrandMotion FLEETWORKS FLTW-7610 installation instructions
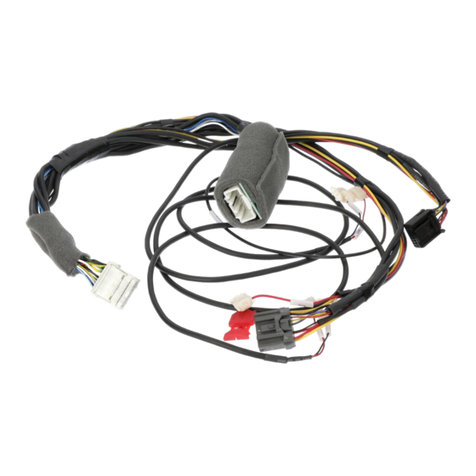
Mazda
Mazda 0000 81 L25 installation instructions
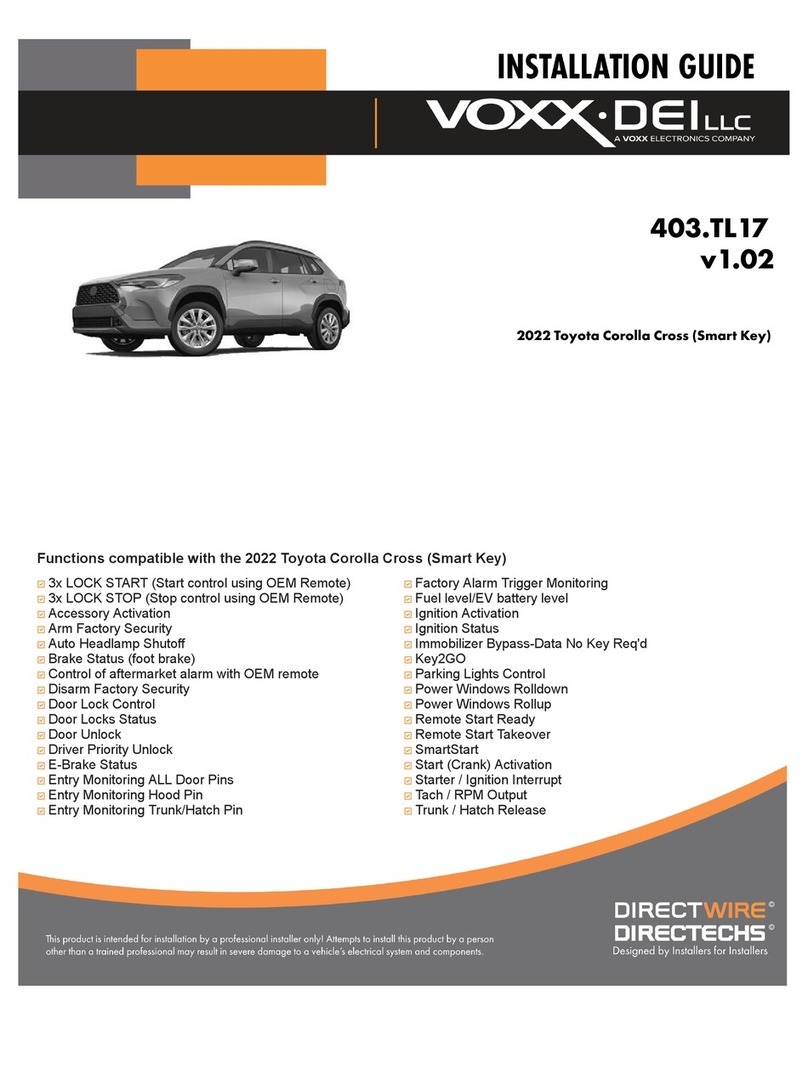
Directed
Directed Directechs DB3 installation guide
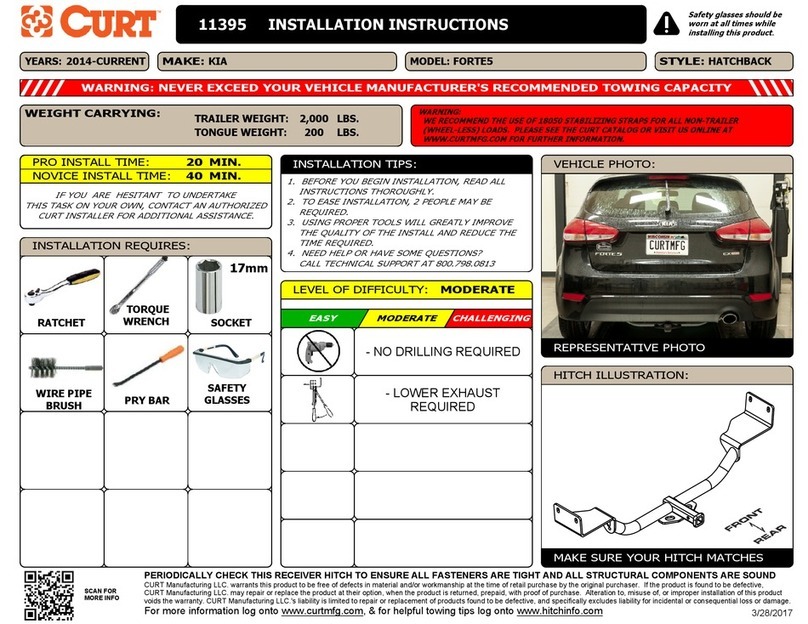
Curt Manufacturing
Curt Manufacturing 111395 installation instructions
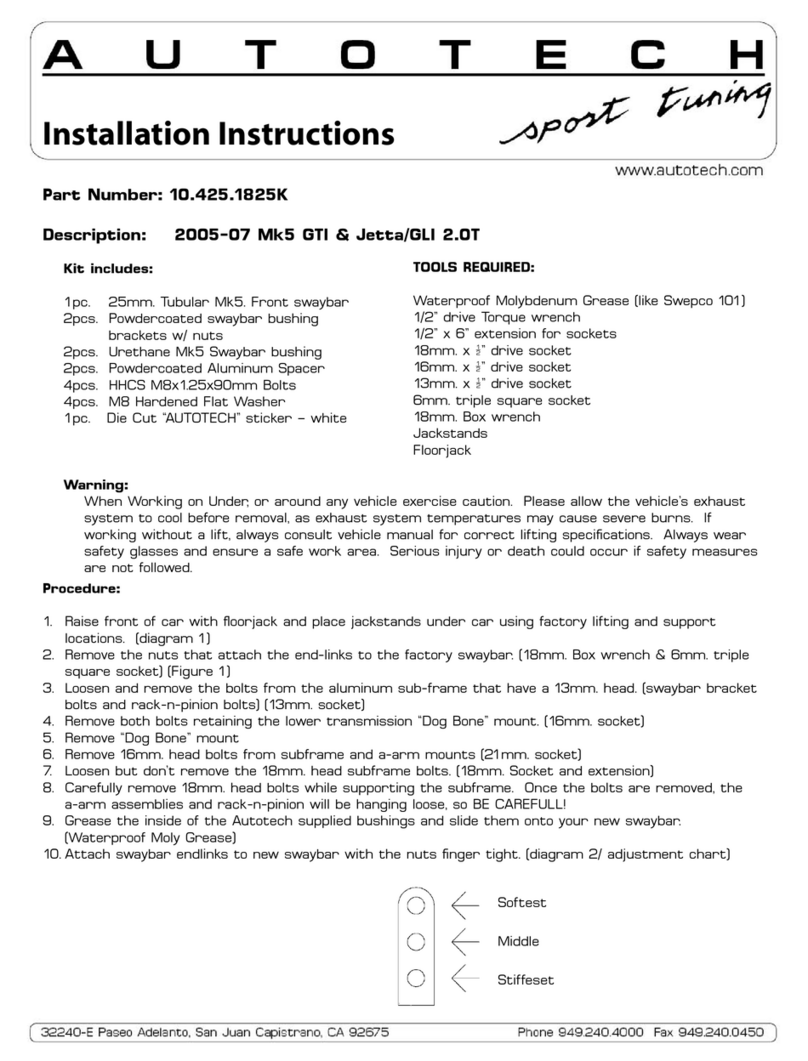
AUTOTECH
AUTOTECH 10.425.1825GK installation instructions
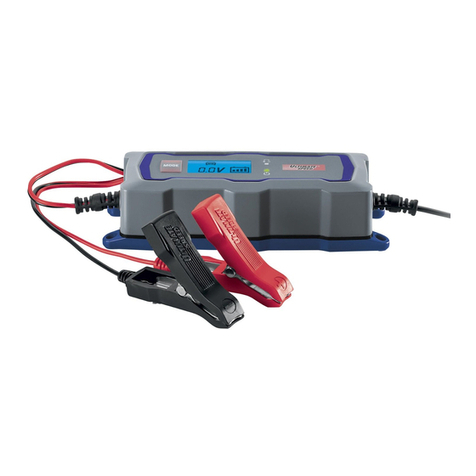
ULTIMATE SPEED
ULTIMATE SPEED ULG 3.8 A1 BATTERY CHARGER Operation and safety notes
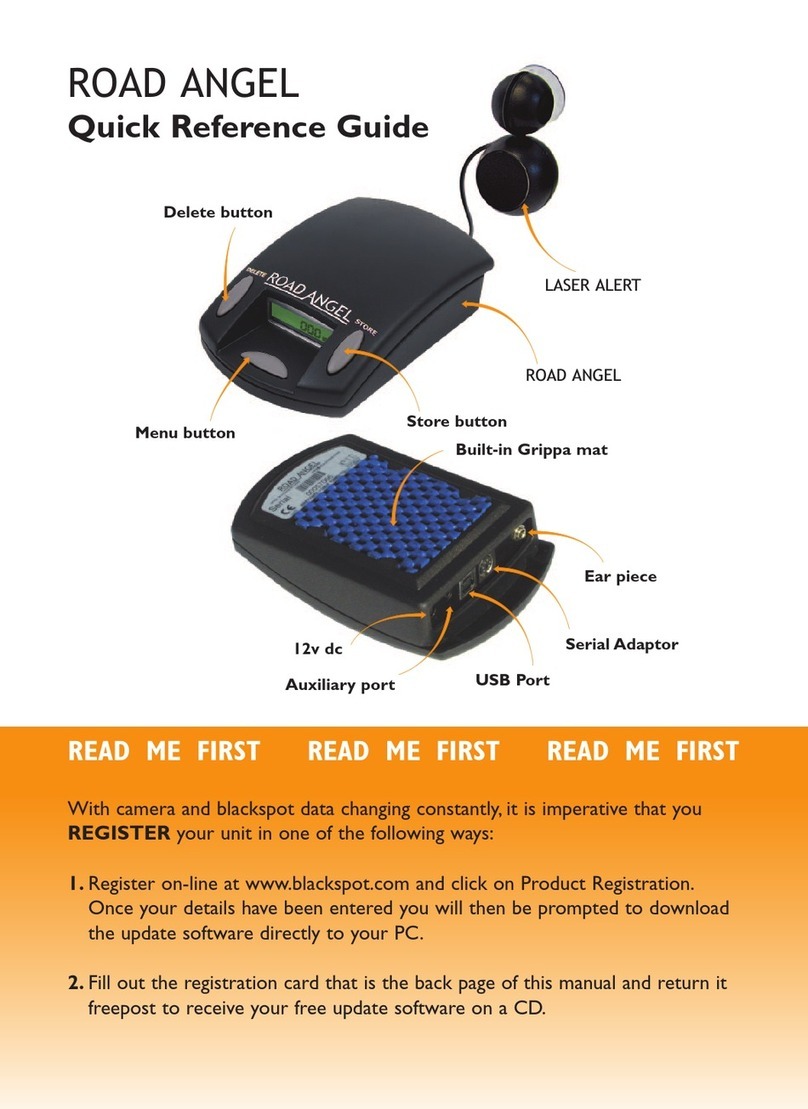
Blackspot Interactive
Blackspot Interactive ROAD ANGEL Quick reference guide
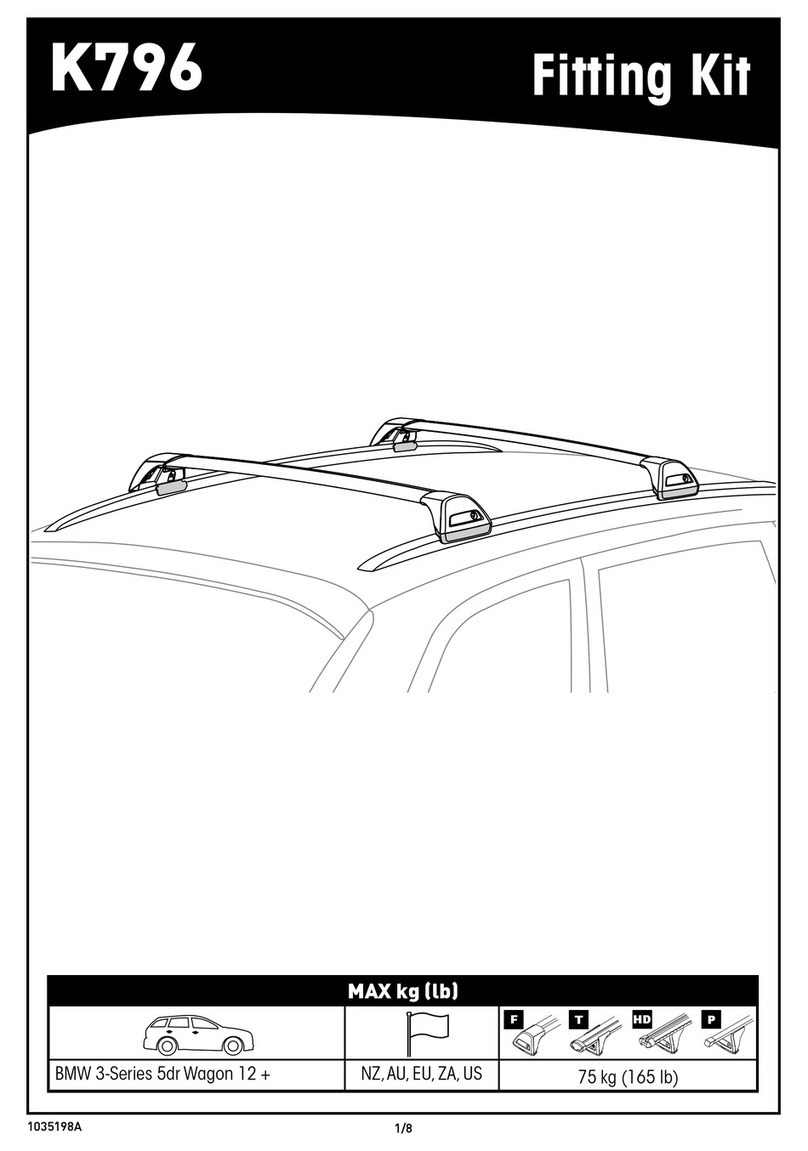
Whispbar
Whispbar K796 manual
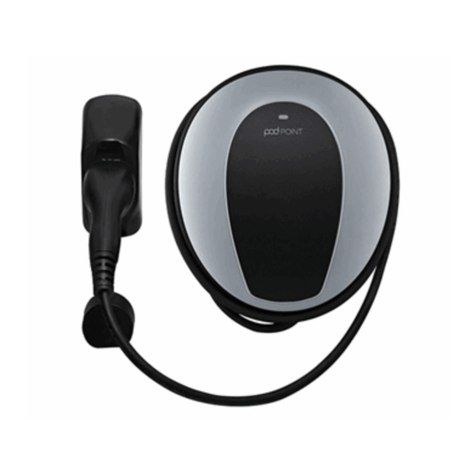
POD Point
POD Point SOLO Connection guide

SuperATV
SuperATV DOOR-CA-DEF-00 installation instructions


