2 / 12
Table of content
1.
Safety instructions............................................................................................................................ 3
1.1.
FOR SAFE AND EFFICIENT OPERATION............................................................................ 3
1.1.
Additional Information for safety.............................................................................................. 4
2.
Introduction....................................................................................................................................... 5
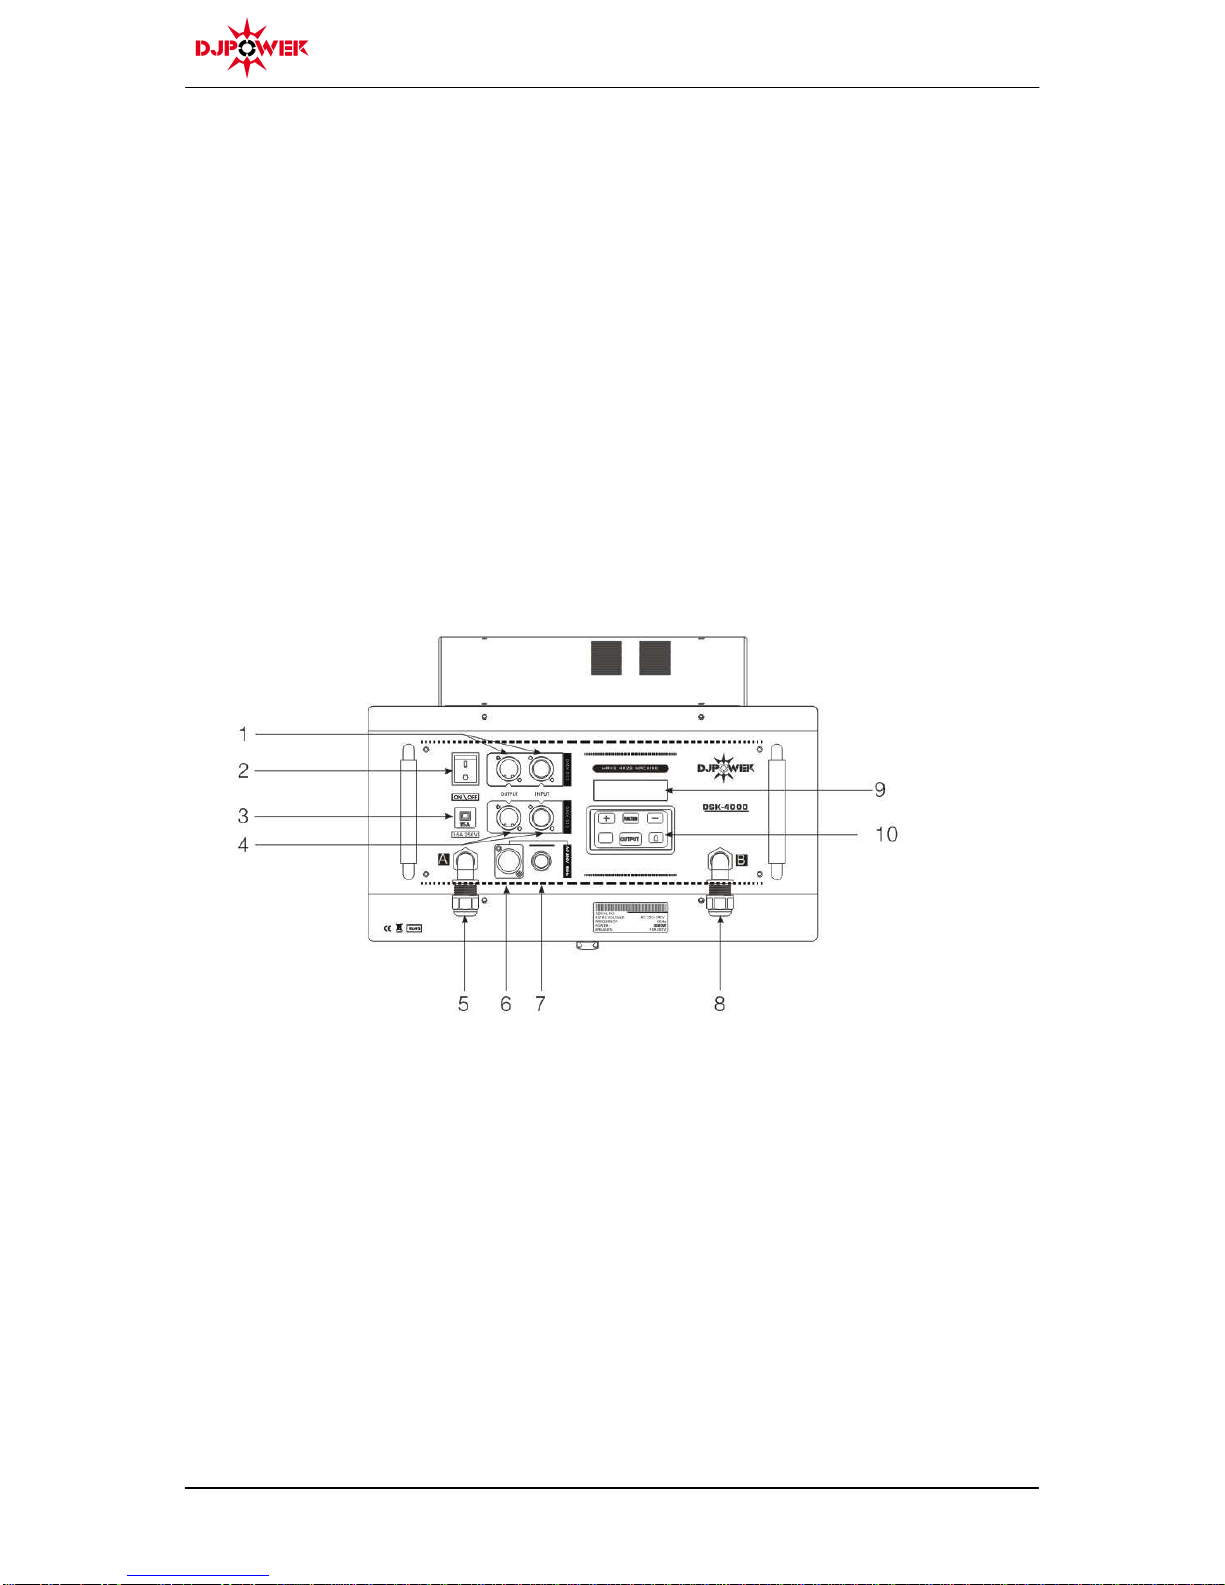
2.1.
Back view................................................................................................................................. 5
3.
Control.............................................................................................................................................. 6
3.1.
Preparation.............................................................................................................................. 6
3.2.
Start-up.................................................................................................................................... 6
3.3.
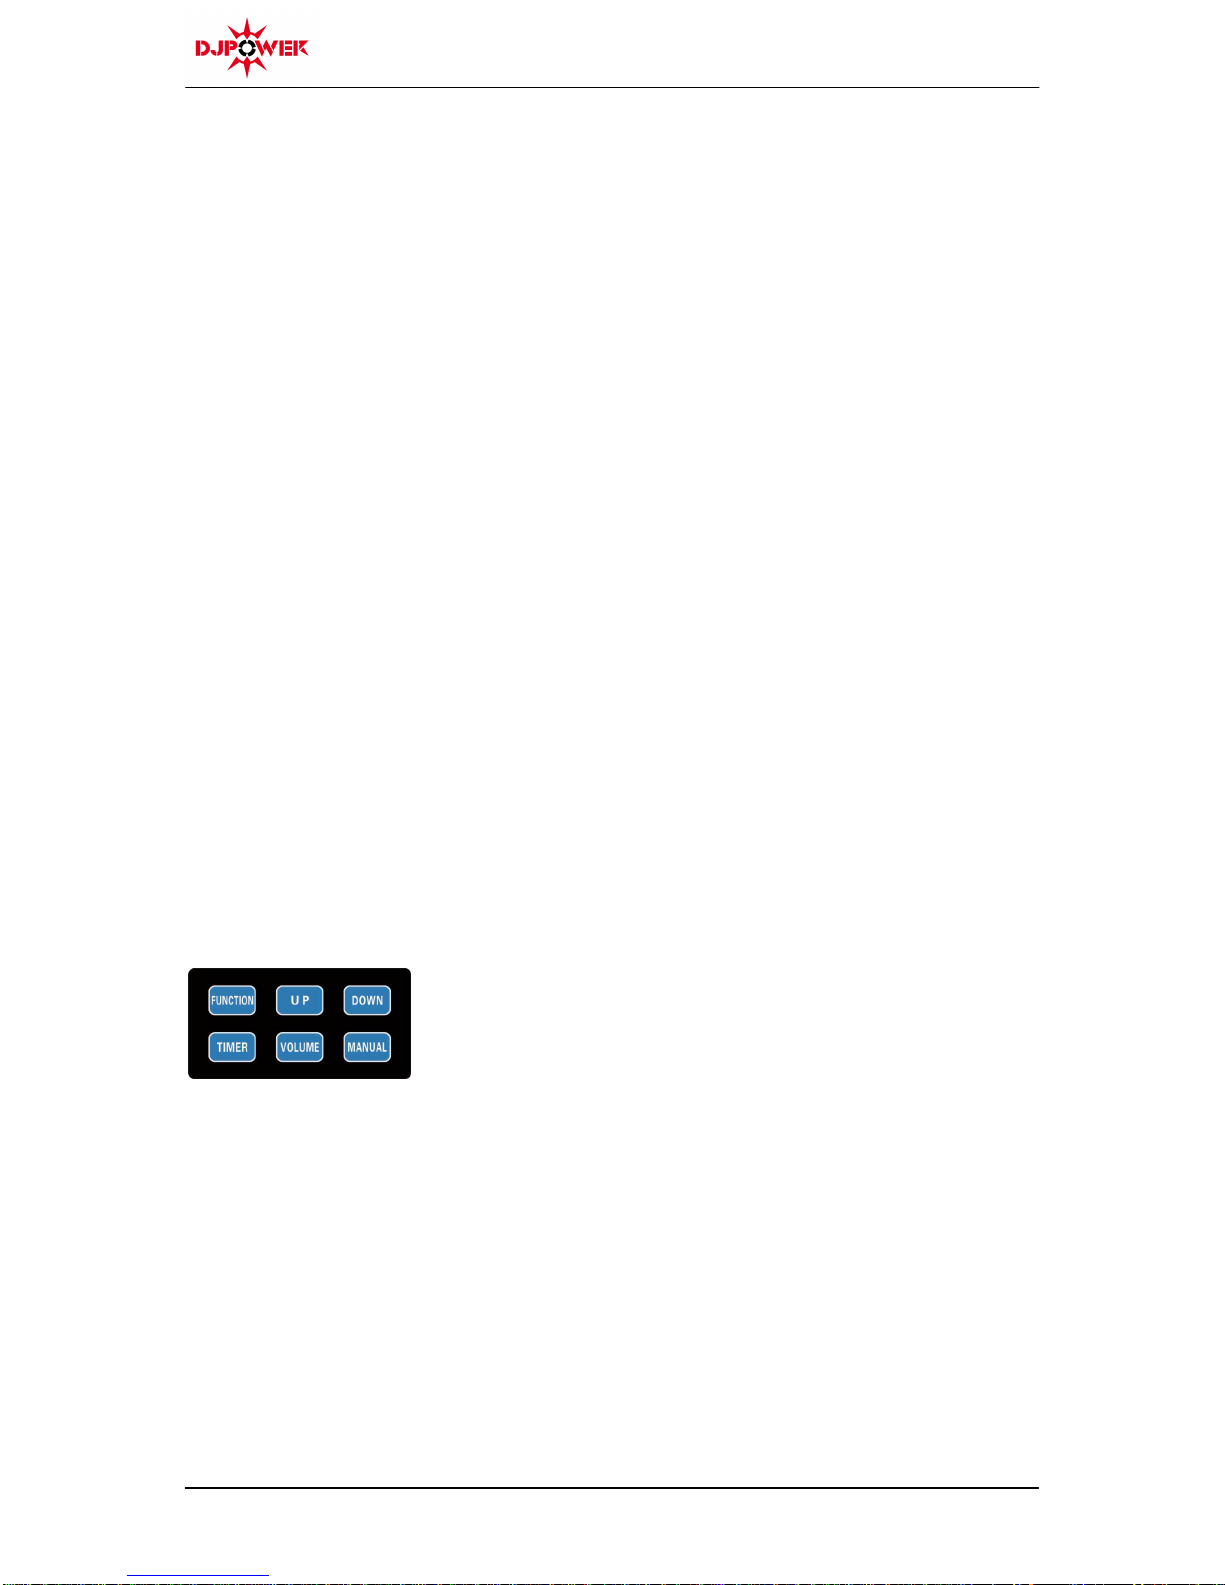
Control panel ........................................................................................................................... 6
3.4.
Menu........................................................................................................................................ 7
3.4.1.
Interval set ....................................................................................................................... 7
3.4.2.
Duration set ..................................................................................................................... 7
3.4.3.
Set the fog output in timer mode ..................................................................................... 7
3.4.4.
Set the fog output in volume mode.................................................................................. 7
3.4.5.
Fan Speed ....................................................................................................................... 7
3.4.6.
Rotation plate speed........................................................................................................ 7
3.4.7.
DMX address set............................................................................................................. 7
3.4.8.
fluid Sensor (de-)activate................................................................................................. 8
3.5.
DMX......................................................................................................................................... 8
3.5.1.
DMX chart........................................................................................................................ 8
4.
Fluid Sensor ..................................................................................................................................... 9
4.1.
Reset the fluid sensor.............................................................................................................. 9
4.1.1.
Reset in manual control................................................................................................... 9
4.1.2.
Reset in DMX control....................................................................................................... 9
5.
Technical data................................................................................................................................ 10