Sunchaser, 8500 & 9000 Awnings User’s Guide
4
B. TO CLOSE AWNING
1. When in the carport position, remove stakes from
thegroundandunwrappullstrap. Grasptheupper
arm with both hands, and raise lift handle to re-
leaselock button. Lowerarms to theirshortest po-
sition against the stops. See FIG. 10.
2. Makesure the lock lever on the awning right hand
torsion is in the roll down position.
Pinch hazard: Always check to ensure the
lock lever is in the roll down position. Failure
to place Lock Lever in the roll down position
will allow the awning to roll up unexpectedly
andquickly resulting in pinching of hand, arm
and/or damage to awning.
!
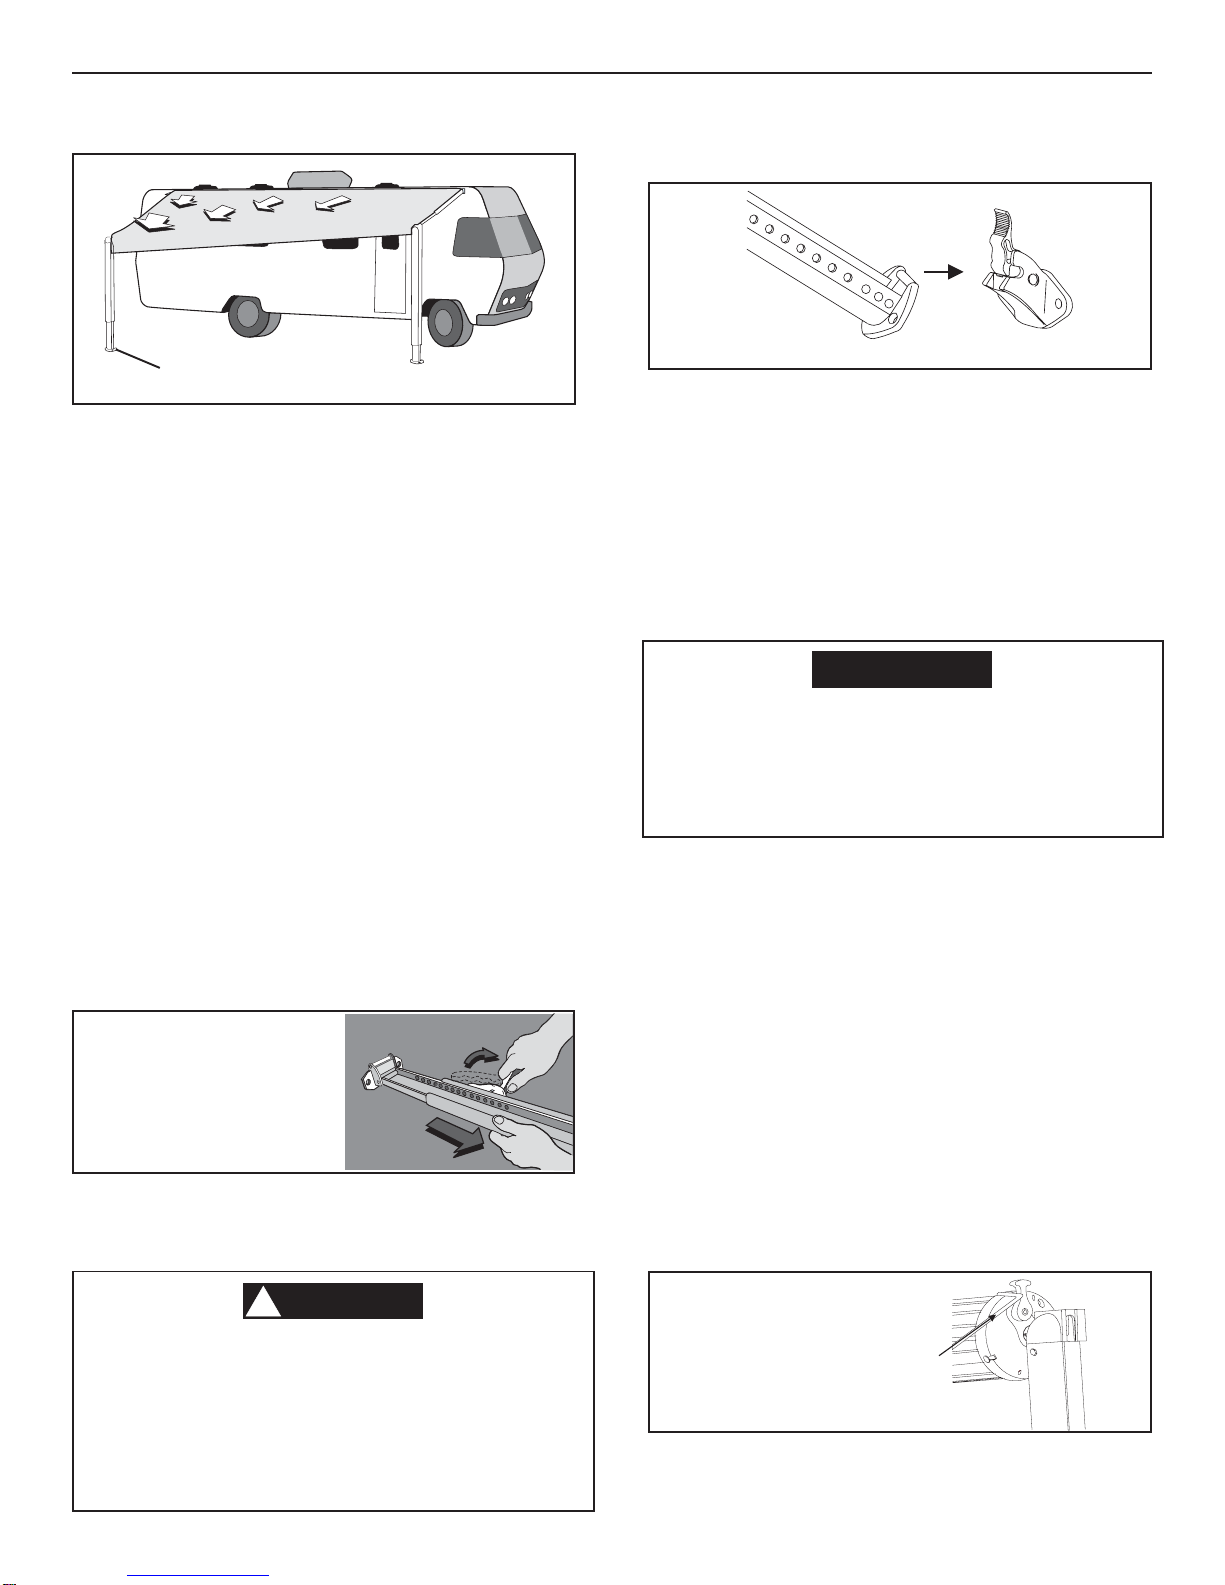
4. Loosen knob and unhook the rafter end from the
torsion top casting.
a. If using Short Universal Hardware, telescope
theinnermostchannel into the middlechannel
by proessing down on the spring button and
pushing the channel inward. Make sure that
the innermost and middle channels will tele-
scopefreelyintotheoutermostchannel before
attempting to roll up the awining.
3. Snap the patio foot into the bottom mounting bracket
on the coach side wall. Repeat on opposite side. See
FIG. 11.
Raise Handle To
Release Lock
Button, Lower To
Shortest Position
FIG. 10
ON Universal models: Be sure to follow the
instructionsinsidethe of the hardwareregard-
ing proper stowing. Attempting to stow the
rafteron the footat the base ofthe water dump
device could damage the hardware.
FIG. 11
Snap Patio Foot Into Bracket
FIG. 12
Push Lock Lever
Up
5. ForSunchasermodels, swing raftersbackagainst
side wall resting on top of the patio foot in the arm
assembly.Repeat for oppositeside. For Universal
models do the same thing on the side without the
water dump feature. However, on the water dump
featureinstall the endof the rafteron the pinat the
topof the gasspring. (See decalinside Water fea-
turearm.)
6. Grasppull strap in lefthand and movetowardsthe
center of the roller tube. Hook the pull rod in the
pull strap loop. See FIG. 12.
Important: Do Not release pull strap. Awning is un-
der spring tension and it could roll up unexpectedly
and quickly against the vehicle side.
Note: Universal hardware is designed with a water dump
featurethat will lowerone side of theawning to allowwater
to run off. Before the water dump feature will operate as
designed, lower both arms 7 to 8 holes (fabric slope ap-
proximately10 degrees)below thecoach awningrail. The
water dump feature will not work if awning is flat. See FIG.
9.
Important: If the 8485000 hardware is used with a
tension rafter the water dump feature is disabled. The
awning must be placed in the water dump position
the same as the 8275000 hardware.
Note: Sunchaser Model Series 8275000 hardware is not
equippedwiththewaterdumpfeatureandonearmmustbe
an additional 7-8 holes (fabric slope approximately 10 de-
grees) lower than the other arm before it is in the water
dumpconfiguration SeeFIG. 9.
Note: Neverleaveanopenawningunattended.
FIG. 9
Lower Arm Away From
Door 7-8Additional Holes
1. If lightrains are expected, place theawning in the
water shed position. See FIG. 9.