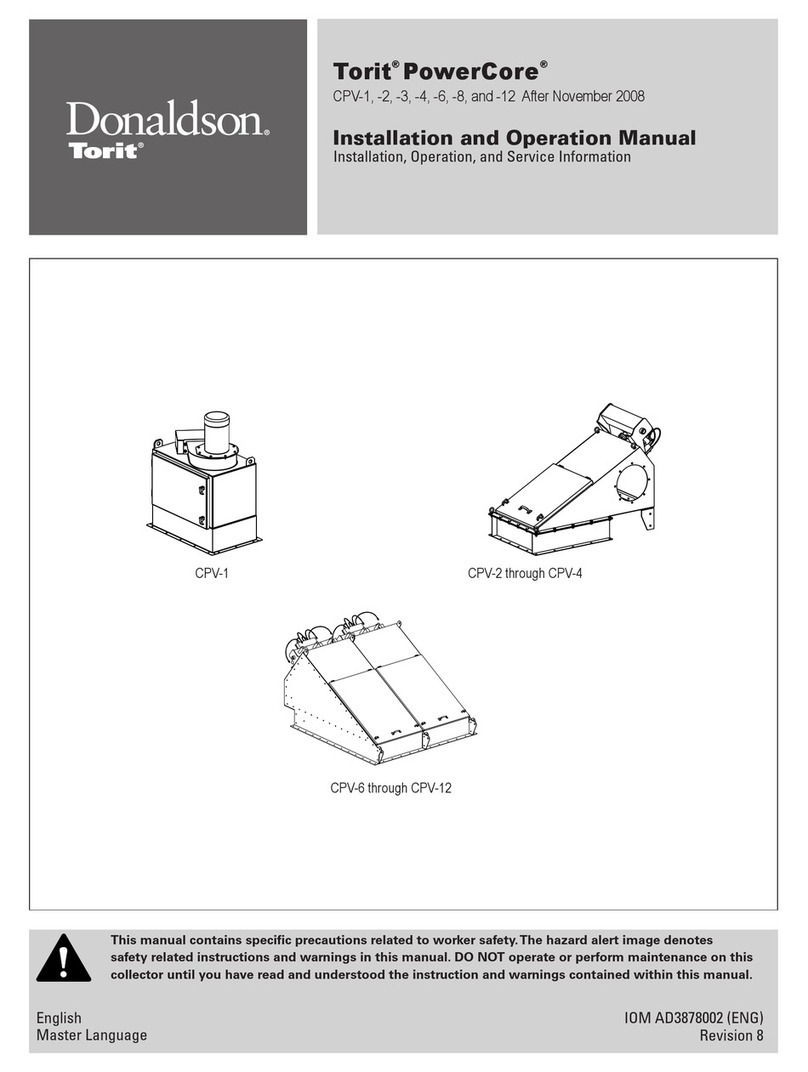
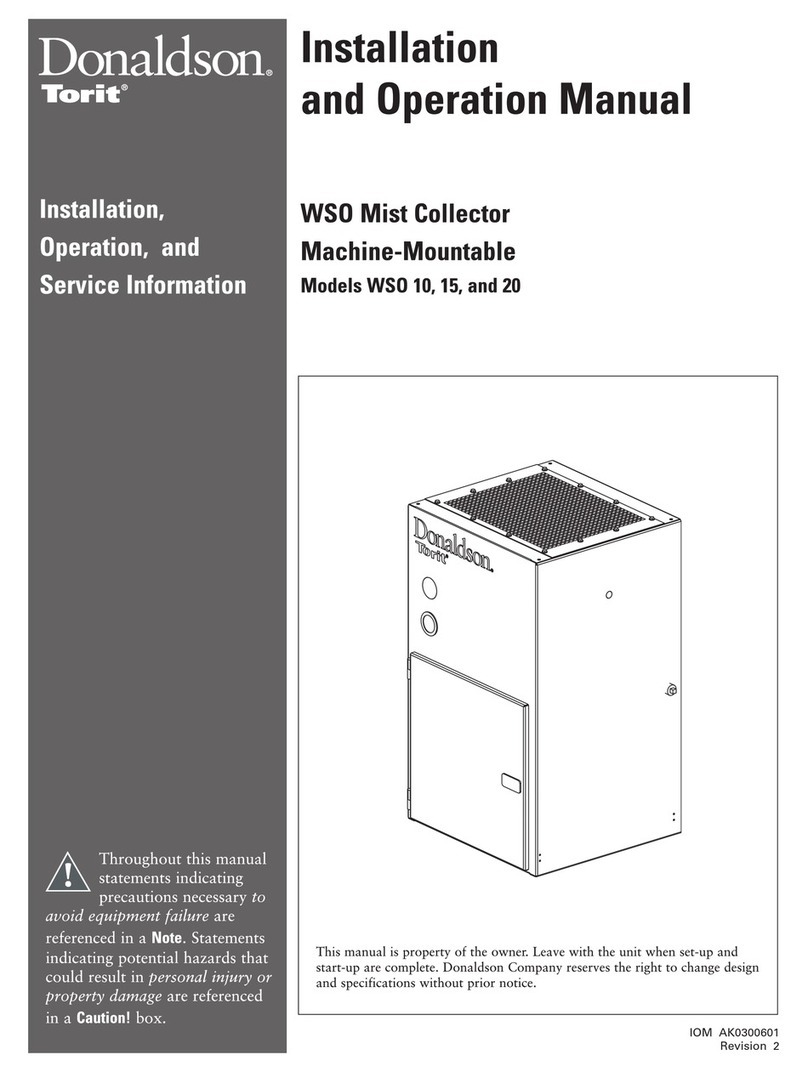
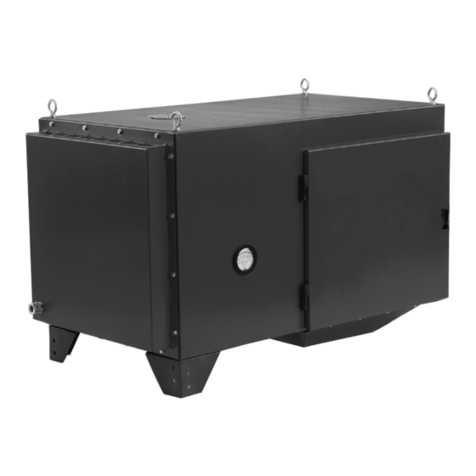
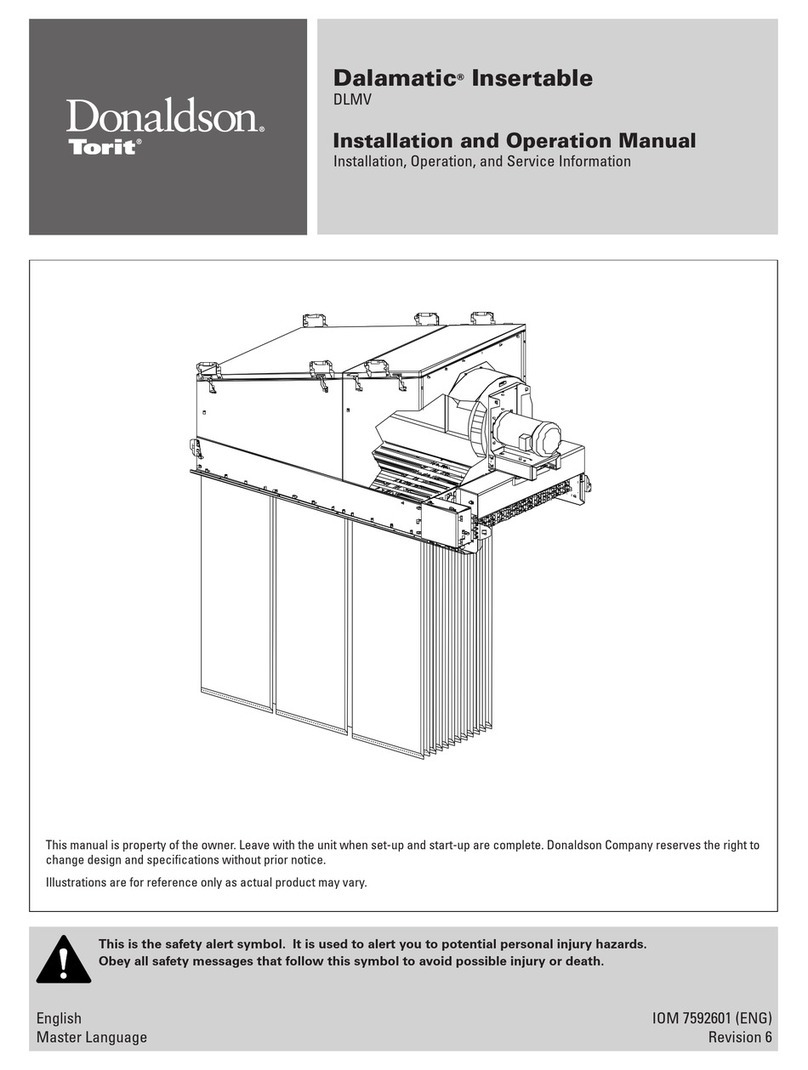
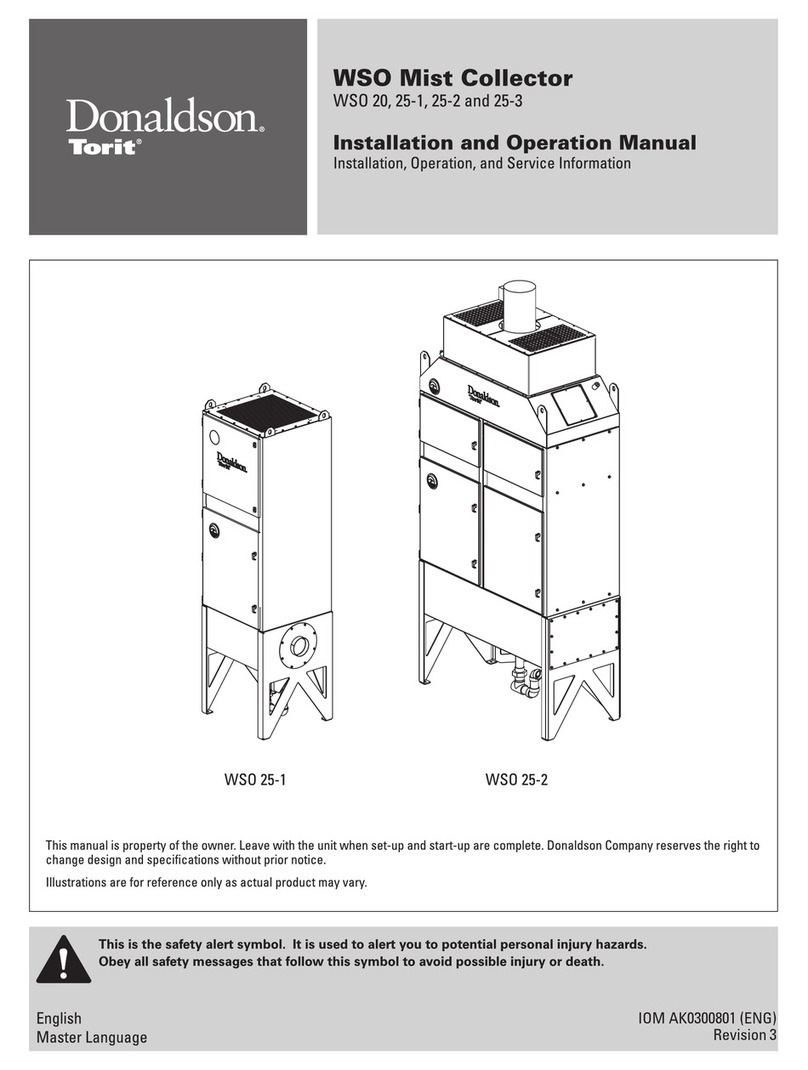
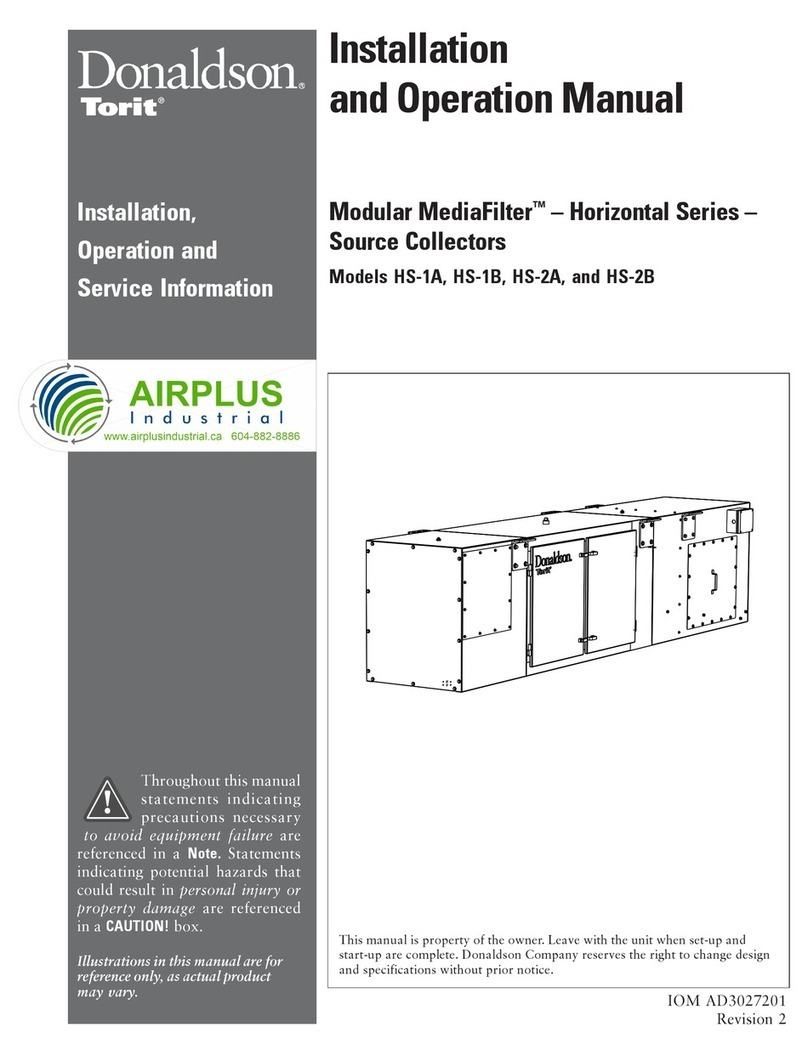
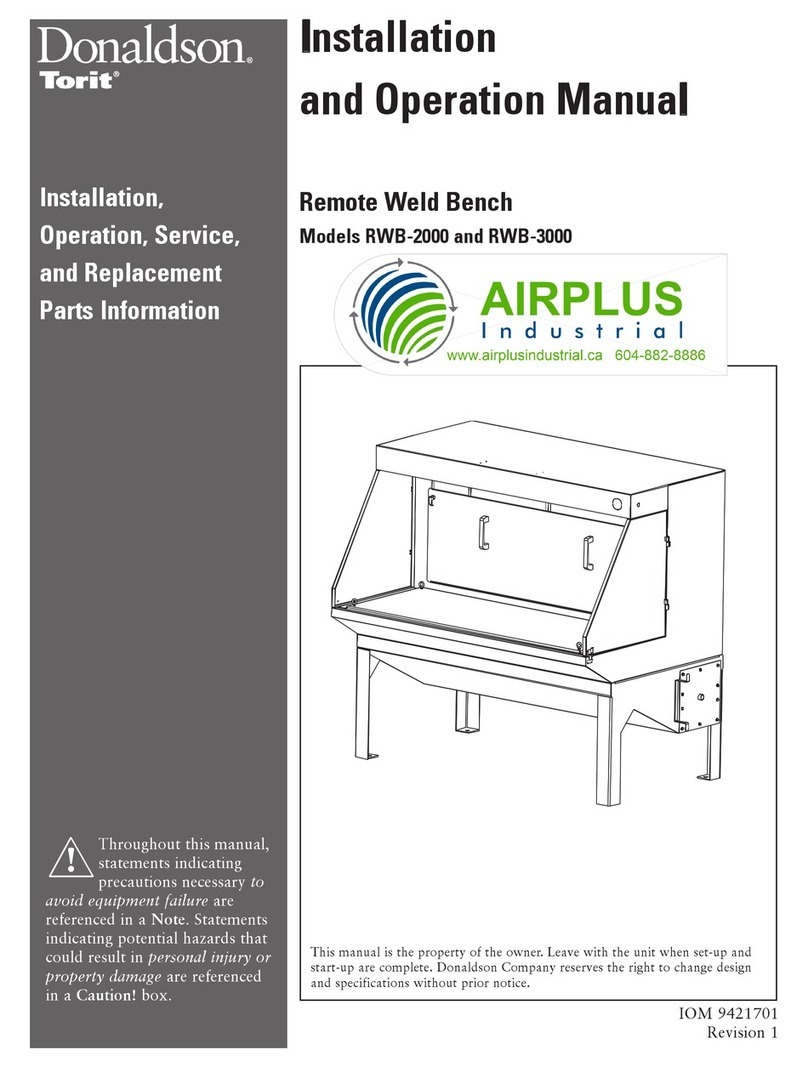
Donaldson Torit Downflo II User manual

Installation
and Operation Manual
IOM AD3310701
Revision 7
Downflo®II
DFT 2-8, 2-12, 2-16, 2-24, 2-36
DFT 3-12, 3-24, 3-26, 3-48, 3-60, 3-72,
DFT 4-16, 4-32, 4-48, 4-64, 4-80, 4-96, 4-112, 4-128
Units Built After July 2003
Throughout this manual
statements indicating
precautions necessary
to avoid equipment failure
are referenced in a Note. Statements
indicating potential hazards that
could result in personal injury or
property damage are referenced
in a CAUTION! box.
Installation,
Operation, and
Service Information
This manual is property of the owner. Leave with the unit when set-up and start-
up are complete. Donaldson Company reserves the right to change design and
specifications without prior notice.

Donaldson Company, Inc.
2
Data Sheet
Model Number _______________________________ Serial Number ________________________________
Ship Date ____________________________________ Installation Date ______________________________
Customer Name ____________________________________________________________________________
Address ____________________________________________________________________________
____________________________________________________________________________
Filter Type ____________________________________________________________________________
Accessories ____________________________________________________________________________
Other ____________________________________________________________________________
CAUTION!
Application of Dust Control Equipment
• Combustible materials such as buffing lint, paper, wood, aluminum or steel dust, weld
fume, or flammable solvents represent fire or explosion hazards. Use special care when
selecting and operating all dust or fume collection equipment when combustible
materials are present to protect workers and property from damage due to fire and/or
explosion. Consult and comply with National and Local Codes relating to fire or
explosion and all other appropriate codes when determining the location and operation
of dust or fume collection equipment.
• When combustible materials are present, consult with an installer of fire extinguishing
systems familiar with these types of fire hazards and local fire codes for
recommendations and installation of fire extinguishing and explosion protection
systems. Donaldson Torit dust collection equipment is not equipped with fire
extinguishing or explosion protection systems.
• DO NOT allow sparks, cigarettes or other burning objects to enter the hood or duct of
any dust or fume control equipment as these may initiate a fire or explosion.
• For optimum collector performance, use only Donaldson Torit replacement parts.
Warning – Improper operation of a dust control system may contribute to conditions in the work
area or facility that could result in severe personal injury and product or property damage. Check
that all collection equipment is properly selected and sized for the intended use.

Downflo II, Model DFT 2-8 through 4-128
3
This manual contains specific precautionary statements relative to worker safety. Read
thoroughly and comply as directed. Discuss the use and application of this equipment with a
Donaldson Torit representative. Instruct all personnel on safe use and maintenance
procedures.
Magnehelic®and Photohelic®are registered trademarks
of Dwyer Instruments, Inc.
Contents
Description ........................................................... 4
Purpose and Intended Use..................................... 4
Rating and Specification Information ................... 5
Operation ............................................................. 6
Inspection on Arrival ............................................ 7
Installation Codes and Procedures ........................ 7
Installation ........................................................... 7
Site Selection, Grade-Mounted Units .............. 7
Unit Location.................................................. 7
Electrical Wiring ................................................... 8
Rigging Instructions.............................................. 8
Hoisting Information ...................................... 8
Typical Installation ............................................... 9
Standard Equipment ........................................... 10
Field Assembly .............................................. 10
Module Assembly ......................................... 11
Yoke, Venturi, and Filter Installation ............ 12
Hopper Installation....................................... 13
Leg Installation ............................................. 14
Compressed Air Installation ......................... 16
Solid-State Timer Installation ............................. 18
Solenoid Connection ..................................... 18
Timer and Solenoid Specifications ................ 18
Preliminary Start-Up ........................................... 20
Service Information ............................................ 20
Operational Checklist ................................... 20
Filter Installation and Replacement .............. 20
Filter Removal .............................................. 20
Filter Replacement ........................................ 22
Dust Disposal ............................................... 22
Compressed Air Components ....................... 22
Optional Equipment ........................................... 24
Power Pack ................................................... 24
Side Mount Power Pack ................................ 26
55-Gallon Drum Pack ................................... 28
Magnehelic®Gauge ...................................... 30
Photohelic®Gauge ........................................ 32
Delta P Control............................................. 34
Delta P Plus Control ..................................... 35
Transition and Rotary Valve ......................... 36
Damper and Silencer, TBI ............................. 37
Plenum Silencer, TRB .................................... 38
Abrasion-Resistant Inlet Collar ..................... 38
Platforms and Ladders .................................. 39
Cold Climate Kit ........................................... 40
Explosion Vents ............................................ 41
Sprinkler Installation .................................... 41
Troubleshooting ................................................. 42
Service Notes ...................................................... 46
Warranty ............................................................ 48

Donaldson Company, Inc.
4
Description
The Downflo II dust collector is a continuous-duty,
modular collector with cartridge-style filters. The
downward airflow design delivers high filtration
efficiency while using less energy. Continuous-duty
means no downtime. The filters are pulse-cleaned in
sequence, one set at a time, without turning the unit
off. The modular design allows flexibility in system
design and adapts easily to limited space areas. Each
standard module is two or three filter rows wide by
two, three, or four rows high by two filters deep.
Designed to increase the versatility of the unit,
standard options include top or front inlets, filter
access covers, Bag Out, cold climate kits, steep-slope
ledge-free hoppers, trough hoppers, and stationary
service platforms.
Purpose and Intended Use
Downflo II collectors are widely used on nuisance
dust where the load to the collector is less than two
grains per cubic foot. Some typical applications
include abrasive blasting, grinding, mixing,
blending, processing, pan coating, powder paint
applications, sand handling, welding, and
machining. Each application is different and
selecting the correct filter cartridge for the
application and type of dust collected is important.
For all ambient, extremely fine, and non-fibrous
dust, use Ultra Web®filter cartridges which offer
high efficiency and performance on fine
particulate.
For fibrous dust, use a cartridge with an open-
pleat design, such as Fibra-Web®.
Operations involving high temperature and high
humidity may require special attention.
Temperature, moisture content, and chemistry
issues may require custom collector design.
Appropriate cartridge options are available from
Donaldson Torit.
Hygroscopic dust such as fertilizer, salt, and
sugar should be handled under a controlled, low
humidity environment. Contact Donaldson Torit
for filter cartridge selection.
Flammable or explosive dust may require
custom collector design options and special
cartridges. Contact Donaldson Torit for design
assistance.
Applications with high hydrocarbon or high oil
content may require special treatment or filter
media.
CAUTION!
Misuse or modification of this
equipment may result in personal injury.
Do not misuse or modify.

Downflo II, Model DFT 2-8 through 4-128
5
All Units ( per IBC 2003 Specifications):
Wind ........................................ 90 MPH Exposure C
Seismic Spectral Acceleration, Ss............................................ 1.5
Seismic Spectral Acceleration, S1........................................... 0.6
Importance Factor, 1 ............................................ 1.0
Ground Snow Load ............................... Pg = 40 PSF
Compressed air, psi ........................................90-100
Housing rating, "wg ..........................................+-20
Power, valves and controls .... 120-Volt AC, 50/60 Hz
Rating and Specification Information
*VSRX
(*81SHIP *VSRX
(*81SHIP *VSRX
(*81SHIP
(*8*VSRX
[MHIQSHIPW (*8*VSRX
[MHIQSHIPW 7MHI:MI[
%PP1SHIPW

Donaldson Company, Inc.
6
Operation
During normal operation, dust-laden air enters the
unit through the dirty-air inlet. Airflow is directed
downward through the collector and heavier
particulate falls directly into the hopper. The
cartridges remove fine particulate and clean filtered
air passes through the cartridges to the clean-air
plenum and discharges through the clean-air outlet.
Filter cleaning is completed using pulse-jet
technology. A solenoid and diaphragm valve aligned
to each row of filters provides the pulse cleaning.
The cleaning sequence starts at the top filter row
and continues down through each row. Remove,
inspect, or change the cartridges from outside the
unit by removing the filter access cover and sliding
the filters out.
Unit Operation
CAUTION!
Combustible materials such as buffing
lint, paper, wood, aluminum or steel
dust, weld fume, and flammable
solvents represent fire or explosion
hazards.
Use special care when selecting and
operating all collection equipment
when combustible materials are
present to protect workers and
property from damage due to fire
and/or explosion.
Consult and comply with all National and
Local Codes relating to fire or explosion, and
all other appropriate codes when determining
the location and operation of dust collection
equipment.
Donaldson Torit equipment is not equipped
with fire extinguishing or explosion protection
systems.
JMPXIVGEVXVMHKIW )\XVE0MJIv
JMPXIVGPIERMRK
W]WXIQ
HMVX]EMVMRPIX
GPIEREMV
SYXPIX
HMETLVEKQ
ZEPZI
GSQTVIWWIHEMV
WYTTP]
2SVQEP3TIVEXMSR
LSTTIV
*MPXIV'PIERMRK3TIVEXMSR

Downflo II, Model DFT 2-8 through 4-128
7
Inspection on Arrival
1. Inspect unit on delivery.
2. Report any damage to the delivery carrier.
3. Request a written inspection report from the
Claims Inspector to substantiate claim.
4. File claims with the delivery carrier.
5. Compare unit received with description of
product ordered.
6. Report incomplete shipments to the delivery
carrier and your Donaldson Torit representative.
7. Remove crates and shipping straps. Remove
loose components and accessory packages before
lifting unit from truck.
Installation Codes and Procedures
1. Safe and efficient operation of the unit depends
on proper installation.
2. Authorities with jurisdiction should be consulted
before installing to verify local codes and
installation procedures. In the absence of such
codes, install unit according to the National
Electric Code, NFPA No. 70-latest edition.
3. A qualified installation and service agent must
complete installation and service of this
equipment.
CAUTION!
OSHA may have requirements regarding
recirculating filtered air in your facility.
Consult with the appropriate local
authorities to ensure compliance with all
codes regarding recirculating filtered air.
Installation
Site Selection, Grade-Mounted Units
1. The unit can be located on a reinforced concrete
foundation or rooftop.
2. Wind, seismic zone, and other live-load
conditions must be considered when selecting
the location for rooftop-mounted units.
Reference the Specification and Rating
Information.
3. Provide clearance from heat sources and
interference with utilities when selecting the
location for grade-mounted units. Reference the
Specification and Rating Information.
4. Portable units require no special installation
accommodations.
Note: Units with explosion vents are not
available in portable configurations.
Unit Location
1. When hazardous conditions or materials are
present, consult with local authorities for the
proper location of the collector.
2. Foundation or roof support must be sized to
accommodate the entire weight of the unit, plus
the weight of the collected material, piping, and
ductwork. Reference the Specification and
Rating Information.
3. Prepare the foundation in the selected location.
Install anchor bolts to extend a minimum of
1 3/4-inches above foundation unless otherwise
indicated on the Specification Control drawing.
4. Locate the collector to ensure the shortest and
straightest inlet- and outlet-duct length, easy
access to electrical and compressed-air
connections, and routine maintenance.
CAUTION!
Donaldson Torit equipment is not
designed to support site-installed ducts,
interconnecting piping, or electrical
services. All ducts, piping, or electrical
services supplied by others must be
adequately supported to prevent severe
personal injury and/or property damage.
Donaldson Company, Inc.
8
CAUTION!
Failure to lift the collector correctly
can result in severe personal injury or
property damage.
Use appropriate lifting equipment and
adopt all safety precautions needed for
moving and handling the equipment.
A crane or forklift is recommended for
unloading, assembly, and installation
of the collector.
Location must be clear of all
obstructions, such as utility lines or
roof overhang.
Electrical Wiring Rigging Instructions
Suggested Tools & Equipment
Clevis Pins and Clamps Lifting Slings
Crane or Forklift Pipe Sealant
Drift Pins Pipe Wrenches
Drill and Drill Bits Screwdrivers
End Wrenches Socket Wrenches
Large Crescent Wrench Spreader Bars
Hoisting Information
1. Use all lifting points provided.
2. Use clevis connectors, not hooks, on lifting
slings.
3. Use spreader bars to prevent damage to units
casing.
4. Check the Specification Control drawing for
weight and dimensions of the unit,
subassemblies, and components to ensure
adequate crane capacity.
5. Allow only qualified crane operators to lift the
equipment.
6. Refer to applicable OSHA regulations and local
codes when using cranes, forklifts, and other
lifting equipment.
7. Lift unit and accessories separately, and
assemble after unit is in place.
8. Use drift pins to align holes in section flanges
during assembly.
CAUTION!
Electrical installation must be
performed by a qualified electrician
and comply with all applicable
national and local codes.
Lock out electrical power sources
before performing service or
maintenance work.
Do not install in classified hazardous
atmospheres without an enclosure
rated for the application.
1. All electrical wiring and connections, including
electrical grounding, should be made in
accordance with the National Electric Code,
NFPA No. 70-latest edition.
2. Check local ordinances for additional
requirements that apply.
3. The appropriate wiring schematic and electrical
rating must be used. See units rating plate for
required voltage.
4. If the unit is not furnished with a factory-
mounted disconnect, an electric disconnect
switch having adequate amp capacity shall be
installed in accordance with Part IX, Article 430
of the National Electric Code, NFPA No. 70-
latest edition. Check units rating plate for
voltage and amperage ratings.
5. Refer to the wiring diagram for the number of
wires required for main power wiring and
remote wiring.

Downflo II, Model DFT 2-8 through 4-128
9
Typical Installation
7XERHLSTTIVSRXLIHMWGLEVKIIRH
%TTP]WIEPERXEVSYRHXLIXSTJPERKISJXLILSTTIVXS[EVHXLI
MRWMHIIHKISJXLIFSPXTEXXIVR
0MJXGSPPIGXSVMRXSTSWMXMSRSZIVXLILSTTIVERHPS[IVWPS[P]
9WIHVMJXTMRWXSEPMKRLSPIWERHWIGYVI[MXLLEVH[EVITVSZMHIH
%WWIQFPIPIKWERHGVSWWFVEGIW
0MJXYRMXERHLSTTIVEWWIQFP]MRXS
TSWMXMSRSZIVPIKWERHPS[IVWPS[P]
*EWXIRPIKWXSYRMXERHXSJSYRHEXMSR
0MJXEWWIQFPIHYRMXXSPSGEXMSR
7YTTSVXERHPIZIPYRMX
8MKLXIREPPLEVH[EVI
6IQSZIGVERI

Donaldson Company, Inc.
10
Module Assembly
CAUTION!
Failure to lift the collector correctly can
result in severe personal injury or
property damage.
Use appropriate lifting equipment and
adopt all safety precautions needed for
moving and handling the equipment.
Standard Equipment
Standard equipment consists of modules, inlet
deflectors, yokes, filters, hoppers, and legs. Single-
module through six-module units are delivered with
the inlet deflectors, yokes, and filters factory
installed.
Field Assembly
Field assembly of modules may be required due to
truck capacity, crane capacity, or specific customer
requirements. A detailed instruction drawing,
shipped with each module, provides specific
assembly and lifting instructions.
If unit has been shipped with fully-assembled
modules, skip to Hopper Installation.
JMPXIVEGGIWGSZIV
WII(IXEMP%
GPIEREMV
SYXPIXGSZIV
WII(IXEMP*
GPIEREMV
TPIRYQ
FSPXMRKWII(IXEMP'
MRPIXHIJPIGXSV
WIEPERXWII(IXEMP&
]SOIMRWXEPPEXMSRWII(IXEMP)
]SOIEPMKRQIRXWII(IXEMP(

Downflo II, Model DFT 2-8 through 4-128
11
JMPXIVGEVXVMHKI
EGGIWWGSZIV
Detail A
Detail B
Detail C
Module Assembly
Note: Two cranes are required to lift and assemble
modules.
1. Remove the protective cover from the end of
each module.
2. Remove one column of access covers, filters,
venturis, yokes, and deflector panels from the
joint-side of each module. See Detail A.
3. Remove outlet cover from the bottom of the
clean-air plenum and set aside.
4. Apply a generous amount of sealant to one
module to create an airtight seal between the
clean and dirty-air chambers as shown in Detail B.
5. Lift both modules into position using two
cranes.
6. Use drift pins to align the bolt holes in the
mating flanges.
7. Bolt the modules together using 5/16-18 x 1 1/4-in
bolts, washers, and nuts as shown Details B, and
C. Do not tighten hardware at this time.
8. Check that all joints and flanges are flush and
tighten hardware starting with the joint between
the clean- and dirty-air plenums.
\MRFSPX
MRJPEX[EWLIV
WIEPERX
QSHYPIJPERKI
MRPSGO[EWLIV
QSHYPIJPERKI
LI\RYX
MRJPEX[EWLIV
HMVX]EMV
TPIRYQ
GPIEREMV
TPIRYQ
WIEPERX

Donaldson Company, Inc.
12
Detail E
Detail F
Detail D
Yoke, Venturi, and Filter Installation
Notes: Installing yokes requires two people.
Place blocks under assembled modules
during yoke and filter installation.
1. Thread a thin jam-nut on each of the yoke rod
ends to the shoulder. See Detail D and E.
2. Start at the bottom access port and work
upward. Position the yoke as shown in Detail D.
From the filter section, have one person hold the
yoke in position while another person installs
the venturi and hardware from the clean-air
plenum. See Detail E. Do not tighten hardware
at this time.
3. Center the yoke from side-to-side horizontally
and 1/4-in above center vertically. See Detail D.
Adjust jam nut against the filter cartridge panel.
Have one person hold the yoke in position while
another person tightens the three hex nuts from
the clean-air plenum. Repeat to install all yokes.
4. Slide the filter cartridge on the yoke gasket-end
first. Replace access cover and tighten securely
by hand. Repeat for all filter cartridges.
5. Replace the outlet cover on the bottom of the
clean-air plenum. See Detail F.
GPIEREMVTPIRYQ
SYXPIXGSZIV
MRWIEP[EWLIV
\MR
XLVIEHJSVQMRK
WGVI[
MRLI\RYX
ZIRXYVM
MRJPEX[EWLIV
MRPSGO[EWLIV
MRLI\NEQRYX
]SOIWLSYPHIV
JMPXIVGEVXVMHKITERIP
]SOI
MR
JMPXIVEGGIWW

Downflo II, Model DFT 2-8 through 4-128
13
\MRFSPX
MRJPEX[EWLIV
MRJPEX[EWLIV
MRPSGO[EWLIV
LI\RYX
\MRFSPX
MRJPEX[EWLIV
\MRFSPX
MRJPEX[EWLIV
MRPSGO[EWLIV
MRJPEX[EWLIV
MRPSGO[EWLIV
LI\RYX
\MRFSPX
MRJPEX[EWLIV
LSTTIVEGGIWWGSZIV
JSYVTSVXLSPISRP]
Hopper Installation
Hopper Styles
Hopper Installation
There are four ledge-free hopper styles offered for
the Downflo II. A single-module wide that spans
two portholes; a single-module wide that spans three
portholes; a taller, steeper, single-module wide
module which spans two portholes, and a double-
module wide spanning four portholes. All styles
transition to a single, 10-inch square discharge.
1. Stand the hopper on the discharge end.
Note: Remove hopper access covers on double
module hoppers if necessary.
2. Apply sealant around the hoppers top flange
toward the inside of the bolt pattern.
3. Lift the collector and position over the hopper
and lower slowly.
4. Use drift pins to align holes.
5. Secure collector to hopper using 3/8-16 x
1 1/4-in bolts, flat washers, and nuts. Tighten all
hardware securely.
6. Replace all access covers and tighten securely.
WMRKPIQSHYPI
WTERRMRKX[S
TSVXLSPIW
WMRKPIQSHYPI
WTERRMRKXLVIITSVXLSPIW HYEPQSHYPI
WTERRMRKJSYVTSVXLSPIW
WXIITWMHIHWMRKPI
QSHYPIWTERRMRK
X[STSVXLSPIW

Donaldson Company, Inc.
14
Leg Positioning
3. Use drift pins to align the holes in the collector
with the holes in the legs. Attach each leg with
the hardware supplied. Do not tighten hardware
at this time.
4. Use drift pins to align the holes in the cross
braces to the back of the leg set. Attach using
the hardware supplied. Do not tighten hardware
at this time.
Leg Installation
Leg sets are designed for standard height collectors
and are rated as shown in the Rating and
Specification Information. Reference the drawing
shown below and the leg assembly drawing shipped
with the leg set for proper location and assembly.
1. Position and assemble legs and cross braces as
shown in Leg and Cross Brace Assembly.
2. Lift the cabinet and hopper assembly into
position over the legs and lower slowly.

Downflo II, Model DFT 2-8 through 4-128
15
Leg and Cross Brace Assembly
Tighten all leg and cross brace hardware
before removing crane.
CAUTION
5. Recheck the position of the leg sets and cross
braces.
6. Using a crane, lift the assembled unit onto the
anchor bolts. Fasten each leg pad to the anchor
bolts using flat washers, lock washers, and hex
nuts provided by others. Do not tighten
hardware at this time.
7. Level unit. Tighten all hardware on legs, cross
braces, and foundation anchors.
8. Remove crane.

Donaldson Company, Inc.
16
Compressed Air Installation
1. Remove the plastic pipe plug from the units air
manifold and connect the compressed-air supply
line. Use thread-sealing tape or pipe sealant on
all compressed-air connections.
2. Install a customer-supplied shut-off valve, bleed-
type regulator with gauge, filter, and automatic
condensate valve in the compressed-air supply
line.
Note: All compressed-air components must be sized
to meet the maximum system requirements of
10 to 20 scfm (depending on size of unit) at
90-psi supply pressure. See Specification
Control Drawing shipped with unit.
Do not increase supply pressure above 100-psi.
Component damage can result.
CAUTION!
The compressed-air supply must be oil
and moisture free. Contamination in
the compressed air used to clean filters
will result in poor cleaning, cleaning
valve failure or poor collector
performance.
Purge compressed-air lines to remove
debris before connecting to the units
compressed-air manifold.
Turn compressed-air supply OFF and
bleed lines before performing service
or maintenance work.

Downflo II, Model DFT 2-8 through 4-128
17
Compressed Air and Component Installation
GPIEREMVSYXPIX
GPIEREMVTPIRYQ
HMETLVEKQZEPZI
WSPIRSMHIRGPSWYVI
QERMJSPH
EMVVIKYPEXSV
FPIIHX]TI
EMVJMPXIV
EYXSQEXMG
GSRHIRWEXI
ZEPZI
GSQTVIWWIHEMV
WYTTP]PMRI
WSPMHWXEXIXMQIV
FPS[IVQSXSVWXEVXIV
TS[IVWYTTP]HMWGSRRIGXW[MXGL
FPS[IV
EWWIQFP]
1EKRILIPMG
KEYKI
2SXIW 2SXMRGPYHIH[MXLWXERHEVHYRMX
7TVMRHPIVXETWRSXWLS[R

Donaldson Company, Inc.
18
CAUTION!
Electrical installation must be
performed by a qualified electrician
and comply with all applicable
national and local codes.
Turn power OFF during installation
or maintenance.
Do not install in classified hazardous
atmospheres without an enclosure
rated for the application.
Solid-State Timer Installation
The solid-state timer is an electronic timer used to
control the filter cleaning system. Available options
include 3, 6, 10, 20, and 32-pin solenoid valve
control.
Note: The solid-state timer requires a 105 to 135-
Volt customer-supplied power supply.
Do not mount the solid-state timer on the
unit. Mechanical vibration can damage the
control.
1. Using the wiring diagram supplied, wire the fan
motor, fan-motor starter, solid-state timer, and
solenoid valves. Use appropriate wire gauge for
rated amp load as specified by local codes.
2. Plug the program lug into the pin that
corresponds with the number of solenoid valves
controlled.
3. With power supply ON, check the operation of
the solenoid valves. The valves should open and
close sequentially at factory set 10-second
intervals.
4. If a Photohelic gauge or similar device is used to
control the solid-state timer and the jumper on
the pressure switch portion of the timer is
removed, the solenoid valves pulse only when the
differential pressure reaches the high-pressure
setpoint. The valves continue to pulse until the
low-pressure setpoint is reached.
Solenoid Connection
The unit is equipped with 115-Volt solenoid valves
that control the pulse-cleaning valves, which clean
the filters.
One of three types of solenoid enclosures, the
weatherproof NEMA 4 with 3D2 solenoids, the
explosion proof NEMA 7 with 5D2 solenoids, or the
explosion proof NEMA 9 with 5D2 solenoids,
is mounted near or on the units compressed-air
manifold.
Wire the solenoids to the solid-state timer following
the wiring diagram supplied with the unit. Filter life
and cleaning operation will be affected if not wired
correctly.
Timer and Solenoid Specifications
Power to the solid-state timer is supplied to
Terminals L1 and L2, which operate in parallel with
the fan starters low-voltage coil. On fan start-up,
power is supplied to the timer and the preset OFF
time is initiated. At the end of the OFF time, the
timer energizes the corresponding solenoid valve to
provide the ON time cleaning pulse for one
diaphragm valve and then steps to the next until all
filters have been cleaned.
To pulse when the fan is OFF, install a toggle switch
as shown on the Solid-State Timer Wiring Diagram.
When the toggle switch is ON, the timer receives
power and energizes the solenoid valvespulse-
cleaning operation even though the fan is turned
OFF.
Input
105-135V/50-60Hz/1Ph
Output Solenoids
The load is carried and turned ON and OFF by the
200 watt maximum-load-per-output solid-state
switch.
Pulse ON Time
Factory set at 100-milliseconds, or 1/10-second.
Note: Do not adjust pulse ON time unless the proper
test equipment is available. Too much or too
little ON time can cause shortened filter life.

Downflo II, Model DFT 2-8 through 4-128
19
Solid-State Timer Wiring Diagram
*ER7XEVXIV 'SRXVSP&S\(MWGSRRIGX
*9
*9
*9
:
,^4L
-0
-0
-0
1 30 8
8
8
:
:
, ,
, ,
< <
WXST
WXEV
1
1
8+7
JER
QSXSV
3**XMQI 32XMQI
TVSKVEQ
TMRW TVSKVEQPYK
TVIWWYVI
W[MXGL
XMQMRK
PSKMG
TS[IV
WYTTP] GSRXVSP
PSKMG
*9%
XS:
,^
WSPIRSMH
ZEPZIW
0 0
'31
0
0
0
(MWGSRRIGXJYWIWPS[ZSPXEKIFPS[IVWXEVXIVERH8+7W[MXGLEVIGYWXSQIVWYTTPMIH
;MVMRKF]SXLIVW
;MVMRKF]JEGXSV]
Pulse OFF Time
Factory set at 10-seconds, adjustable from 1.5-sec
minimum to maximum 30-seconds.
Operating Temperature Range
-20° F to 130° F
Transient Voltage Protection
50 kW transient volts for 20-millisecond duration
once every 20 seconds, 1% duty cycle.
Solenoid Valves
115-Volt at 19.7 watts each
Compressed-Air
Set compressed-air supply at 90-psig. The timer is
factory set to clean one filter or set of filters every
10-seconds.
Note: Do not set compressed-air pressure above 100-
psig. Component damage will occur.

Donaldson Company, Inc.
20
Preliminary Start-Up
1. Check all electrical connections for tightness and
contact.
2. Check for and remove all loose items in or near
the inlet and outlet of the unit.
3. Check that all remote controls are wired into the
control system and all service switches are in the
OFF position.
4. Check that all optional accessories are installed
properly and secured.
5. Check that hopper discharge is open and the
storage container is sealed, if equipped. Excess
airflow to the fan will cause electrical failure.
6. Turn power ON at source.
7. Turn the compressed-air supply ON. Adjust
pressure regulator for 90 to 100-psig.
8. Turn the fan motor ON then OFF to check for
proper rotation by referencing the rotation arrow
located on the motors mounting plate.
To reverse rotation, single-phase power supply:
Follow manufacturers instructions on the
motors nameplate.
To reverse rotation, three-phase power supply:
Turn electrical power OFF at source and switch
any two leads on the output-side of the fan-
motor starter.
9. Adjust the fan for proper airflow by adjusting the
volume control damper on the fan discharge and
silencer, if equipped.
Note: Excess airflow can shorten filter life, cause
electrical system failure, and fan motor
failure.
Service Information
Operational Checklist
1. Monitor overall performance of the collector.
2. Monitor exhaust.
3. Monitor pressure drop across filters.
4. Monitor dust disposal.
Filter Installation and Replacement
CAUTION!
Use proper safety and protective
equipment when removing
contaminants and filters.
Dirty filters may be heavier than they
appear.
Use care when removing filters to avoid
personal injury.
Do not drop filters.
Filter Removal
1. Turn power to unit OFF.
2. Start at the top access port.
3. Remove access cover by turning knob
counterclockwise.
4. Break the seal between the filter cartridge and the
sealing surface.
5. Slowly rotate the cartridge 1/2-turn to remove
dust that may have accumulated on the top of the
filter.
6. Slide the filter out the access port along the
suspension yoke and dispose of properly.
7. Clean the sealing surface with damp cloth.
Note: Clean dust from gasket sealing area to
ensure a positive filter gasket seal.
8. Check for an accumulation of dust in the storage
area and empty as necessary.
This manual suits for next models
19
Table of contents
Other Donaldson Torit Industrial Equipment manuals

Donaldson Torit
Donaldson Torit Dalamatic DLMV Series User manual

Donaldson Torit
Donaldson Torit Dryflo MMA User manual

Donaldson Torit
Donaldson Torit Horizontal Series User manual

Donaldson Torit
Donaldson Torit WSO 20 User manual

Donaldson Torit
Donaldson Torit RWB-2000 User manual

Donaldson Torit
Donaldson Torit LP Series User manual

Donaldson Torit
Donaldson Torit WSO 10 User manual

Donaldson Torit
Donaldson Torit PowerCore CPV-1 User manual