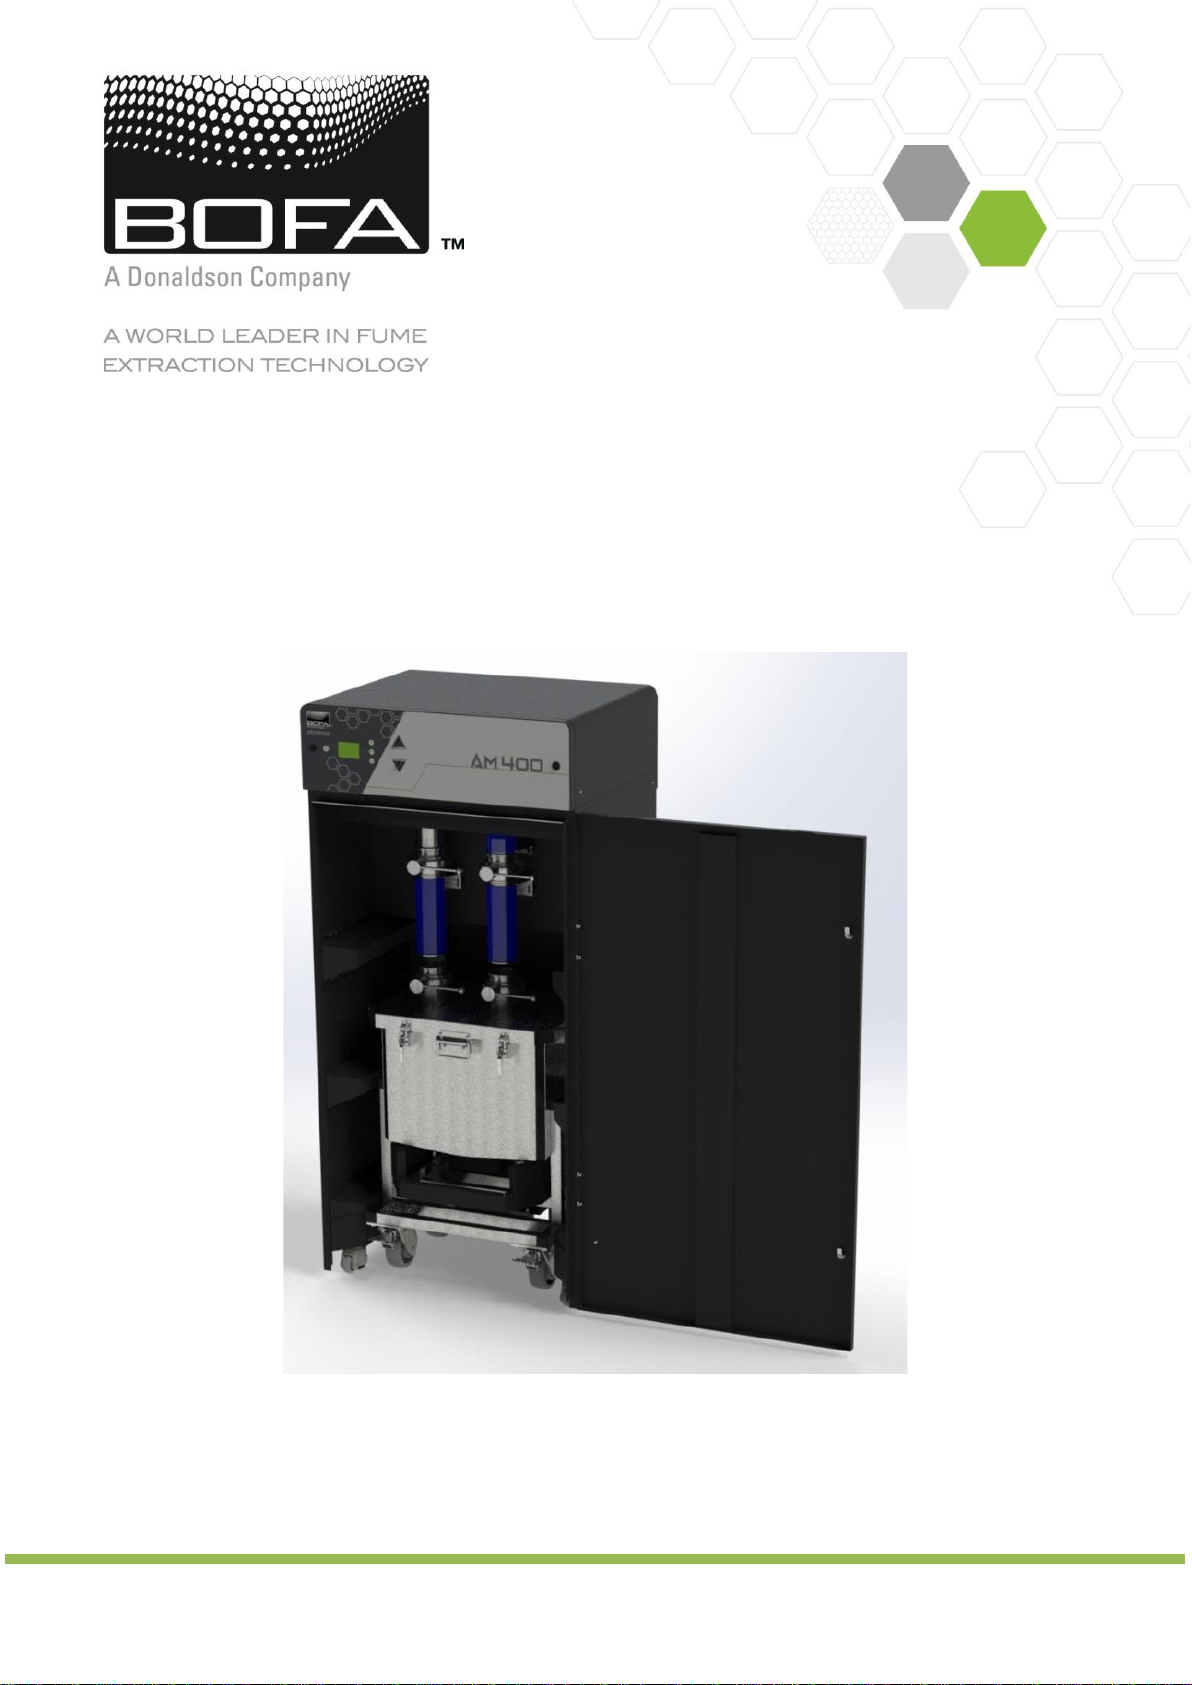
manuals.online logo
Brands
  1. Home
  2. •
  3. Brands
  4. •
  5. Donaldson
  6. •
  7. Scrubber
  8. •
  9. Donaldson BOFA AM400 User manual

Donaldson BOFA AM400 User manual

Version 3 –07/2021
USER MANUAL
AM400
Contents
01
02
03
Overview of your AM400 extraction system (front)
Overview of your iQ extraction system (back)
Overview of filtration path
1
01
Unpacking and unit placement
3
01
02
Turning extractor on / Changing display units
Setting the airflow
03
Airflow auto adjust (first installation only)
5
01
02
Important safety notice
Safety labels
2
01
02
Pre filter replacement / Cleaning the unit
replacement
Filter replacement procedure
6
01
Fault indication / Error codes
8
01
Consumables spares/filter disposal
9
01
AM400 specifications
10
01
iQ display features / Visual alarms
7
02
03
04
USB connectivity / USB upload
USB download
Information collected by USB
01
02
Fume capture methods
Connecting to power supply
03
04
Interface connection
Interface connection (cont’d)
4
04
05
Overview of LCD display
Overview of control panel
Overview
IQ flow management
control board
Lift mechanism
control buttons
Machine isolation
valves
Housing isolation
valves
Tri-clamp fittings
Filter housing
Electric actuator
Castors
Lift sling
01
Filter housing
latches
Overview
Inlet
Outlet
Interface
connection
Mains power cable
entry
On/Off switch
02
Overview
03
Overview
04
Panel key access
Standby button
iQ display screen
iQ control buttons
Filter
housing
actuator
“UP”
control
Filter
housing
actuator
“DOWN”
control
Overview
05
Safety Instructions
Important safety notes
Concerning symbols used on the extraction unit and referred
to within this manual.
Danger
Refers to an immediately impending danger. If the danger is
not avoided, it could result in death or severe (crippling)
injury. Please consult the manual when this symbol is
displayed.
Warning
Refers to a possibly dangerous situation. If not avoided it
could result in death or severe injury. Please consult the
manual when this symbol is displayed.
Caution
Refers to a possibly harmful situation. If not avoided,
damage could be caused to the product or something in its
environment.
Important (Refer to manual)
Refers to handling tip and other particularly useful
information. This does not signify a dangerous or harmful
situation. Refer to manual when this symbol is displayed.
Electrical Safety
The unit has been designed to meet the essential Health
and Safety requirements of the Machinery Directive
2006/42/EC. This is achieved by ensuring conformity with
the requirements of the Low Voltage Directive 2014/35/EC.
The requirements of the EMC Directive 2014/30/EU are also
met
Warning
When working with the pump/motor housing open, Live 115
or 230 volt mains components are accessible. Ensure that
the rules and regulations for work on live components are
always observed.
Important
To reduce the risk of fire, electric shock or injury:
1. Always isolate the system from the mains power
supply before removing the pump/motor access
panel.
2. Use only as described in this manual.
3. Connect the system to a properly grounded outlet.
Dangers to eyes, breathing and skin
Once used, the filters within the AM 400 system may
contain a mixture of particulates, some of which may be
sub-micron size. When the used filters are moved it may
agitate some of this particulate, which could get into the
breathing zone and eyes of the operative. Additionally,
depending on the materials being processed, the particulate
may be an irritant to the skin.
This unit should not be used on processes with sparks of
flammable materials or with explosive dusts and gases,
without implementation of additional precautions.
Caution: When changing used filters the PPE in section
2.02 must be adhered to.
BOFA Technical Service
If a problem arises with your AM 400 system, or if it displays
a fault code, please refer to the troubleshooting guide
section 8of this manual. If the problem is still not resolved,
please:
•Visit our website at www.bofa.co.uk for on-line
help.
•Or contact the helpline on +44 (0) 1202
699444, Mon-Fri, 9am-5pm.
Email: [email protected].uk
01
Safety Instructions
Warning and Information labels
The following listing details labels used on your AM400 unit.
Goggles, Gloves & Mask Label
Location: Front face of filter
Meaning: Wear PPE that is appropriate for the activities
around you (For example powder change out on the
machine next to your work station may require you to wear
the same level of PPE). While potential exposures are
typically lowest during the printing stage, work surfaces
might still be contaminated with metal powders. If printing
is interrupted, use the level of PPE needed when the
machine is open. Follow proper PPE replacement practices.
Recommended PPE includes: Nitrile or chemical resistant
gloves, lab coat or overalls, safety glasses, goggles or face
shields, respiratory protection when indicated and
engineering controls cannot control exposures, and in
accordance with federal regulations (29 CFR 1920.134).
Electrical Danger
Location: Rear upper & lower access Panels and internal
motor access panel.
Meaning: Removal of panels with this label attached will
allow access to potentially live components.
Warning Label
Location: Top left front door panel.
Meaning: Power should be isolated before the panel with
this label attached is opened/ removed.
Serial Number Label
Location: Rear electrical panel.
Meaning: This label contains a variety of information about
the extraction unit, including.
•*Example of serial number
PLEASE NOTE: If the equipment is used in a manner not
specified by the manufacturer, the protection provided by
the equipment maybe compromised.
Fire Risk Warning
In the very rare event that a significant quantity of oxygen is
drawn into the fume extraction unit, it may be possible that
the filter will ignite.
Whilst any resultant fire would typically be retained within
the fume extraction unit, the damage to the extractor could
be significant. It is therefore essential to minimise the
possibility of this occurring by undertaking an appropriate
Risk assessment to determine:-
a). Whether additional fire protection equipment should be
installed.
b). Appropriate maintenance procedures to prevent the risk
of build-up of debris which could potentially combust.
02
Lifting bracket
M8 washers and bolts
Before installation
Inner transit packaging removal & unit placement
Before installation, check the extraction unit for damage.
All packaging must be removed before the unit is connected
to the power supply.
Please read all instructions in this manual before using
this extractor.
1. Move the packaged unit to the location where it is
going to be installed and remove the outer packaging,
by removing the screws in each exterior packaging
panel, excluding the base.
2. Attach the lifting bracket to the front and rear of
the unit using 8x M8 washers and bolts as supplied,
ensuring these are tightened using appropriate tools.
3. Using a forklift, lift the unit using the attached
lifting bracket, once removed from the base it can be
manoeuvred into place using the extractors castors.
4. The extractor should then be connected to the
machine requiring extraction by following the
manufacturers guidelines.
01
Installation
The AM400 has been designed to remove and filter fume
containing potentially hazardous particulate generated
during manufacturing processes. Such hazardous
substances are captured within a single stage filtration
system after which the cleaned gas is returned to the
process.
General Guidelines for a successful installation and to
achieve optimal performance:
•Keep duct run length to a minimum
•Avoid sharp bends / turns in the ductwork
•Avoid multiple bends / turns in the ductwork
•Use a larger diameter duct where possible (To the
maximum diameter of the inlet & outlet)
•Position the capture device as close as possible to
the mating machine.
All ductwork should be installed and connected to
the extraction unit before the iQ system is turned on.
01
Installation
Connection to Power Supply
Please follow the specification at the rear of the manual
when selecting the power supply outlet for the AM400
system, ensure the power supply is suitable before
connecting the AM400 system.
Check the Integrity of the electrical power cable, if the
supply cord is damaged the extraction unit should not be
connected to the mains. The supply cord should only be
replaced by a BOFA engineer as an electrical safety test may
be required after replacement.
The AM400 system MUST be connected to a properly
earthed outlet.
Connect the power cable to an isolated electrical
supply.
The mains socket should be installed near the
extractor it should be easily accessible and able to
be switched On / Off. The cable run should be arranged so
as not to create a trip hazard.
02
Installation
Remote Stop/Start feature
Enables the extraction unit to be remotely turned On / Off
via an external signal.
This feature can be configured in 2 ways
•DC Voltage input –Range 12-24VDC
•Volt free input –Open / Closed contacts
Note: Care must be taken to ensure that the system is
correctly wired in order for the extraction unit to function
correctly.
DC Voltage input
This configuration requires the Black & Red cores of the
signal cable (Refer to section 1for location) to be connected
to a known and tested DC power supply, in order to start the
extractor.
The operating voltage for this signal is between 12 &
24VDC. Only voltages within this range should be
connected. Voltages connected outside of this range may
cause irreversible damage to the internal control PCB.
Red cable = V+
Black cable = V-
When the extractor is provided with the correct DC voltage
the motor will start and maintain the set flow rate (Refer to
section 5for how to set the flow) when the DC voltage is
removed the motor will slow down and come to a stop.
The extractor will need to be turned on and be out of
standby mode (See section 5for turning the extractor on) in
order for this feature to operate.
Volt free input
This configuration requires the Black & Red cores of the
signal cable (see section 1for location) to be connected
together, in order to start the extractor.
When the 2 cables are connected together the motor will
start and maintain the set flow rate (see section 5for how to
set the flow)
when the 2 cables are disconnected the motor will slow
down and come to a stop.
The extractor will need to be turned on and be out of
standby mode (See section 5for turning the extractor on) in
order for this feature to operate.
03
Installation
Filter Blocked / System Fail Signal
The AM400 system will output a signal to alert the user
when the extractor has failed or when the filters are
blocked.
This feature will not directly stop the extractor from running
correctly, but if fitted this feature should be terminated
correctly before power is applied to the AM400 system.
Connection specification
This signal is available via the Green and White cores of the
signal cable. The iQ system will provide a volt free Open /
Closed signal that can be connected to an external interface,
beacon or warning device following the specification below.
•Maximum input voltage: 24V AC
•Maximum current load: 3A @ AC
OR
•Maximum input voltage: 24V DC
•Maximum input load: 3A @ DC
Filter Signal Configurations
The signal is configured, as detailed below.
Combined signal
With this configuration the Filter blocked & System fail
signals will be linked together to give a combined single
output.
When the filters become blocked or the iQ system develops
a fault (Refer to section 8for Troubleshooting & Error
codes) the connection between the Green & White cables
will become “Open”
When the extraction system is running normally the
connection between the Green & White cables will become
“Closed”
04
Operation
Turning extraction unit On
There are 2 stages to powering up your AM 400 extraction
unit. Firstly the main isolation switch must be switched to
the “On” position.
This will place the extraction unit in Standby mode,
indicated by the front panel standby button glowing Red.
To start the extraction unit press the front panel power
button (refer to section 1for switch location) the button will
change from Red to Green indicating the extraction unit is
now fully On.
Changing the display units
The Flow rate and temperature readings can be displayed in
2 ways.
1. Temperature displayed as oC
Flow rate displayed as m3/h
OR
2. Temperature displayed as oF
Flow rate displayed as CFM
The display value can be changed by pressing the “Enter”
button once.
1)
2)
01
Standby
On
Operation
Setting the desired flow rate
The iQ system features automatic flow control. This enables
the user to set the required flow rate rate, then over time as
the filters begin to block the motor will automatically begin
to increase in speed to compensate for any loss in
performance caused by the added restriction of the partially
blocked filters.
The extractor and all pipe work must be fully
installed and connected before the flow rate is set.
To set the flow rate
(The flow rate can be set between 150-300m3/h)
1. Press and hold the “Enter” (middle) button (Refer
to section 1 for button location) for 3 seconds, or
until all 3 button lights flash green.
2. Release the Enter button, the iQ system is now in
set mode. Press either the Up or Down button to
adjust the flow rate accordingly.
Real time flow rate is displayed on the LCD screen,
Refer to section 1for Display information)
3. Once you have your desired flow rate, leave the
controls, after around 10seconds the flashing
buttons will illuminate constantly to confirm the
flow rate is stored.
The set flow rate will now be maintained throughout the life
of the filter. When the extraction unit can no longer
maintain the set flow rate an alarm will be given and the
display will indicate which filter should be changed.
1)
2)
3)
02
Operation
Flow rate Auto Adjust (first installation only)
When first setting the flow rate on your new extraction unit
the iQ will detect if the desired flow rate is achievable with
the installation that has been connected to the extraction
unit.
If the installation is causing too much restriction for the
desired flow rate to be reached, the Auto Adjust feature will
be activated. The procedure events are listed below.
1) The 3 buttons will begin flashing Red along with the flow
rate setting on the LCD screen.
2) The flow rate setting on the screen will drop to display the
highest flow rate that can be achieve.
3) The flow rate will stabilise and the buttons will turn green
to show the flow rate has set.
03
Maintenance
Maintenance General
User maintenance is limited to cleaning the unit and filter
replacement, only the manufacturers trained maintenance
technicians are authorised to carry out component testing
and replacement. Unauthorised work or the use of
unauthorised replacement filters may result in a potentially
dangerous situation and/or damage to the extractor unit
and will invalidate the manufacturer’s warranty.
Replacing Filters
The AD 400 system constantly monitors the condition of the
filter. As the filter blocks the LCD display will show the filter
symbol filling up. (see section 1 for the LCD details). The
filter symbol fills up in 5% increments, when the filter icon is
filled the filter will need replacing.
Filter blocking
A log of the changes should be maintained by the user.
The filters require attention when the display shows the
filter blocked icon/ filter output signal or when the extractor
no longer removes fume efficiently.
It is recommended that a spare set of filters are kept on site
to avoid prolonged unit unavailability. Part numbers for
replacement filters can be found on the filters fitted in your
system.
To prevent overheating, units should not be run with a
blocked filter condition, or with dust obstruction of Inlets /
Outlets.
75% filter blocked indication
When the filters become 75% blocked the buttons on the
front of the extraction unit will turn from Green to Amber
and if fitted the iQ system will output a signal to indicate
this. At this time it is recommended spare filters are
available as a change may be needed shortly.
IQ configuration due to single filter use
As the AM400 is a single filter machine. The iQ system has
been modified to run with a single filter, but the GUI
remains the same to our other extractors. The Combined
filter image (upper filter) will remain ‘empty’ regardless of
use. This is because the pressure sensor detecting the filter
blockage has been bypassed. Only the lower filter image
(pre-filter by other unit terminology) will fill over time. This
indicates the blockage of the AM400 filter within the
housing.
Filter Replacement
The filter needs replacing when the display flashes between
the 2 images shown below, at this point the buttons will
glow Red and if fitted the filter blocked signal will be given.
01
TIME
Maintenance
Cleaning the unit
The external powder coat finished unit can be cleaned with
a damp cloth and non-aggressive detergent, do not use an
abrasive cleaning product as this will damage the finish.
In the unlikely instance the internal inlet path may need to
be cleaned, the following procedure outlines how to
disassemble the pipework. Before disassembling ensure the
extractor has been isolated from all power sources, and PPE
as per your companies risk assessment is being used.
-Open the front door of the extraction unit and
remove the three tri clamps as indicated below:
-The machine isolation valve is now removeable to
be able to clean this part.
-Remove the 4x M6 bolts as indicated below to
remove the elbow from the inlet path.
-To remove the final section in the inlet path,
remove the 4x m6 bolts as indicated below, access
to this is best achieved through the top access
panel by using the two panel key points.
01
Step 1:
-Ensure the system is powered off and isolated.
-Close both isolation valves by rotating both handles 90
degrees anti-clockwise, ensuring the handle has “clicked”
into position and can no longer be moved out of position.
Step 2:
-Remove the lower tri-clamps. between the filter housing and
flexible hose.
Step 3:
-Lower the housing to floor via the lift mechanism, by holding
the button as illustrated below.
Maintenance
Filter
housing
spigot
Flexible
hose
inlet/outlet
02
Changing the filter

Other Donaldson Scrubber manuals

Donaldson Bofa V 1000 iQ User manual

Donaldson

Donaldson Bofa V 1000 iQ User manual

Donaldson BOFA DustPRO 100 User manual

Donaldson

Donaldson BOFA DustPRO 100 User manual

Donaldson BOFA AD Nano SST User manual

Donaldson

Donaldson BOFA AD Nano SST User manual

Donaldson BOFA 3D PrintPRO 3 User manual

Donaldson

Donaldson BOFA 3D PrintPRO 3 User manual

Donaldson BOFA 3D PrintPRO 4 User manual

Donaldson

Donaldson BOFA 3D PrintPRO 4 User manual

Popular Scrubber manuals by other brands

Lindhaus LW30 pro Owners guide and parts manual

Lindhaus

Lindhaus LW30 pro Owners guide and parts manual

Tornado BR 28/27 Operation & maintenance manual

Tornado

Tornado BR 28/27 Operation & maintenance manual

Servpro AIR SCRUBBER 892 Information & operating instructions

Servpro

Servpro AIR SCRUBBER 892 Information & operating instructions

HAKO Scrubmaster B25 quick start guide

HAKO

HAKO Scrubmaster B25 quick start guide

Kärcher BD 50 C Ep Classic manual

Kärcher

Kärcher BD 50 C Ep Classic manual

Tennant EC H2O M20 Operator's manual

Tennant

Tennant EC H2O M20 Operator's manual

Tennant 255 Series II Operator's manual

Tennant

Tennant 255 Series II Operator's manual

Nilfisk-ALTO SCRUBTEC 234 C user manual

Nilfisk-ALTO

Nilfisk-ALTO SCRUBTEC 234 C user manual

Lamona LAM2601 Instructions and installation

Lamona

Lamona LAM2601 Instructions and installation

BETCO PowerBuff AS2600T user guide

BETCO

BETCO PowerBuff AS2600T user guide

URSUS TROTTER UT-WETZEL40 quick start guide

URSUS TROTTER

URSUS TROTTER UT-WETZEL40 quick start guide

Taski swingo 455B manual

Taski

Taski swingo 455B manual

comoc C130 D 2015 Use and maintenance manual

comoc

comoc C130 D 2015 Use and maintenance manual

Numatic TT6650G Original instructions

Numatic

Numatic TT6650G Original instructions

COMAC ULTRA120 B Use and maintenance manual

COMAC

COMAC ULTRA120 B Use and maintenance manual

Nilfisk-Advance Liberty SC60 Instructions for use

Nilfisk-Advance

Nilfisk-Advance Liberty SC60 Instructions for use

ICE COBOTICS i-SYNEGY i20NBTL+ Operator's & parts manual

ICE COBOTICS

ICE COBOTICS i-SYNEGY i20NBTL+ Operator's & parts manual

IPC CT105 quick guide

IPC

IPC CT105 quick guide

manuals.online logo
manuals.online logoBrands
  • About & Mission
  • Contact us
  • Privacy Policy
  • Terms and Conditions

Copyright 2025 Manuals.Online. All Rights Reserved.