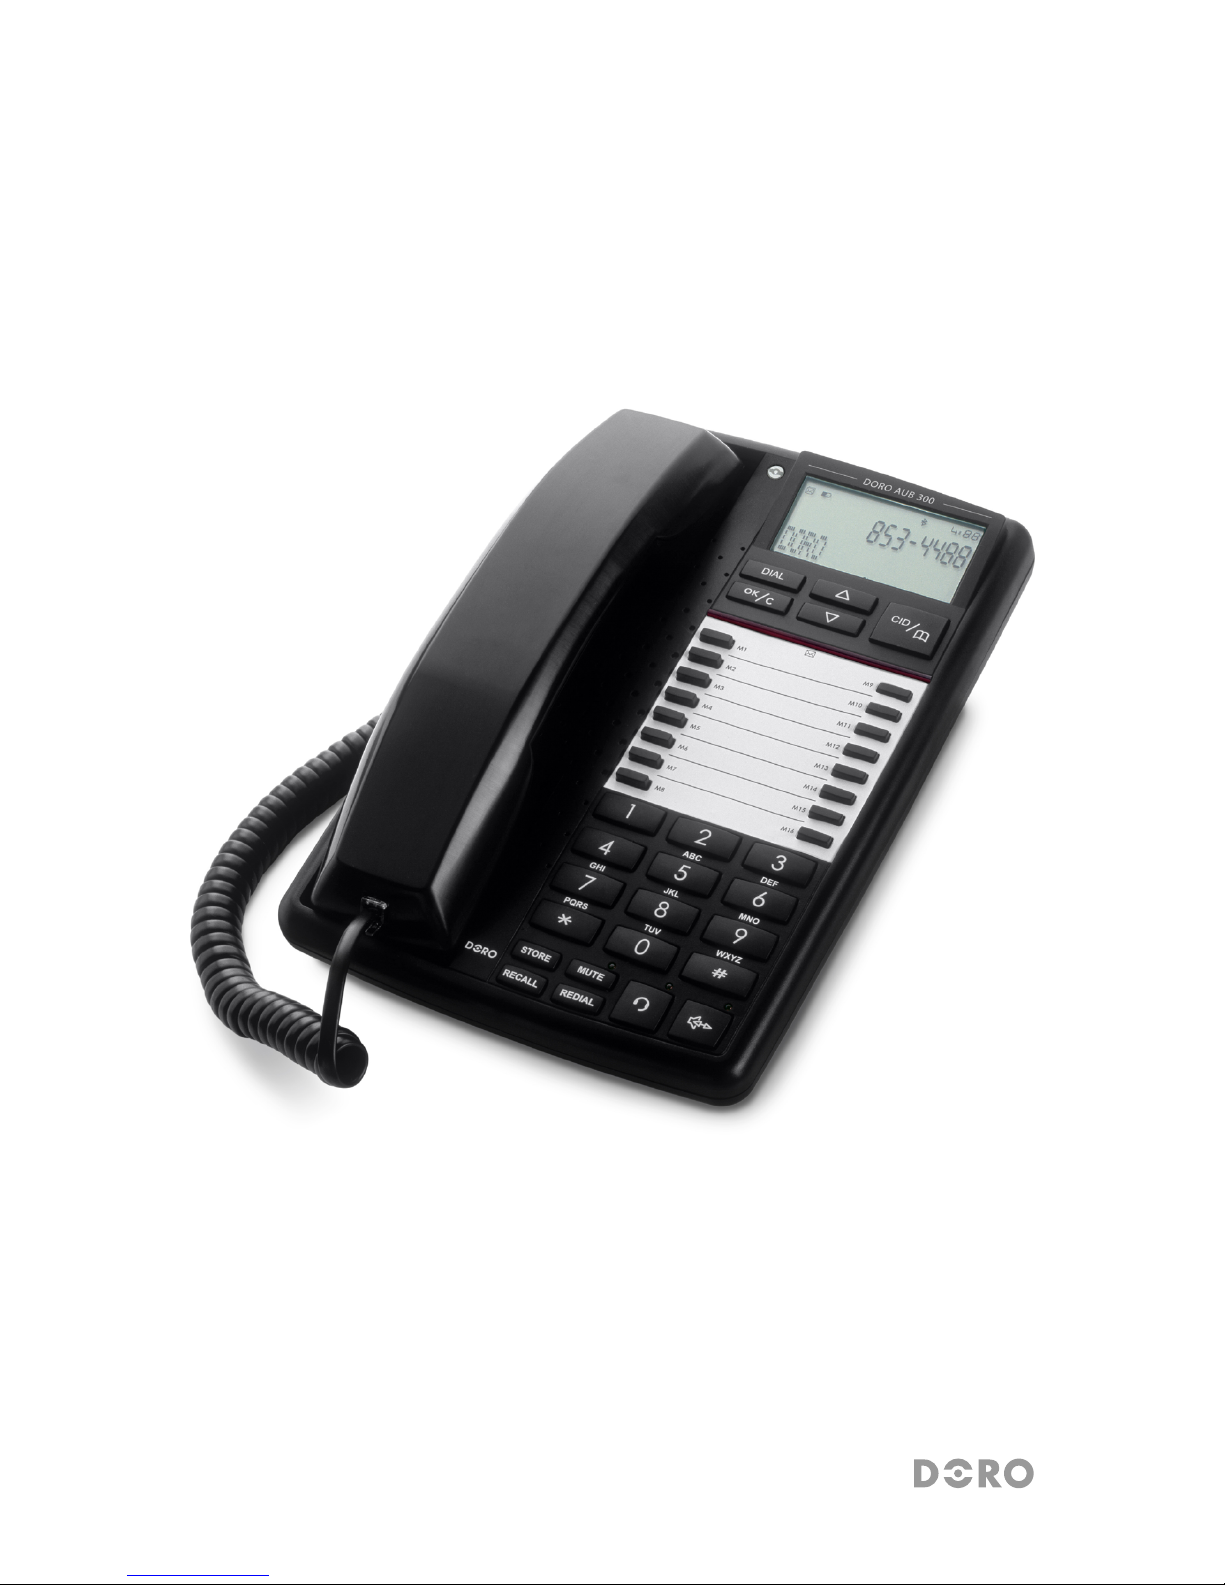
Doro AUB 300i User manual

AUB 300i

!"# $%&
*+, -./'()
456 789:0123
-54%34/2%
2%$)!,
2%#!,,
-
-
-
-
-
-
-
-
-
-
-
-
-
-
-
-
CID
DIAL
7
2
11
14
10
9
3
4
15
16
13
12
6
5
17
1 Line- and power-connector
2 Scroll UP/DOWN buttons
3 Dial displayed number
4 Wall mounting hanger hook
5 Clear/OK button
6 One-Touch memories
7 Headset socket
8 Handset socket
9 Mute button and LED
10 Store button
11 Recall button
12 Redial button
13 Hands free button and LED
14 Headset button and LED
15 Speaker volume control
16 Handset/Headset volume control
17 Ringer/Message waiting indicator
18 Caller ID/Phone book
19 Input socket for additional equipment
English
18
19
8
1

English
1
Important!
The earpiece of the handset may attract small ferromagnetic objects such as staples and pins, care should
be taken when placing the handset near these items.
Connection
1. Connect the curly cord to the handset and to the socket marked qon the side of
the telephone.
2. Place the handset into the cradle.
3. Connect the telephone line cord to the socket marked Ton the telephone, and to
a telephone network wall socket. Lift the handset and listen for the dial tone. Your
telephone is now operational.
Setting the clock, alarm settings, language or contrast
If you wish to set the clock, alarm, language or contrast settings, follow the steps below:
1. Press and hold v until the alarm setting ashes.
(DO NOT use the alarm feature without mains adapter or batteries, detailed
description of the alarm can be found in chapter Alarm settings)
2. Press OK.
3. Select the required language using v/V. Press OK.
4. Select the desired contrast setting (3=normal) using v/V. Press OK.
5. Set the correct hour (00-23) using v/V. Press OK.
6. Set the correct minute/s using v/V. Press OK.
7. Set the correct day using v/V. Press OK.
8. Set the correct month using v/V. Press OK.
9. Select the required pause setting (2 seconds=normal) using v/V. Press OK.
The display
In standby mode the date and time, number of new and total number of calls stored
in the Caller ID memory will be displayed. Immediately following the connection of a
call, a call timer will be shown on the display.
Hearing aid compatible
This telephone is hearing aid compatible. Select the T mode on your hearing aid to
enable this feature.
Ringer
The ringer volume, melody and tone can be selected using the switches located on the
underside of the telephone behind the battery cover:
Labels/protective cover
The memory index cover can be accessed by carefully removing the transparent plastic
using a small at blade screwdriver or similar.

English
2
Wall mounting
The telephone can be wall mounted using an optional wall mount bracket.
The wall mount bracket is available as an accessory, part number WB200/300 in white
or black.
1. Fix the wall mount bracket on the back of the telephone.
2. Secure two screws, vertically positioned 83 mm apart.
3. The screws should locate into the two keyholes on the wall mount bracket.
4. Activate the hanging peg (located by the hook switch) by lifting it upwards and
rotating it 180 degrees.
Making a call
Lift the handset and dial the required telephone number.
Pre-Dialling
You can enter and correct a telephone number before dialling.
1. Dial the required telephone number. Mistakes can be erased using C.
2. Press DIAL OR press sto dial the number.
Redial
Repeatedly press REDIAL to view the last 5 numbers dialled. Press DIAL OR press
sto dial the number.
Volume control
The Handset/headset earpiece volume may be increased or decreased during a call.
Use on the side of the phone to adjust the volume.
To adjust the speaker volume (hands free and group listening) use on the side
of the phone.
Recall
Press the recall button RECALL followed by the extension number to transfer calls
when connected to a PBX (TBR only). Access to additional network services can be
gained by using the recall button RECALL, *and #keys. Contact your network
operator for more information.
Mute button
The handset/headset/hands free microphone can be disconnected during a call by
pressing MUTE. Press MUTE once more to reactivate the microphone.
The MUTE LED will illuminate while the function is active.

English
3
Hands free function
1. Press s. The hands free function will be activated and the LED indicator next to
the button will illuminate.
2. Dial the required telephone number. Adjust the volume using the volume control
located on the side of the telephone.
3. Speak towards the microphone located on the front edge of the telephone.
4. Press sto terminate the call.
If you wish, you can switch between handset and hands free mode by simply pressing
sor lifting the handset.
Please note!
Please remember that in hands free mode it is only possible for one person at a time to talk. The switch-
over between speaker and microphone is automatic and dependent on the sound level of the incoming call
and the microphone respectively. It is therefore essential that there are no loud noises, e.g. music, in the
immediate vicinity of the telephone, as this will disrupt the hands free function.
Group listening
Group listening allows anyone in the same room as the base unit to hear both parties
and follow the conversation through the base units speaker.
The ongoing call is not affected and can continue via the handset or optional headset.
1. Once the call has been connected, press sto activate the Group Listening
function. The LED indicator by the button will illuminate and the conversation can
then be heard through the speaker.
2. To deactivate the Group Listening function, press sagain.
Connection of a headset
An additional headset can be connected to the socket on the side of the telephone
marked =. To access an incoming call or dial press =, to terminate a call press =
again. The LED next to the headset button will illuminate when activated.
Please note!
DORO original headsets are tested and adapted for this telephone. Other types and makes of headsets
may be used, though the function and sound quality cannot be guaranteed. In the worst case, these could
damage the headset and telephone. This type of damage is not covered by the telephone guarantee.

English
4
Phone book
The phone book will store 20 names (16 characters) and telephone (22 digits) numbers.
If you subscribe to the Caller ID service various ringer melodies can be selected for each
name /number, the name of the caller will also be displayed when you receive a call.
Letters
Each number key is allocated certain letters, these do not follow the standard for all
languages with some country-specic characters unavailable. The Phonebook is also
arranged according to the order of the buttons. To insert a space press 1, to erase press C.
Storing names/numbers
1. Press brepeatedly until the symbol bis displayed. Press STORE.
2. Press STORE again.
3. Enter the telephone number to be stored (up to 22 digits). Mistakes can be erased by
pressing C. Press STORE.
4. Enter name. Press the corresponding number key one or more times for the rst
letter. Press STORE.
Please note!
If you need to insert a pause in the telephone number press REDIAL.
If you need to change a number, store the new number in the same location as the old one.
Dialling from the Phone book
1. Press brepeatedly until the symbol bis displayed.
2. Scroll through the entries using v/V. To perform a quick-search press the
corresponding number button one or more times for the rst letter.
3. Press DIAL to dial the displayed number, or just wait to return to standby mode.
Changing phone numbers/names
1. Press brepeatedly until the symbol bis displayed.
2. Scroll through the entries using v/V. To perform a quick-search press the
corresponding number button one or more times for the rst letter.
3. Press and hold STORE until the display shows EDIT ? Press STORE.
4. Correct the number using Cand v/V. Press STORE.
5. Correct the name using and v/V. Press STORE to conrm.
Deleting a Phone book entry
1. Press brepeatedly until the symbol bis displayed.
2. Scroll though the entries using v/V.
3. Press C, DELETE ? will be displayed.
4. Press and hold Cuntil the displayed telephone number disappears.

English
5
Deleting all entries in the Phone book
1. Press brepeatedly until the symbol bis displayed.
2. Scroll through the entries using v/V.
3. Press and hold Cuntil the display shows DELETE ALL ?.
4. Press and hold Cagain until all the numbers disappear.
Memory
This telephone has 16 One-Touch memories numbered M1-M16.
Once a number has been stored in a memory location, you only need to press one
button to make the call.
Storing One-Touch Memories
1. Press CID/brepeatedly until the symbol is displayed. Press STORE.
2. Enter the telephone number to be stored (up to 22 digits). Press STORE.
3. Enter name. Press the corresponding number key one or more times for the rst
letter. Press STORE.
4. Select a One-Touch memory location (M1-M16) by pressing the corresponding
button.
Please note!
If you need to insert a pause in the telephone number press REDIAL.
If you need to change a number, store the new number in the same location as the old one.
Dialling using One-Touch Memories
1. Lift the handset (or press s) and wait for a dial tone.
2. Select the required One-Touch memory location (M1-M16) by pressing the
corresponding button.

English
6
Caller ID
Caller ID allows you to see who is calling before you answer a call or to see who has
called in your absence. If the number received is stored in the Phone book its associated
name will be displayed instead. The CID memory will store up to 30 names/telephone
numbers stored chronologically. The sequence number is shown in the top right-hand
side of the display.
When the memory is full, the oldest number will be deleted automatically as the new
call is logged. New calls are indicated in plain text in the display.
Please note!
In order for numbers to be shown you must subscribe to the Caller ID service provided by your network
operator. Contact your operator for more information.
Retrieving and dialling incoming numbers
1. Press CID repeatedly until the symbol is displayed.
2. Scroll through the entries using v/V.
3. Press DIAL to dial the displayed number, or just wait to return to standby mode.
Caller ID Messages
Apart from showing telephone numbers, the display can also show:
OUT OF AREA It is an International call or a call from a PBX (no
information received).
PRIVATE The call comes from a blocked number or a PBX.
TNew number not previously displayed.
Z(double envelope) Several calls have been received from the same telephone
number.
qThe call was received using the Call Waiting function
Message indication.
* Message indication can be erased manually by pressing C.
Deleting numbers
1. Scroll to the desired entry using v/V.
2. Press C, DELETE ? is displayed, alternatively press and hold Cuntil DELETE
ALL ? is displayed.
3. Press and hold Cagain until the telephone number disappears.
Transferring numbers to the Phone book
1. Scroll to the desired entry using v/V.
2. Press STORE.
3. Press STORE again. To enter a name please refer to Changing phone
numbers/names.

English
7
Alarm settings
Battery or an AC adaptor is required to enable your Alarm feature (see Installing AC
adaptor and battery).
When the alarm clock is activated will be displayed in the standby mode.
Once the alarm clock goes off a tone will be heard for one minute, to switch off the
alarm press any button on the telephone.
1. To set the alarm, press and hold v until the alarm setting ashes.
2. Scroll to the required function (off/on/repeat daily) using v/V. Press OK. To
cancel the alarm, proceed to point 5.
3. Select the hour (00-23) using v/V. Press OK.
4. Select the minute/s using v/V. Press OK repeatedly to return to standby mode.
5. To cancel the alarm while it is sounding, press OK or lift and replace the handset.
Installing AC adaptor and Battery
If supplied, connect the mains adapter to the DC 9V socket on the telephone and to the
mains power wall socket. If a power adapter is not used when using the alarm feature
then 3 x AA 1.5V alkaline batteries must be tted.
1. Disconnect the telephone line cord from the network wall socket.
2. Remove the battery cover.
3. Install the batteries ensuring that the correct battery polarity is observed.
4. Replace the battery cover.
When the batteries are running low, will be displayed.
Technical information
Within the battery compartment located on the underside of the telephone you will
nd several switches, these switches determine certain technical parameters when
connecting the telephone.
IMPORTANT NOTE: These switches should only be adjusted by qualied personnel.
Recall time
The recall button timing can be switched between either 100ms (AU/UK/EU)/300ms
(FR)/600ms (NZ), using the RECALL TIME switch located on the underside of the
telephone (within the battery compartment).
EARTH/TIME (UK only)
Selection of either earth or timed loop break recall method.
PULSE/TONE
Select the required dialling type, Tone or Pulse using the PULSE/TONE switch
located on the underside of the telephone (within the battery compartment).

English
8
Message Waiting indicator
Some PBX systems use a function called Message Waiting.
The switch is located behind the battery cover on the underside of the telephone.
The MW function operates differently depending on the PBX in question. Please
contact the system controller for more information. The following four alternatives are
available: +, -, ringer indicator ( ) and high DC voltage (HV). When the telephone is
used in systems without a telephone exchange ( ) should be selected.
Connection of additional equipment
On the right side of the telephone there is a socket marked 8. This is used for
connecting additional telephone equipment to the same telephone line, e.g. a wireless
telephone, modem, etc.
Declaration of conformity
Doro hereby declares that this product, Doro AUB 300i, conforms with the essential
requirements and other relevant regulations contained in the Directive 1999/5/EC,
2002/95/EC. A copy of the manufacturer’s declaration is available at www.doro.com/
dofc
Troubleshooting
Check that the telephone cord is undamaged and properly plugged in.
Disconnect any additional equipment, extension cords and other telephones. If the
problem is resolved, the fault is with other equipment.
Test the equipment on another working line. If the product works, then the fault is
probably with your line. Please inform your local telephone company.
No number shown in display when ringing
- In order for this feature to function, you must subscribe to the Caller ID service
from your network provider.
- If a text message is shown on the display, the call may be an international call (no
data received), or from a private or withheld number.
- It may not be possible to receive Caller ID information if the phone is connected to
a PBX system.
If the telephone still does not work, contact the place of purchase. Don’t forget the
receipt or a copy of the invoice.

English
9
UK
If you cannot resolve the fault using the faultnder section, technical support is
available by email on tech@doro-uk.com or via a premium rate telephone
number: 0905 895 0854, calls cost 50 pence per minute (prices correct at the
time of publication). Further contact details are available on our website:
www.doro-uk.com
Alternatively you can write to:
Customer Services
Doro UK Ltd
1 High Street
Chalfont St Peter
Buckinghamshire
SL9 9QE
Guarantee
This product is guaranteed for a period of 10 years from the date of purchase. Proof of
purchase is required for any service or support required during the guarantee period.
This guarantee shall not apply to a fault caused by an accident or a similar incident or
damage, liquid ingress, negligence, abnormal usage, not reasonably maintained or any
other circumstances on the purchaser’s part. Furthermore, this guarantee shall not
apply to a fault caused by a thunderstorm or any other voltage uctuations.
This guarantee does not in any way affect your statutory rights. (As a matter of
precaution, we recommend disconnecting the telephone during a thunderstorm.)

English
Version 1.0
Other manuals for AUB 300i
1
Table of contents
Other Doro Telephone manuals

Doro
Doro 313C User manual

Doro
Doro 720 User manual

Doro
Doro PHONEEASY 410GSM User manual

Doro
Doro PhoneEasy 331ph User manual

Doro
Doro congress 205 User manual

Doro
Doro Arc 7 User manual

Doro
Doro 920 User manual

Doro
Doro PhoneEasy 312ci User manual

Doro
Doro 909c User manual

Doro
Doro PhoneEasy 311 User manual