manuals.online logo
Brands
  1. Home
  2. •
  3. Brands
  4. •
  5. dosatron
  6. •
  7. Laboratory Equipment
  8. •
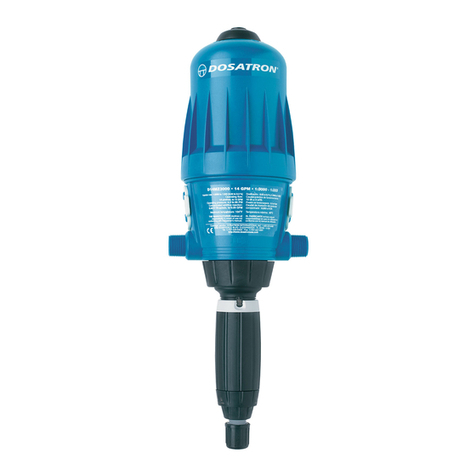
  9. dosatron D25RE2 Operating instructions

dosatron D25RE2 Operating instructions

Page 1
800-523-8499
www.dosatronusa.com
Proper protection, such as gloves, eye wear, and aprons, are recommended when disassembling a Dosatron.
Step 3: Then, remove the hose.
Step 2: If there is still no suction, turn the water on. If the unit is
clicking, unscrew and remove the suction hose nut.
NOTE: To service your D25RE2 you will need a strap wrench
(Part #: TOOL01) and a small tip Phillips head screwdriver.
Step 1: If your Injector is clicking, but not drawing the concentrate,
it could be as simple as the strainer is plugged with debris. Take
a look at the strainer. If it is clogged, clean it out and re-test your
Dosatron.
D25RE2 Troubleshooting - Part 1
This D25RE2 Troubleshooting will cover: The Injector is not drawing the concentrate,
but is clicking.
Scan the QR code to
watch our D25RE2 -
Troubleshooting video.
Strap Wrench TOOL01
Pick TOOL02
Plunger Seal J009
Check Valve Seal J051
Check Valve Assy. MPDI122
Actuator Spring M238
Piston Shell P421
Push Rod O-ring J020
Page 2
800-523-8499
www.dosatronusa.com
Proper protection, such as gloves, eye wear, and aprons, are recommended when disassembling a Dosatron.
Step 6: If you don’t see liquid moving up the tube or you don’t feel
suction on your nger, turn the water off. Press the air bleed button
on the lid a couple times to release the pressure.
Step 5: If you feel suction, just cut a half inch off the top of the
hose and reattach. You should see the liquid begin moving up the
suction tube.
Step 4: Check to see if you feel suction on your nger.
D25RE2 Troubleshooting - Part 1
Page 3
800-523-8499
www.dosatronusa.com
Proper protection, such as gloves, eye wear, and aprons, are recommended when disassembling a Dosatron.
Step 9: Grasp the white valve support and pull the piston straight
out of the body. Set the body aside.
Step 8: Unscrew to remove and set the lid aside.
Step 7: Using a strap wrench (Part #: TOOL01), loosen the lid.
D25RE2 Troubleshooting - Part 1
Page 4
800-523-8499
www.dosatronusa.com
Proper protection, such as gloves, eye wear, and aprons, are recommended when disassembling a Dosatron.
Step 12: Install the new seal (Part #: J009) into the groove.
Step 11: To replace the seal, pinch and roll it off of the plunger.
Step 10: Take a close look at the plunger seal for nicks, scratches,
or wear. If you see damage or don’t remember the last time you
changed the seal, just replace it now.
D25RE2 Troubleshooting - Part 1
Page 5
800-523-8499
www.dosatronusa.com
Proper protection, such as gloves, eye wear, and aprons, are recommended when disassembling a Dosatron.
Step 14: Replace the lid, hand tight. Your Injector should now be
drawing the concentrate. Step 1:
Step 13: Carefully, insert the piston into the body.ws
D25RE2 Troubleshooting - Part 1
Page 6
800-523-8499
www.dosatronusa.com
Proper protection, such as gloves, eye wear, and aprons, are recommended when disassembling a Dosatron.
Step 3: Unscrew and remove the check valve barb (Part #:J051).
Step 2: Remove the suction hose.
D25RE2 Troubleshooting - Part 2
If your Injector is pushing water down into the concentrate
container, it’s time to investigate the check valve.
Step 1: To do this, remove the hose nut.
This D25RE2 Troubleshooting will cover: The Injector is pushing water down into your
concentrate container, but is clicking.
Page 7
800-523-8499
www.dosatronusa.com
Proper protection, such as gloves, eye wear, and aprons, are recommended when disassembling a Dosatron.
D25RE2 Troubleshooting - Part 2
Step 6: Inspect the seal (Part #: J051) and the check valve
assembly (Part #: MPDI122). If they are dirty, you may be able to
soak, brush off, and reinstall. If you see damage or if you don’t
remember the last time you changed these parts, just replace
them now.
Step 5: Then carefully pry the check valve assembly down
and out of the stem. A small at blade screwdriver or pick
(Part #: TOOL02) will make this easier.
Step 4: Remove the check valve seal.
Page 8
D25RE2 Troubleshooting - Part 2
Step 8: Place the check valve seal with the groove facing upward
into the new barb.
Step 9: Thread it onto the white stem and hand-tighten.
800-523-8499
www.dosatronusa.com
Proper protection, such as gloves, eye wear, and aprons, are recommended when disassembling a Dosatron.
Step 7: To reassemble, press the new check valve assembly into
the stem as far as it will go.
Page 9
D25RE2 Troubleshooting - Part 2
Step 11: Slide it onto the barb.
Step 12: Hand tighten the nut. This should stop the water from
dripping back into the stock tank.
800-523-8499
www.dosatronusa.com
Proper protection, such as gloves, eye wear, and aprons, are recommended when disassembling a Dosatron.
Step 10: Thread the suction hose nut onto the hose.
Page 10
D25RE2 Troubleshooting - Part 3
Step 2: Unscrew to remove and set the lid aside.
Step 3: Grasp the white valve support and pull the piston straight
out of the body.
800-523-8499
www.dosatronusa.com
Proper protection, such as gloves, eye wear, and aprons, are recommended when disassembling a Dosatron.
Step 1: If the unit isn’t clicking, use a strap wrench
(Part #: TOOL01) to loosen the lid.
This D25RE2 Troubleshooting will cover: The Injector is not clicking.
Page 11
D25RE2 Troubleshooting - Part 3
Step 5: Press the pushrod down.
Step 6: Then, check the two actuator springs (Part #: M238) on
the bottom. If they are broken or missing, just replace them.
800-523-8499
www.dosatronusa.com
Proper protection, such as gloves, eye wear, and aprons, are recommended when disassembling a Dosatron.
Step 4: Inspect the white valve support on the top.
Page 12
D25RE2 Troubleshooting - Part 3
Step 8: Also, check the piston shell’s t inside the body. To do this,
invert the piston and slide it into the body. It should be a snug t.
If it feels loose, the piston shell (Part #: P421) and the push rod
o-ring (Part #: J020) need to be replaced.
Step 9: To replace the piston shell, use a small tip Phillips
screwdriver and remove the valve support screws and plastic
retainer.
800-523-8499
www.dosatronusa.com
Proper protection, such as gloves, eye wear, and aprons, are recommended when disassembling a Dosatron.
Step 7: You can visually inspect the upper and lower anges
on the piston shell. If they are worn or have deep scratches, the
piston shell needs to be replaced.
Page 13
D25RE2 Troubleshooting - Part 3
Step 11: Then, slide the valve support off the inlet valve and set
aside.
Step 12: Next, remove the four screws in the center of the piston
shell to release the actuator assembly.
800-523-8499
www.dosatronusa.com
Proper protection, such as gloves, eye wear, and aprons, are recommended when disassembling a Dosatron.
Step 10: Press the pushrod up.
Page 14
D25RE2 Troubleshooting - Part 3
Step 14: Put the new push rod o-ring on top of the push rod and
slide it down as far as it will go.
Step 15: Then, position the actuator assembly in the shell as
shown and hold rmly.
800-523-8499
www.dosatronusa.com
Proper protection, such as gloves, eye wear, and aprons, are recommended when disassembling a Dosatron.
Step 13: Pull the actuator assembly out and discard the old piston
shell.
Page 15
D25RE2 Troubleshooting - Part 3
Step 17: Press the white plastic portion of the actuator side to
side. If there is movement, re-tighten the screws.
Step 18: Reinstall the valve support by sliding it onto the inlet
valve.
800-523-8499
www.dosatronusa.com
Proper protection, such as gloves, eye wear, and aprons, are recommended when disassembling a Dosatron.
Step 16: Now re-install the four screws and hand tighten them in a
star pattern.
Page 16
D25RE2 Troubleshooting - Part 3
Step 21: Insert the piston back into the blue body.
800-523-8499
www.dosatronusa.com
Proper protection, such as gloves, eye wear, and aprons, are recommended when disassembling a Dosatron.
Step 19: Next, position the retainer and hand tighten the screw.
Step 20: Test the piston, by pressing the pushrod from the top and
bottom, it should click each time.
Page 17
D25RE2 Troubleshooting - Part 3
Step 22: Hand tighten the lid. The Injector should now be clicking
and drawing concentrate.
800-523-8499
www.dosatronusa.com
Proper protection, such as gloves, eye wear, and aprons, are recommended when disassembling a Dosatron.
To learn more, scan the QR codes below for more information.
Scan the
QR code
to go to
Dosatron’s
video
page.
Scan the
QR code
to go to
Dosatron’s
YouTube
Channel.

Other manuals for D25RE2

1

Other dosatron Laboratory Equipment manuals
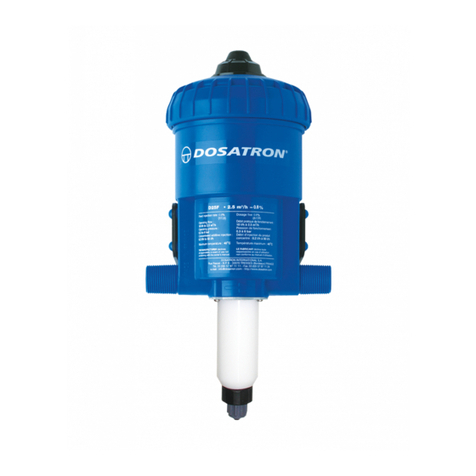
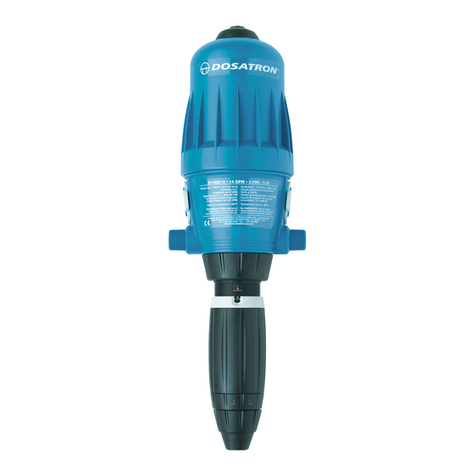
dosatron D45RE15 Operating instructions

dosatron

dosatron D45RE15 Operating instructions

dosatron D40WL3000NIEAF User manual

dosatron

dosatron D40WL3000NIEAF User manual

dosatron D14MZ3000AFII User manual

dosatron

dosatron D14MZ3000AFII User manual

dosatron D 25 F 1 Operating instructions

dosatron

dosatron D 25 F 1 Operating instructions

dosatron D14MZ3000 Operating instructions

dosatron

dosatron D14MZ3000 Operating instructions

dosatron D14MZ2 Programming manual

dosatron

dosatron D14MZ2 Programming manual

dosatron D14MZ10 Operating instructions

dosatron

dosatron D14MZ10 Operating instructions

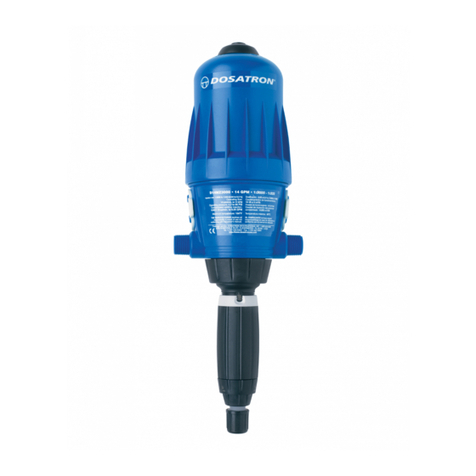
dosatron D 25 F 1 Assembly instructions
dosatron

dosatron D 25 F 1 Assembly instructions

dosatron D14 MZ 3000 User manual

dosatron

dosatron D14 MZ 3000 User manual

dosatron D14MZ2VFII User manual

dosatron

dosatron D14MZ2VFII User manual

dosatron D128R Operating instructions

dosatron

dosatron D128R Operating instructions

dosatron D8RE2 Operating instructions

dosatron

dosatron D8RE2 Operating instructions
dosatron DM11F Operating instructions

dosatron

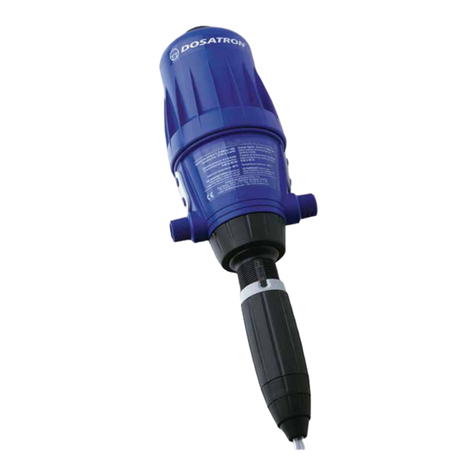
dosatron DM11F Operating instructions
dosatron MKD14MZ3000AF User manual

dosatron

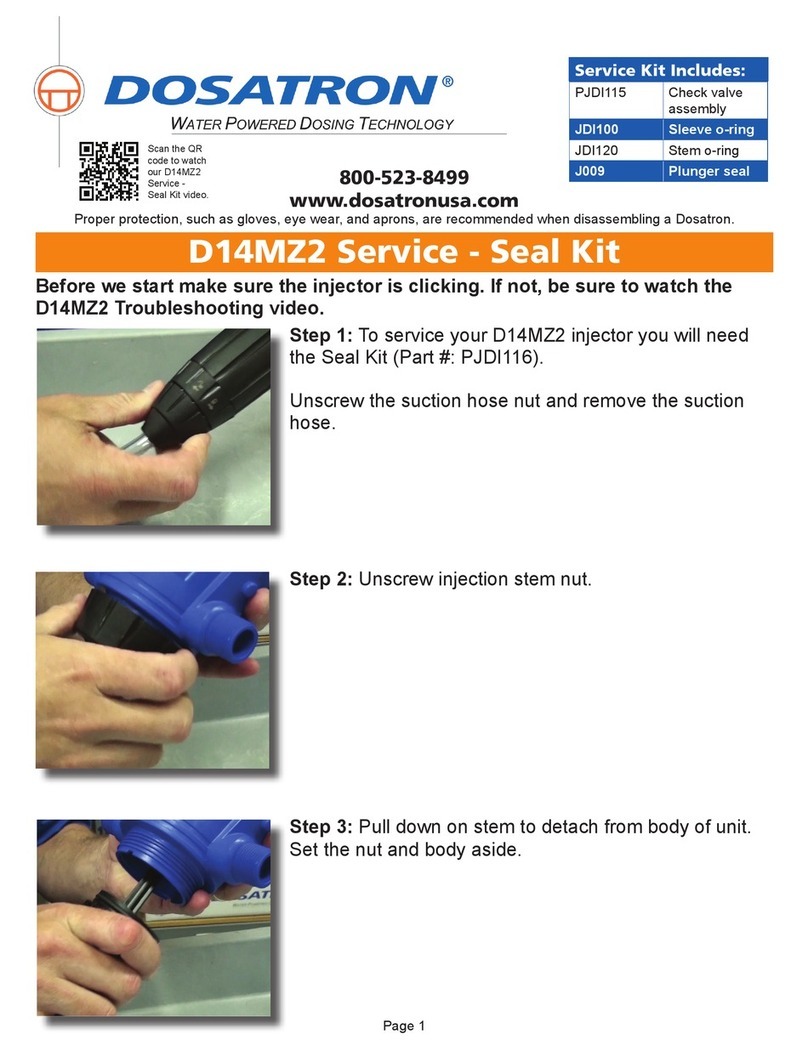
dosatron MKD14MZ3000AF User manual

dosatron D14MZ2 Assembly instructions

dosatron

dosatron D14MZ2 Assembly instructions
dosatron D8RE3000 Operating instructions
dosatron

dosatron D8RE3000 Operating instructions

Popular Laboratory Equipment manuals by other brands

Westlab 665-259 manual

Westlab

Westlab 665-259 manual

Accu-Scope DS-360 manual

Accu-Scope

Accu-Scope DS-360 manual

Drawell DW-280B 18L manual

Drawell

Drawell DW-280B 18L manual

Jouan B4i Service manual

Jouan

Jouan B4i Service manual

Dionex P680 Quick installation guide

Dionex

Dionex P680 Quick installation guide

MedKlinn Home Asens+ Series operating manual

MedKlinn

MedKlinn Home Asens+ Series operating manual

Okolab H201-LG-DLS user manual

Okolab

Okolab H201-LG-DLS user manual

AGROJECT AGROJECT user manual

AGROJECT

AGROJECT AGROJECT user manual

NACALAI TESQUE COSMOSIL quick start guide

NACALAI TESQUE

NACALAI TESQUE COSMOSIL quick start guide

Bürkle StopCock Directions for use

Bürkle

Bürkle StopCock Directions for use

ARBORJET AccuFlo 070-3100 user manual

ARBORJET

ARBORJET AccuFlo 070-3100 user manual

CEM Discover SPS installation instructions

CEM

CEM Discover SPS installation instructions

Systec VX Series operating manual

Systec

Systec VX Series operating manual

Zass ZSHG 01 operating manual

Zass

Zass ZSHG 01 operating manual

HAVER & BOECKER HAVER EML 200 Premium operating instructions

HAVER & BOECKER

HAVER & BOECKER HAVER EML 200 Premium operating instructions

Quincy lab Analog Series operating manual

Quincy lab

Quincy lab Analog Series operating manual

Xylem WTW Turb 750 IR/T operating manual

Xylem

Xylem WTW Turb 750 IR/T operating manual

Bibby Sterilin Techne FB-08 owner's manual

Bibby Sterilin

Bibby Sterilin Techne FB-08 owner's manual

manuals.online logo
manuals.online logoBrands
  • About & Mission
  • Contact us
  • Privacy Policy
  • Terms and Conditions

Copyright 2025 Manuals.Online. All Rights Reserved.