manuals.online logo
Brands
  1. Home
  2. •
  3. Brands
  4. •
  5. dosatron
  6. •
  7. Laboratory Equipment
  8. •
  9. dosatron D14MZ3000 Operating instructions

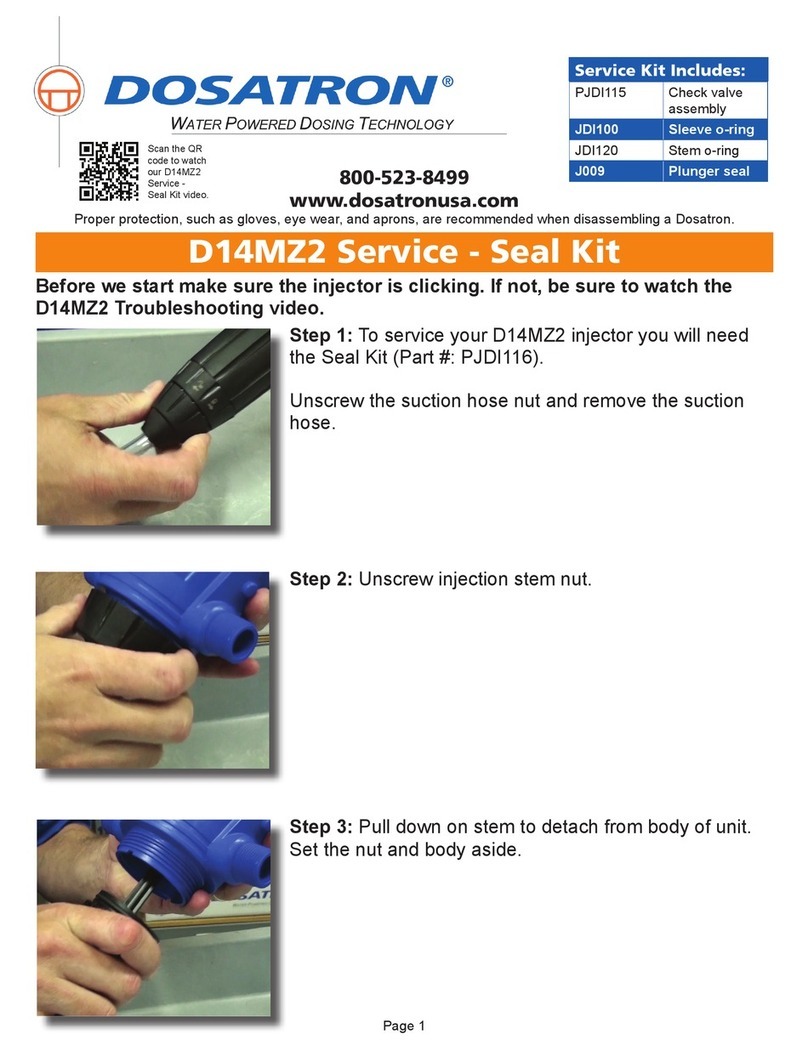
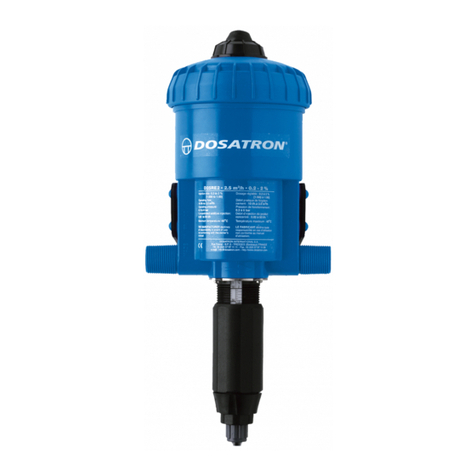
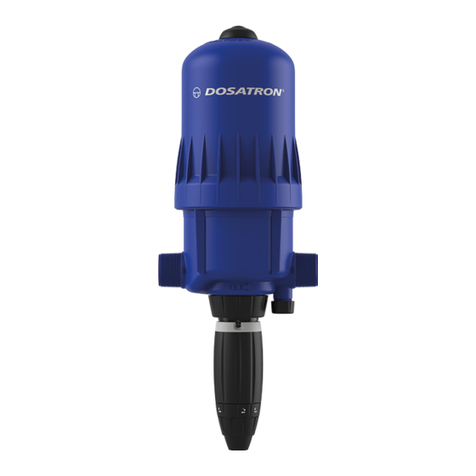
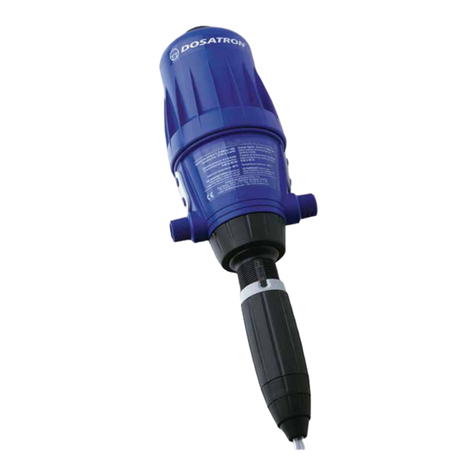
dosatron D14MZ3000 Operating instructions

Page 1
800-523-8499
www.dosatronusa.com
Proper protection, such as gloves, eye wear, and aprons, are recommended when disassembling a Dosatron.
Step 3: Slide the ferrule back.
Step 2: If there is still no suction, unscrew the suction hose nut
and remove the suction hose.
NOTE: To troubleshoot your Dosatron D14MZ3000, you will need
a pair of needle nose pliers and a strap wrench.
Step 1: Take a look at the strainer. If it’s clogged, just clean it and
re-test your Dosatron unit.
D14MZ3000 Troubleshooting - Part 1
This D14MZ3000 - 14 GPM Troubleshooting Part 1 will cover: The injector is clicking,
but not drawing the concentrate.
Scan the QR code to
watch our D14MZ3000 -
Troubleshooting video.
Page 2
800-523-8499
www.dosatronusa.com
Proper protection, such as gloves, eye wear, and aprons, are recommended when disassembling a Dosatron.
Step 6: Then, insert the hose into the barb, and hand-tighten the
nut. By the way, if the hose is cracked, rigid, or looks really old just
replace it now.
Step 5: Reposition the ferrule.
Step 4: Cut a half inch off the top of the hose.
D14MZ3000 Troubleshooting - Part 1
Page 3
800-523-8499
www.dosatronusa.com
Proper protection, such as gloves, eye wear, and aprons, are recommended when disassembling a Dosatron.
Step 8: Press the air bleed button of the bell housing a few times
to release the pressure.
Step 7: After you have reinstalled the suction hose, you should
start to see the liquid begin moving up the hose. If the liquid isn’t
moving up the hose after a minute or so, turn the water off.
D14MZ3000 Troubleshooting - Part 1
Step 9: Unscrew the suction hose nut, remove hose and
set aside.
Page 4
800-523-8499
www.dosatronusa.com
Proper protection, such as gloves, eye wear, and aprons, are recommended when disassembling a Dosatron.
Step 11: Then, pull the injection stem straight out from the body of
the injector and set aside.
D14MZ3000 Troubleshooting - Part 1
Step 10: Unscrew the injection stem nut and remove.
Step 12: Take a close look at the plunger rod and seal.
NOTE: Make sure the rod is straight and that the seal is free of
nicks, scratches or wear. If the plunger or seal is damaged or you
don’t remember the last time you changed it, just replace it now.
Page 5
800-523-8499
www.dosatronusa.com
Proper protection, such as gloves, eye wear, and aprons, are recommended when disassembling a Dosatron.
Step 13: To change the plunger assembly (Part #: PJDI138),
grasp the white plunger rod and pull it down as far as it will go.
D14MZ3000 Troubleshooting - Part 1
Step 14: Position the needle nose pliers near the
top of the plunger.
Step 15: Then, quickly and carefully twist the plunger counter
clockwise and remove.
Page 6
800-523-8499
www.dosatronusa.com
Proper protection, such as gloves, eye wear, and aprons, are recommended when disassembling a Dosatron.
D14MZ3000 Troubleshooting - Part 1
Step 16: To install the new plunger assembly (Part #: PJDI138),
align the top of the plunger with the retainer.
Step 18: To nish up, carefully slide the injection stem assembly
onto the plunger.
Step 17: Then, use the needle nose pliers and twist it a quarter
turn clockwise to lock.
Page 7
800-523-8499
www.dosatronusa.com
Proper protection, such as gloves, eye wear, and aprons, are recommended when disassembling a Dosatron.
D14MZ3000 Troubleshooting - Part 1
Step 19: Align the notches in the lower part of the blue body with
the two teeth on the top of the injection stem assembly.
Step 21: Now, slide the hose into the barb and
hand-tighten the nut.
Step 20: Then, thread on the injection stem nut, hand tight.
Page 8
800-523-8499
www.dosatronusa.com
Proper protection, such as gloves, eye wear, and aprons, are recommended when disassembling a Dosatron.
D14MZ3000 Troubleshooting - Part 1
Step 22: To make sure the hose is connected securely, give it a
pull. If it comes off easily, you may need to cut a half inch off the
top of the hose, reset the ferrule and reattach the hose nut. Slowly
turn the water on and it should begin drawing the concentrate.
Page 9
800-523-8499
www.dosatronusa.com
Proper protection, such as gloves, eye wear, and aprons, are recommended when disassembling a Dosatron.
Step 3: Grasp the white threaded barb and pull the check valve
assembly straight out.
Step 2: Unscrew and remove the check valve nut.
Step 1: Remove the hose nut and hose and set aside.
D14MZ3000 Troubleshooting - Part 2
This D14MZ3000 -14 GPM Troubleshooting Part 2 will cover: The injector is clicking,
but water is going down into the tank.
Page 10
800-523-8499
www.dosatronusa.com
Proper protection, such as gloves, eye wear, and aprons, are recommended when disassembling a Dosatron.
Step 6: Then, carefully lift the retainer from the seal. You are
checking to see if there is anything lodged or stuck.
NOTE: To inspect the check valve, carefully lift the cone
from the retainer.
Step 5: Look at the bottom side of the cone.
Step 4: It usually comes out in two pieces. Set the unit aside.
D14MZ3000 Troubleshooting - Part 2
Page 11
800-523-8499
www.dosatronusa.com
Proper protection, such as gloves, eye wear, and aprons, are recommended when disassembling a Dosatron.
Step 8: To re-assemble, place the new check valve assembly
(Part #: PJDI140) into the top of the barb.
Step 7: Don’t try to remove the spring but if it is deformed or
stretched, the complete check valve assembly needs to be
replaced. If you don’t remember the last time you changed these
parts, just replace them now.
D14MZ3000 Troubleshooting - Part 2
Step 9: Then, press it into the stem as shown.
Page 12
800-523-8499
www.dosatronusa.com
Proper protection, such as gloves, eye wear, and aprons, are recommended when disassembling a Dosatron.
D14MZ3000 Troubleshooting - Part 2
Step 10: Reinstall the check valve nut, hand tight.
Step 11: Now, slide the hose into the barb.
Step 12: Hand tight the nut.
Page 13
800-523-8499
www.dosatronusa.com
Proper protection, such as gloves, eye wear, and aprons, are recommended when disassembling a Dosatron.
D14MZ3000 Troubleshooting - Part 2
Step 13: To make sure the hose is connected securely, give it a
pull. If it comes off easily, you may need to cut a half inch off the
hose, reset the ferrule and reattach the hose nut.
Page 14
800-523-8499
www.dosatronusa.com
Proper protection, such as gloves, eye wear, and aprons, are recommended when disassembling a Dosatron.
D14MZ3000 Troubleshooting - Part 3
Step 3: Then, unscrew, remove and set aside.
Step 2: Use the strap wrench (Part #: TOOL01) to loosen
the bell housing.
Step 1: Turn the water off and press the air bleed button on the
top of the bell housing a few times to release the pressure.
This D14MZ3000 - 14 GPM Troubleshooting Part 3 will cover: If the injector isn’t
clicking.
Page 15
800-523-8499
www.dosatronusa.com
Proper protection, such as gloves, eye wear, and aprons, are recommended when disassembling a Dosatron.
D14MZ3000 Troubleshooting - Part 3
Step 6: Another way to check the anges is by doing a t test.
To test the upper ange, invert the piston and insert it into the blue
bell housing. It should t snugly.
Step 5: Visually inspect the upper and lower anges on the
piston shell. If they are worn or have scratches, the anges need
to be replaced.
Step 4: Grasp the piston and pull it straight out.
Page 16
800-523-8499
www.dosatronusa.com
Proper protection, such as gloves, eye wear, and aprons, are recommended when disassembling a Dosatron.
D14MZ3000 Troubleshooting - Part 3
Step 7: To test the lower ange, position the needle nose pliers
near the top of the plunger.
Step 8: Then, twist it a quarter turn counter clockwise to remove.
Step 9: Insert the piston into the body. It too should be a snug t. If
either is loose, the anges need to be replaced.
Page 17
800-523-8499
www.dosatronusa.com
Proper protection, such as gloves, eye wear, and aprons, are recommended when disassembling a Dosatron.
D14MZ3000 Troubleshooting - Part 3
Step 12: Install the new upper ange, align the tooth inside the
ange with the notch in the piston shell.
Step 11: Remove by lifting straight up.
Step 10: To replace the upper ange (Part #: PDI643), grasp and
twist it counter clockwise.
Page 18
800-523-8499
www.dosatronusa.com
Proper protection, such as gloves, eye wear, and aprons, are recommended when disassembling a Dosatron.
D14MZ3000 Troubleshooting - Part 3
Step 13: Press it down into place and twist clockwise until it locks.
Step 14: To replace the lower ange (Part #: PDI644), grasp and
twist it counter clockwise.
Step 15: Remove by lifting straight up.
Page 19
800-523-8499
www.dosatronusa.com
Proper protection, such as gloves, eye wear, and aprons, are recommended when disassembling a Dosatron.
D14MZ3000 Troubleshooting - Part 3
Step 17: Press it down into place.
Step 16: To install the new lower ange, align the tooth inside the
ange with the notch in the piston shell.
Step 18: Twist clockwise until it locks.
Page 20
800-523-8499
www.dosatronusa.com
Proper protection, such as gloves, eye wear, and aprons, are recommended when disassembling a Dosatron.
Step 20: Use the needle nose pliers and twist it a quarter turn
clockwise to lock.
Step 19: Reinstall the plunger by aligning the top with the retainer.
D14MZ3000 Troubleshooting - Part 3
Step 21: Carefully slide the piston back into the body.

This manual suits for next models

1

Other dosatron Laboratory Equipment manuals
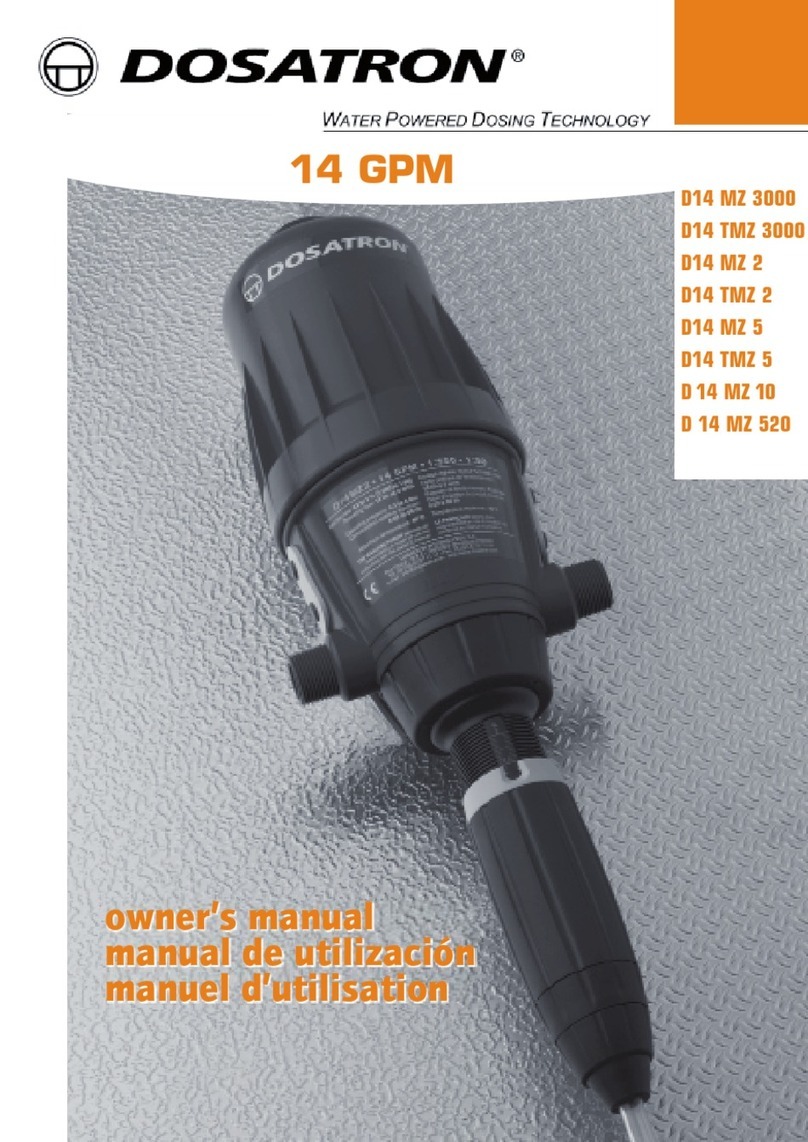
dosatron DM11F Operating instructions

dosatron

dosatron DM11F Operating instructions

dosatron D128R Operating instructions

dosatron

dosatron D128R Operating instructions

dosatron D14MZ2VFII User manual

dosatron

dosatron D14MZ2VFII User manual

dosatron D8RE3000 Operating instructions

dosatron

dosatron D8RE3000 Operating instructions

dosatron D40WL3000NIEAF User manual

dosatron

dosatron D40WL3000NIEAF User manual

dosatron D25RE2 Operating instructions

dosatron

dosatron D25RE2 Operating instructions

dosatron D14MZ3000AFII User manual

dosatron

dosatron D14MZ3000AFII User manual

dosatron D8RE2 Operating instructions

dosatron

dosatron D8RE2 Operating instructions

dosatron D45RE15 Operating instructions

dosatron

dosatron D45RE15 Operating instructions

dosatron D 25 F 1 Assembly instructions

dosatron

dosatron D 25 F 1 Assembly instructions

dosatron D14MZ2 Programming manual

dosatron

dosatron D14MZ2 Programming manual

dosatron MKD14MZ3000AF User manual

dosatron

dosatron MKD14MZ3000AF User manual

dosatron D14MZ10 Operating instructions

dosatron

dosatron D14MZ10 Operating instructions

dosatron D 25 F 1 Operating instructions

dosatron

dosatron D 25 F 1 Operating instructions

dosatron D14MZ2 Assembly instructions

dosatron

dosatron D14MZ2 Assembly instructions

dosatron D14 MZ 3000 User manual

dosatron

dosatron D14 MZ 3000 User manual
Popular Laboratory Equipment manuals by other brands

CertoClav Vacuum Pro Series instruction manual

CertoClav

CertoClav Vacuum Pro Series instruction manual

Thermo Scientific EA IsoLink IRMS System operating manual

Thermo Scientific

Thermo Scientific EA IsoLink IRMS System operating manual

corob FLEX 500 user manual

corob

corob FLEX 500 user manual

Picotest J2200A user manual

Picotest

Picotest J2200A user manual

Tommee Tippee Super Steam 'N' Dry Instructions for use

Tommee Tippee

Tommee Tippee Super Steam 'N' Dry Instructions for use

Selecta PRECISTERM 2L instruction manual

Selecta

Selecta PRECISTERM 2L instruction manual

Gemlogis LEO User handbook

Gemlogis

Gemlogis LEO User handbook

Metrohm 869 manual

Metrohm

Metrohm 869 manual

Storz 8403 XSB Instructions for use

Storz

Storz 8403 XSB Instructions for use

Scientifica MMTP product manual

Scientifica

Scientifica MMTP product manual

Waters ACQUITY Arc System System guide

Waters

Waters ACQUITY Arc System System guide

Binder 9010-0323 operating manual

Binder

Binder 9010-0323 operating manual

Endress+Hauser Liquistation CSF39 operating instructions

Endress+Hauser

Endress+Hauser Liquistation CSF39 operating instructions

Sartorius Vivaspin 500 Instructions for use

Sartorius

Sartorius Vivaspin 500 Instructions for use

PASCO OS-9255A instruction manual

PASCO

PASCO OS-9255A instruction manual

VOLTCRAFT VSP 2206 operating instructions

VOLTCRAFT

VOLTCRAFT VSP 2206 operating instructions

Oxford Instruments Cypher SPM user guide

Oxford Instruments

Oxford Instruments Cypher SPM user guide

multicomp pro MP008632 user manual

multicomp pro

multicomp pro MP008632 user manual

manuals.online logo
manuals.online logoBrands
  • About & Mission
  • Contact us
  • Privacy Policy
  • Terms and Conditions

Copyright 2025 Manuals.Online. All Rights Reserved.