manuals.online logo
Brands
  1. Home
  2. •
  3. Brands
  4. •
  5. Dräger
  6. •
  7. Control Unit
  8. •
  9. Dräger Evita V Series User manual

Dräger Evita V Series User manual

Other manuals for Evita V Series

6

Other Dräger Control Unit manuals

Dräger PAS ASV User manual

Dräger

Dräger PAS ASV User manual

Dräger BS8468-1 User manual

Dräger

Dräger BS8468-1 User manual

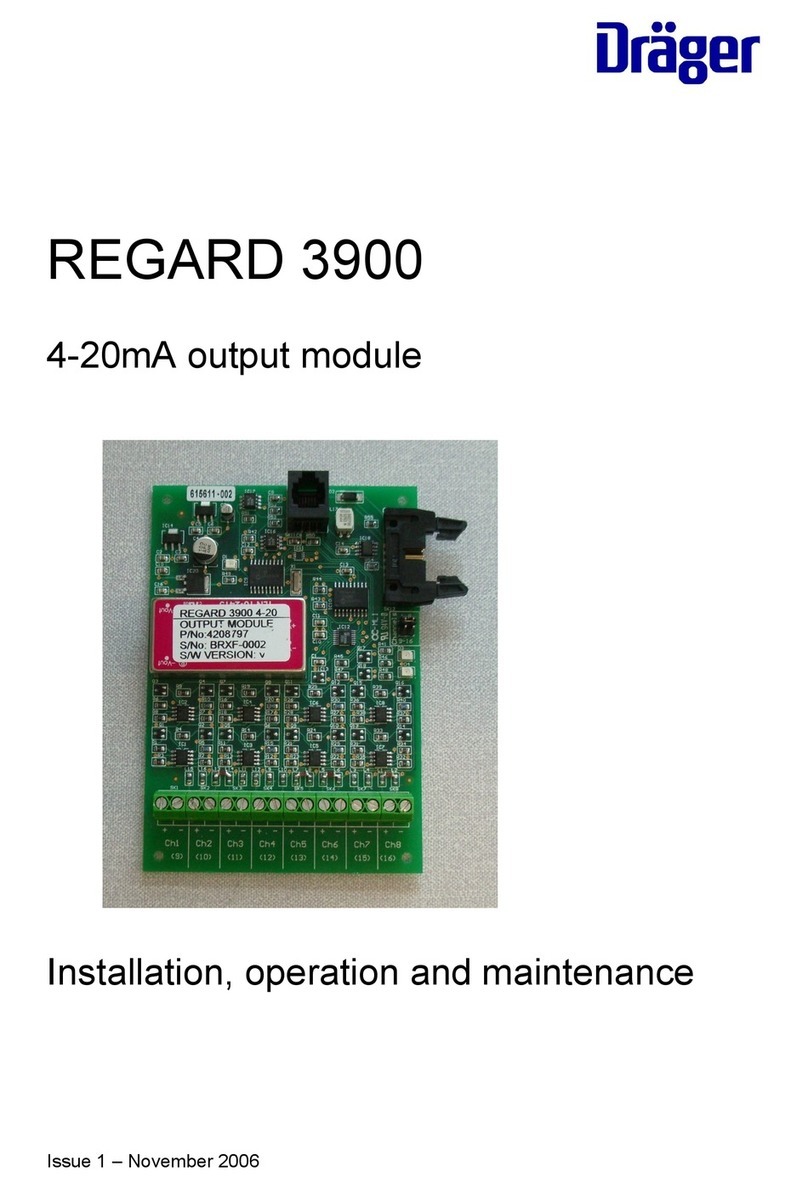
Dräger REGARD 4208797 Installation and operating instructions

Dräger

Dräger REGARD 4208797 Installation and operating instructions

Dräger Area User manual

Dräger

Dräger Area User manual

Dräger REGARD 3900 Series User manual

Dräger

Dräger REGARD 3900 Series User manual

Dräger RailGard-S1 User manual

Dräger

Dräger RailGard-S1 User manual

Dräger VarioGard User manual

Dräger

Dräger VarioGard User manual

Dräger PEX 1000 User manual

Dräger

Dräger PEX 1000 User manual

Dräger Regis 300 User manual

Dräger

Dräger Regis 300 User manual

Dräger PAS ASV User manual

Dräger

Dräger PAS ASV User manual

Dräger RAB 7000 User manual

Dräger

Dräger RAB 7000 User manual

Dräger REGARD 7000 User manual

Dräger

Dräger REGARD 7000 User manual
Dräger Scio Four User manual

Dräger

Dräger Scio Four User manual

Dräger REGARD 2400 User manual

Dräger

Dräger REGARD 2400 User manual

Dräger Plus Series User manual

Dräger

Dräger Plus Series User manual

Popular Control Unit manuals by other brands

Seitz 14A80 user manual

Seitz

Seitz 14A80 user manual

Wilo RS485 Installation and operating instructions

Wilo

Wilo RS485 Installation and operating instructions

Becker CentralControl CC41 Commissioning Instruction

Becker

Becker CentralControl CC41 Commissioning Instruction

SICK CDB650 operating instructions

SICK

SICK CDB650 operating instructions

Panduit NetKey NKP5E88M Series installation instructions

Panduit

Panduit NetKey NKP5E88M Series installation instructions

MX Options Concentric Petite Fitting instructions

MX

MX Options Concentric Petite Fitting instructions

Clean Water Systems Fleck 2510 Installation & start?up guide

Clean Water Systems

Clean Water Systems Fleck 2510 Installation & start?up guide

Fairchild FSB44104A user guide

Fairchild

Fairchild FSB44104A user guide

LEGRAND Wattstopper LMIN-104 installation instructions

LEGRAND

LEGRAND Wattstopper LMIN-104 installation instructions

PMK ATT10BNCS instruction manual

PMK

PMK ATT10BNCS instruction manual

Tektronix TDS3FFT user manual

Tektronix

Tektronix TDS3FFT user manual

Woodward easYgen Technical manual

Woodward

Woodward easYgen Technical manual

Balluff BNI EIP-502-105-R015 user guide

Balluff

Balluff BNI EIP-502-105-R015 user guide

NXP Semiconductors TWR-LS1021A Getting started

NXP Semiconductors

NXP Semiconductors TWR-LS1021A Getting started

Advantech PCM-3117 Startup manual

Advantech

Advantech PCM-3117 Startup manual

Danfoss MCO 101 manual

Danfoss

Danfoss MCO 101 manual

Moons' Lin Engineering R701P user manual

Moons'

Moons' Lin Engineering R701P user manual

Aventics RV1 operating instructions

Aventics

Aventics RV1 operating instructions

manuals.online logo
manuals.online logoBrands
  • About & Mission
  • Contact us
  • Privacy Policy
  • Terms and Conditions

Copyright 2025 Manuals.Online. All Rights Reserved.

D-5759-2018
Disassembly/Assembly Flow Sensor
Open the ap by lifting the lower
edge upwards.
Close the ap.
Push the ow sensor as far as it
possible go to the left.
Push the ow sensor to
the right into the socket.
Remove the expiratory valve
from the tting.
Turn the locking ring as far as
possible to the left.
Remove and empty the water
trap container.
Connect the water trap container.
Remove the diaphragm.
Fit the ow sensor
into the socket.
Remove the ow sensor
from the socket.
Remove the sensor sleeve
from the expiratory valve.
91 03 106 | 19.11-1 | AW | LE | Subject to modications | © 2019 Drägerwerk AG & Co. KGaA
Attach the diaphragm onto the
edge of the expiratory valve housing.
Make sure that it tts properly.
Attach the ow sensor sleeve
on the expiratory valve.
Turn the locking ring as far
as possible to the right
until it clicks into place.
Turn the locking ring as far as
possible to the left, push the
expiratory valve into the tting.
Dräger Evita®V-Series
Flow Sensor and Expiratory Valve
Disassembly/Assembly
Disassembly/Assembly Expiratory Valve*
* The Neonatal Expiratory Valve is
also working with Evita® V-Series.
For manual reprocessing of the
Neonatal Expiratory Valve please
refer to Babylog guideline.
This guideline does not replace or amend the instructions for use. Please always refer to the
reprocessing instruction in the latest instruction for use of the components. The instructions
for use and the hospital guidelines and policies always have to be observed.
D-5759-2018
Prepare the cleaning and the disinfectant solution in
accordance with manufacturer’s instructions.
Dräger Evita®V-Series
Flow Sensor
Reprocessing instructions
Manual cleaning
This guideline does not replace or amend the instructions for use. Please always refer to the
reprocessing instruction in the latest instruction for use of the components. The instructions
for use and the hospital guidelines and policies always have to be observed.
Swirl the ow sensor back and forth at least 3 times.
Make sure the cleaning agent reaches all surfaces
and interior spaces.
Place the ow sensor in the cleaning agent. Ensure that the cleaning solution ushes all surfaces
and interior spaces. At the end of the specied
contact time, swirl the ow sensor back and forth
again at least 3 times.
After the contact time, rinse the ow sensor in the
water bath (at least drinking water quality). Shake out residual water carefully.
Check the ow sensor for visible soiling and repeat
steps if necessary.
Check the ow sensor for visible damage, paying particular attention to its measuring wires and their pins,
and replace if necessary.
Allow the ow sensor to dry completely.
Do this until no more cleaning agent residue is visible.
D-5759-2018
Dräger Evita®V-Series
Disinfection
Machine cleaning
This guideline does not replace or amend the instructions for use. Please always refer to the
reprocessing instruction in the latest instruction for use of the components. The instructions
for use and the hospital guidelines and policies always have to be observed.
Manufacturer:
Drägerwerk AG & Co. KGaA
Moislinger Allee 53–55
23558 Lübeck, Germany
Disinfection by immersion
Place the ow sensor in the disinfectant. Observe the specied contact time.
At the beginning of the contact time, swirl the ow sensor back and forth at least
3 times. Make sure the disinfectant reaches all surfaces and interiors.
At the end of the contact time, swirl the ow sensor back and forth again at least
3 times.
After the contact time, rinse the ow sensor in the water bath (at least drinking
water quality) until no more disinfectant residue can be detected.
Shake out residual water carefully. Allow the ow sensor to dry completely.
Check the ow sensor for visible damage, paying particular attention to its
measuring wires and their pins, and replace if necessary.
If you need visual descriptions, please look at the reprocessing instructions for manual cleaning.
Position the expiratory valve as shown. Position the components (ow sensor sleeve, diaphragm, water trap container)
to be stable.
Please ensure that all surfaces and interior spaces can be completely rinsed and the water can drain o freely.
Machine cleaning
6