INTRODUCTION
REGISTRATION
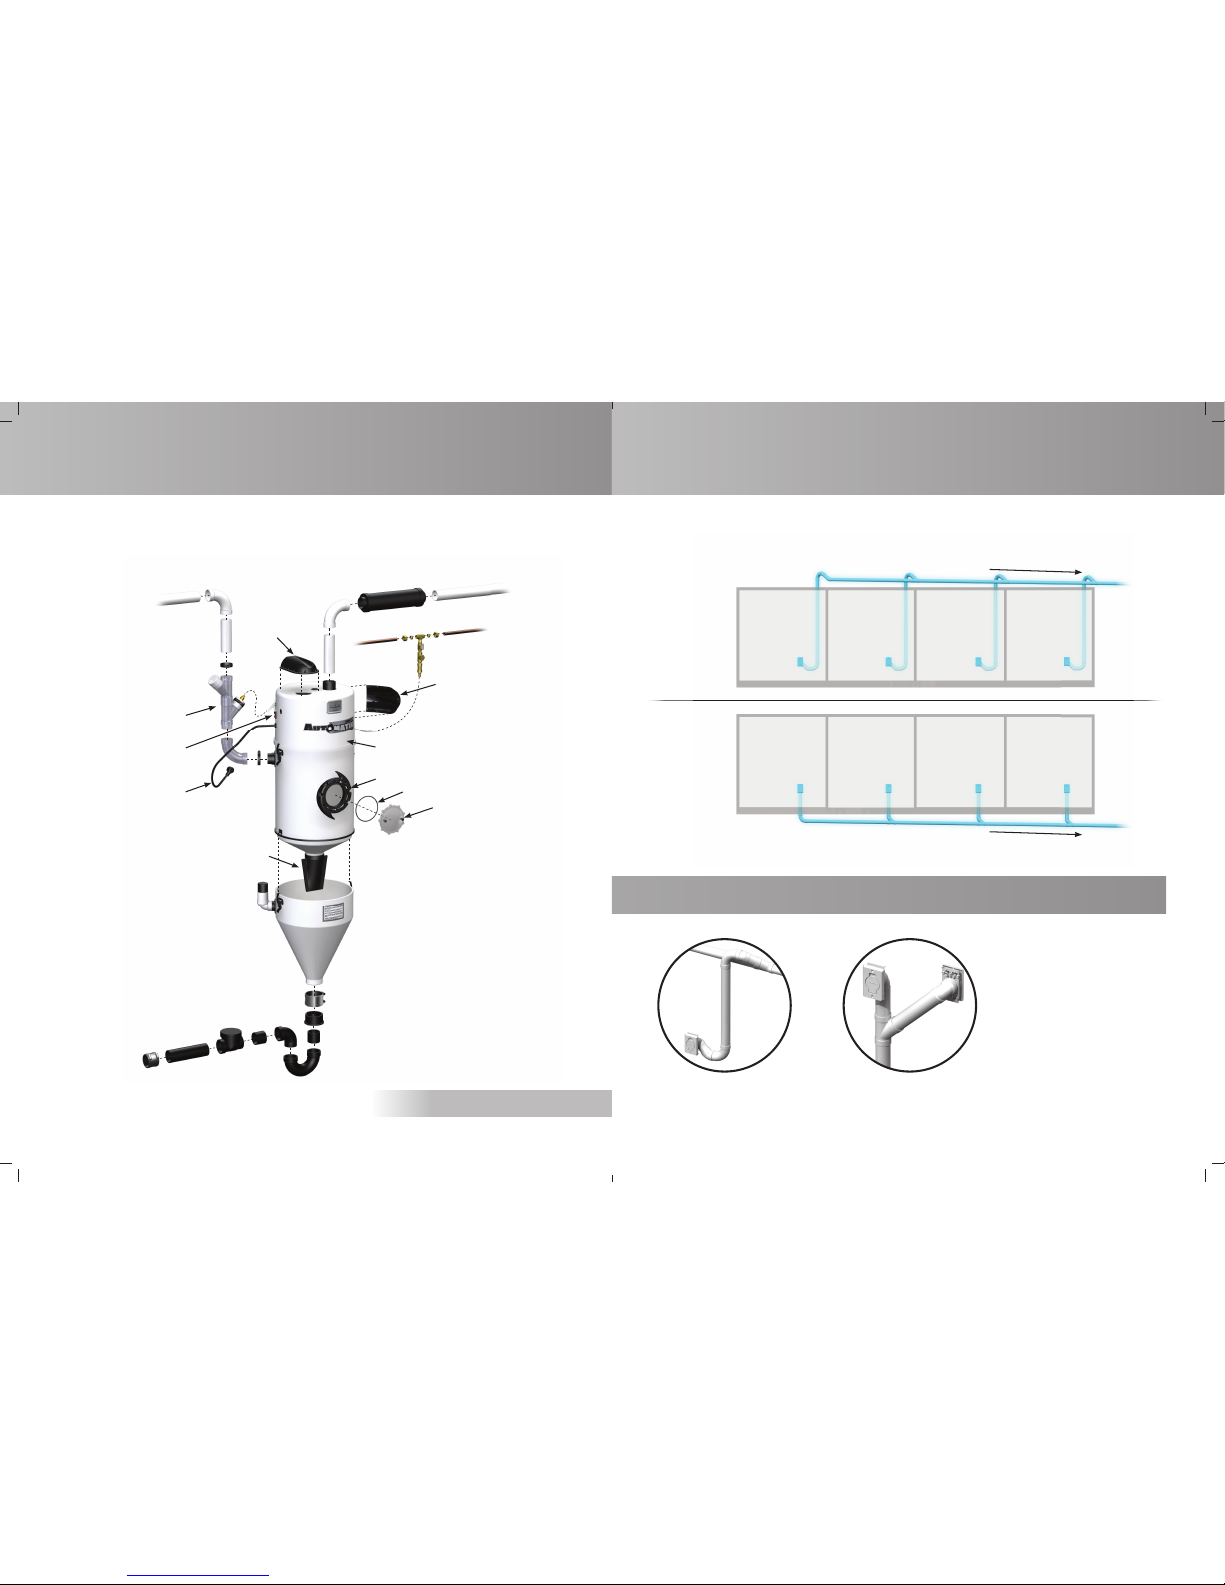
WARNING
We wish to thank you for your trust and congratulate you for having chosen a Drainvac product. It is a sound
investment that will satisfy your vacuuming needs for years to come. The concept of Drainvac’s Automatik
central vacuum cleaners is unique and patented. They are manufactured and checked at our plant by our
qualified staff who have been specifically trained to this end. A number of installation and operating methods
must be followed to ensure your system’s maximum performance and to avoid unnecessary service calls.
Please read this manual carefully.
To fill in the Drainvac product registration form, go to www.drainvac.com/enregistrement
Never vacuum liquid or gaseous flammable materials with your system.
Never vacuum ashes with your system.
Drainvac International 2006 Inc.
disclaims any responsibility should you infringe upon these guidelines.
35
TECHNICAL PROBLEMS
If you wish to speak with a customer service representative, contact your supplier or:
Drainvac International inc.
From Monday to Friday, between 9 AM and 4 PM, eastern standard time (UTC-5)
T : 1 800 408-1448 • 450 467-1448
F : 1 877 408-2225 • 450 467-2225
info@drainvac.com • www.drainvac.com
150, Brunet street, Mont-St-Hilaire, Qc, J3G 4S6, Canada
www.youtube.com/drainvacchannel
www.facebook.com/drainvac
SOLUTION :
1) Check the circuit breaker in your electrical panel.
2) Check the unit’s circuit fuse/breaker.
3) Check the 24-volt circuit, as follows:
Try to establish electrical contact in a wall inlet with a metal object (for example, a coin).
--> If the unit starts up, the suction hose is defective.
--> If the unit doesn’t start up, check to see if the 24-volt wires are properly connected to the unit.
Try to establish an electrical contact between the two terminals of the 24-volt circuit on the unit with a
metal object (for example, a screwdriver).
--> If the unit starts up, a 24-volt wire is either cut or disconnected from one of the wall inlets.
--> If the unit won’t start up after these steps, the printed circuit is defective.
SOLUTION :
Check the 24-volt circuit as follows:
Disconnect one of the two wires on the unit’s 24-volt circuit.
--> If the unit shuts down, the problem could be that two 24-volt wires are touching themselves somewhere
or that the wall inlet is defective.
--> If the unit doesn’t shut down, the printed circuit is defective. Unplug the power cord.
THE UNIT WON’T START UP...
THE UNIT WON’T SHUT DOWN…