Dresser ROOTS B3 Series Owner's manual

ROOTS®Meters Series B3
Meter Models 5C15 and 8C15
IOM:Z
11.06

1Year Warranty
Dresser Roots Meters & Instruments (herein referred to as the Company) agrees to supply equipment of good
design and first class material and workmanship. In the event of any defect of material or workmanship,
the Company will repair F.O.B. place of manufacture, or furnish without charge, place of manufacture, similar
part or parts which, within one year after their shipment, are proven to have been so defective at the time of
shipment, provided the Purchaser gives the Company immediate written notice of such alleged defects.
Notwithstanding the proceeding, warranty claims involving ROOTS®Rotary Positive Displacement Gas Meters
used only to measuregas volumes in a permanent installation may be made within one (1) year from
shipment. A complete list of products covered by this extended warranty is available by writing our
general offices.
Except as herein provided, there are no other warranties either expressed or implied (including without limita-
tion, the implied warranties of merchantability and fitness for particular purpose), and any such warranties
are hereby expressly disclaimed. The Company, except in the case of gross or willful negligence, shall not be
liable for any damages for cause or reason whatsoever, either direct, indirect, special or consequential, arising
out of any contact or from the operation or failure properly to operate any apparatus or equipment sold. No
allowance will be made for repairs or alterations unless made with the written consent first obtained from
the Company. Neither shall the Company be held liable or in any way responsible for work done, apparatus
furnished, or repairs made by others. Auxiliary equipment supplied hereunder not manufactured by the
Company and so identified by the Company is subject to the warranty of the manufacturer thereof and the
Purchaser’s recourse shall be limited to such other warranty.
Table of Contents
Receiving, Handling & Storage.....................................................................................................................................3
Introduction ..................................................................................................................................................................3
Use and Limitations
Operation Principle
General Description ......................................................................................................................................................4
Meter Index ...................................................................................................................................................................4
Meter Installation......................................................................................................................................................4-5
Piping Configurations
Placing Meter in Line
Meter Start-Up
Inspection & Maintenance............................................................................................................................................5
Lubrication
Meter Level
Meter Testing
Testing ..................................................................................................................................................................5-6
General
Differential Rate Test
Establishing Base Line Curves
Test Procedure
Proving Operations
Troubleshooting Checklist.............................................................................................................................................7
2

INTRODUCTION
Use and Limitations
The ROOTS®Meter is a positive displacement, rotary type
gas meter designed for continuously measuring and
indicating the accurate measurement of gas flow in a
pipeline.
ROOTS®Meters are suitable for handling most types of
clean, dry common gases at either constant or varying
flow rates. The meter is not suitable for handling liquids
or for handling acetylene, biogas or sewage gas.
Measurement accuracy and life expectancy can be imped-
ed by excessive deposits of dirt or other types of foreign
material present in the gas stream.
Operating Principle
As shown in Figure1, two contra-rotating impellers of
two-lobe or “figure8” contour are encased within a rigid
measuring cartridge, with inlet and outlet connections on
opposite sides.
The measurement cartridge is encased in an aluminum
housing. Precision machined timing gears keep the
impellers in correct relative position. Optimal operating
clearance between the impellers, cylinder, and headplates
provide a continuous, non-contacting seal.
Because of this unique design, the gas at the meter inlet
is always effectively isolated from the gas at the outlet.
Consequently,avery small pressure drop across the meter
will cause the impellers to rotate.
During impeller rotation, the precisely machined measur-
ing cylinder traps a known volume between the impeller
and the adjacent cylinder wall. With one complete
revolution of both impellers, the meter will measure and
pass four equal gas volumes. The sum total of these
volumes is the Displacement of the meter per revolution.
The displaced volume of gas is indicated in Engineering
units represented in cubic feet (or cubic meters).
Volumetric accuracy of the ROOTS®Meter is permanent
and nonadjustable. Measuring characteristics are
established by the dimensions and precision machined
contours of non-wearing fixed and rotating parts.
Meter rated capacity is the maximum flow rate at which
the meter may be operated and is determined by the
dynamic loads acting on the rotating parts of the meter.
These loads are primarily related to meter RPM, and
secondarily to the metering pressure. With few exceptions,
the standard volume capacity of rotary meter increases
directly with changes in absolute line pressure and
inversely with changes in absolute line temperature.
Figure 1
RECEIVING, HANDLING AND
STORAGE
ROOTS®Rotary Positive Displacement Gas Meters are
precision measurement instruments. Although of very
rugged construction, reasonable care should be given
during handling and storage.
At time of delivery
1. Check the packing list to account for all items
received.
2. Inspect each item for damage
3. Record any visible damage or shortages on the
delivery record
• File a claim with the carrier
• Notify your ROOTS®Meter supplier immediately
IMPORTANT NOTES
•Do not accept any shipment with evidence of
mishandling in transit without making an
immediate inspection for damage and checking
each meter for free rotation of the impellers.
All new meters should be checked for free rotation
soon after arrival since damage to internal working
parts can exist without obvious external evidence.
• Should any serious problems be encountered during
installation or initial operation of the meter,notify
your ROOTS®Meter supplier immediately.
•Do not attempt repairs or adjustments, as doing so
may be a basis for voiding all claims for warranty.
•If the meter is not tested or installed soon after
receipt, storein a drylocation in the original
shipping container for added protection. Make sure
the box remains horizontal with the arrow pointing
up. Leave the protective caps installed on the meter
nipples. The caps will provide reasonable protection
against dust.
•When reporting a suspected problem, please provide
the following information:
• Your Sales Order Number and/or Dresser’s
Order Number
• Meter Model, Serial Number and
Bill of Material Number.
• Description of the problem
• Application information such as gas type,
pressure, temperature, and flow characteristics
Our Product Services Department offers professional
services for all ROOTS®Products. Authorization for return
is required for all ROOTS®Products shipped to the Factory
for repair, calibration, warranty exchange or credit. To
obtain authorization for return of ROOTS®Products
purchased from a Dresser Distributor or Representative
please contact the Distributor or Representative from
whom the product was purchased. Refer to our Return
Material Authorization procedure. All returns should be
packaged in an original-type shipping container.
3

METER INSTALLATION
Piping configurations
Line mounted ROOTS®Meter sizes 5C15 and 8C15 may be
installed in either a Top (vertical), Side (horizontal), or
Bottom Inlet (vertical) configuration. The preferred or
recommended installation is a top inlet in a vertical pipe
line with gas flow downward. In a bottom inlet application,
a60 Mesh screen is recommended in the inlet (bottom)
connection. Although the design of the impellers tends to
make the meter inherently self-cleaning, the top inlet
mounting allows gravity to pass dirt, pipe scale, or other
debris through the meter.
The installation of tees will allow the meter to be tested
while mounted in line using a transfer prover.
Do not install the meter lower than the discharge pipe
run to avoid accumulation of condensate and foreign
materials in the metering chamber. Use a screen or stainer
upstream of the meter to remove liquids and foreign
matter (pipe sealant, tape, weld slag, etc.) from the gas
stream. A 100 Mesh screen is recommended.
Do not install a lubricated gas valve directly before a
meter, as excess valve lubricant or other foreign material
can stop impeller rotation.
If over-speed conditions can occur, a restricting flow
orifice plate should be installed 2 to 4 pipe diameters
downstream of the meter outlet. Contact Dresser Roots
Meters & Instruments for sizing, pricing and availability.
Warranty does not cover over-speed conditions.
Placing Meter in Line
1. Before installing a meter:
Make surethe upstream piping is clean. During
this procedure, use extreme caution and follow
recommended company procedures.
Remove the plastic protective caps from both
meter nipples prior to meter installation.
Insure the impellers turn freely and no objects or
contaminants are in the measuring chamber.
Figure 2 -Odometer Index Figure 3 -Dial Index
Figures 2 & 3 - The
5C15 and 8C15 may be
ordered for Top or
Bottom Inlet, with dial
or digital index. Internal
pipeline screens are
available.
GENERAL DESCRIPTION
ROOTS®Meters are manufactured in accordance with the
American National Standard specification ANSI/ASC-B109.3
for Rotary type Gas Displacement Meter. The meter operat-
ing temperature range is from -40°F to +140°F
(-40°C to +60°C).
ROOTS®Meters sizes 5C15 and 8C15 have a Maximum
Allowable Operating Pressure (MAOP) rating of 15 psig
(103kPa). Every meter is static pressure tested at the
factory at twice its MAOP (30 psig/206 kPa) and leak
tested at 125 percent of MAOP (18.75 psig/128.75 kPa)
in accordance with ASME Boiler Pressure Vessel Codes.
IMPORTANT: The maximum working pressure of a rotary
meter is limited by casing design. Meters should not be
installed where line pressure can exceed the Maximum
Allowable Pressure. Refer to the basic meter body
nameplate for the MAOP.
Meter accuracy is not affected by low or varying line
pressures. 5C/8C15 meters may be used satisfactorily for
pressures ranging from a few ounces to full MAOP.The
meter base rating is expressed in hundreds (C) of Actual
Cubic Feet per Hour (ACFH), or in Cubic Meter per Hour (m3H).
Displaced volume measurement is completely independent
of the gas specific gravity, temperature, and pressure.
Displaced volume can be easily converted to volume at
Standard conditions for elevated pressure and varying
temperature by application of the Basic or Ideal Gas Laws.
Refer to a meter-sizing chart for capacity ratings at
elevated line pressures.
Major components of the meter are machined or cast from
aluminum for a combination of strength and weight
reduction. All aluminum parts are anodized, and the
measuring chamber and impellers are hard-coat anodized
for added corrosion and abrasion resistance.
Lubrication for the main bearings and timing gears is
permanent, and no oil should be added.
METER INDEX
Two index options are available. The customer specifies
the dial or odometer index when ordering the meter.
Readings are in ACFH (m3/h).
4

2.Meter Orientation:
Connect meter inlet to the gas supply side of the line,
insuring the gas flow will be in the same direction as
the arrow on the meter body nameplate (i.e., arrow
pointing downward for Top Inlet)
3. Install the meter without piping strain to prevent a
binding of the casing and impellers.
4. Check the orientation of the meter with a level. The
meter must be level within 1/16” per foot (5mm/m)
in any direction, side to side, front to back.
Meter Start-Up
Slowly pressurize the meter in
accordance with the following
recommendations:
IMPORTANT: Do not exceed
5psig/second (35 kPa/second)
maximum when pressurizing.
Rapid pressurization can cause
an overspeed condition which
may damage the meter.
Resulting damage is not
covered by warranty.
a. Open the bypass and
outlet (downstream of
meter) gas valves.
b. Partially open the meter inlet gas valve until the
meter starts operating at low speed. Throttling of
the bypass valve may be necessary to initiate gas
flow through the meter. Verify gas is flowing through
the meter by watching for movement of the “Half
Foot” dial. If movement is present, go to step c. If
the dial is not turning, verify gas is being delivered
to the meter.If gas is flowing to the meter inlet and
the dial is not moving, go to step e.
c. Let the meter operate at low speed for several
minutes. Listen closely for unusual scraping or
knocking sounds.
d. If operation is satisfactory, go directly to step f.
e. If unusual sounds are present or the accessory
unit’s “Half Foot” dial is not turning, place the meter
in bypass. Slowly depressurize and vent all pressure
the meter set before checking for piping
misalignment, piping strain, torsion, or other related
problems. Once the problem has been resolved,
repeat the start-up procedure beginning with step a.
DANGER: Slowly depressurize and vent all pressure from
the meter set beforeworking on meter.
f. Gradually open the inlet valve until full line flow is
passing through the meter and the inlet valve is
fully open.
g. Slowly close the bypass valve.
h. Follow your company authorized procedure or
common practice to leak test the meter and all
connections. Soapy water,Snoop®and gas analyzers
are commonly used for this procedure.
INSPECTION AND MAINTENANCE
Lubrication
NO LUBRICATION IS REQUIRED. This meter incorpo-
rates permanently lubricated bearings and gears.
Meter Level
Since the meter is supported entirely by the gas
pipe line, movement of the piping through accident,
settling of the ground or other causes can impede
meter operation and accuracy. Refer to “INSTALLATION”
procedures. Make sure the meter remains level within
1/16” per foot (5mm/m) in any direction, side to side,
front to back.
Meter Testing
The Differential Rate Test is an accurate and convenient
method of comparing a rotary meter’s performance at
any time with its original performance. This and other
commonly used test methods are covered later in this
manual under “TESTING”.
Cleaning -If thereis any evidence of dirtor dust in the
meter, a suggested method for removal is to windmill the
impellers (at a speed less than maximum capacity) by
injecting controlled compressed air from a nozzle into
the meter inlet.
TESTING
General
Rotary meters can be tested for accuracy by several
industry accepted methods. These test methods include,
but arenot limited to: bell or piston prover, transfer
prover, sonic nozzle prover, and critical flow proving. The
Differential Pressure Test is unique to rotary meters and is
an accurate and convenient method of comparing a
meter’s performance to previous or original performance
records. It is accepted by many State Utility Commissions
as a means of periodically substantiating that the original
accuracy of a meter has remained unchanged.
Differential Pressure Test
Achange in the meter’sinternal resistance can affect
rotary meter accuracy. Any significant increase on the
meter’s internal resistance to flow will increase the pres-
suredrop between the inlet and outlet of the meter,thus
increasing the differential pressure, Therefore, the meter
differential pressure appears as a prime indicator of
meter condition.
Atest under actual operating conditions will provide the
most reliable data for future checks of a meter’s operating
condition. Although accuracy cannot be directly deter-
mined by a differential test, results have shown that an
increase of up to 50 percent in differential pressure can
be tolerated without affecting meter accuracy at the higher
flow rates (25% and above) by more than 1 percent.
Supportive technical data is available, upon request.
5
Snoop is a registered trademark of the Swagelok Company.

Apressure gauge is used to verify pressure readings.
Astop watch is used to “clock” the meter RPM for
calculating gas flow rate.
CAUTION: When the meter is on line pressure, follow applica-
ble safety rules and wear appropriate protective apparatus.
1. Install the pressure differential indicating device into
the meter inlet and outlet differential taps. Install a
pressure gauge or other pressure standard on the inlet
side of the meter if not a component of the test
equipment.
2. Adjust the meter bypass and the meter inlet valves
until the meter is operating at a predetermined or
selected flow rate in the lower capacity range, or
approximately 25 percent of meter rated capacity.
Let the flow rate stabilize.
3. Time or “clock” the passage of a predetermined volume
of gas as registered on the odometer or instrument to
determine the Index or Flow Rate in Actual Cubic Feet
per Hour (or m3/h):
Index Rate = Cubic Feet x 3600
Test Time (sec)
Convertthe calculated flow rate to a percentage of meter
rated capacity:
%Meter Capacity = Index Rate
Meter Base Rating
4. Recordthe pressuredifferential, line pressure, and gas
specific gravity. Repeat the test to obtain an accurate
average reading.
NOTE: At the time of meter start-up in a new installation,
repeat Steps 2-3 at a minimum of three different flow
rates, each between 25% and 100% of meter capacity.
The original base line curve should be drawn using
data at a constant pressure for all three tests.
5. Remove the differential test equipment and pressure
standard.
6. If the pressuredifferential is within acceptable limits,
return the meter to full service. If the pressure
differential is higher than recommended, remove the
meter for inspection and service. For Factoryassistance
regarding meter inspection and/or repair, please call the
Product Services Department, your Customer Service
Representative, local Sales Representative, or Distributor
and request a Return Material Authorization (RMA).
Proving Operations
Conventional scanning methods may be used with the 5C15
and 8C15 index in meter proving. The standard index for
these meters is a circular (dial) index similar to that found
on residential diaphragm meters. The preferred method is to
focus a photocell or scanner on the “Half Foot” test hand.
Each revolution represents 1/2 cubic foot of volume.
Adifferential pressure test consists of a series of
differential pressure readings taken across the meter at
several gas flow rates within the meter’s capacity range.
Ideally, testing should be performed when the meter is
first installed and under the actual conditions of gas line
pressure and specific gravity that will exist in service.
Multiple curves may be necessary for meters under varying
pressure conditions.
When less than 15 PSIG (100kPa Gauge), the meter
differential can, for all practical purposes, be compared
directly with Factory curves or specific meter test results.
The factory Test Data Sheet lists actual meter test results
of accuracy and differential obtained from a bell or piston
prover test on air at atmospheric pressure. Published data
is representative of typical product production.
Establishing Base Line Curves -Developing an original
differential or baseline curve is recommended at the time
of meter initial installation. At least three (3) test points
are required at gas flow rates from 25% to 100% of meter
capacity.Plot the points on a graph and then connect the
points to form a curve. This provides an accurate baseline
for comparison to later tests.
The gas line pressure, specific gravity of the gas, and line
temperature should also be recorded. If the application is
under varying pressure conditions, plot multiple curves for
various pressure ranges (i.e. 5,10 and 15 psig). An increase
in flow rate, line pressure or specific gravity will cause an
increase in the differential.
After developing a base-line curve, meter condition and
performance can be checked periodically by running a
similar differential rate test at a single selected point.
This does not give the overall characteristics for the
meter, but does provide a quick reference check.
Differentials taken at varying flow rates are needed to
give an overall picture.
If the differential pressure increases by more than
50 percent of the original value, inspect the meter for
causes of increased resistance. Principal causes are
binding of impellers, wornbearings, contaminates such
as dirt or valve grease in the meter chamber.
Test Procedure - the test is performed using a ROOTS®
Smart manometer, or other differential pressure test
equipment with an indicating scale range of about 0.9”
(150mm) of water column. The testing device should have
inlet, outlet, and bypass valving, and must be pressure
rated for the maximum metering pressure for the test.
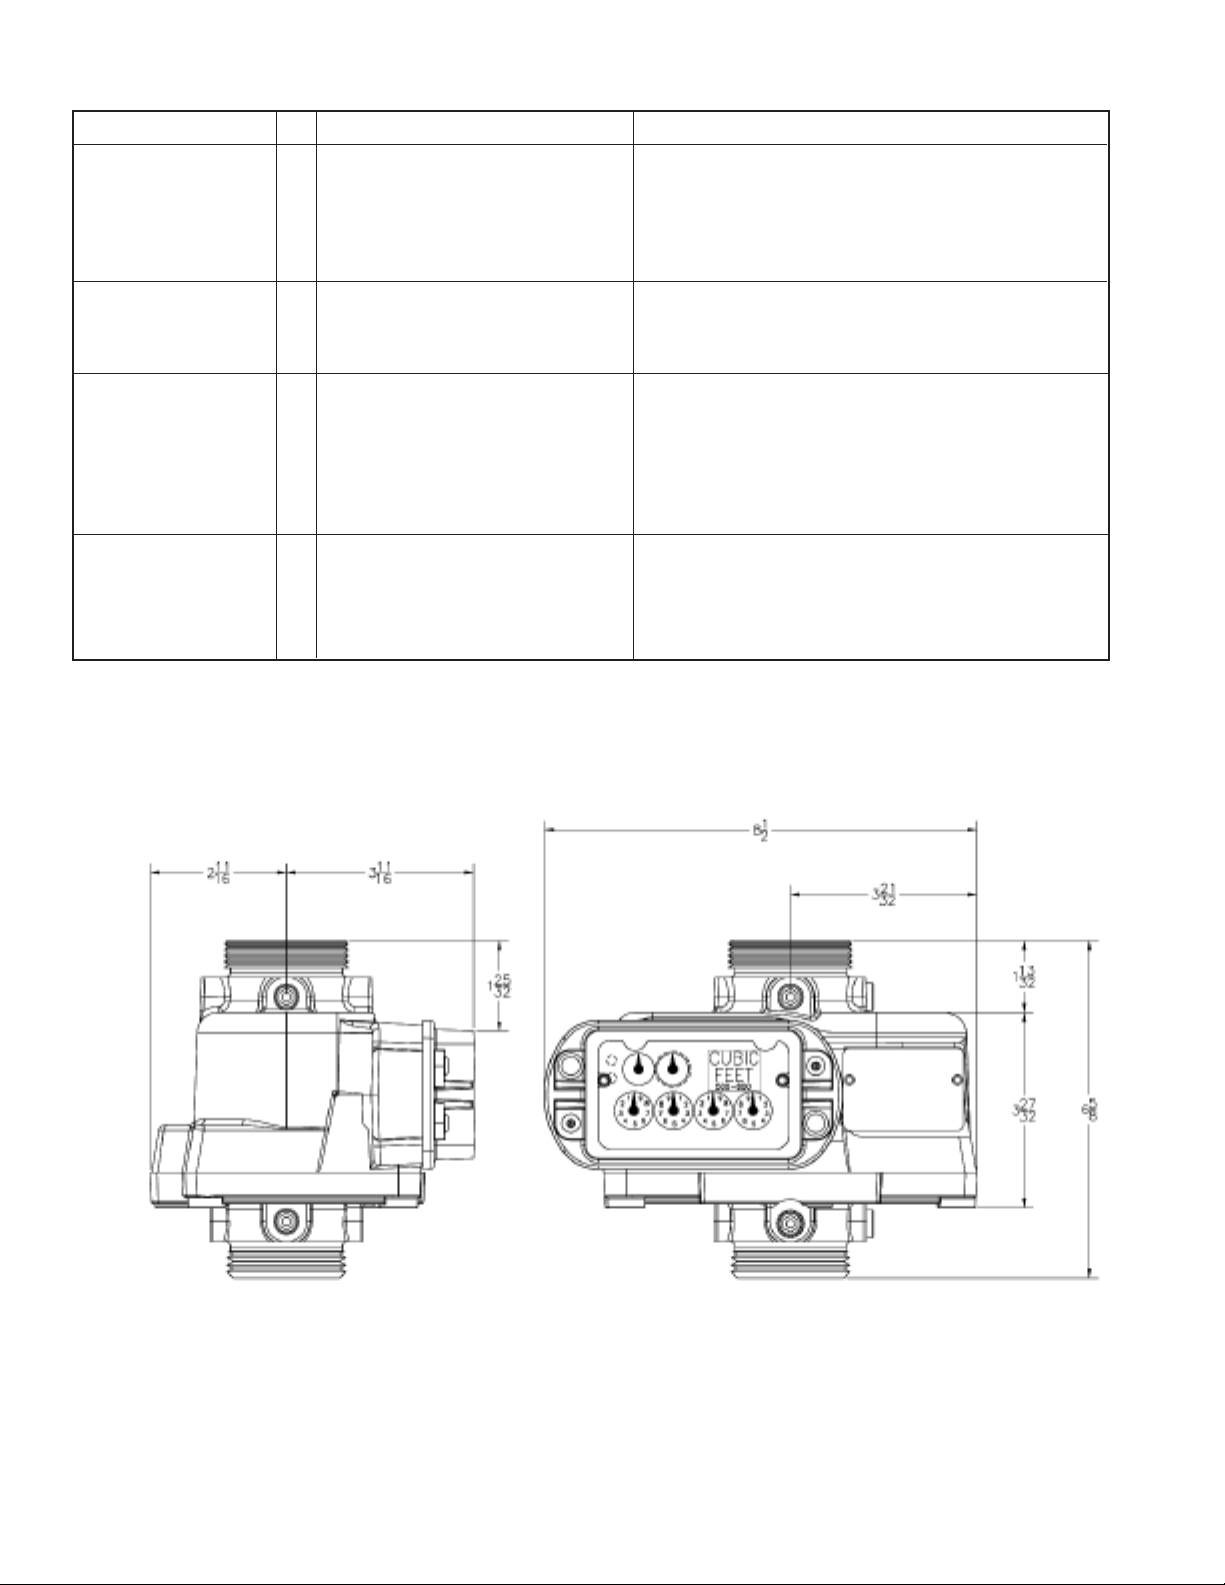
Pressure lines should be connected to the 1/4’ meter inlet
and outlet pressure taps located on the meter
body just above and below the meter nameplate.
(Test plugs can be permanently installed in the pressure
taps to facilitate testing.)
6

TROUBLE SHOOTING CHECKLIST
Trouble Item Possible Cause Remedy
NoFlow Registered 1 Obstruction in Piping or Meter. Check piping and valves to assure an open flow path.
Check for impeller rotation. Refer to “Placing Meter in Line
on page 4.
2 Obstruction in Screen or Strainer. Clean screen or strainer.
3 Index or Half-foot dial does not turn. No gas flow. Open valve or remove obstruction per Item #1.
Low Volume Registration 4 Meter Oversized for Load. Use Proper Meter Size.
5 Leak at Meter Bypass. Check Bypass and Valves.
6 Meter Internal Friction. See “High Differential” below.
High Differential 7 Build-up of deposits in Replace or Return to Dresser’s Product Service Department.
Measuring Cartridge.
8 Worn Bearings or Sleeves. Replace or Return to Dresser’s Product Service Department.
9 Impellers Rubbing Cartridge or Rotate impellers manually to check for binding or rubbing
Headplates, or Meter Out of Time. Remove obstructions and/or Time the Meter. Check the
meter level.
Vibration/Noise 10 Piping misalignment or strain. Remove Piping Strain, Level Meter.
11 Impellers Rubbing Casing. See items #7 & #8.
12 Contaminant's in Measuring Chamber. See item #7.
NOTE: Also refer to Installation, Operation and Maintenance procedures within this manual for possible solutions.
7

Dresser, Inc.
P.O. Box 42176
Houston, Texas 77242-2176
website: www.dresser.com
Inside US Ph: 800.521.1114 Fax: 800.335.5224
Outside US Ph: 832.590.2303 Fax: 832.590.2494
www.rootsmeters.com
IOM:Z
11.06
©2004 Dresser, Inc.
ROOTS is a registered trademarkof Dresser, Inc.
Dresser Roots Meters & Instruments
This manual suits for next models
2
Table of contents
Other Dresser Measuring Instrument manuals