BONSAI®
Velocity
www.dearjane.com.au
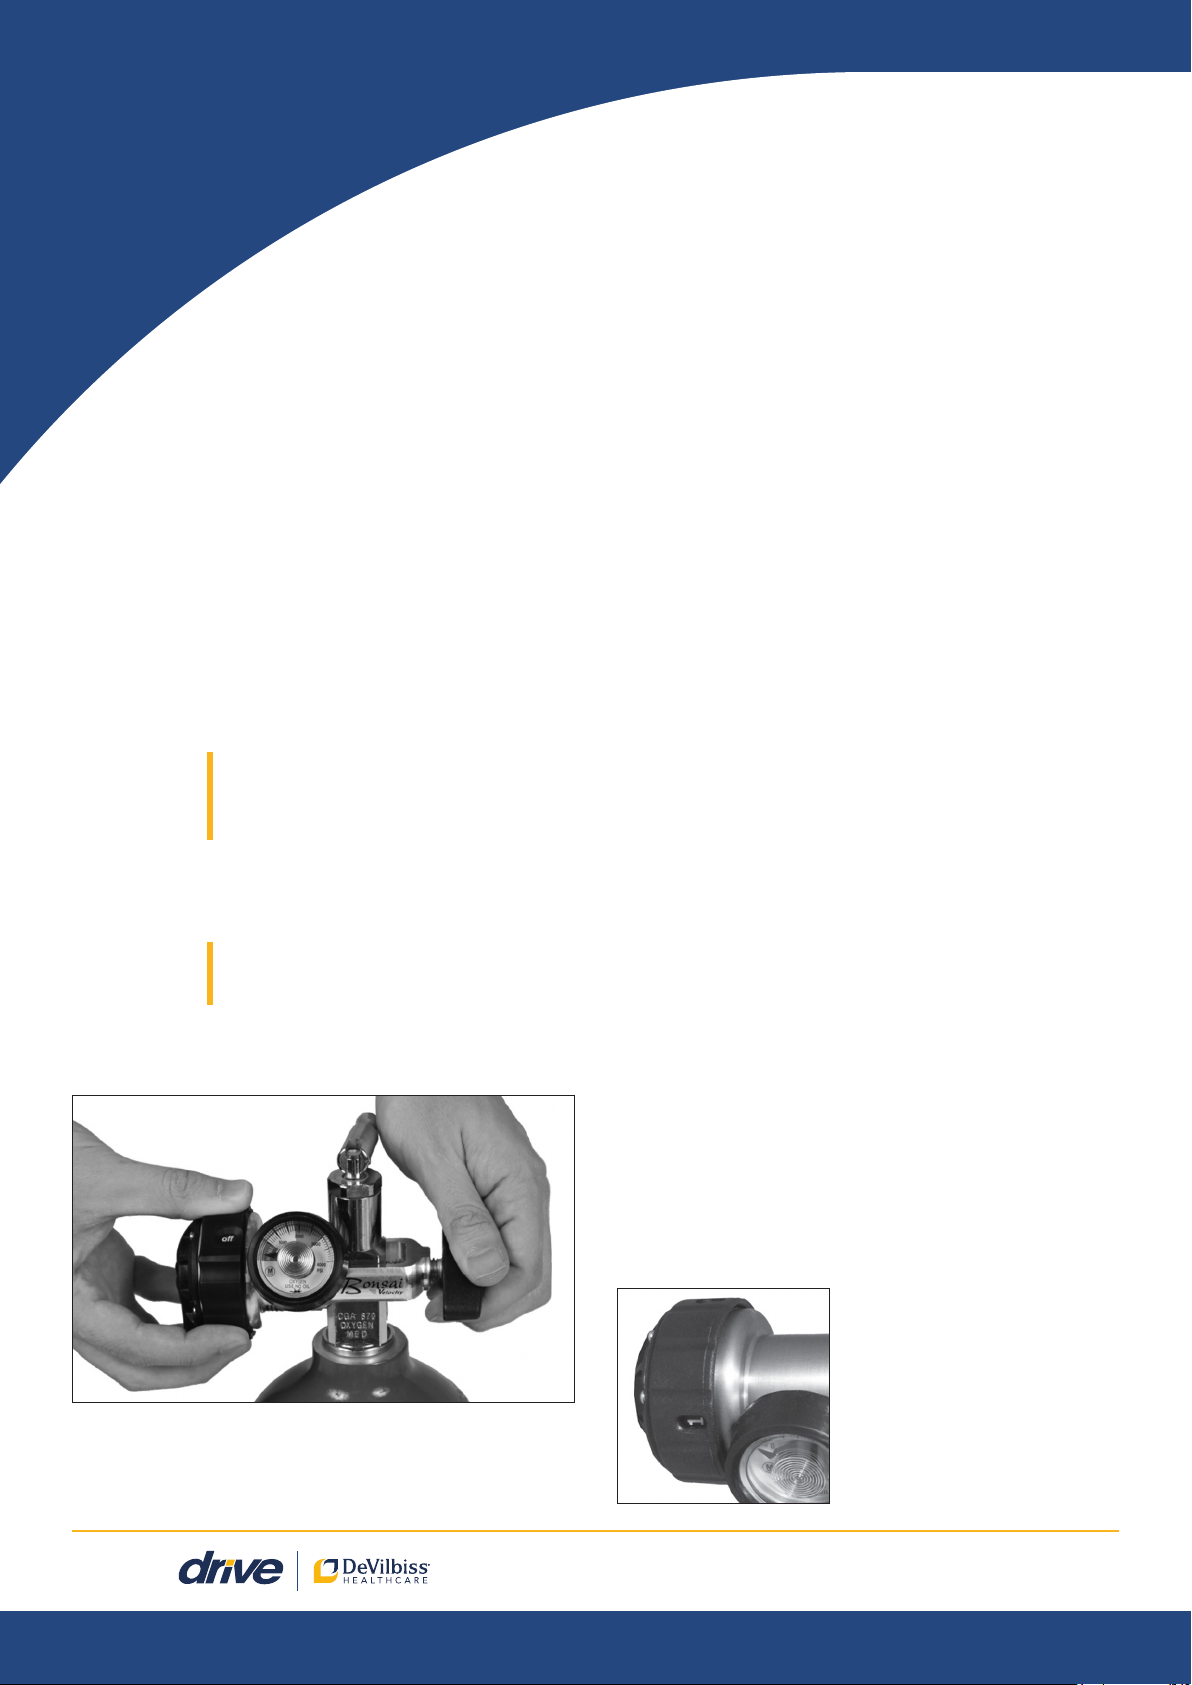
FIGURE E
View of the BONSAI®
VELOCITY selector
switch
INSTALLING THE
BONSAI® VELOCITY:
STEP 1: Loosen the cylinder adjustment
handle.
STEP 2: Lower the BONSAI® VELOCITY
conserver over the Cylinder Post
Holes with the alignment pins toward
the holes on the cylinder neck
[see Fig. D].
STEP 3: Line-up the two pins and the seal
washer (gasket) with the corresponding
holes on the Cylinder Post Holes.
NOTE: The cylinder adjustment
handle should be aligned with
the indentation on the Cylinder
Post Holes.
STEP 4: While holding the unit in place, tighten
the cylinder adjustment handle by
turning clockwise [see Fig. D].
NOTE: Tighten only by hand.
The use of a tool to tighten the
handle may damage the unit.
STEP 5: Attach the cannula to the oxygen
supply outlet.
FIGURE D
Attaching the BONSAI® VELOCITY
Conserver to the Cylinder
OPERATING
INSTRUCTIONS:
STEP 1: Make sure that the BONSAI® VELOCITY
conserver is set to the “OFF” position
before opening the cylinder valve.
STEP 2: To reduce the risk of rapid oxygen
recompression and fire, open the
cylinder valve slowly and completely so
the pressure gauge moves slowly as it
indicates the cylinder pressure.
STEP 3: Listen for leaks. If a leak is present, close
the cylinder valve, check the CGA 870
seal and re-install. If the leak continues,
DO NOT USE THE EQUIPMENT and
contact Drive Devilbiss (see below for
contact details) for further assistance.
STEP 4: Check the oxygen pressure gauge to
verify that the cylinder pressure is
within the operating range.
STEP 5: Select the setting on the BONSAI®
VELOCITY conserver to the appropriate
delivery setting [See Fig. E].
STEP 6: As with any nasal cannula, place the nasal
cannula into position with the prongs in
the nostrils and begin breathing.
The BONSAI® VELOCITY conserver will now start
to deliver oxygen. The amount of oxygen delivered
per pulse is determined by the setting. A sound
may be heard each time the unit delivers a pulse
of oxygen. Adequate saturation will be achieved
because of the precise time in the breathing cycle
in which the pulse of oxygen is delivered.
STEP 7: When finished using the system, close
the oxygen supply cylinder valve and
continue breathing through the nasal
cannula until no further oxygen is
detected and the gauge reads “empty”.
STEP 8: Remove the nasal cannula and turn the
selector switch to the “OFF” position.
STEP 9: When not in use, store in a clean,
dry location.
2


