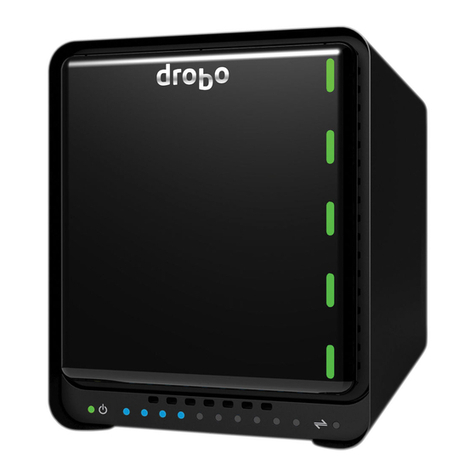
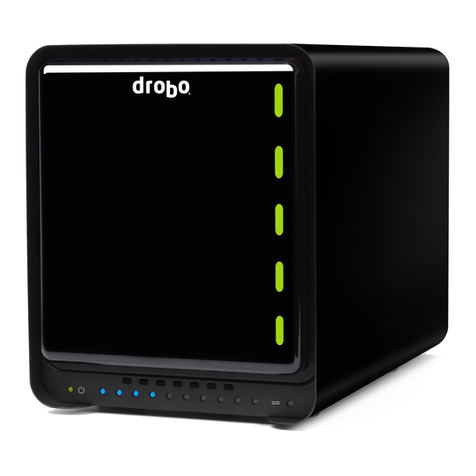
Drobo Storage system User manual

1
Introduction
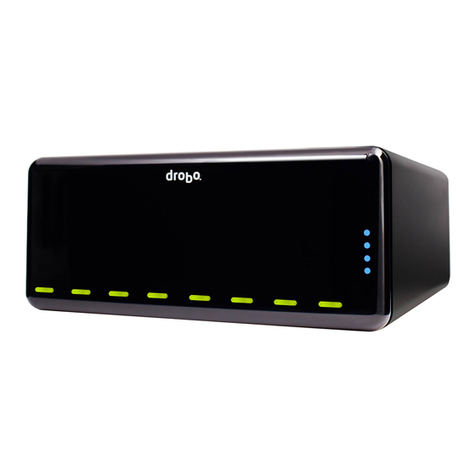
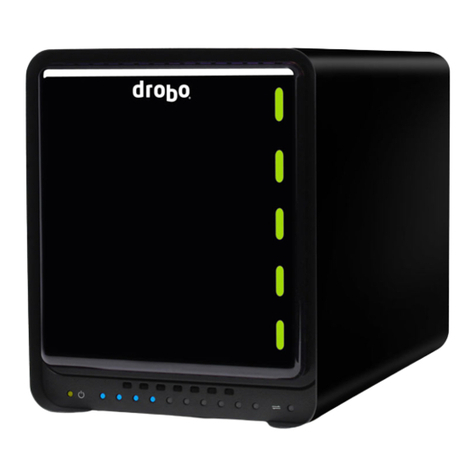
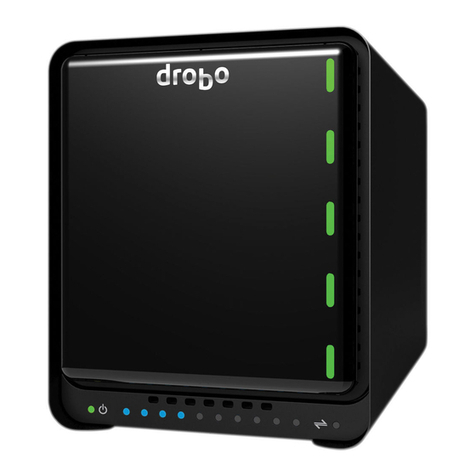
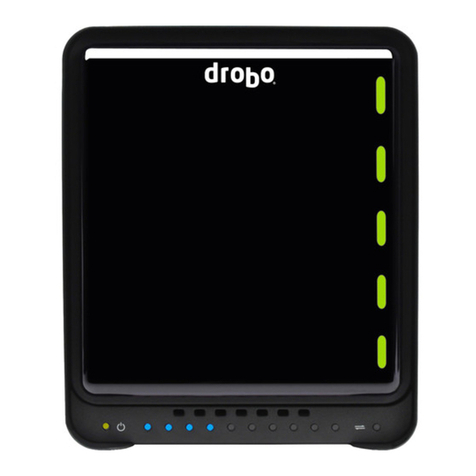
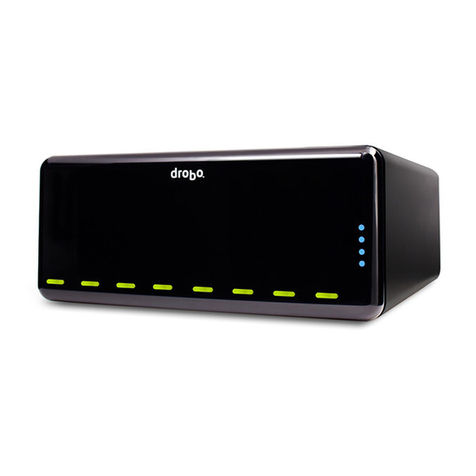
Drobo, the world's first storage robot, is a fully automatic data storage system
that provides the only effortless, safe and expandable repository for all of your
digital assets. Drobo connects easily to your PC via USB 2.0, and appears like
one large external USB Drive to Windows, requiring no configuration to use.
Many of the key features delivered to enhance your user experience include:

2
The Ins and Outs of Drobo
While Drobo does much of the work for you, there are still a few items that you
will need to understand to take full advantage of its rich feature set. Take some
time to familiarize yourself with your Drobo.
Related Topics
Getting Started

3
Getting Started
Add Hard Drives to Your Drobo
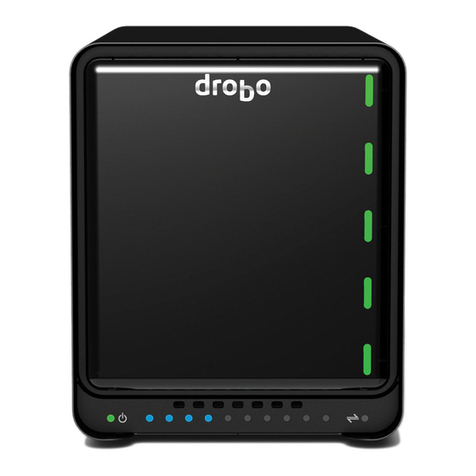
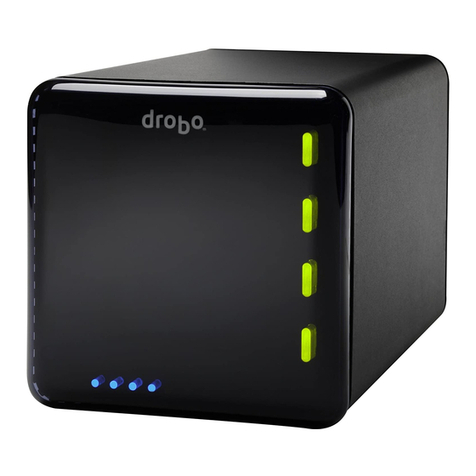
Drobo has four data bays that can each hold a single 3.5" SATA hard drive.
PATA hard drives are not compatible and should not be used.
Before connecting Drobo to your PC, simply insert your hard drives into the
empty data bays. You may use any capacity 3.5" SATA hard drive, from any
manufacturer, at any speed (5400 RPM, 7200 RPM, etc).
Warning: Any data on a drive that is being added will be erased.
Tip: Start with at least two hard drives to provide data redundancy and protect
against a single hard drive failure.
To add a hard drive:
1. While holding the hard drive flat (horizontal), flip it so its connector is at the
bottom.
2. Point the connector-end away from you.
3. Slide the hard drive into the desired data bay, with the connector-end
entering first, until the drive latch locks the hard drive in place.
4. You are now ready to Connect Drobo to your PC.
To Connect Drobo to your PC:
1. Connect the square end of the supplied USB 2.0 cable to the USB 2.0 port
at the back of your Drobo.
2. Connect the other end of the USB 2.0 cable to an available USB 2.0 port
on your PC.
3. Plug the supplied AC power adaptor into the power port on the back of
your Drobo.
4. Plug the power cord into a standard 110 volt power outlet.
5. Drobo does not have an on/off switch so this will start the power-up
sequence. During this time, the data bay indicators will turn red and all 10
blue lights will be displayed on the capacity meter.
6. As the hard drives come online, the data bay indicators will turn green.
7. You are now ready to Format Your Drobo.
Format Your Drobo

4
You can use the Drobo Dashboard Format Wizard or the Windows Disk
Management Utility to format your hard drives. This manual formatting procedure
must be done when you add hard drives to Drobo for the first time. In the future,
when you add new hard drives, or replace drives with larger ones, Drobo will
automatically format the new drives for you. Only your new drives will be
formatted, not the existing drives.
If Drobo Dashboard is running, it will automatically know that a hard drive needs
to be formatted and immediately begin the Wizard by showing you the Format
dialog box. In this case, continue at the following procedure, "To Format Drobo
Using the Drobo Dashboard."
If the Format dialog box did not appear, see "Starting Drobo Dashboard" and
then continue with the following procedure at Step 2.
Instructions about using the Windows Disk Management Utility to format your
drives can be found later in this topic.
To format Drobo Using the Drobo Dashboard:
If Drobo Dashboard is installed and running, it will automatically recognize if hard
drives need to be formatted. The Format dialog box will appear and ask if you
want to format your hard drives.
Note: If the Format dialog box did not appear, see "Starting Drobo Dashboard"
and then continue below at Step 2.
1. From the Format dialog box, click Yes, then got to Step 8 to continue at
the Format Options dialog box.
2. Click on the Advanced Controls button.
3. Click on the Tools tab.
4. Click on the Format button.
5. When asked "Are you sure you want me to reformat your drives?" click
Yes to continue. Click No if you are unsure about erasing the data on your
drives.
6. If there is data stored on Drobo, you are asked to confirm a second time:
5
7. Click OK to view the Format Options dialog box.
8. From the Format Options dialog box, do one of the following:
yIf you only want to connect Drobo to a Windows computer, select the
recommended format type, NTFS.
yIf you want to connect Drobo to a NAS (Network Attached Storage)
appliance, or have the option of connecting it to either a Mac or
Windows computer, then select the FAT32.
9. Click Format to begin formatting the hard drives in Drobo. When Drobo is
finished, it is ready for service.
Warning: The Format command erases all data on all hard drives and is not
reversible.
Tip: Once formatted, Drobo will handle formatting any new hard drives you may
add. Any new capacity from adding a new hard drive will be available within
seconds.
Tip: Use the Drobo Dashboard Format button when you wish to erase all data
on your Drobo. This should only be used when you are confident you want to
erase all data on your Drobo.
To format Drobo using Windows Disk Management Utility:
1. Right click on My Computer, and then select Manage to display the
Computer Management Window.

6
2. Click Disk Management. On the right-side of the console, the formatted
and unformatted disks are displayed. Drobo should appear at the bottom
of the console with the following characteristics: Unknown, 2048 GB, and
Not Initialized.

7
3. Right-click on the disk described in Step 2 and then select Initialize Disk.

8
4. Windows automatically launches the Initialize and Convert Disk Wizard.
Click OK.
5. Drobo is now initialized and appears in the Computer Management
Console. The disk status has changed from Unknown to Basic and from
Not Initialized to Online, but the disk space will still appear as
Unallocated.

9
6. Identify the disk described as 2048 GB Unallocated. This is a critical
step so you don't accidentally format the wrong disk!
7. Next, you'll format the disk. Right-click in the area where it says
Unallocated to open a popup menu and select New Partition.

10
8. The New Partition Wizard will launch. Click Next.

11
9. The Select Partition Type Options is displayed. The Primary partition is
pre-selected; extended partitions are not supported. Click Next to
continue.
10.The Specify Partition Size Window is displayed. Select the size for the
partition and click Next. If you decide to partition Drobo into multiple
partitions, you'll need to repeat this process for each partition.

12
11.The Assign Drive Letter or Path Window appears. Select the drive letter
you want assigned to this partition in Drobo. Windows automatically
displays the next available drive letter (in this example, with one partition,
it is E). Click Next.

13
12.The Format Partition Window will appear. Use the following settings to
format each partition:
yNTFS as the File System type (the default setting).
Note: If you choose to format your drives as a FAT32 file system, then for
optimal performance, Data Robotics recommends to use Dobro
Dashboard to format your drives. For instructions, see "To format Drobo
using the Drobo Dashboard," located earlier in this help topic. Extended
partitions are not supported at this time.
yDefault as the Allocation unit size.
yEnter the volume label of your choice. For example, you could name it
Drobo.
yBe sure to select the check box by Perform a quick format to
complete the format.
Note: If you don't select a quick format, the format operation could take
as long as a few hours to complete.
Click Next.

14
13.The final window of the wizard appears. Click Finish to start formatting the
drive.
14.Windows automatically displays the Computer Management Console

15
while the formatting is in progress.
15.Disk formatting will vary depending on the speed of your system and if you
had selected Perform a quick format in a previous step. When the
formatting is complete, Windows displays the drive as Healthy in the
Computer Management Console.

16
16.Drobo is formatted and ready to use.
Related Topics:
Windows says Drobo has 2 Terabytes of Capacity
Adding New Capacity to My Drobo
Launching the Drobo Dashboard
Basic Drobo Dashboard

17
Windows Says Drobo Has Two
Terabytes of Capacity
When you look at the properties for your Drobo using any of the Windows tools
such as Explorer or My Computer, you will find that Windows sees Drobo as a 2
Terabyte (TB) drive. This property allows Drobo to easily expand, without forcing
complex Windows management and configuration.
Drobo lets you add capacity in seconds, whenever you need it. We have
designed Drobo to appear as 2 TB so that you can easily grow your capacity.
And, with bigger hard drives available every year, when you add enough hard
drives for your Drobo to exceed 2 TB, Dobro will simply create a new drive
volume on your PC under the next sequential drive letter resulting in an
additional "virtual" hard drive on your PC, where both virtual drives share the total
capacity available on your Drobo.
If you want to know the current used capacity on your Drobo, you can get a quick
idea with a glance at the capacity meter on the front. Additionally, Drobo will
always warn you if you are starting to run low on available space. If you want
detailed information, the Drobo Dashboard provides any information you may
require.
Related Topics
Adding New Capacity to My Drobo
Launching the Drobo Dashboard
Basic Drobo Dashboard
Advanced Drobo Dashboard

18
Adding New Capacity to My Drobo
To add or expand storage capacity, simply insert a hard drive into an empty data
bay, or replace a smaller capacity hard drive with a larger capacity drive. You
may remove a hard drive at any time as long as all data bay indicators are
showing a green status.
Tip: For assistance with choosing which drive size is needed to reach a specific
capacity, run Drobolator, an online Drobo simulator that lets you drag and drop
drives into a virtual Drobo to determine your new protected capacity.
If you have a yellow or red data bay indicator, Drobo is informing you to insert a
hard drive or replace a smaller capacity hard drive with a larger capacity one into
the data bay that is lit.
To remove a hard drive:
Warning: Do not remove a hard drive when you see blinking green and yellow
lights. This indicates that Drobo is currently moving data between hard drives for
data protection, and removing a hard drive during this process could result in
data loss.
1. Press the data bay latch to the left to eject the hard drive.
2. Carefully remove the hard drive.
Warning: Hard drives will retain heat after being removed from Drobo. Use
caution when removing drives. Allow drives to cool for ten minutes before
handling them.
Tip: You do not need to format a hard drive you are adding to a Drobo that is
already up and running. Drobo does all the work for you. Just add a hard drive
and immediately take advantage of your new capacity.
Tip: Any data on a hard drive removed from your Drobo will not be readable by a
Windows PC.
Related Topics
Adding, Removing, and Replacing Hard Drives
Buying Drives for Drobo

19
No Drobo Connected
If the Drobo Dashboard appears with a message saying "No Drobo is detected.
Please check my connections," check to be sure the USB cable is still connected
to your PC and your Drobo, and be sure Drobo is still connected to its power
source.
If the USB cable is connected and Drobo has power, but Drobo Dashboard is not
recognizing Drobo, use the Safely Remove Hardware function to put it into
Standby Mode. When the power indicator turns orange, disconnect and
reconnect the power to reboot your Drobo.
Related Topics
Troubleshooting

20
Data Bay Indicators
Drobo utilizes status indicators found to the right of each Data Bay. These
indicators will always let you know the status of your Drobo. When all lights are
green "everything is okay." If there is a yellow light, you are running low on
protected capacity and you should add or replace a hard drive with one of greater
capacity at your convenience. A red indicator means you need to take action as
soon as possible, you are critically low on space or not protected against single
drive failure. A blinking red indicator means that a hard drive has failed.
Reference the following chart to best understand what your Drobo is telling you:
Color and Light
Behavior What It Means Action to Take
Green Healthy system. None.
Yellow Drobo is getting full. Add a hard drive or
replace the existing one
with a greater capacity
hard drive.
Red Protected space is
critically low, or data
protection against single
drive failure is no longer
available.
Add a hard drive or
replace the existing one
with a greater capacity
hard drive ASAP.
Blinking Green and Yellow Drobo is protecting your
data by duplicating and
spreading it across all of
the available hard drives.
Don't remove any hard
drives, or power down
Drobo.
Tip: You can continue to
access your data while
Drobo is protecting your
data. Just don't remove a
hard drive!
Warning: Removing a
hard drive while green and
yellow lights are blinking
may cause data loss.
Red blinking A hard drive has failed. Replace this hard drive
ASAP.
Four Red Indicators Drobo is starting, or there
have been too many hard
drives removed, or too
many hard drives have
been replaced at the
Wait a minute to make
sure Drobo is done
rebooting. If the indicators
don't change to green,
then you may have
Other manuals for Storage system
2
Table of contents
Other Drobo Storage manuals