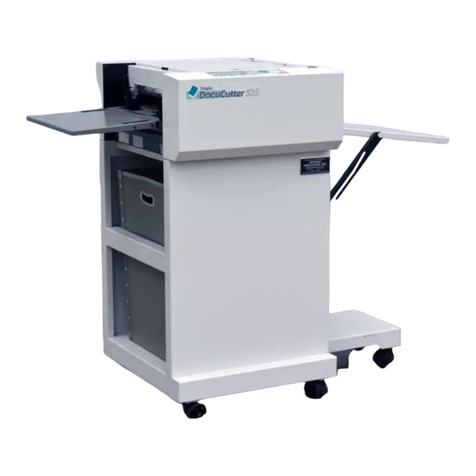
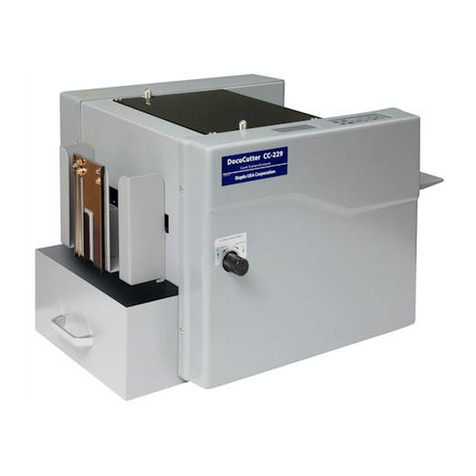
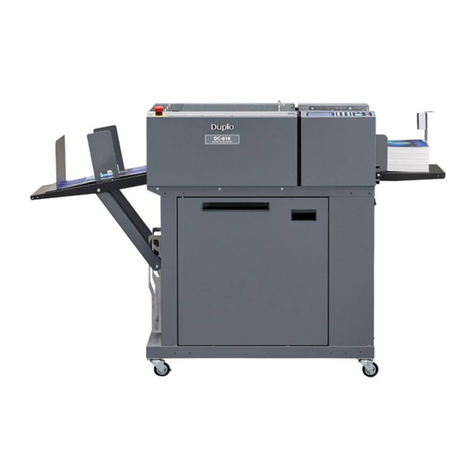
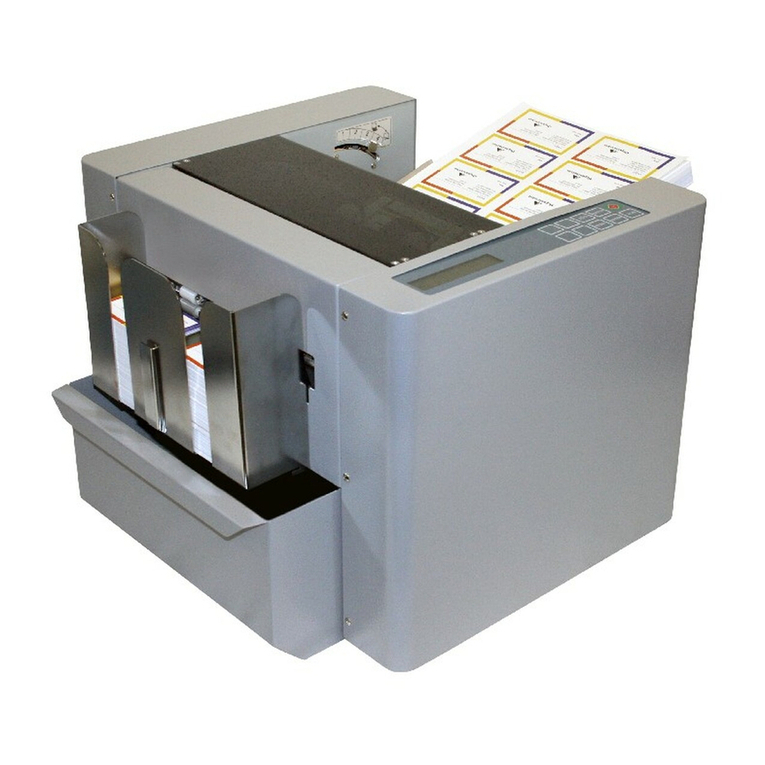
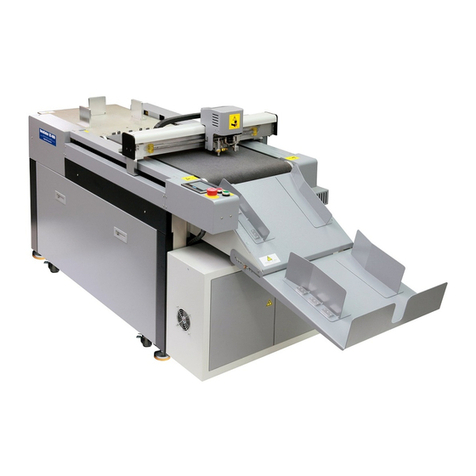
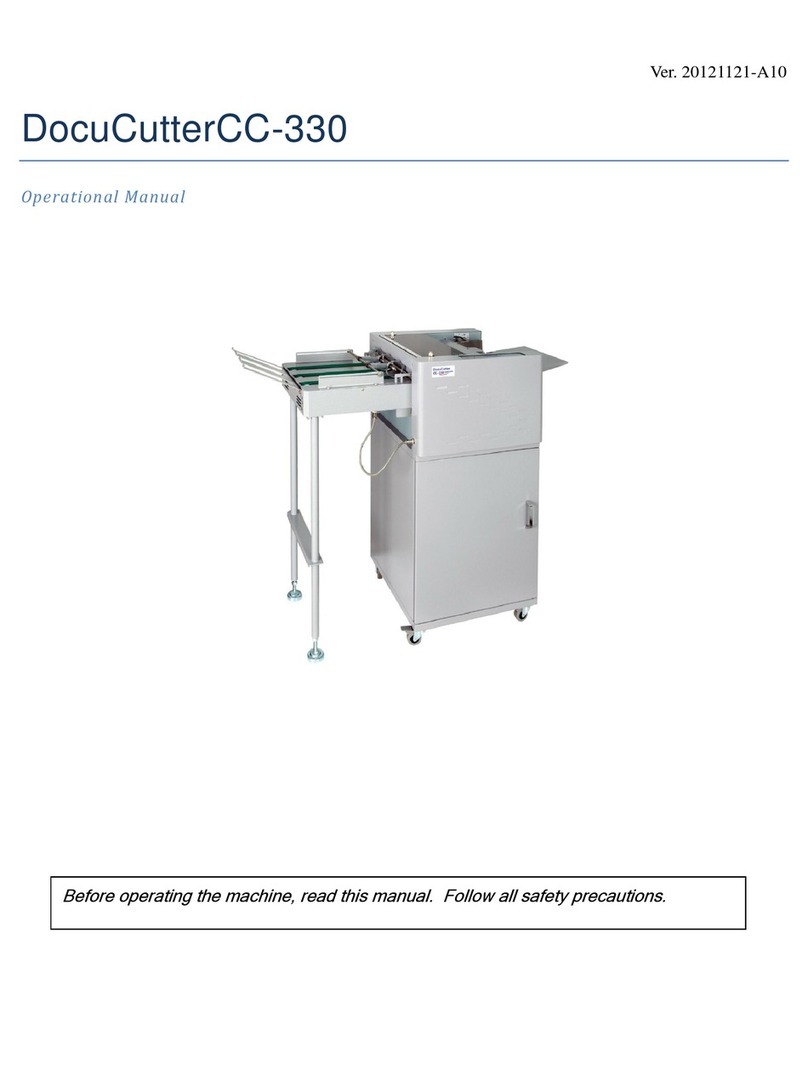
Duplo DocuCutter CC-330 Building instructions

DocuCutter CC-330
Service and Parts Manual
Duplo USA Corporation
3050 S. Daimler St, Santa Ana, CA 92705
www.duplousa.com
Revision: 012213
Before doing service, read this manual. Follow all safety precautions.

1
SAFETY PRECAUTIONS
Always observe the cautions and warnings given below to prevent personal injury or property damage.
The degree of danger and damage that could occur is indicated on two levels by the following marks.
WARNING:
Ignoring this mark could result in the possibility of serious injury or even death.
CAUTION :
Ignoring this mark could result in the
possibility of injury or physical damage
The following graphic symbols indicate the various types of action to be performed or avoided.
This graphic symbol indicates a forbidden action.
means “Do not disassemble.”
means “Do not touch.”
This graphic symbol indicates actions that must be performed.
means “Disconnect the power plug.”
Do not place metal objects or vessels containing liquids on top of the unit. The entry of any metal
object or liquid could result in a fire or an electrical shock.
Do not insert any metal or easily
-
combustible object inside this unit. This could result in a fire or
an electrical shock.
Do not touch or insert foreign objects into any rotating part during operation. This could result in
injury.
Do not remove the cover or back panel. This unit contains high
-
voltage components that could
cause an electrical shock.
Do not disassemble, modify or repair this unit. There is a danger of fire, electrical shock or injury.
Contact your dealer when repairs are necessary.
Use only the power supply voltage specified on the main nameplate. Using other voltages could
result in a fire or an electrical shock.
Keep this unit and the power cord away from heaters and heater vents. Excessive heat could
melt the cover or power cord covering, and result in a fire or an electrical shock.

2
Do not use solvent inside or near the unit (e.g. when cleaning the unit). Suc
h solvents may
damage the rubber rollers and resin inside the unit, resulting in malfunctions.
Make sure that the combined power consumption of the appliances to be connected does not
exceed the capacity rating of the power outlets or plug receptacles. Exceeding the capacity rating
could cause the power outlets, plug receptacles, or power extension cords to overheat and catch
a fire.
Remove any dust that accumulates on the power plug prongs and the surface of the plug from
which the prongs extend. Accumulated dust could result in a fire.
If any foreign object such as metal or liquid should enter this unit, immediately turn the unit off
at the power switch and disconnect the power plug from the power outlet. Failure to do so could
result in a fire or an electrical shock. Contact your dealer immediately.
Do not damage the power cord or power plug. (Do not scratch, alter, bend, twist, pull or place
heavy objects on the power cord or power plug.) This could result in damage, a fire or an
electrical shock.
Always grip the plug when disco
nnecting the power plug from the power outlet. Forcibly pulling
on the power cord could cause damage, resulting in a fire or an electrical shock.
Do not handle the power plug with wet hands. This could result in an electrical shock.
Before cleaning this unit, turn the unit off at the power switch and disconnect the power plug
from the power outlet. Accidental operation of the unit during cleaning could result in injury.
Do not touch the power switch with wet hands. Otherwise elect
ric hazards may occur
Do not use flammable sprays inside or near the unit (e.g. when cleaning the unit). Such
flammable gas may ignite and cause a fire or combustion.
Keep away long hair, ties, jewelry and loose clothing. This could result in
injury.
Do not put fingers inside during operation. This could result in injury.
Always disconnect the power plug from the power outlet when the unit is not to be used for an
extended period. Failure to do so could result in a fire due to leakage current if the insulation
should deteriorate.
Install this unit on a level, stable stand or floor, with sufficient space around it. Failure to do so
could result in the unit overturning and causing injury.

3
Do not install this unit in a location where there is excessive humidity or where contact with
water is possible. Poor choice of location could result in deterioration of the insulation, a fire or
an electrical shock.
Disconnect the power plug from th
e power outlet before attempting to move this unit. Failure to
do so could result in power cord damage, a fire or an electrical shock.

4
Precautions in Maintenance and Handling
1. Repairs should be performed by qualified service personnel.
2. WARNING:
To avoid the risk of electrical shock, disconnect the machine from the A.C. power source
before performing any services procedure.
3. The hardware used is METRIC. Replace hardware only with the same size as was originally used.
4. Observe caution when cutting cable “tie-wraps” so as not damages the electrical wires.
5. Note the routing of wiring harnesses, cables and the position of parts and assemblies before
disassembly. They must be reassembled in the original configuration to avoid damage from
moving components during operation.
6. When using a tool generating heat such as soldering iron, take care not to damage the
harnesses and cables.

5
Contents
. Introduction ........................................................................................................ 6
. Specifications ....................................................................................................... 6
. Control Panel ....................................................................................................... 7
. Key Components .................................................................................................. 8
. Parts on Top of the Frame .................................................................................... 9
. Cutting Knife Assembly. ........................................................................................ 11
. Slitter Module ...................................................................................................... 13
. Parts on Operating Side ....................................................................................... 15
. Parts on Non-operating Side ................................................................................ 17
. Parts underneath the Frame ................................................................................ 19
. PCB Assy............................................................................................................... 20
. Conveyor ............................................................................................................. 24
. Electrical Wiring Diagram ..................................................................................... 25
. Sensor Voltage Measurement and Separation Cutter from Stand ......................... 26
. Replace the Feed Roller ....................................................................................... 27
. Feeding Test and Permanent Count ...................................................................... 29
. Calibration ........................................................................................................... 30
. Paper Weight. ...................................................................................................... 32
. Pure Dark Image “Top Margin” Adjustment. ........................................................ 33
. Feed Tray Tension Adjustment ............................................................................. 34
. Feed Gap Adjustment .......................................................................................... 35
. Top Margin Parallel Adjustment ........................................................................... 36
. Self-Diagnose, Error Message and Trouble Shooting ............................................ 37
6
. Introduction
The DocuCutter CC-330 is designed to simplify business card, photo and post card cutting in letter size
which printed by digital press, color laser printer or inkjet image printer in one pass.
. SPECIFICATIONS
Paper Size LT, LG, LD, 12 x 18 and 13 x 19
Paper Weight 120 ~ 350 gsm
Feeder Capacity 120 sheets (300gsm)
Receiving Tray 250 business Card x 3
Speed Up to 240 business cards/min
(Based on 2”X3.5” business card in
12”x17” sheet)
Accuracy ± 0.2 mm
Dimension -- With Conveyor
W/O Conveyor
98.5 X 53.5 X 101.5CM
(38.8 x 21.1 x 40”)
48.5 X 53.5 X 101.5CM (19.1 x 21.1 x 40”)
Net Weight – With Conveyor
W/O Conveyor
70.8Kgs ( 156 lbs)
61.2Kgs (135 lbs)
Power 115/230V Selectable, 50/60Hz, 1.2A

7
. CONTROL PANEL
Keys Function
Start and Stop the cutter
Change job
Select batch count
1. Clear paper jam in case of S3 error.
2. Increment settings by 0.1 mm when press.
1. Confirm job and batch count setting.
2. Decrement settings by 0.1mm when press.
Save settings
Enter program mode
Set top margin
Set finished length
Set gutter length

8
. KEY COMPONENTS
Index P/N Part Name Qty Remarks
1.0 882-100-000A DocuCutter, CC-330 1
2.0 882-200-000A Stand, DocuCutter CC-330 1
882-201-000B Cover, Top, Stand, CC-330 1
3.0 882-300-000A Conveyor, DocuCutter CC-330, 21” 1
882-300-000B Conveyor, DocuCutter CC-330, 15” 1
1
2
3

Index
Part No.
Description
Qty.
Remarks
1
882-200-020A
Waste Bin
1

9
. PARTS ON TOP OF THE FRAME
Index P/N Part Name Qty Remarks
1.01 882-101-000A Tray, Feed Extension, CC-330 1
1.02 882-102-000A Side Guide, R, Feeder, CC-330 1
1.03 882-103-000A Lever, Feed Thickness Scale, CC-330 1
1.04 881-118-000A Case, R, CC-330 1
1.05 882-112-000A Asm, Cutting Knife, CC-330 2
1.06 882-112-010A Module, Slitter, 2x3.5”, CC-330 1 AAO-BCC330SLTS
882-112-020A Module, Slitter, 8.5~11”, CC-330 1 AAO-BCC330SLTA
882-112-030A Module, Slitter, 5~6”, CC-330 1 AAO-BCC330SLTB
882-112-040A Module, Perf, CC-330 1 AAO-BCC330PFM
882-112-050A Module, Scoring, CC-330 1 Option
1.07 882-107-000A Cover, Safety, Top, CC-330 1
1.08 882-108-000A Cover, Exit, CC-330 1
1.09 00D-000-0303 Display, LCD 1
1.10 881-102-0002 Key Pad, CC-228 1
1.11 882-101-110A Case, L, CC-330 1
1.13 882-113-000A Roller, Auxiliary 2
1.14 00B-000-0517 Belt, 126mxl. 6.4mm 1
1.15 00R-000-1052 Roller, Feed 3
1.16 882-116-000A Side Guide, L, Feeder, CC-330 1
1.17 881-104-0000 Knob, Center Adj, Feeder, CC-228 1
1.18 00A-000-0207 Sensor, Feed, Black 1
1.19 882-119-000A Tray, Catcher, CC-330 1
1.20 882-120-000A Side Guide, Catcher, CC-330 4
1.21 882-121-000A Divider, Catcher, CC-330 2
1
2
3
4
5
6
7
8
9 10 11

IndexP/NPartNameQtyRemarks
2.1 00B-882-010A Bracket, Top Cover 1
2.2 999-B330 SBT 3x6 Screw 4
2.3 999-N1 M3 Nut 4 Goes with 999-B330
2.4 881-107-2000 Trigger 1
1
2&3
2&3

14
15
16
13
18
19 20 21
17
IndexP/NDescription Qty Remarks
1.2200B‐000‐PB10BearingBlock,PB101
10
22

Index
P/N
Part Name
Qty.
Remarks
1.13.01
00S-000-1604
Separator, Feed
1
1.01

Index
P/N
Part
Name
Qty
Remarks and
1.14.01
882-114-010A
Frame, Auxiliary Feed Roller Asm
1
1.14.02
882-114-020A
Roller, Auxiliary Feed
1
1.14.03
882-114-030A
Shaft, Auxiliary Feed
1
1.14.04
882-114-040A
Bushing, Auxiliary Feed
2
1.14.05
00B-MXL-126A
Belt, 126MXL, 6.4mm
1
MAR
1.14.06
882-114-060A
Bushing, Auxiliary Driving Shaft
1
1.14.07
882-114-070A
Spacer, Auxiliary Driving Shaft
1
1.14.08
882-114-080A
Asm, Pulley/Clutch, 51G/FC12
1
1.14.09
882-114-090A
Washer, Nylon, 19x29
1
1.14.10
00R-000-1052
Roller, Feed
3
1.14.11
882-114-010A
Collar, Auxiliary Feed Driving
1
1.14.12
881-N03-000A
Feed Roller Core
3
11
9
11
8
7
1
6
2 5
3 4
12

11
. Cutting Knife Asm 882-105-000A
Index P/N Part Name Qty Remarks
1.05.01 882-105-010A Knife, Upper, CC-330 1
1.05.02 882-105-020A Knife, Lower, CC-330 1
1.05.03 882-105-030A Bar, Knife Asm Mounting, CC-330 1
1.05.04 881-713-0000 Bracket, L, Upper Knife Mounting, CC-228 1
1.05.05 881-714-0000 Bracket, R, Upper Knife Mounting, CC-228 1
1.05.06 881-714-0000
Asm, Spring, Middle, Knife Holding
, CC
-
228
2
1.05.07 881-715-0000
Asm, Spring, Left, Knife Holding
, CC
-
228
1
1.05.08 881-716-0000
Asm, Spring, Right, Knife Holding
, CC
-
228
1
1.05.09 881-717-0000
Nut,
Middle,
Knife Holding
Spring
,
CC
-
228
2
1.05.10 881-718-0000 Nut, L/R, Knife Holding Spring, CC-228 2
1.05.11 882-105-110A
Block, R, Lower Knife Mounting, CC
-
330
1
1.05.12 882-105-120A
Block, L, Lower Knife Mounting
, CC
-
330
1
1.05.13 882-105-130A Chassis, Sensor Mounting, CC-330 1
1.05.14 881-719-0000 Link, Cutting Knife, Driving, CC-228 2
1.05.15 882-105-150A Shaft, Cutting Knife Driving, CC-330 1
1.05.16 882-105-160A Arm, R, Cutting Knife Driving, CC-330 1
1.05.17 881-720-0000 Arm, L, Cutting Knife Driving, CC-228 1
1.05.18 882-105-180A Block, Cutting Knife Driving, CC-330 1
1.05.19 881-722-0000
Shutter, Cutting Knife
Interrupter
, CC
-
228
1
1.05.20 00B-000-0696 Ball Bearing, 696ZZ 2
1.05.21 00B-000-1260 Ball bearing, 1260ZZ 1
1.05.22 00B-00F-6900 Ball Bearing, F6900ZZ 1
1.05.23 00B-000-6900 Ball Bearing, 6900ZZ 1
1.05.24 882-105-240A Bushing 2

12
.

13
. Slitting Module, 2” x 3.5” 882-112-010A
Index P/N Part Name Qty Remarks
1.06.01 882-106-010A Frame, Slitter, 2x3.5”, CC-330 1
1.06.02 882-106-020A Cover, Upper, Slitter, CC-330 1
1.06.03 882-106-030A Cover, Lower, Slitter, CC-330 1
1.06.04 882-106-040A Cover, Top, Slitter, CC-330 1
1.06.05 00H-000-0015 Handle, Slitter, CC-228 2
1.06.06 882-106-060A Shaft, Slitter, CC-330 2
1.06.07 882-106-070A Block, Anti Shaft Bending, CC-330 1
1.06.08 882-106-080A Base, Slitting Wheel, Upper, Center, CC-330 2
1.06.09 882-106-090A Base, Slitting Wheel, Upper, Side, CC-330 2
1.06.10 882-106-100A Collar, Slitting Wheel Holding , CC-330
6
1.06.11 882-106-110A Slitting Wheel, Upper, CC-330 6
1.06.12 00B-000-6802 Ball Bearing, 6802ZZ 1
1.06.13 882-106-130A
Spring
, Compression, Wheel Tension, CC-330
36
1.06.14 882-106-140A Base, Slitting Wheel, Lower, Center, CC-330 2
1.06.15 882-106-150A Base, Slitting Wheel, Lower, Side, CC-330 2
1.06.16 882-106-160A Collar, Lower , Center Slitter, CC-330 2
1.06.17 882-106-170A Collar, Lower, Side Slitter, CC-330 2
1.06.18 882-106-180A Slitting Wheel, Lower, CC-330 4
1.06.19 882-106-190A Gear, CC-330 2
1.06.20 00B-000-6902 Ball Bering, 6902ZZ 4
1.06.21 882-106-210A Guide, Waste, Center Gutter, CC-330 2
1.06.22 882-106-220A Guide, Waste, Side Trim, CC-330 2
1.06.23 882-106-230A
Plate,
Screw, Waste Guide Fastening, CC-330
4

14

Index
P/N
Part Name
Qty
Remarks
1.3.01
00A‐000‐1501
Asm, Control Panel
1
1.3.02
00C‐000‐0051
Cable, LCD Interface
1
1.3.03
00D‐000‐0303
Asm, Display, LCD
1
1.3.04
882‐130‐400A
Spring, Transport Roller Holder
6
1.3.05
882‐130‐500A
Holder, Upper Transport Roller
6
1.3.06
00B‐000‐F608
Ball Bearing, F608ZZ
6
1.3.07
00S‐000‐1513
Sensor, Interrupter
1
1.3.08
00A‐000‐1312
PCB Asm, Relay ( same as SF‐200)
1
1.3.09
00C‐000‐1413
Connector, 8 pin, Interface, Male
1
1.3.10
00A‐00B‐1002
PCB Asm, Logic, CC‐330
1
Ser#882A011404867
00A‐00B‐1001
PCB Asm, Logic, CC‐330
1
Ser#‐882A011404867
1.3.11
00C‐000‐0073
Cable, Interface, Logic to Interface
1
1.3.12
00A‐000‐1121
PCB Asm, Interface, CC‐228
1
1.3.13
00A‐000‐1601PCB Asm, Interface, LCD Display
1
1.3.14
00A‐000‐0031
Cable, 14Pin, Control Panel
1
1.3.15
00P‐000‐8023
Pulley, 0.08P, 51G, 10
1
Same as CC‐228
1.3.16
00B‐MXL‐123C
Belt, 123 MXL, 8mm
1
1.3.17
00M‐000‐0403
Motor, SQ, 75mm, 3A, 2.58V
1
1.3.18
882‐131‐800A
Link, Cutting Knife Driving
2
1.3.19
882‐131‐900A
Arm, L, Cutting Knife Driving
1
1.3.20
882‐132.000A
Shutter, Cutting Knife Interruptor
1
. PARTS ON OPERATING SIDE
15
Other manuals for DocuCutter CC-330
1
Table of contents
Other Duplo Cutter manuals

Duplo
Duplo DocuCutter CC-229 Quick start guide

Duplo
Duplo DocuCutter CC-228 Building instructions

Duplo
Duplo DocuCutter CC-229 Building instructions

Duplo
Duplo DocuCutter DC-545HC User manual

Duplo
Duplo DocuCutter DPC-400 User manual

Duplo
Duplo DocuCutter CC-330 Quick start guide

Duplo
Duplo DocuCutter DC-545 Installation guide

Duplo
Duplo DC-618 User manual

Duplo
Duplo DC-618 User manual

Duplo
Duplo DC-646 User manual