3
APPLICATION & OPERATION
Note: The rst time you use the soldering iron, it may smoke slightly as the heating
element dries out. This is normal and should only last for a few minutes.
ONLY USE FOR ELECTRICAL WORK - Acidic solder will damage the iron tip.
TIP REPLACEMENT
• Replacing the tip should only be done when the iron is switched off and at room
temperature.
• The tip can be changed or replaced by unscrewing the knurled nut barrel.
Caution: Damage could occur if the iron is left on without the tip inserted.
• After removing the tip, blow out any remaining oxide dust that may have formed in
the tip retaining area of the barrel.
Warning: Care should be taken to avoid getting dust in your eyes.
• Replace the tip and tighten the knurled nut barrel assembly with your ngers.
• Pliers should only be used to tighten the nut if loosening occurs when the iron is
hot.
• Do not over tighten the nut as the element could be damaged.
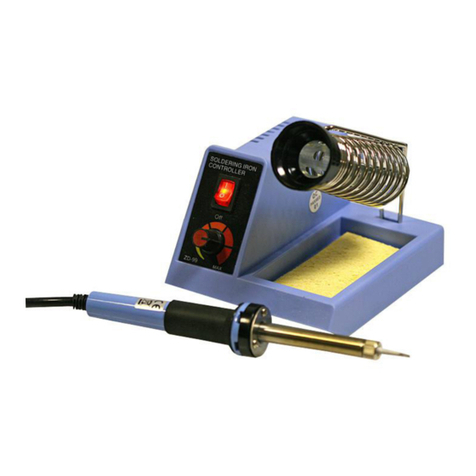
• Connect the plug on the soldering iron lead to the connector on the front of the
station and tighten the locking ring nger tight.
• Assemble the holder and place the soldering iron in the holder.
• Dampen the sponge and place it in the tray on the holder.
• Connect the mains plug and turn on the power switch on the front of the station.
The switch will illuminate when the power is on.
• Adjust the temperature as required using the rotary control
• The LED illuminates when the soldering iron is heating up.
• Between use (or during breaks), always put the soldering iron into the holder.
• Lower the temperature during breaks as this extends the life of the tip.
• When the soldering work is done, adjust the temperature to 270oC or switch off the
power rst, clean the tip and tin with fresh solder to protect it from oxidation.
• Never le down the tips or attempt to clean using abrasives.
• Replacement tips are available for this iron. See our web
pages or catalogue.

