manuals.online logo
Brands
  1. Home
  2. •
  3. Brands
  4. •
  5. DVS
  6. •
  7. Control Unit
  8. •
  9. DVS EC Automatic User manual

DVS EC Automatic User manual

Other manuals for EC Automatic

3

Other DVS Control Unit manuals

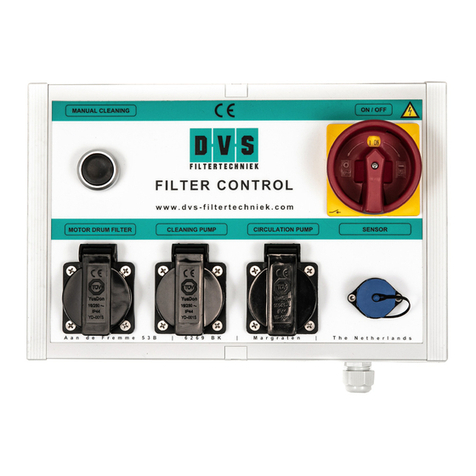
DVS FILTER CONTROL User manual

DVS

DVS FILTER CONTROL User manual

DVS EC Climate Controlled System User manual

DVS

DVS EC Climate Controlled System User manual

DVS EC Reclaim Plus User manual

DVS

DVS EC Reclaim Plus User manual

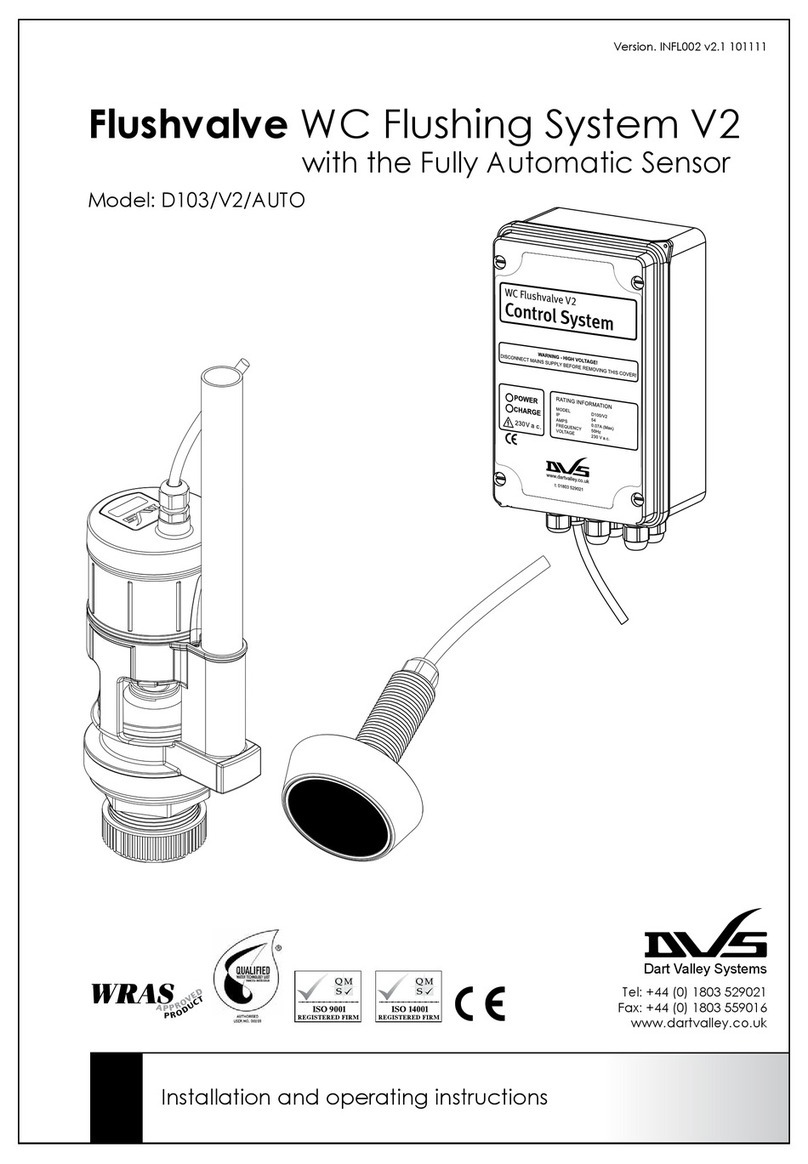
DVS D103/V2/AUTO User manual

DVS

DVS D103/V2/AUTO User manual

DVS EC Automatic User manual

DVS

DVS EC Automatic User manual

DVS EC Reclaim Plus User manual

DVS

DVS EC Reclaim Plus User manual

DVS EC Automatic User manual

DVS

DVS EC Automatic User manual

DVS EC Climate Controlled User manual

DVS

DVS EC Climate Controlled User manual

Popular Control Unit manuals by other brands

Seitz 14A80 user manual

Seitz

Seitz 14A80 user manual

Wilo RS485 Installation and operating instructions

Wilo

Wilo RS485 Installation and operating instructions

Becker CentralControl CC41 Commissioning Instruction

Becker

Becker CentralControl CC41 Commissioning Instruction

SICK CDB650 operating instructions

SICK

SICK CDB650 operating instructions

Panduit NetKey NKP5E88M Series installation instructions

Panduit

Panduit NetKey NKP5E88M Series installation instructions

MX Options Concentric Petite Fitting instructions

MX

MX Options Concentric Petite Fitting instructions

Clean Water Systems Fleck 2510 Installation & start?up guide

Clean Water Systems

Clean Water Systems Fleck 2510 Installation & start?up guide

Fairchild FSB44104A user guide

Fairchild

Fairchild FSB44104A user guide

LEGRAND Wattstopper LMIN-104 installation instructions

LEGRAND

LEGRAND Wattstopper LMIN-104 installation instructions

PMK ATT10BNCS instruction manual

PMK

PMK ATT10BNCS instruction manual

Tektronix TDS3FFT user manual

Tektronix

Tektronix TDS3FFT user manual

Woodward easYgen Technical manual

Woodward

Woodward easYgen Technical manual

Balluff BNI EIP-502-105-R015 user guide

Balluff

Balluff BNI EIP-502-105-R015 user guide

NXP Semiconductors TWR-LS1021A Getting started

NXP Semiconductors

NXP Semiconductors TWR-LS1021A Getting started

Advantech PCM-3117 Startup manual

Advantech

Advantech PCM-3117 Startup manual

Danfoss MCO 101 manual

Danfoss

Danfoss MCO 101 manual

Moons' Lin Engineering R701P user manual

Moons'

Moons' Lin Engineering R701P user manual

Aventics RV1 operating instructions

Aventics

Aventics RV1 operating instructions

manuals.online logo
manuals.online logoBrands
  • About & Mission
  • Contact us
  • Privacy Policy
  • Terms and Conditions

Copyright 2025 Manuals.Online. All Rights Reserved.

DVS® EC Automatic
User Guide
Enjoy a healthier, more comfortable home
0800 387 387 www.dvs.co.nz
For further assistance please call DVS® on 0800 387 387 or visit www.dvs.co.nz
DVS® EC Automatic Installed on:
Installed by:
Invoice Number:
F6 Carbon MERV12
Filter(s) type and number:
F7 MERV13
Useful Tips.
System Performance.
Your DVS® will help provide a healthier, drier
living environment. Soon after installation,
if in a cooler month, the house should feel
fresher and drier. Typically within a week or
two you will also see evidence of this in a
reduction of condensation and dampness
through the home.
Each system is calibrated (set) to the size of
your home. For example; a 100m2home will
be set to “10”. A 150m2home will be set to
“15”. However, if you are still experiencing
some moisture issues, increase the fan speed
(Air supply rate) by setting the system to a
larger house size. If the system is working well
and your home is drier, you may be able to
select a lower air supply rate.
Note: Maintaining comfortable living
temperatures in the home is a key to
achieving maximum DVS® performance. To
get the best out of your DVS® EC Automatic
in cool conditions, use home heating if
needed.
If you are getting regular performance issues
e.g. wet windows, turn the system o and call
0800 387 387 so that we can assist with
this issue.
Filter(s).
For best results the lter(s) needs to be
changed annually. Over time the lter(s) can
become blocked resulting in poor performance
of the system.
To ensure system eciency and cover
under the DVS® Five Year Warranty, the
lter(s) should be replaced annually with
a genuine DVS® lter.
Call us on 0800 387 387 or visit
www.DVS.co.nz to purchase lters.
Five Year Warranty.
DVS® Manufactured and branded products
carry a 5 year on site parts and labour
warranty. The warranty is dated (begins) on
the day of installation and/or supply of the
goods.
Non DVS® manufactured and branded
products are not manufactured by the
company. Non DVS® manufactured and
branded products therefore, carry the
warranty provided by the specic product
manufacturer.
The warranty covers manufacturing faults in
the product (equipment) and product failure
caused by incorrect installation.
All manuals and user guides at all-guides.com
all-guides.com
Displayed on the home screen.
DVS® EC Automatic Controller User Guide
Please note: ‘OF’ on the controller means ‘OFF’
Phone 0800 387 387 | www.dvs.co.nz
Holding down the button for 5 seconds will enter
the shortcut for setting the High Temperature Cut out.
Both LEDs (house and supply) will ash.
The system will shut o when the supply air is above this
temperature.
The display will show the current High Temp cut out
temperature, or “0F” if the feature is o. Pressing
or will change the cut out temperature, and
ensure the High Temperature cut out feature is activated.
The feature can be turned o by pressing or
until “0F” is displayed.
After 15 seconds without pressing a button, the menu
will exit and return to Fan Operation ON / OFF display.
Turning high temperature
cut out on and o
(Factory set to 27o)
Pressing either or while displaying House
temperature or Supply temperature will change to
displaying the FAN ON or FAN OFF indication
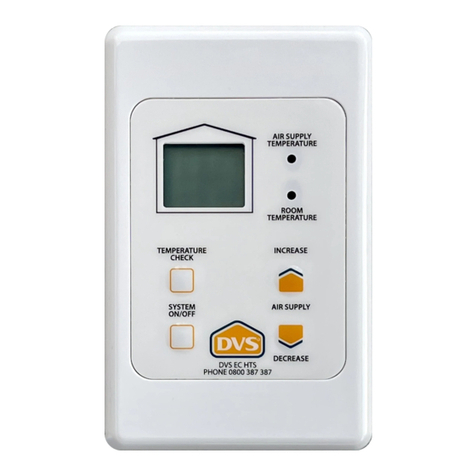
Main Display
Temperature Display
System On / O
Main Display
Will show fan operation
Indication.
Moving symbol = Fan On
Static symbol = Fan O
Press for 2 seconds to
turn the system On / O.
By pressing the
Temperature Display
button you can check
the Temperature at the
control panel and the
Supply Air Temperature
in the system fan. The
associated LED will
illuminate indicating
which temperature
you are viewing. You
can toggle between
each by pressing the
Temperature Display
button more than once.
To increase
or decrease
the calibrated
condensation
control setting
(air supply rate)
press Increase or
Decrease.
Air Supply
See Temperature
Display.
LED Indicators
All manuals and user guides at all-guides.com