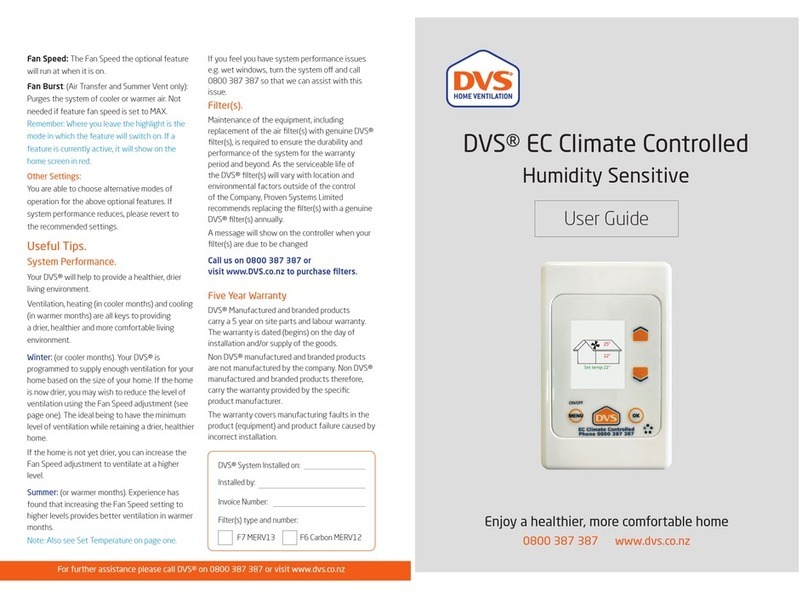
DVS EC Automatic User manual

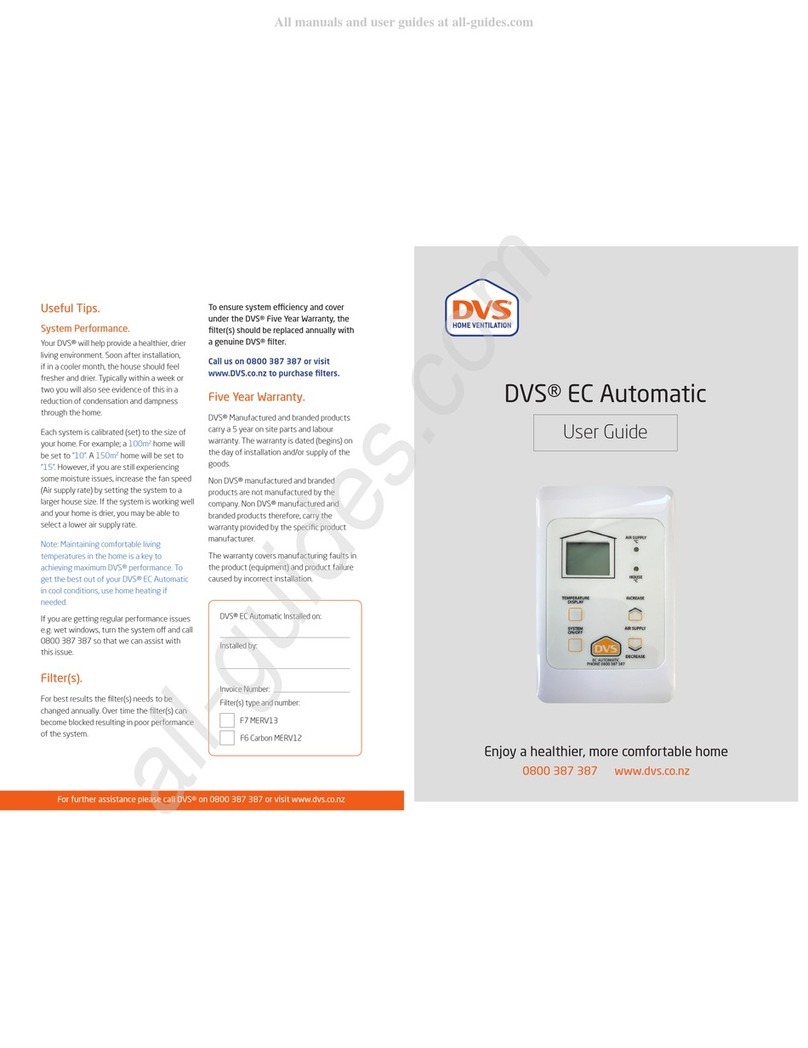
DVS® EC Automatic
User Guide
Enjoy a healthier, more comfortable home
0800 387 387 www.dvs.co.nz
For further assistance please call DVS® on 0800 387 387 or visit www.dvs.co.nz
DVS® EC Automatic Installed on:
Installed by:
Invoice Number:
F6 Carbon MERV12
Filter(s) type and number:
F7 MERV13
Useful Tips.
System Performance.
Your DVS® will help provide a healthier, drier
living environment. Soon after installation,
if in a cooler month, the house should feel
fresher and drier. Typically within a week or
two you will also see evidence of this in a
reduction of condensation and dampness
through the home.
Each system is calibrated (set) to the size of
your home. For example; a 100m2home will
be set to “10”. A 150m2home will be set to
“15”. However, if you are still experiencing
some moisture issues, increase the fan speed
(Air supply rate) by setting the system to a
larger house size. If the system is working well
and your home is drier, you may be able to
select a lower air supply rate.
Note: Maintaining comfortable living
temperatures in the home is a key to
achieving maximum DVS® performance. To
get the best out of your DVS® EC Automatic
in cool conditions, use home heating if
needed.
If you are getting regular performance issues
e.g. wet windows, turn the system o and call
0800 387 387 so that we can assist with
this issue.
Filter(s).
For best results the lter(s) needs to be
changed annually. Over time the lter(s) can
become blocked resulting in poor performance
of the system.
To ensure system eciency and cover
under the DVS® Five Year Warranty, the
lter(s) should be replaced annually with
a genuine DVS® lter.
Call us on 0800 387 387 or visit
www.DVS.co.nz to purchase lters.
Five Year Warranty.
DVS® Manufactured and branded products
carry a 5 year on site parts and labour
warranty. The warranty is dated (begins) on
the day of installation and/or supply of the
goods.
Non DVS® manufactured and branded
products are not manufactured by the
company. Non DVS® manufactured and
branded products therefore, carry the
warranty provided by the specic product
manufacturer.
The warranty covers manufacturing faults in
the product (equipment) and product failure
caused by incorrect installation.

Displayed on the home screen.
DVS® EC Automatic Controller User Guide
Please note: ‘OF’ on the controller means ‘OFF’
Phone 0800 387 387 | www.dvs.co.nz
Holding down the button for 5 seconds will enter
the shortcut for setting the High Temperature Cut out.
Both LEDs (house and supply) will ash.
The system will shut o when the supply air is above this
temperature.
The display will show the current High Temp cut out
temperature, or “0F” if the feature is o. Pressing
or will change the cut out temperature, and
ensure the High Temperature cut out feature is activated.
The feature can be turned o by pressing or
until “0F” is displayed.
After 15 seconds without pressing a button, the menu
will exit and return to Fan Operation ON / OFF display.
Turning high temperature
cut out on and o
(Factory set to 27o)
Pressing either or while displaying House
temperature or Supply temperature will change to
displaying the FAN ON or FAN OFF indication
Main Display
Temperature Display
System On / O
Main Display
Will show fan operation
Indication.
Moving symbol = Fan On
Static symbol = Fan O
Press for 2 seconds to
turn the system On / O.
By pressing the
Temperature Display
button you can check
the Temperature at the
control panel and the
Supply Air Temperature
in the system fan. The
associated LED will
illuminate indicating
which temperature
you are viewing. You
can toggle between
each by pressing the
Temperature Display
button more than once.
To increase
or decrease
the calibrated
condensation
control setting
(air supply rate)
press Increase or
Decrease.
Air Supply
See Temperature
Display.
LED Indicators

DVS® EC Automatic
User Guide
Enjoy a healthier, more comfortable home
0800 387 387 www.dvs.co.nz
For further assistance please call DVS® on 0800 387 387 or visit www.dvs.co.nz
DVS® EC Automatic Installed on:
Installed by:
Invoice Number:
F6 Carbon MERV12
Filter(s) type and number:
F7 MERV13
Useful Tips.
System Performance.
Your DVS® will help provide a healthier, drier
living environment. Soon after installation,
if in a cooler month, the house should feel
fresher and drier. Typically within a week or
two you will also see evidence of this in a
reduction of condensation and dampness
through the home.
Each system is calibrated (set) to the size of
your home. For example; a 100m2home will
be set to “10”. A 150m2home will be set to
“15”. However, if you are still experiencing
some moisture issues, increase the fan speed
(Air supply rate) by setting the system to a
larger house size. If the system is working well
and your home is drier, you may be able to
select a lower air supply rate.
Note: Maintaining comfortable living
temperatures in the home is a key to
achieving maximum DVS® performance. To
get the best out of your DVS® EC Automatic
in cool conditions, use home heating if
needed.
If you are getting regular performance issues
e.g. wet windows, turn the system o and call
0800 387 387 so that we can assist with
this issue.
Filter(s).
For best results the lter(s) needs to be
changed annually. Over time the lter(s) can
become blocked resulting in poor performance
of the system.
To ensure system eciency and cover
under the DVS® Five Year Warranty, the
lter(s) should be replaced annually with
a genuine DVS® lter.
Call us on 0800 387 387 or visit
www.DVS.co.nz to purchase lters.
Five Year Warranty.
DVS® Manufactured and branded products
carry a 5 year on site parts and labour
warranty. The warranty is dated (begins) on
the day of installation and/or supply of the
goods.
Non DVS® manufactured and branded
products are not manufactured by the
company. Non DVS® manufactured and
branded products therefore, carry the
warranty provided by the specic product
manufacturer.
The warranty covers manufacturing faults in
the product (equipment) and product failure
caused by incorrect installation.
Other manuals for EC Automatic
3
Table of contents
Other DVS Control Unit manuals
Popular Control Unit manuals by other brands

STC
STC 3V110-410 Series quick start guide

Lenze
Lenze EMF2180IB Communications manual

First Solar
First Solar FS-380 user guide

Heritage Bathrooms
Heritage Bathrooms SHP02 Installation instructions and user guide

ICP DAS USA
ICP DAS USA I-7052D quick start guide

Straval
Straval PRS-07i THD operating instructions