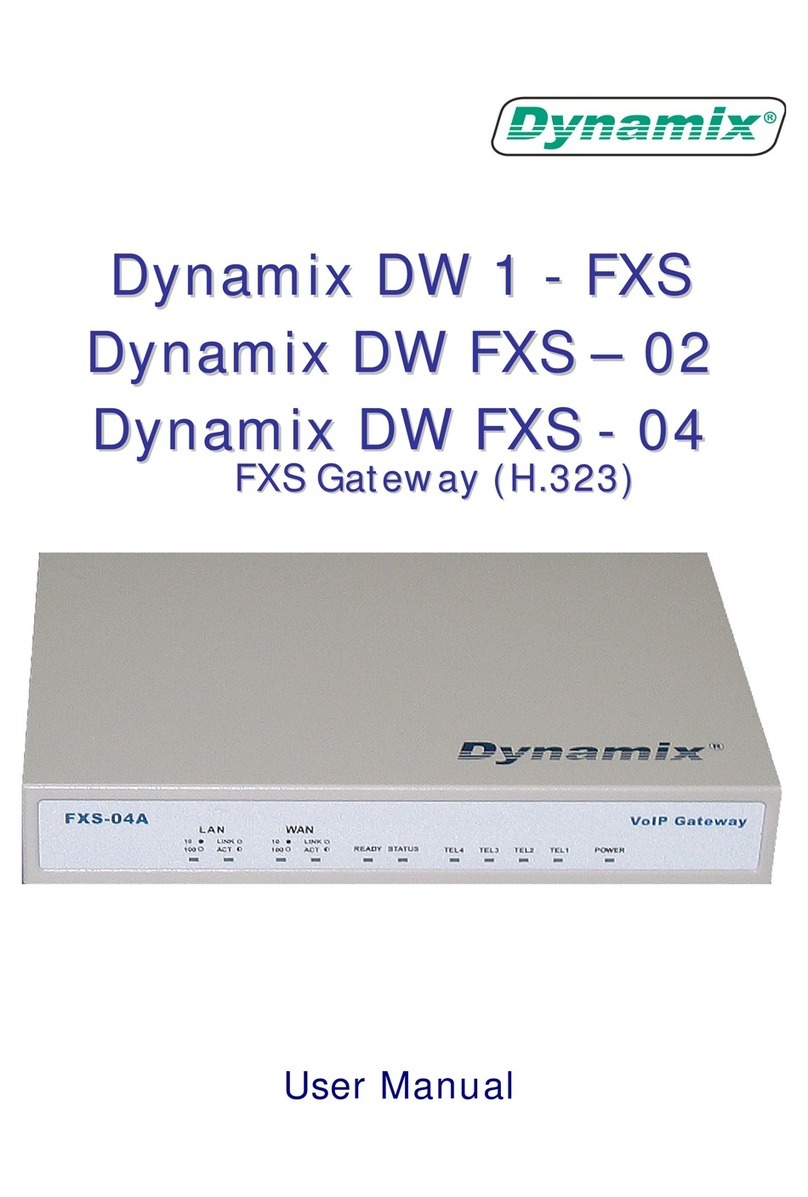
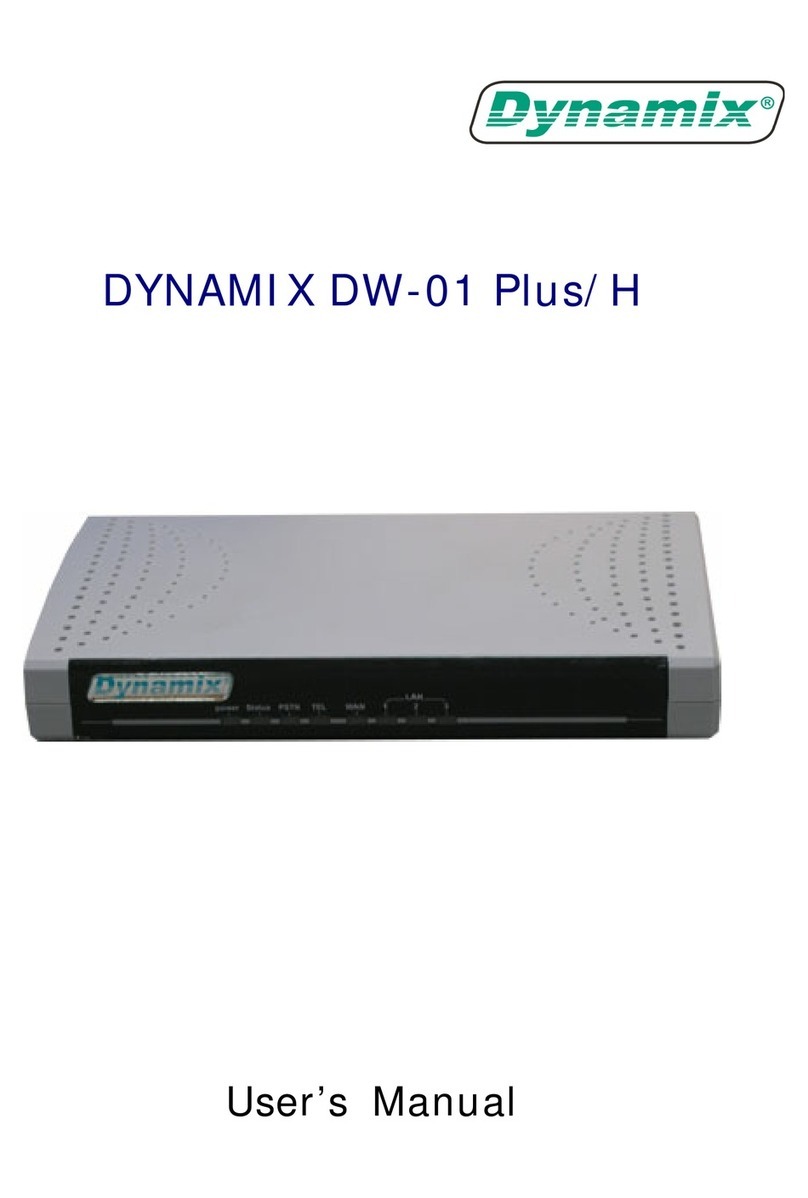
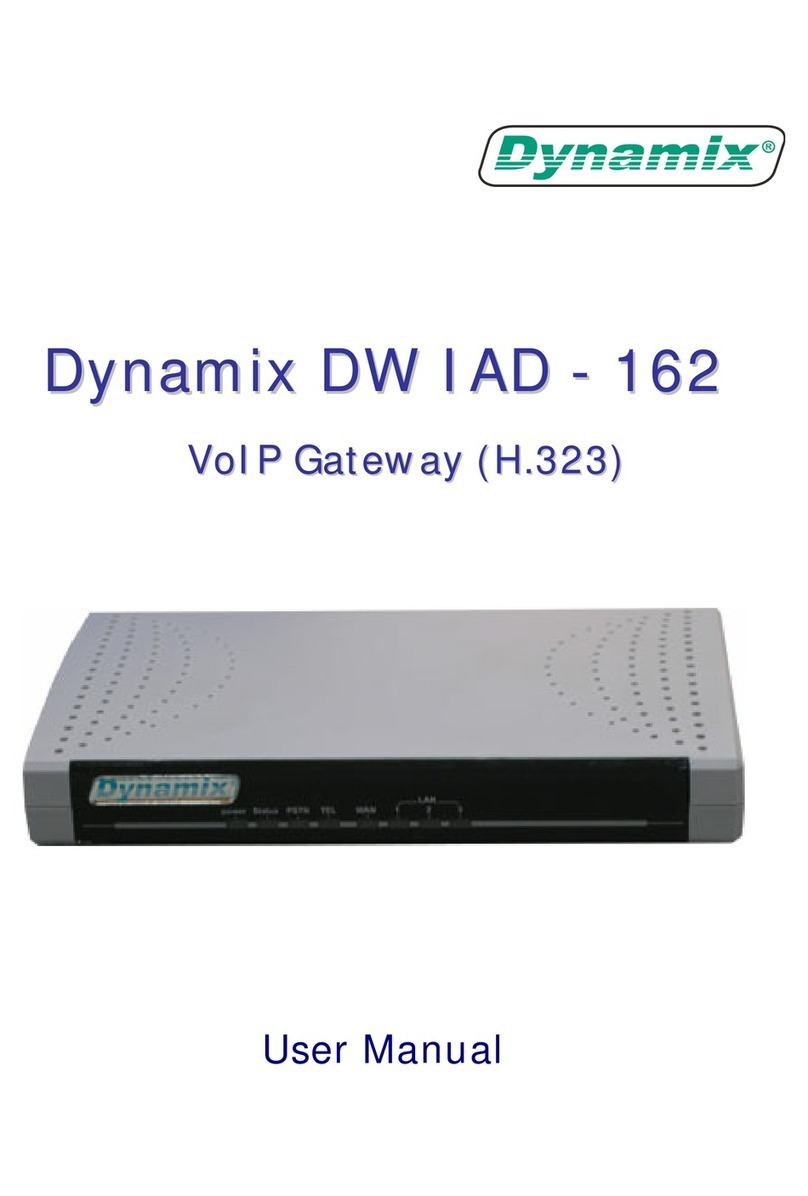
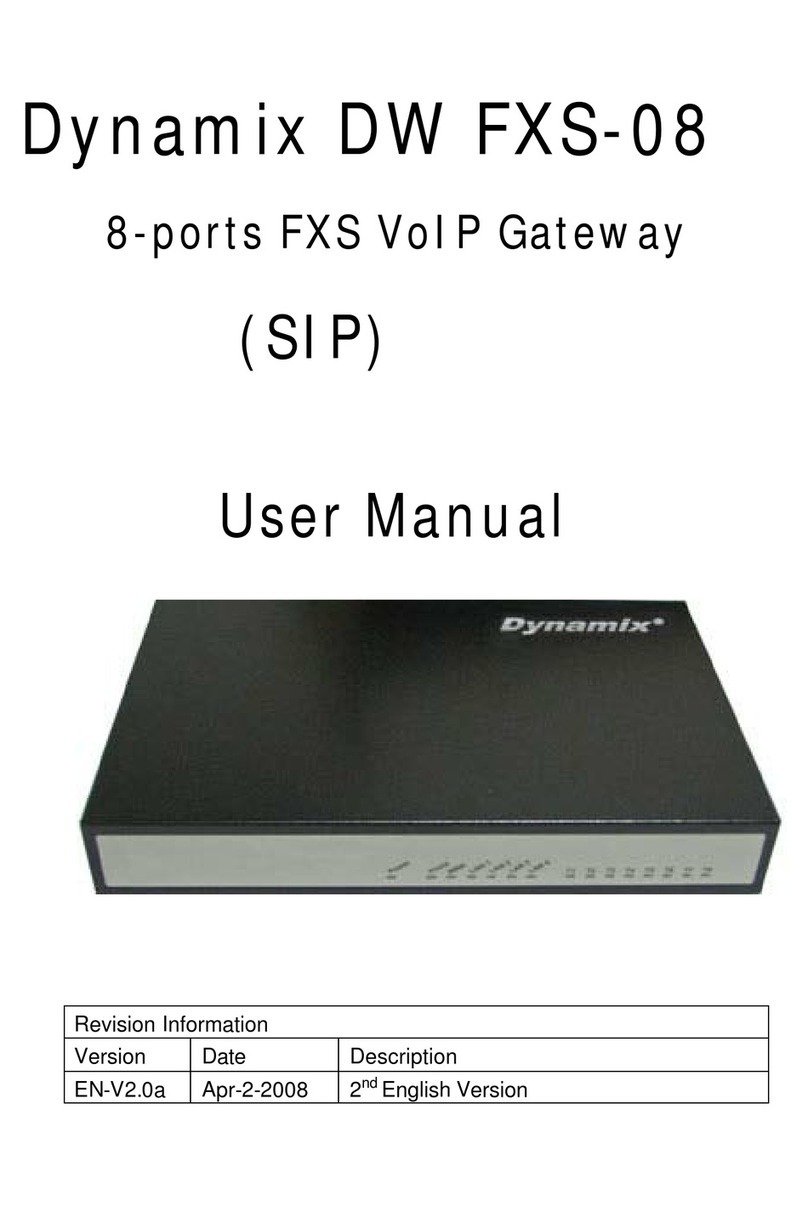
Dynamix DW FXS-04 User manual

FXS-04
(
2504
)
and
FXO
-04
(
2540
)
DYNAMIX
User Guide

2
Contents
Introduction............................................................................................. 3
Physical Interface.................................................................................... 3
IP Network connection............................................................................ 4
Environmental......................................................................................... 4
Front Panel: LED Indicators................................................................ 5
Rear Panel:.............................................................................................. 6
QUICK SETUP....................................................................................... 7
Device Settings ....................................................................... 12
Network Configuration......................................................................... 12
Device Advance Setting:....................................................................... 15
NAT Setting .......................................................................................... 22
VOIPAdvance: ..................................................................................... 33
Dialing Plan: ......................................................................................... 38
FXO Setting:......................................................................................... 42
FXS Setting:.......................................................................................... 45
SIP Trunk:............................................................................................. 50
Route Plan:............................................................................................ 53
Appendix B --- System Recovery......................................................... 63
Appendix C --- HTTP auto provisioning.............................................. 65
Dynamix 25xx ................................................................................... 3
Dynamix 25xx Telephony Gateway........................................................ 3
Appendix A --- Call Processing Flow (FXO-04) .................................. 62
3
Introduction
frequently to indicate both models common features. For specific
feature to FXO or FXS gateway ONLY, we usually use the word
“ FXO” or “FXS” to highlight their differences.
base-T network environment. Field-proven quality of oice communication
Physical Interface
Ethernet port (RJ-45, 10/100 base-T)
1-WAN port, for connect to router, ADSL modem (ATU-R), or switch
hub directly.
1-LAN port, for PC, management or other network devices
connecting.
Telephony port (RJ-11)
Reset button (Factory Default)
DC power Jack
Status indicated LED
Indicates Power, Ethernet, Line, SIP and system status
This user manual contains both Dynamix FXS-04 (2504) and Dynamix
Dynamix 25xx
FXO-04 (2540) gateway. The word “ Dynamix 25xx “ is going to use
oIP gateway which includes 1-WAN/1-LAN (management port) 10/100
25xx product to be an excellent solution for various oIP applications.
4-FXO ports, to connect to PSTN lines (FXO-04)
4-FXS ports, to connect to analog phone (FXS-04)
Dynamix 25xx Telephony Gateway
Dynamix 25xx is a 4 ports FXO (FXO-04) and 4 port FXS (FXS-04)
and Fax transmission over IP broadband access network is to make Dynamix

4
IP Network connection
IPv4 (RFC 791)/IP 6 (RFC 2460)
IPv6 Auto Configuration (RFC 4862)
MAC Address (IEEE 802.3)
Static IP
DHCP Client (RFC 2131)
PPPoE
DNS Client
TCP/UDP (RFC 793/768)
RTP/RTCP (RFC 1889/1890)
IP 4 ICMP (RFC 792)/IP 6 ICMP (RFC 4443)
TFTP Client
OIP LAN Support (802.1q/802.1p)
HTTP/HTTPS Server
QoS Support
Support IP 4 only, IP 6 only or dual stack mode
Environmental
Actual Dimension: 35 × 242 × 160 mm (Desktop)
Weight: 0.935kg (unit without packing)
Operating Temp. & Humidity
-Temp.: 0℃~45℃ (32℉~113℉)
-Humidity: 10%~85% relative humidity, non-condensing
Storage Temp. & Humidity
-Temp.: 0℃~55℃ (32℉~131℉)
-Humidity: 10%~95% relative humidity, non-condensing
AC to DC Power Adaptor:
-INPUT: AC100 -240 , 50/60Hz
-OUTPUT: DC 12 , 1.5A
Regulatory Compliance: FCC (Part 15, Class B) & CE

5
Front Panel: LED Indicators
LED Description
Power When the power adapter is connected, the LED will light
up green.
Status When system startup successfully, the LED will light up
green.
Proxy When the gateway is registered successfully to a SIP
Proxy, this will light up green.
WAN This LEDlights up green when the gateway’s WAN port is
physically connected to the public internet. When data is
transmitted through this port, it will flash green.
The default IP of WAN port is 1 .1.1.3.
LAN This LEDlights up green when the gateway’s LAN port is
physically connected to a local network (Refer to Rear
Panel section). When data is transmitted through this
port, it will flash green.
The default IP of LAN port is 192.168.123.123.
Port1~Port4 The status LED for FXO and FXS port 1-4, these LED light
up amber orange when connected phone is engaged in a
conversation mode (FXO). It will flash amber orange when
there is an incoming call (FXS).
Dynamix FXO-04, FXS-04

6
Rear Panel:
Item Description
Reset Press and hold over 5 seconds to reload factory default
setting, this will erase all existing settings configured on
this gateway.
L1-L4
(FXO Gateway
Only)
The status LED for FXO port 1-4. When there is no PSTN
line connected, this LED will become blinking to remind
you. When PSTN line is connected and no talking, the LED
will be off. When a line is using, the LED will become
T1-T4
(FXS Gateway
Only)
The status LED for FXS port 1-4, this will light up amber
orange when the connected phone’s handset is lifted, or
when the connected phone is engaged in a conversation.
It will flash amber orange when there is an incoming call.
LAN 10/100 Base-T RJ-45 socket for LAN port , connects to PC
for management purpose.
WAN 10/100 Base-T RJ-45 socket for WAN port, connects to
wide area network.
DC 12 The power socket, input AC 100 ~240 ; output DC12 ,
1.5A
steady light up. ( FXO-04 only)
( FXS-04 only)
Dynamix FXO-04, FXS-04

7
QUICK SETUP
Login :
connect the Ethernet cable into WAN or LAN port. Start IE6.0 (or later version)
which is http://192.168.123.123 (through LAN port) or http://10.1.1.3
(through WAN port). The screen will display User Name and Password (the
default user id is root and user password is root). (Fig.1)
unstable configuration.
Fig.1
Note: The Web Page may differ at FXS or FXO Setting due to the model you are
using.
Setp1:
Setup the administrative PC’s IP address to be same as 25xx and
to navigate 25xx web management system by typing the default URL
NOT use FireFox to configure Dynamix 25xx, otherwise you may meet an
Note : Dynamix 25xx Web browser does not support FireFox Web browser. DO
Step 2: After login, the screen shows the Home page of Dynamix 25xx. (Fig.2)

8
Fig.2
Change Default P Network:
Step 3: After successfully logon to the system, we need to change the
network configuration. Click Device Setting > Network to setup the service
network interface (WAN) parameters. Enter the desired IP address, Subnet
mask and default gateway or select “DHCP” or “PPPOE”. Apply the change by
clicking Apply button as fig (Fig.3).
Note: If your WAN port are setting in the 1 .x.x.x segment IP address, please
make sure that you also need to change the LAN port to other segment such as
192.168.x.x
(Fig.3)

9
Change Default Time setting:
Step 4: When re-logon to the new IP address, the next step is to setup the
system time zone. Click Device Setting > Time to setup the system. Enter
the current SNTP server IP address, time zone and daylight saving parameters.
Apply the change by clicking Apply button. (Fig.4)
(Fig.4)
Modify S P Account Parameter:
it is necessary to assign one SIP trunk for OIP calling. However, to assign one
create
the required sip trunk. Enter the trunk ID to 1 and input those SIP parameters.
Apply the change by clicking Apply button. (Fig.5)
(Fig.5)
all FXS ports are using the same SIP proxy setting. If you need to use different
SIP proxy server, please use SIP trunk instead. Click FXS Settings > SIP Proxy
to set the dedicated FXS SIP proxy server.
SIP trunk to FXS-04 (2504) is optional. Click “S P trunk and new” to
Step 5: The next step is to add a SIP trunk for OIP calling. FXO-04 (2540),
Modify FXS S P Settings: ( FXS-04 only)
Step 6: Set the SIP proxy server IP address for FXS calling. For DYNAMIX FXS-04,

10
(Fig. 6)
Step 7: Setup each FXS line’s parameters by clicking the line ID from FXS
settings > FXS Line. Modify the SIP register information and apply it. (Fig. 7)
(Fig. 7)
Maintenance > Maintenance > Soft-Reset or Reboot to take effect.
Apply the change by clicking Apply button. (Fig.8)
Soft Reset Dynamix 25xx:
Step 8: After modify basic setting. It is required to reset Dynamix 25xx. Click

11
(Fig.8)
Step 9: After soft-reset or reboot.
>Click Status > S P Trunk Status to check whether registration was
successful or not. (Fig.9.1)
(Fig.9.1)
>Click line status to check registration status. (Fig.9.2)
(Fig.9.2)
following features:
1. For PSTN incoming call, the caller will hear a dial tone. Then the caller can
dial a OIP number and it will use the setup SIP Trunk 1 to make SIP call
out.
PSTN Phone.
1. The user can pick up the handset and hear dial tone. Call out and talk.
2. For OIP incoming call to a dedicated FXS number, this phone will ring and
can answer to talk.
Check Dynamix 25xx Registration Status:
Through the above settings, the Dynamix 25xx should be able to do the
2. For OIP incoming call, FXO-04 will off hook a FXO port and dial to
For FXS:
For FXO: (2 stage dialing use)

12
Device Settings
From this setting category, all devices related to parameters can be
found here.
Network Configuration
> Network
Parameter Description:
Setting:
IP Support: IP stack to be supported (IP 6 and IP 4 or IP 6 or IP 4
only)
WAN Setting:
Network Type: support “Fixed IP”;”DHCP”;”PPPOE”
IP Address
:
IP 4 address
Netmask: IP 4 network subnet mask
Default Gateway: IP 4 Default gateway
IPV6 Network Type: Auto configuration or manual configuration

13
IPV6 IP Address: IP 6 address
IPV6 IP Gateway: IP 6 default Gateway
IPV6 IP Prefix Length: IP 6 prefix length
DNS Server1: Primary DNS Server IP network
DNS Server2: Secondary DNS Server IP network
VOIP VLAN: Enable OIP LAN or not. When enable OIP LAN, the
WAN port can be only accessed by LAN. If it is required to manage the
instead.
VOIP VLAN ID(2-4 96): LAN ID Used can be used range.
Note: the default WAN IP address is 10.1.1.3.
LAN Setting:
Voice gateway mode: This LAN port is used for management purpose, not
used for register to SIP Server or data/voice routing.
NAT mode: DHCP function on the LAN port. The LAN port functions as a DHCP
server, network devices connected to them will be assigned one IP addresses
according to DHCP server IP range. (Please refer to command “NAT setting” on
the left side commands how to define DHCP IP address.)
IP Address
:
IP 4 address (please set to 192.168.x.x if your WAN port is
using 10.x.x.x IP segment).
Netmask: IP 4 network subnet mask
IPV6 IP Address: IP 6 address
IPV6 IP Prefix Length: IP 6 prefix length
Bridge mode: At this mode, both WAN and LAN ports are configured to
Switch/Hub features. LAN port access to WAN port directly.
Note: default LAN IP address is 192.168.123.123
DDNS (DynDNS) Setting:
DDNS (DynDNS): enable or disable dynamic DNS feature.
Domain Name: input your Domain Name
User Name: input your user name
Password: input your password
Dynamix 25xx, Administrator can use LAN port to access this gateway

14
Device Time Setting:
Device Setting > Time
Parameter Description:
Current Time: Current Time, date and year display.
NTP Time Server
:
SNTP time server
IP address
NTP Refresh Interval(sec)
:
The interval time to sync NTP server in
seconds
-Standard: Use a predefined standard time zone
-Customize: Use a user defined time zone
Daylight Saving: Auto adjust daylight saving timer or not
Daylight Bias: The offset added to the Bias when the time zone is in
daylight saving time
Daylight Start: The date that a time zone enters daylight time
-Month: 01 to 12
-Week Day: Sunday to Saturday
-Apply Week (Day:01 to 05, Specifies the occurrence of day in the
month; 01 = First occurrence of day, 02 = Second occurrence of
day, ...and 05 = Last occurrence of day)
-Hour: 00 to 23
Standard Start: The date that a time zone enters daylight time
-Month: 01 to 12
-Week Day: Sunday to Saturday
-Apply Week (Day:01 to 05, Specifies the occurrence of day in the
month; 01 = First occurrence of day, 02 = Second occurrence of
day, ...and 05 = Last occurrence of day)
-Hour: 00 to 23
Dynamix
25xx support SNTP with time zone and daylight saving.
Time Zone:
The time-zone where Dynamix 25xx is located.

15
Device Advance Setting:
> Advance
Parameter Description:
HTTP Port: The Administrator Web service port (the default is 80)
HTTPS Port: The https web service port (the default is 443)
Telnet Port: The telnet service port (the default is 23), when click the
disable option; the Telnet service will be rejected.
HTTP/HTTPS Service Access on WAN: When click the disable option;
the WEB service will be rejected on WAN port, so please be careful with
this function. If you wanted to enable WAN port again, you need to
access this device from its LAN port to connect to WEB pages and enable
WAN port.

16
User Login Setting:
Three level of users can be used, administrator, supervisor, user. Each level of
users has different predefined access level.
>User Login
Parameter Description:
Administrator: The administrator level user who has full access
Supervisor: The supervisor level user who has limited administrative
access right.
User: The user access right which only allows to set some user related
features.
User ID: Login User ID
Password: Login Password
Confirm Password: Confirm new password again
Language: The desired web page language used when the account was
login. To add a customized local language, please contact Welltech.
authority to Dynamix 25xx.

17
Debug Settings:
interface. It generates the debug information based on debug level and
modules. Since the generating debug will consume system resource, it is
instruction.
Debug
Parameter Description:
Syslog: Enable or disable to send system information to syslog server or
not
Check for start from Any Time: Always Send: Always send syslog or
only during a specified time range.
Syslog Start (YYYY/MM/DD HH:MM): Always Send: Always send
syslog or only during a specified time range.
Syslog Stop (YYYY/MM/DD HH:MM): The syslog stop sending time.
SyslogD Server: SyslogD server IP address
Syslog Port: syslog server service port (default is 514)
DSP Debug: Enable or disable to send DSP information to capture log
DSP Capture server: syslog capture server IP address
DSP Capture port: syslog capture server service port (default is 50000)
Dynamix 25xx provides the real time debug to syslog or through telnet
recommended to turn on only for necessary and under Dynamix FAE’s

18
> Event Notice
1. Register Failure or re-registered
2. FXO is plug or unplug
3. Ethernet reconnected
4. System started
Syslog: Enable or disable to send system event to syslog server or not
Syslog Port: syslog server service port (default is 514)
Auto Provision:
Please contact Welltech for availabilities.
>Provisioning
Dynamix 25xx can send Syslog Event Notice when it had the following cases:
The Dynamix 25xx can be provisioned by HTTP Server for large deployment.

19
Select 951 : ( This feature is not yet available now. Please don’t select at
present )
Parameter Description:
(This function is available yet for WellEMS 951 )
Provisioning Service: Enable auto provisioning service by WellEMS 9510
or not.
-Enable: Enable the service and use manual configured EMS server
parameters.
-Disable: Disable the auto provisioning service.
-Discovery: To automatically discover the EMS server or not. By using
this mode, WellEMS 9510 need to be the same IP network in order to
make the IP broadcasting work.
EMS Discovery Port: WellEMS 9510 service auto discovery broadcasting
port (default is 61005).
summary status to WellEMS 9510 in seconds.
EMS IP address: The WellEMS 9510 server IP address
EMS Server Port: The WellEMS 9510 Server port
EMS summary refresh interval: How long the 25xx will report its

20
Select Http:
This feature is ready to use now.
Http Configuration: Enable or Disable
Http Config URL: internal used only
Refresh interval(minute): interval to check whether have a new
configuration/firmware or not in minutes
User ID: specify the login id for http authentication
Password: specify the password for http authentication
>SNMP
SNMP Agent:
SNMP Agent: Enable SNMP or not.
Read Only Community Name: The community name to read through
SNMP protocol
Read Write Community Name: The community name to read and
write through SNMP protocol.
SNMP Agent Access on WAN: Enable SNMP to be accessed through
WAN port or not.
Trusted Peer:
Type:
Any Address: Any address can retrieve the SNMP information.
Specify an IP Address: Only the IP address listed can retrieve
This manual suits for next models
3
Table of contents
Other Dynamix Gateway manuals

Dynamix
Dynamix DW1-FXS User manual

Dynamix
Dynamix DW-01PlusS User manual

Dynamix
Dynamix DW-01 Plus H User manual

Dynamix
Dynamix 2540 User manual

Dynamix
Dynamix IAD 161 User manual

Dynamix
Dynamix DW IAD-162 User manual

Dynamix
Dynamix DW FXS-08 User manual

Dynamix
Dynamix 2FXS/2FXO-B User manual

Dynamix
Dynamix DW-01/H User manual

Dynamix
Dynamix DW 4 FXO User manual