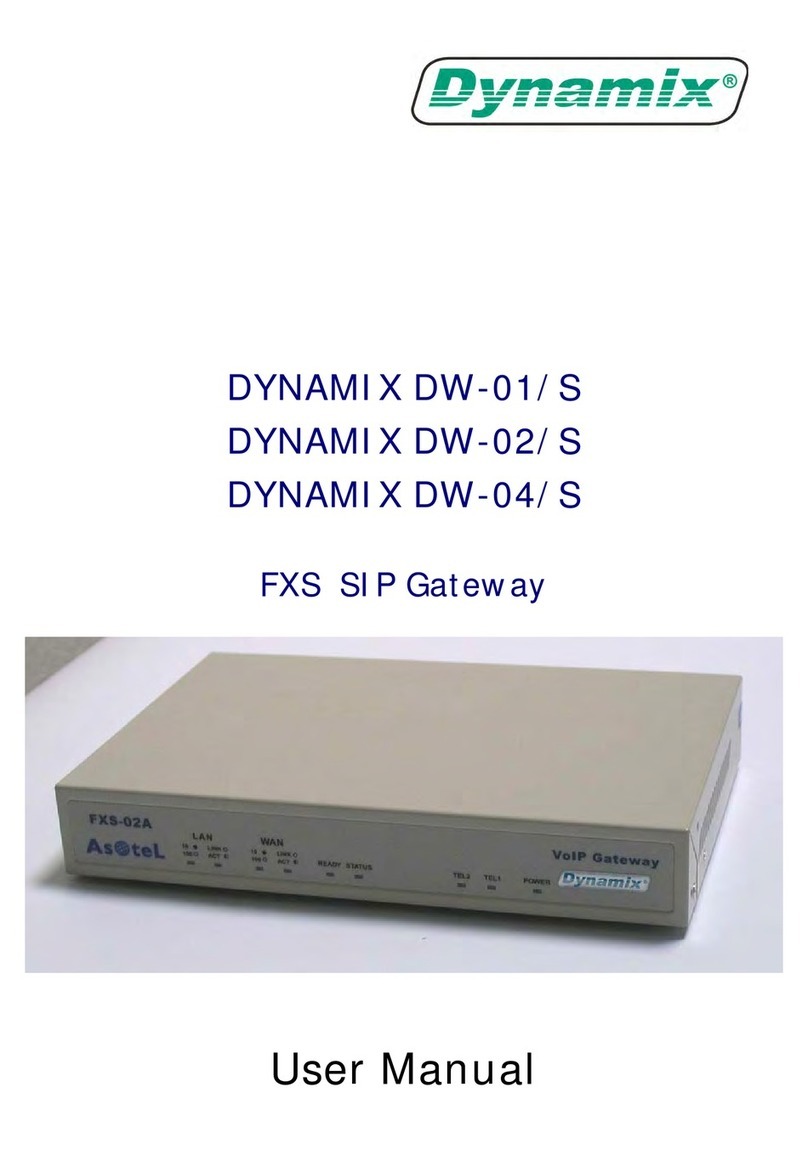
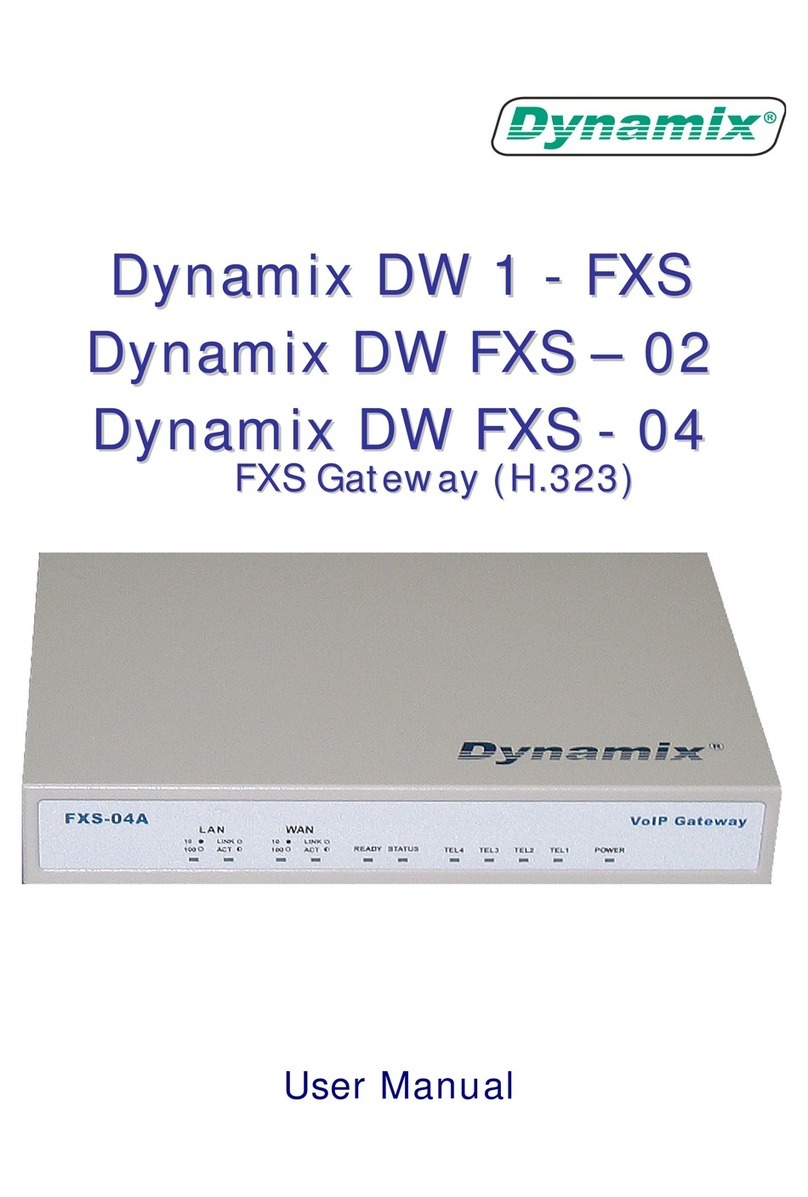
Dynamix DW FXS-08 User manual

Dynamix DW FXS-08
8-ports FXS VoIP Gateway
(SIP)
User Manual
Revision Information
Version Date Description
EN-V2.0aApr-2-2008 2nd English Version

FXS-08 Technical Manual EN-V2.0a
1
Table of Contents
1. Introduction...........................................................................................................................3
1.1 FXS-08 --8-ports Telephony Gateway..............................................................................3
1.2 Benefits:...............................................................................................................................3
1.3 Physical Interface: ..............................................................................................................3
1.4 Specification:.......................................................................................................................3
1.5 Setting and maintenance...................................................................................................5
1.6 Environmental......................................................................................................................5
2. Appearance............................................................................................................................6
2.1 Front Panel: LED Indicators............................................................................................6
2.2 Rear Panel:...........................................................................................................................8
3. Environment Setup and IP Connection..............................................................................9
3.1Configuration........................................................................................................................9
3.2 Network Configuration..................................................................................................... 11
3.2.1 WAN Setting................................................................................................................... 11
3.2.1.1 WAN Setting --Static IP.........................................................................................14
3.2.1.2 WAN Setting --DHCP............................................................................................15
3.2.1.3 WAN Setting --PPPoE...........................................................................................15
3.2.2. LAN Setting....................................................................................................................16
3.3 General configuration.......................................................................................................18
3.3.1 SIP Setting......................................................................................................................18
3.3.1.1 Proxy mode.................................................................................................................18
3.3.1.2 Peer to Peer mode.....................................................................................................21
3.3.2 SIP Advanced Setting....................................................................................................23
3.3.3 Payload Type Setting.....................................................................................................26
3.3.4 Line Setting.....................................................................................................................28
3.3.5 Qos Setting.....................................................................................................................31
3.3.6 NAT Setting.....................................................................................................................34
3.3.7 Speed Dial Setting.........................................................................................................35
3.3.7.1 Speed Dial....................................................................................................................35
3.3.7.2 Internal Extension......................................................................................................36
3.3.7.2 Peer to Peer call..........................................................................................................37
3.3.8 Caller ID Setting............................................................................................................38
3.3.9 CDR Setting....................................................................................................................40
3.3.10 Syslog Setting..............................................................................................................41
FXS-08 Technical Manual EN-V2.0a
2
3.4 Advanced Configuration...................................................................................................42
3.4.1 System setting................................................................................................................42
3.4.2 SNTP Setting..................................................................................................................46
3.4.3 Codec Setting.................................................................................................................47
3.4.4 Voice Setting...................................................................................................................49
3.4.5 Tone Setting...................................................................................................................51
3.4.6 Phone Setting.................................................................................................................53
3.4.7 Digit Manipulation..........................................................................................................55
3.4.8 Dial Plan..........................................................................................................................57
3.5 Management......................................................................................................................59
3.5.1 Provision Server.............................................................................................................59
3.5.2 Save-Reload setting.......................................................................................................60
3.5.3 Upgrade Firmware.........................................................................................................61
3.5.3.1 Updating the firmware by FTP.................................................................................62
3.5.3.2 Updating the firmware by TFTP..............................................................................63
3.5.3 3 Updating the firmware by HTTP..............................................................................64
3.5.4 Reset to Default.............................................................................................................65
3.5.5 Network Status..............................................................................................................66
3.5.6 Version Info....................................................................................................................67
3.5.7 Port Status......................................................................................................................68
3.5.8 Password.........................................................................................................................69
3.6 Rebooting the system ......................................................................................................70

FXS-08 Technical Manual EN-V2.0a
3
1. Introduction
1.1 FXS-08 --8-ports Telephony Gateway
The FXS-08 is an 8-ports FXS VoIP gateway to connect 8 analog phones (POTS)
and includes 1-WAN/4-LAN 10/100 base-T NAT router for diverse network
environment. Field-proven quality of Voice communication and Fax transmission
over IP broadband access network to makes FXS-08 to be an excellent solution
for various VoIP applications.
1.2 Benefits:
lIdeally suited for Enterprise use, rich-feature designed to inter-work with
IP-PBXs for small and middle enterprises.
lCarrier-grade features are supported and tested to be fully interoperable with
leading Soft-Switches.
lProvide CDR for call shop application.
lSuperb device for apartment VoIP service.
1.3 Physical Interface:
lEthernet port (RJ-45, 10/100 base-T)
Ø1-WAN port, for connect to router, ADSL modem (ATU-R), or switch hub
directly.
Ø4-LAN port, for PC or other network devices connecting.
lTelephony port (RJ-11)
Ø8-FXS ports, to connect with analog phone (POTS)
lReset button (Factory Default)
lAC power Jack
lStatus indicated LED
Indicates Ethernet, FXS, and SIP system status
1.4 Specification:
lIP Network connection
ØIPv4 (RFC 791)
ØMAC Address (IEEE 802.3)
ØPPPoE Client (RFC 2516)

FXS-08 Technical Manual EN-V2.0a
4
ØDNS Client
ØDHCP Client (RFC 2131)
ØDHCP Server (RFC 2131)
ØNAT (RFC 1631)
ØTCP/UDP (RFC 793/768)
ØICMP (RFC 792)
ØRTP/RTCP (RFC 1889/1890)
ØSNTP (RFC 2030)
ØTFTP Client
ØTelnet Server
ØHTTP Server
ØQoS –802.1Q Virtual LANs
ØDiffServ (RFC 2475) / ToS (RFC 791/1349)
lIP Telephony (VoIP)
ØSIPv2 (RFC 3261)
-Session Timer (RFC 4028)
-Privacy Mechanism (RFC 3323)
-Outbound proxy setting for increasing performance, productivity,
and security.
-SIP proxy redundancy-Setting Primary and Secondary proxy by IP or
URI.
ØVoice Codecs
-G.711 (a-Law/u-Law): 64 bits (PCM)
-G.723.1: 6.3k/5.3k bits
-G.729A: 8k bits (CS-SCELP)
-G.729B: adds VAD and CNG to G.729
ØVAD –Voice Activity Detection with Silence Suppression
ØCNG –Comfortable Noise Generation
ØEcho Cancellation (G.165/G.168)
ØJitter Buffer –Adaptive & Configurable
ØPacket Loss compensation -increasing voice quality
ØDTMF: In-band, Out-of-band (RFC 2833), and SIP-Info
ØCaller Generation –FSK
ØFAX transmission
-G.711 pass-through
-T.38 Fax relay protocol
ØTone Generation & Detection
-Ringing Tone

FXS-08 Technical Manual EN-V2.0a
5
-Ring Back Tone
-Dial Tone
-Programming Tone
ØCall Features
-Call Hold
-Call Transfer (Blind & consultant)
-Call Forward (Unconditional / No Answer / Busy)
-Call Conference (3-ways)
ØMWI –Message Waiting Indication
ØIP line hunting
ØAdjustable volume level
lSecurity
ØHTTP 1.1 basic/digest authentication for WEB access
ØMD5 for SIP authentication (RFC 2069/2617)
ØPassword protected Admin access authority
1.5 Setting and maintenance
lConfigure & Update method
-Web Browser (HTTP)
-Telnet
-FTP/TFTP
lSetting parameter Import /Export
lVoice announcement of IP address
lSyslog Client –Debug & CDR (Call Detail Record)
1.6 Environmental
lDimension: 35 ×242 ×160 mm (Desktop)
lWeight: 0.935kg (unit)
lOperating Temp. & Humidity
-Temp.: 0℃∼45℃(32℉∼113℉)
-Humidity: 10%∼85% relative humidity, non-condensing
lStorage Temp. & Humidity
-Temp.: 0℃∼55℃(32℉∼131℉)
-Humidity: 10%∼95%relative humidity, non-condensing
lAC Power Adaptor:
-INPUT: AC100V-240V,50/60Hz

FXS-08 Technical Manual EN-V2.0a
6
-OUTPUT: DC 12V,3.0A
lRegulatory Compliance:FCC (Part 15, Class B) & CE
2. Appearance
2.1 Front Panel: LED Indicators
LED Description
Power When the power adapter is connected, the LED will light up
green.
Proxy When the gateway is registered successfully to a Proxy, this
will light up green.
WAN This will light up green when the gateway’s WAN port is
physically connected to the public internet. When data is
transmitted through this port, it will flash green.
The default IP of WAN port is 10.1.1.3.
LAN 1 This will light up green when the gateway’s LAN port 1 is
physically connected to a local network (Refer to Rear Panel
section in page number for location of LAN port 1). When
data is transmitted through this port, it will flash green.
The default IP of LAN port is 192.168.123.123.
LAN 2 This will light up green when the gateway’s LAN port 1 is
physically connected to a local network (Refer to Rear Panel
section in page number for location of LAN port 2). When
data is transmitted through this port, it will flash green.
LAN 3 This will light up green when the gateway’s LAN port 1 is
physically connected to a local network (Refer to Rear Panel
section in page number for location of LAN port 3). When
data is transmitted through this port, it will flash green.
LAN 4 This will light up green when the gateway’s LAN port 1 is
physically connected to a local network (Refer to Rear Panel
section in page number for location of LAN port 4). When

FXS-08 Technical Manual EN-V2.0a
7
data is transmitted through this port, it will flash green.
T1 The status LED for FXS port 1, this will light up amber orange
when the connected phone’s handset is lifted, or when the
connected phone is engaged in a conversation. It will flash
amber orange when there is an incoming call.
T2 The status LED for FXS port 2, this will light up amber orange
when the connected phone’s handset is lifted, or when the
connected phone is engaged in a conversation. It will flash
amber orange when there is an incoming call.
T3 The status LED for FXS port 3, this will light up amber orange
when the connected phone’s handset is lifted, or when the
connected phone is engaged in a conversation. It will flash
amber orange when there is an incoming call.
T4 The status LED for FXS port 4, this will light up amber orange
when the connected phone’s handset is lifted, or when the
connected phone is engaged in a conversation. It will flash
amber orange when there is an incoming call.
T5 The status LED for FXS port 5, this will light up amber orange
when the connected phone’s handset is lifted, or when the
connected phone is engaged in a conversation. It will flash
amber orange when there is an incoming call.
T6 The status LED for FXS port 6, this will light up amber orange
when the connected phone’s handset is lifted, or when the
connected phone is engaged in a conversation. It will flash
amber orange when there is an incoming call.
T7 The status LED for FXS port 7, this will light up amber orange
when the connected phone’s handset is lifted, or when the
connected phone is engaged in a conversation. It will flash
amber orange when there is an incoming call.
T8 The status LED for FXS port 8, this will light up amber orange
when the connected phone’s handset is lifted, or when the
connected phone is engaged in a conversation. It will flash
amber orange when there is an incoming call.

FXS-08 Technical Manual EN-V2.0a
8
2.2 Rear Panel:
Item Description
Reset Press and hold over 5seconds to reload factory default
setting, this will erase all the settings configured on the
gateway.
T8The RJ-11 FXS port 8, connects analog phone sets, trunk line
or PABX.
T7The RJ-11 FXS port 7, connects analog phone sets, trunk line
or PABX.
T6The RJ-11 FXS port 6, connects analog phone sets, trunk line
or PABX.
T5 The RJ-11 FXS port 5, connects analog phone sets, trunk line
or PABX.
T4 The RJ-11 FXS port 4, connects analog phone sets, trunk line
or PABX.
T3 The RJ-11 FXS port 3, connects analog phone sets, trunk line
or PABX.
T2 The RJ-11 FXS port 2, connects analog phone sets, trunk line
or PABX.
T1 The RJ-11 FXS port 1, connects analog phone sets, trunk line
or PABX.
LAN 4 10/100 Base-T RJ-45 socket for LAN port 4, connects to local
area network.
LAN 3 10/100 Base-T RJ-45 socket for LAN port 3, connects to local
area network.
LAN 2 10/100 Base-T RJ-45 socket for LAN port 2, connects to local
area network.
LAN 1 10/100 Base-T RJ-45 socket for LAN port 1, connects to local
area network.
WAN 10/100 Base-T RJ-45 socket for WAN port, connects to wide
area network.
DC 12V The power socket, input AC 100V~120V; output DC12V.

FXS-08 Technical Manual EN-V2.0a
9
3. Environment Setup and IP Connection
Please make sure that the network interface of your computer is working fine and
the cross over line (RJ-45) is connected to the computer correctly. You can also
connect your computer to the gateway using a hub.
The FXS-08 by default uses DHCP for its LAN port and assigns IP addresses to
clients connected to it,please make sure that your PC or Notebook’s network
configuration is set to DHCP.
3.1Configuration
Login to the FXS-08 web configuration menu
1. Get an Ethernet Cable to connect your PC and FXS-08 with LAN 1 port, then
change the Internet protocol (TCP/IP) of your PC with IP 192.168.123.X, X
can be 1~122.
2. Open your WEB browser and key in the IP address of the gateway
(http://192.168.123.123) in the Address box (see figure below).

FXS-08 Technical Manual EN-V2.0a
10
3.You will see a pop-up window requesting username and password before you
can login to the web configuration menu. Username is “root” while password is
blank “ “ (see figure below).
3. You will enter the main page of the web configuration interface after you
keyed in the username and password correctly (see figure below).

FXS-08 Technical Manual EN-V2.0a
11
3.2 Network Configuration
The following instructions will explain the configurations for setting up the WAN
port of the FXS-08. There are in total three methodsof connections: Static IP,
DHCP and PPPoE.
Note: You can retrieve the IP address of the WAN port by keying #126# on the
phone set that is connected to the FXS port of the gateway. You will hear an IVR
announcing the current IP address of the WAN port.
3.2.1 WAN Setting
The table shown below describes the configuration items for 3 connection types
of network (Static IP, DHCP and PPPoE).

FXS-08 Technical Manual EN-V2.0a
12
WAN Setting
Item Description Static IP DHCP
PPPoE
Connected mode Select the connection method
for the WAN port of the
FXS-08, you can choose the
following:
lStatic IP
lDHCP
lPPPoE
VVV
Current IP Address Show current IP address VVV
DNS server mode Select the DNS behavior, you
can choose the following:
lAuto
lManual
“DNS auto” will retrieve the
DNS information sent from
the DHCP server.
“Manual” will look at the
specified Primary and
Secondary DNS address.
VVV
Primary DNS address
Specify the address of the
Primary DNS. VVV
Secondary DNS
address Specify the address of the
Secondary DNS. VVV
WAN Link Speed Select the connection speed
for the WAN port of the
FXS-08, you can choose the
following:
lAuto
l100M
l10M
VVV
HTTP port for WEB
management Specify the port number for
WEB management, the
allowable range is
80,1024~65535.
VVV
IP address Specify the IP address. V
Subnet mask Specify the subnet mask. V

FXS-08 Technical Manual EN-V2.0a
13
WAN Setting
Item Description Static IP DHCP
PPPoE
Default gateway Specify the IP address of the
default gateway. V
Remote access
restriction Restricts/Blocks users
connecting to the WAN port’s
IP remotely, you can
Enable/Disable this option.
VVV
PPPoE userID Specify the username of the
PPPoE account V
PPPoE password Specify the password
associated to the PPPoE
account above. V
Reboot after remote
host disconnection When the remote host
(PPPoE) fails, the gateway
will retry 3 times to
reconnect, if there is no reply
from the remote host within 3
tries, then the gateway will
reboot. You can
Enable/Disable this option.
V

FXS-08 Technical Manual EN-V2.0a
14
3.2.1.1 WAN Setting --Static IP
1. Press the “Apply”button (at the bottom) after you finish to save changes.
2. Press the “Reboot”button to apply the changes.

FXS-08 Technical Manual EN-V2.0a
15
3.2.1.2 WAN Setting --DHCP
1. Press the “Apply”button (at the bottom) after you finish to save changes.
2. Press the “Reboot”button to apply the changes.
3.2.1.3 WAN Setting --PPPoE
1. Press the “Apply”button (at the bottom) after you finish to save changes.
2. Press the “CANCEL”button (next to the Apply button) to clear the values in
the page.
3. Press the “Reboot”button to apply the changes.

FXS-08 Technical Manual EN-V2.0a
16
3.2.2. LAN Setting
LAN Setting
ITEM Description
LAN IP address Specify the IP address of the FXS-08’s
LAN port.
LAN mask address Specify the mask address for FXS-08’s
LAN port.
DHCP server Enable/Disable DHCP function on
the LAN port. Once enabled, the LAN
ports will function as a DHCP server,
network devices connected to them
will be issued with IP addresses.
IP address from When DHCP is enabled, you can
specify the IP address to start from
when assigning to attached network
devices.
IP address to When DHCP is enabled, you can
specify the ending IP address assigned
to the attached network devices.

FXS-08 Technical Manual EN-V2.0a
17
LAN Setting
ITEM Description
Domain Name You can specify the domain name that
will be assigned by the DHCP server to
the attached network devices.The
DHCP server will send information on
the “server host name” to the DHCP
client.
Lease time(sec) You can specify the maximum lease
time of the IP address allocated to the
DHCP client.
DNS server mode Select the DNS behavior, you can
choose the following:
lAuto
lManual
“DNS auto” will retrieve the DNS
information sent from the DHCP
server.
“Manual” will look at the specified
Primary and Secondary DNS address.
Primary DNS address Specify the address of the Primary
DNS.
Secondary DNS address Specify the address of the Secondary
DNS.
1. Press the “Apply”button (at the bottom) after you finish to save changes.
2. Press the “Reboot”button to apply the changes.

FXS-08 Technical Manual EN-V2.0a
18
3.3 General configuration
To make VoIP calls, you will need a SIP account provided by the SIP
Proxy you are registered with. To configure the relevant SIP settings,
please refer to the instructions explained below.
3.3.1 SIP Setting
3.3.1.1 Proxy mode
Primary proxy/P2P IP Specify the data of primary proxy :
Enable/Disable, IP address, Port#,
Domain Name, Expire time and MWI
TTL.
The P2P mode will beexplained in next
paragraph 3.3.1.2
Secondary proxy Specify the data of secondary proxy:
Enable/Disable, IP address, Port#,
Domain Name, Expire time and MWI
TTL
Outbound proxy Specify the data of Outbound proxy:
Enable/Disable, IP address and Port#.
Primary proxy Call Number Configure the SIP account with

FXS-08 Technical Manual EN-V2.0a
19
configuration Representative Number mode or
L1~L8 Separate Number mode, or the
Blending mode (Representative
Number & L1~L8 Separate Number
mode)
Representative Number Input the relevant data for Enable line,
Register status, SIP Account, Number,
Password, and Display Name.
Note: If you use the representative
number to register, please check the
max. concurrent call of subscriber (the
representative number) in your SIP
proxy server or softswitch.
Line 1 ~ Line 8 Input the relevant data for Enable line,
Register status, SIP Account, Number,
Password, and Display Name.
Enable Line Enable or disable the Line, the default
setting is “Enable”.
Note: If you disable the line, all the
registration and basic call for that line
will be disabled.
Register Register or Unregister to SIP Proxy
Account Input the SIP Proxy registration
account ID.
Number Input the phone number.
Password Input the password of IP Proxy
registration account ID.
Display name Specify the Display name of the phone
number
1. Enter the IP address and port number of the SIP proxy into the Primary proxy
address and Port fields. Select the line you would like to configure the
account on in the Call line drop down list, and enter the relevant SIP account,
phone number and password. Once finished, press the “Apply”button to
save changes.
2. Press the “Reboot”button to apply the changes.
Table of contents
Other Dynamix Gateway manuals

Dynamix
Dynamix 2FXS/2FXO-B User manual

Dynamix
Dynamix DW IAD - 162 User manual

Dynamix
Dynamix DW-01 User manual

Dynamix
Dynamix DW 4 FXO User manual

Dynamix
Dynamix DW1-FXS User manual

Dynamix
Dynamix DW-01 User manual

Dynamix
Dynamix DW-01/H User manual

Dynamix
Dynamix DW IAD-162 User manual

Dynamix
Dynamix 2540 User manual

Dynamix
Dynamix DW-01PlusS User manual
Popular Gateway manuals by other brands

Duxbury Networking
Duxbury Networking DUX412 user guide

ZyXEL Communications
ZyXEL Communications p-2302r series Specifications

Foxconn
Foxconn IOTGW-TIX01 user manual

Matrix
Matrix simado gfx11 System manual

Imagine
Imagine IPA6800+ Installation, configuration & operating guide

MSI
MSI RG11B quick start guide