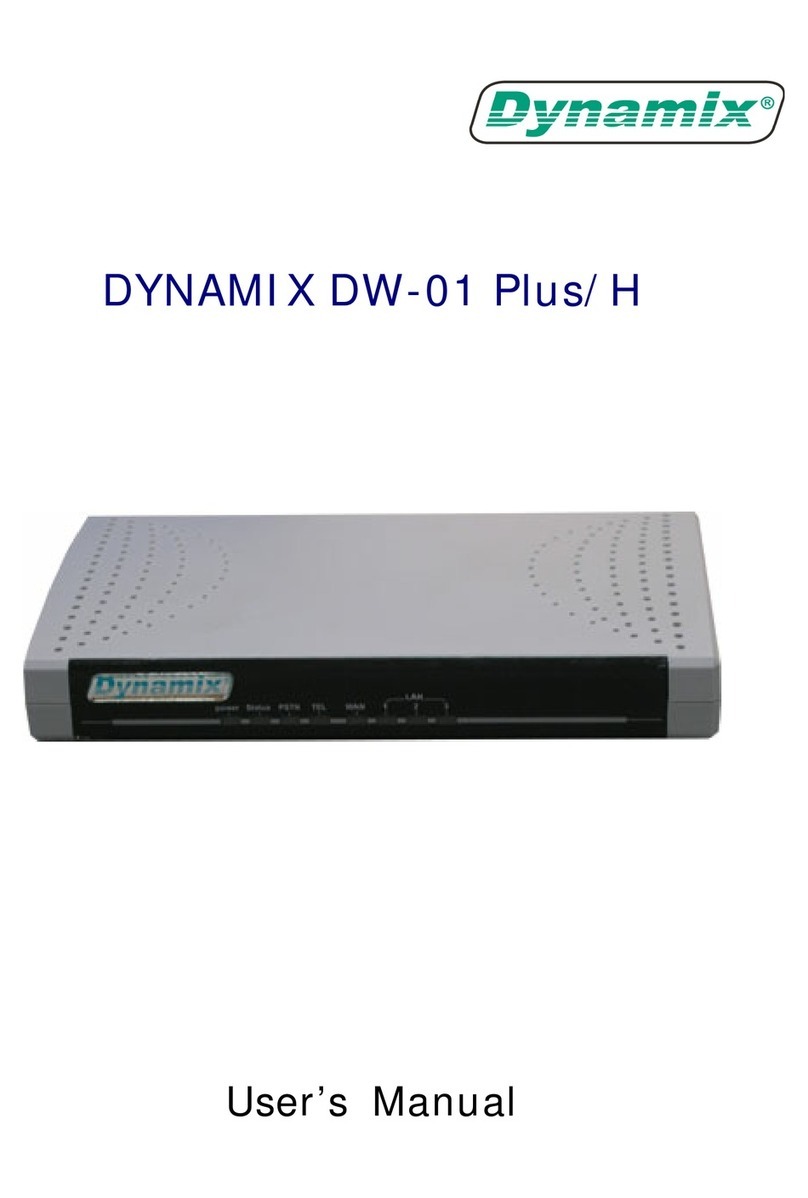
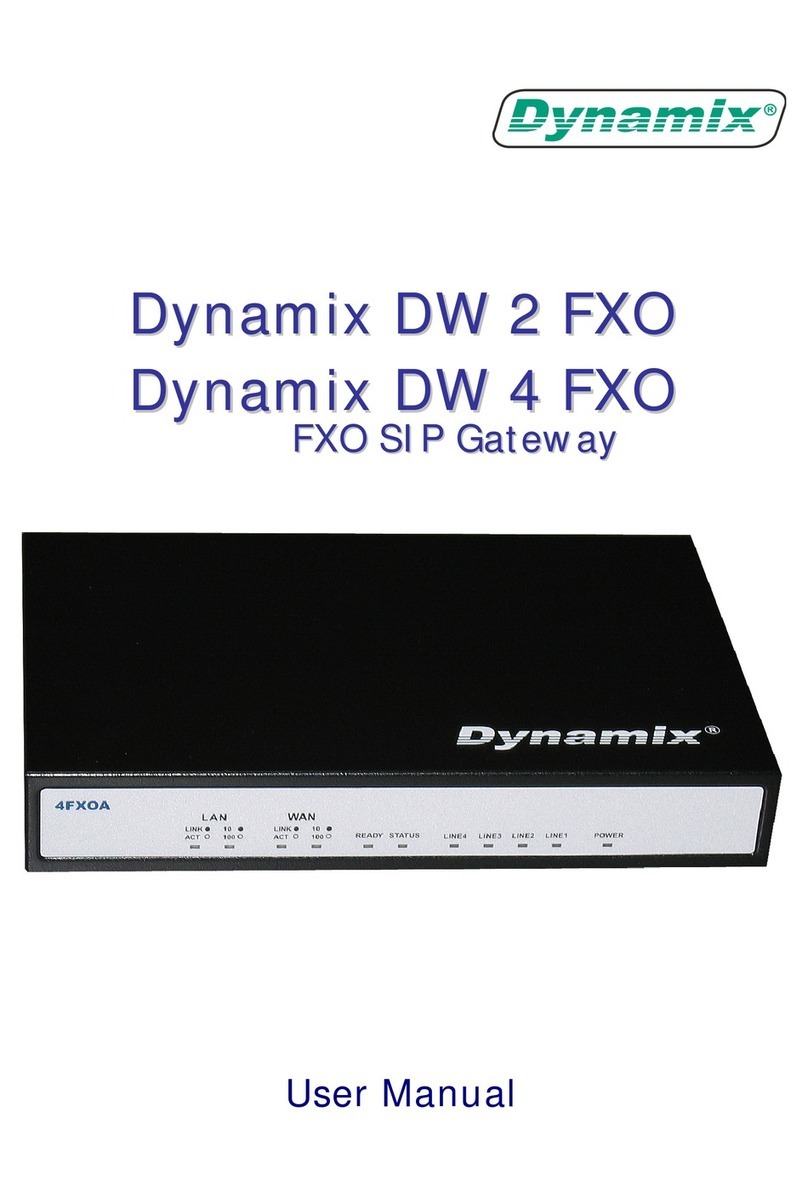
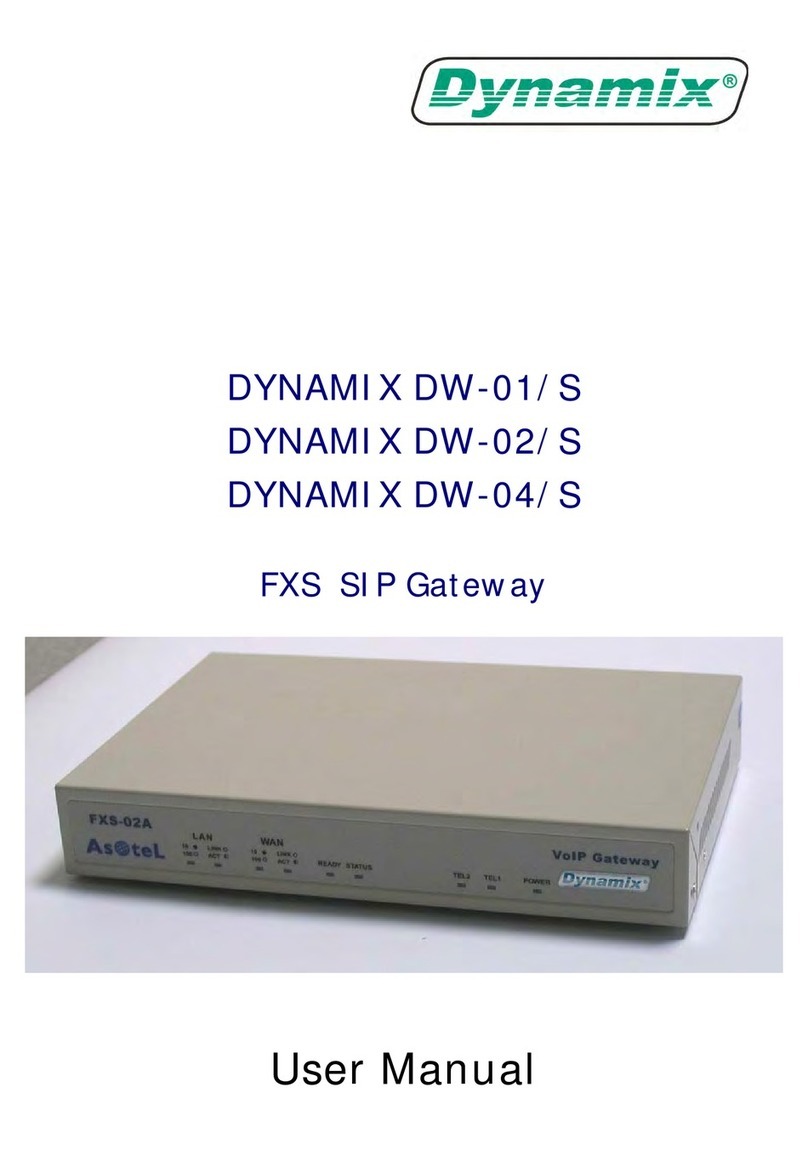
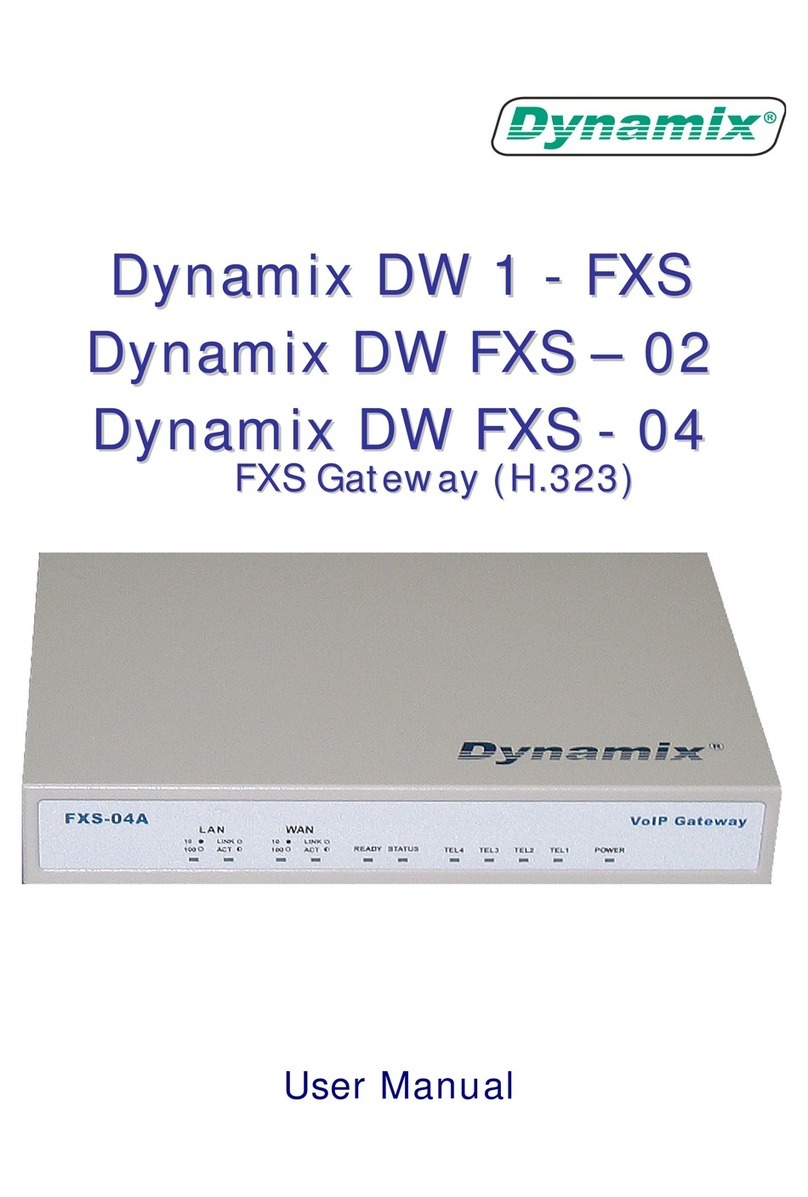
Dynamix DW IAD - 162 User manual

D
Dy
yn
na
am
mi
ix
x
D
DW
W
I
IA
AD
D
-
-
1
16
62
2
V
Vo
oI
IP
P
G
Ga
at
te
ew
wa
ay
y
(
(H
H.
.3
32
23
3)
)
User Manual

PREFACE----------------------------------------------------------------------------------------------------V
PART I: DYNAMIX IAD-162 GATEWAY OVERVIEW-------------------------------------------1
1.1 Overview ----------------------------------------------------------------------------------------------- 2
1.2 Software Specifications --------------------------------------------------------------------------- 3
1.3 Hardware Specifications-------------------------------------------------------------------------- 4
PART II: START-UP---------------------------------------------------------------------------------------7
2.1 Software Installation Guide ---------------------------------------------------------------------- 8
2.1.1 Default Settings of Dynamix IAD-162 Gateway---------------------------------------------- 8
2.1.2 Additional Installation Requirements------------------------------------------------------------ 8
2.1.3 Essential Configuration via Web Management interface-------------------------------------- 9
2.1.3.1 Save Data and Reboot-------------------------------------------------------------------- 9
2.1.3.2 Setup Network -----------------------------------------------------------------------------12
2.1.3.3 Application mode-GK/Peer-to-Peer Mode ------------------------------------------16
2.1.4 Essential Configuration via Telnet Command Line interface--------------------------------19
2.1.4.1 Save Data and Reboot-------------------------------------------------------------------19
2.1.4.2 Setup Network -----------------------------------------------------------------------------19
2.1.4.3 Application mode-GK/Peer-to-Peer Mode ------------------------------------------21
2.1.5 Essential Configuration via Installation Wizard-----------------------------------------------23
2.1 Special Housing Installation Guide-----------------------------------------------------------24
2.1.1 Horizontal Type------------------------------------------------------------------------------------24
2.1.1.1--------------------------------------------------------------------------------------------------24
2.1.1.2--------------------------------------------------------------------------------------------------24
2.1.1.3--------------------------------------------------------------------------------------------------24
2.1.2 Vertical Type ---------------------------------------------------------------------------------------25
2.1.2.1--------------------------------------------------------------------------------------------------25
2.1.2.2--------------------------------------------------------------------------------------------------25
2.1.2.3--------------------------------------------------------------------------------------------------25
PART III: SPECIAL APPLICATIONS AND FEATURES --------------------------------------- 26
3.1 Behind IP-Sharing----------------------------------------------------------------------------------27
3.1.1 IP Sharing Configuration-------------------------------------------------------------------------27
List of Table II

3.1.1.1 One IAD gateway behind IAD---------------------------------------------------------27
3.2 NAT mode (PPPoE) --------------------------------------------------------------------------------30
3.3 Upgrade Your IAD ----------------------------------------------------------------------------------32
3.3.1 Upgrade via Web management interface-------------------------------------------------------32
3.3.1.1 Before start ---------------------------------------------------------------------------------32
3.3.1.2 Upgrade Version --------------------------------------------------------------------------32
3.3.2 Upgrade via Telnet Command interface--------------------------------------------------------34
3.4 IAD 162 PSTN Line Application----------------------------------------------------------------36
3.4.1 PSTN Outgoing Call------------------------------------------------------------------------------36
3.4.1.1 Make PSTN call from TEL Phone set ------------------------------------------------36
3.4.1.2 PSTN Backup------------------------------------------------------------------------------36
3.4.2 PSTN Incoming Call------------------------------------------------------------------------------36
3.4.2.1 VoIP TEL is busy --------------------------------------------------------------------------36
3.4.2.2 VoIP TEL is available---------------------------------------------------------------------36
3.4.3 VoIP Outgoing Call -------------------------------------------------------------------------------36
3.4.4 VoIP Incoming Call -------------------------------------------------------------------------------36
3.5 Reset Button Feature -----------------------------------------------------------------------------37
PART IV: WEB MANAGEMENT INTERFACE --------------------------------------------------- 38
4.1 Login and welcome screen----------------------------------------------------------------------39
4.2 Save and Reboot -----------------------------------------------------------------------------------40
4.3 Web Management Configuration--------------------------------------------------------------41
4.3.1 Network Interface ---------------------------------------------------------------------------------41
4.3.2 H323 Configuration Screen----------------------------------------------------------------------44
4.3.3 Line Configuration--------------------------------------------------------------------------------47
4.3.4 Phone Book Configuration Screen--------------------------------------------------------------48
4.3.5 Support Configuration Screen -------------------------------------------------------------------49
4.3.6 System Configuration Screen--------------------------------------------------------------------50
4.3.7 Voice Configuration Screen----------------------------------------------------------------------53
4.3.8 Phone Configuration Screen ---------------------------------------------------------------------54
4.3.9 RTP Pay Load Type Configuration--------------------------------------------------------------56
4.3.10 IP Packets ToS Configuration Screen ---------------------------------------------------------57
4.3.11 DDNS Screen-------------------------------------------------------------------------------------59
4.3.12 Prefix Configuration Screen--------------------------------------------------------------------60
List of Table III

4.3.13 Password Configuration Screen----------------------------------------------------------------61
4.3.14 Version and Information Screen ---------------------------------------------------------------62
4.3.15 ROM Configuration Screen --------------------------------------------------------------------63
4.3.16 Flash Clean Screen ------------------------------------------------------------------------------64
4.3.17 Commit Configuration Data Screen-----------------------------------------------------------65
4.3.18 Reboot IAD System screen---------------------------------------------------------------------66
PART V: TELNET COMMAND INTERFACE ----------------------------------------------------- 67
5.1 Login----------------------------------------------------------------------------------------------------68
5.2 Save and Reboot -----------------------------------------------------------------------------------68
5.3 System Commands Overview------------------------------------------------------------------69
5.3.1 [help]------------------------------------------------------------------------------------------------69
5.3.2 [quit] ------------------------------------------------------------------------------------------------70
5.3.3 [debug]----------------------------------------------------------------------------------------------70
5.3.4 [reboot] ---------------------------------------------------------------------------------------------71
5.3.5 [flash] -----------------------------------------------------------------------------------------------72
5.3.6 [commit]--------------------------------------------------------------------------------------------73
5.3.7 [ifaddr]----------------------------------------------------------------------------------------------73
5.3.8 [time]------------------------------------------------------------------------------------------------76
5.3.9 [ping]------------------------------------------------------------------------------------------------77
5.3.10 [sysconf] ------------------------------------------------------------------------------------------77
5.3.11 [h323]----------------------------------------------------------------------------------------------80
5.3.12 [line]-----------------------------------------------------------------------------------------------83
5.3.13 [prefix] --------------------------------------------------------------------------------------------84
5.3.14 [pbook]--------------------------------------------------------------------------------------------86
5.3.15 [voice]---------------------------------------------------------------------------------------------88
5.3.16 [support]-------------------------------------------------------------------------------------------91
5.3.17 [sysinfo]-------------------------------------------------------------------------------------------93
5.3.18 [phone] --------------------------------------------------------------------------------------------93
5.3.19 [tos]------------------------------------------------------------------------------------------------95
5.3.20 [ddns]----------------------------------------------------------------------------------------------96
5.3.21 [pt] -------------------------------------------------------------------------------------------------98
5.3.22 [rom]-----------------------------------------------------------------------------------------------99
5.3.23 [auth] -------------------------------------------------------------------------------------------- 100
5.3.24 [passwd]----------------------------------------------------------------------------------------- 102
List of Table IV
Preface
¤
About this User’s Manual
This user’s guide includes specifications, installation guide, web management and
command line configuration interface for the Dynamix IAD -162 VoIP Gateway .
V

This part introduces the software/hardware specifications and default settings of the IAD
Gateway.
Dynamix IAD-162 Gateway
Part
I:
Dynamix
IAD-162
Gateway
Overview
- 1 -

Dynamix IAD-162 Gateway
1.1 Overview
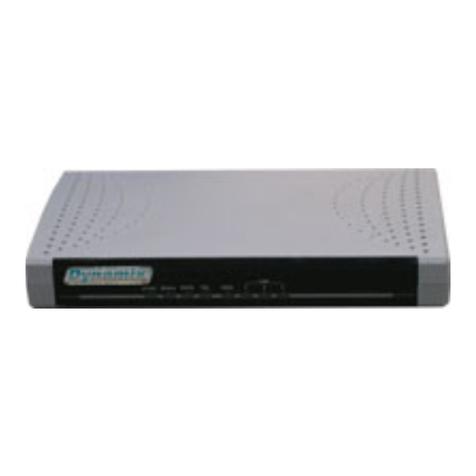
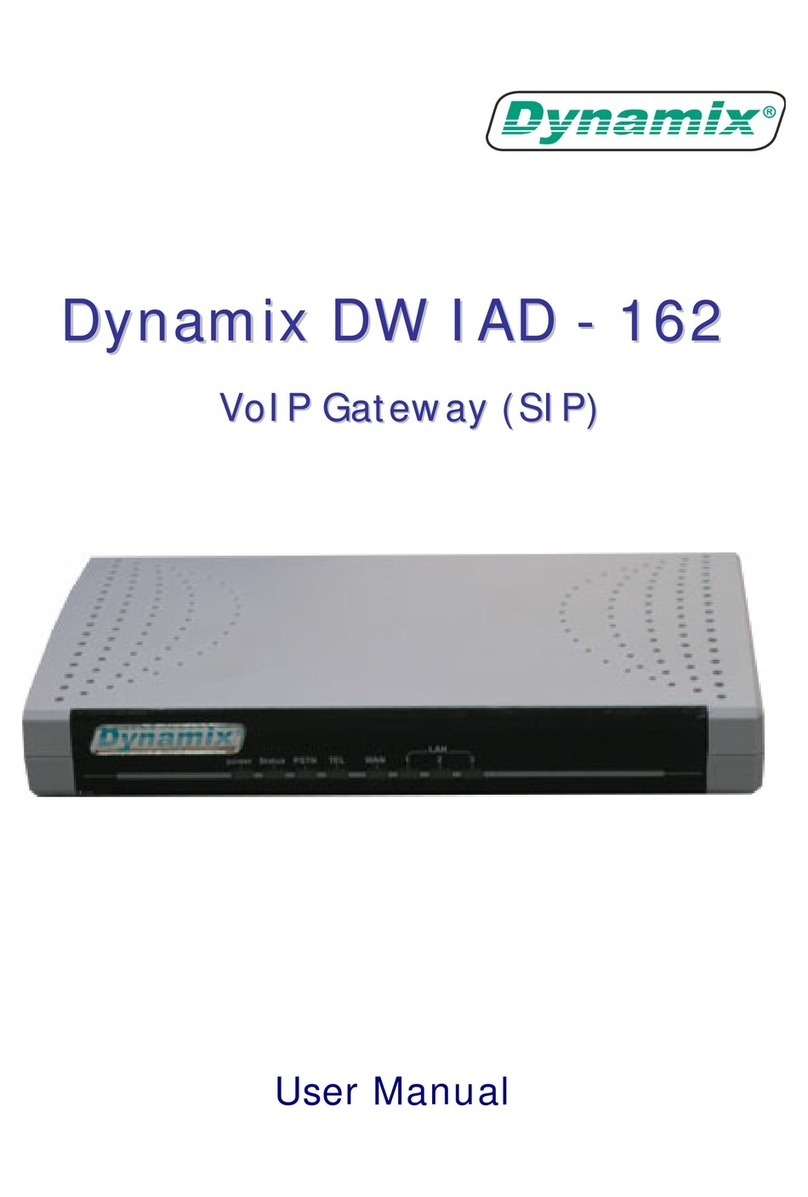
Dynamix IAD-161 is a one-port telephone extension and three ports SOHO Router
to IP network gateway. It provides Data transfer by 10/100Mbps, telephone services
and T.38 fax over IP network with easily operation and configuration. It is most
suitable for SOHO and small-to-medium enterprise in Internet communication
environment.
Dynamix IAD 162 provides two telephone numbers that one is IP telephone
number and the other is PSTN telephone number in one device for end users.
You can make phone call via Internet or PSTN in one telephone set now. No
more long distance and international telephony fee! Especially, User still can
make phone call when external power is failure.
Dynamix IAD also can connect three computers with embedded IP sharing and
DHCP server function.
- 2 -

Dynamix IAD-162 Gateway User Manual
1.2 Software Specifications
¤
Dynamix IAD-162 Gateway Features
Provide Voice over IP and Fax over IP features.
Built-in NAT/IP sharing function
FSK and DTMF Caller ID
Transmit Voice and T.38 fax simultaneously
Support T.38 ECM function (Error Correction in high speed fax Mode)
Provides call progress tone
E.164 Common Dial Plan
DTMF Dialing
Inband/ Out of band DTMF
TFTP/FTP software upgrade
Remote configuration/reset
LED indication for system status
Support Static IP, DHCP and PPPoE
Set the ring back tone from the IP or local
FAX redundancy support
RAS and Signal port exchangeable
GK id support and GK auto discovery
Provide both IP telephone number and PSTN telephone number in
one device for end users (IAD 162 only)
PSTN backup: user still can make phone call when external power is failure
(Dynamix IAD -162 only)
¤
Audio feature
Codec: G.711 a/
μ
law, G.723.1 (6.3kbps), G.729A, G.729B, G.729AB
VAD (Voice Activity Detection)
CNG (Comfort Noise Generate)
G.168/165-compliant adaptive echo cancellation
Dynamic Jitter Buffer
Bad Frame Interpolation
Voice/DTMF Gain Settings
Generate Caller ID (DTMF or FSK)
Provide In-band or Out-band DTMF generation/detection
Provide Progress tone
¤
System Monitoring
System status (WAN, LAN, TEL, Status, Power)
- 3 -

Dynamix IAD-162 Gateway User Manual
¤
Remote Firmware Upgrade
You can use FTP/TFTP to perform firmware upgrade for the Dynamix IAD-162
Gateway from a remote location.
¤
Security
Password protection for system management
Built-in NAT function.
¤
Certification
CE, FCC
1.3 Hardware Specifications
¤
Chassis
190mm(W) x 110mm(D) x 51.5mm(H)
Weight (unit): 0.3 kg
¤
Interface
Four 10/100 Base-T Ethernet RJ-45 ports (Auto LAN MDI/MDIX).
Input AC 100V-240V, Output DC 12V.
One/Two RJ11 Telephone Port (IAD).
¤
Special Housing
The plastic housing can be adjustable by manual (Vertical type or Horizontal
type)
¤
Environment
Operational Humidity: 10 to 90 % (Non-condensing)
Operational Temperature: 0 to +40 °C
Storage Humidity: 10 to 90 % (Non-condensing)
Storage Temperature: -10 to +50 °C
¤
Front Panel
The LEDs on the front panel indicate the operational status of the Gateway.
- 4 -

Dynamix IAD-162 Gateway
Power (Green):
(1) Light on: IAD is connected with power adapter correctly and power on.
(2) Light off: IAD is not connected with power adapter correctly or not power
on.
Status (Green):
(1) Light on: IAD is under Gatekeeper mode and successfully register to
Gatekeeper.
(2) Light off: Under Peer-to-Peer mode.
(3) Light Blanking: IAD is under Gatekeeper mode and not successfully
register to Gatekeeper.
TEL (Orange):
(1) Light Blinking: IAD IP side has incoming call.
(2) Light On: IAD IP side is in communication.
(3) Light Off: IP Line of IAD is in standby mode.
WAN/LAN (Green):
(1) Light on: Ethernet port successfully connected with network.
(2) Light Blanking: Ethernet port is transmitting or receiving data.
PSTN (Orange): (IAD 162 only)
(1) Light Blinking: IAD IP side has incoming call.
(2) Light On: IAD PSTN side is in communication.
(3) Light Off: PSTN Line of IAD is in standby mode.
¤
Back Panel
- 5 -

Dynamix IAD-162 Gateway
Reset Button:
All of the configuration, including network interface configuration, can be back
to default value by pressing Reset Button.
Ethernet Port:
Ethernet port is for connecting VoIP Gateway to network, transmit rate
supports 10/100 Base-T.
Ethernet connector
(
LAN/WAN
)
TEL Port:
RJ-11 connector, IAD interface to connect analog phone sets or trunk port of
PABX.
PSTN Port (IAD 162 Only):
RJ-11 connector, IAD interface to CO PSTN line or extension port of PABX.
DC 12V Port:
DC 12V Power supply.
- 6 -

This part explains how to configure essential and basic items before user can run
Dynamix IAD-162 Gateway
t
Dynamix IAD-162 Gateway
Part
II:
Start-UP
- 7 -

Dynamix IAD-162 Gateway
2.1 Software Installation Guide
This guide covers all essential configurations under different application, user can
follow steps below to configure basic items to run Dynamix IAD-162 Gateway.
2.1.1
Default
Settings
of
Dynamix IAD-162 Gateway
¤
WAN IP Parameters
(1) WAN
IPAddress = 10.1.1.3
Subnet mask = 255.0.0.0
Default gateway = 10.1.1.254
(2) LAN
IPAddress = 192.168.123.123
Subnet mask = 255.255.255.0
¤
Telnet and Web Login Password
Login User Name= root (or administrator)
Password = “Null” (default)
2.1.2
Additional
Installation
Requirements
In addition to the contents of your package, there are other hardware and
software requirements you need before you can install and use your Dynamix IAD-
162 Gateway. These requirements include:
1. A computer with an Ethernet NIC (Network Interface Card) installed.
2. Use Internet Explorer 5.5 or later / Netscape Navigator 6 or later versions.
3. Analog telephone set.
4. Software tools: H323 Gatekeeper (optional)
5. Installation Wizard (optional): This is a configuration tool for users can
easy access products and configuring IP address. Please contact with
your retailer for more information.
Please follow steps below to access IAD configuration interface:
Step 1.Connect WAN Port of Dynamix IAD-162 Gateway to public network
Connect the WAN port (silver) on the Dynamix IAD-162 Gateway to the
Ethernet port of your network (e.g. Cable Modem, ADSL Modem) using
the standard CAT-5 straight Ethernet cable.
- 8 -

Dynamix IAD-162 Gateway
Step 2. Connect your PC to the LAN port of IAD
Connect your PC to the LAN port of IAD with standard CAT-5 straight
Ethernet cable.
Step 3. Set your PC as DHCP mode
Please go to the network setting of your PC and set it as DHCP mode, let
your PC can automatically search for DHCP server and get one valid IP
address. IAD has embedded DHCP server (default is enabled) so that
your PC will get one IP address from IAD DHCP server.
Step 4.Open your browser and input IP address 192.168.123.123
Once your PC has got an IP from IAD, you may connect IAD via WEB
browser to do more configurations. The default LAN IP address of IAD is
“192.168.123.123”; please input this IP address on web browser to
connect with web management interface. Please refer to Part III Web
management for more information.
Step 5.Advanced Setting via Telnet (Optional)
If user wants to do more advanced and complete settings that cannot be
found via web management interface, please Telnet to the IAD to do
more detail configurations.
Step 6.Connect other PC with LAN Ports (Optional)
If you have more than one PC, you can connect them with LAN Ports
(black) on the Dynamix IAD-162 Gateway. Please set these PCs as
DHCP mode so that they can automatically get IP from IAD DHCP
server. DHCP server
of IAD can assign 253 IP most.
Caution:
To prevent damage to the Dynamix IAD-162 Gateway, please make sure
you have connected with the correct power adapter.
2.1.3
Essential
Configuration
via
Web
Management
interface
This section describes how to setup IAD via Web management interface. Please follow
procedures below to configure essential items before you use Dynamix IAD-162
Gateway.
2.1.3.1
Save
Data
and
Reboot
After any configuration has been made, user has to save all data and reboot system to
make configurations take effect.
Step 1. Click [Commit Data] on the navigation panel. In the Commit Configuration
- 9 -

Dynamix IAD-162 Gateway
Data screen, click the [Commit] button. In the Commit Configuration Data
screen will Display [Commit to Flash OK!], when IAD finished committing
data.
Step 2. Click [Reboot System] on the navigation panel. In the Dynamix IAD-162
Gateway screen, click the [Reboot] button. It will take around 40 seconds to
reboot.
- 10 -

Dynamix IAD-162 Gateway
Step 3. Close the current browser windows and launch your web browser again.
- 11 -

Dynamix IAD-162 Gateway
2.1.3.2
Setup
Network
(1) Fixed IP
To configure the VoIP Gateway IP address, please click [Network Interface] on the
navigation panel. In the Network Interface screen, type a new IP address, subnet
mask and the default routing gateway (e.g. IP Address: 192.168.13.62, Subnet
mask: 255.255.248.0, Default routing gateway: 192.168.8.254) and click the OK
button.
- 12 -

Dynamix IAD-162 Gateway
(2) DHCP
Click [Network Interface] on the navigation panel. In the Network Interface screen,
enable the DHCP function if you are using the cable modem or DHCP server and
click the [OK] button.
- 13 -

Dynamix IAD-162 Gateway
(3) PPPoE
Configuring the VoIP Gateway IP address for PPPoE Mode. Click [Network
Interface] on the navigation panel. In the Network Interface screen, Select IP
mode: PPPoE, and put the info of the PPPoE User Name, password, and Reboot
password: 123456) and click the [OK] button.
- 14 -

Dynamix IAD-162 Gateway
- PPPoE User Name: Set PPPoE authentication User Name.
- PPPoE Password: Set PPPoE authentication password.
- Reboot After Remote Host Disconnection: Enable/Disable auto reboot after
PPPoE disconnection.
If user enables this function, after PPPoE being disconnected, IAD will
automatically reboot to re-connect, and after rebooting, if IAD still can’t get
contact with server, IAD will keep trying to connect. After re-connected, IAD
will also restart system. On the other hand, if user disables this function, IAD
won’t reboot and keep trying to connect.
- Other PPPoE items: for reference only, cannot allow to be configured.
- 15 -
Table of contents
Other Dynamix Gateway manuals

Dynamix
Dynamix DW 4 FXO User manual

Dynamix
Dynamix 2540 User manual

Dynamix
Dynamix DW FXS-04 User manual

Dynamix
Dynamix DW IAD-162 User manual

Dynamix
Dynamix 2FXS/2FXO-B User manual

Dynamix
Dynamix DW-01 User manual

Dynamix
Dynamix DW-01PlusS User manual

Dynamix
Dynamix DW FXS-08 User manual

Dynamix
Dynamix DW-01/H User manual

Dynamix
Dynamix DW1-FXS User manual