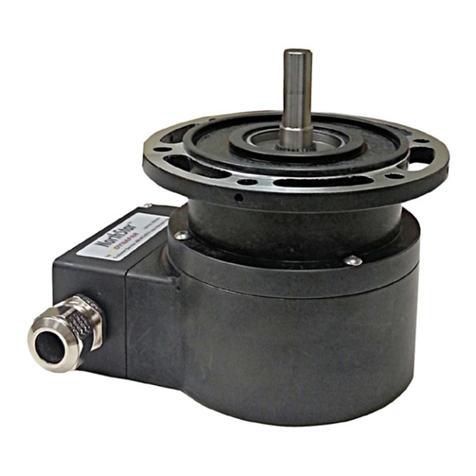
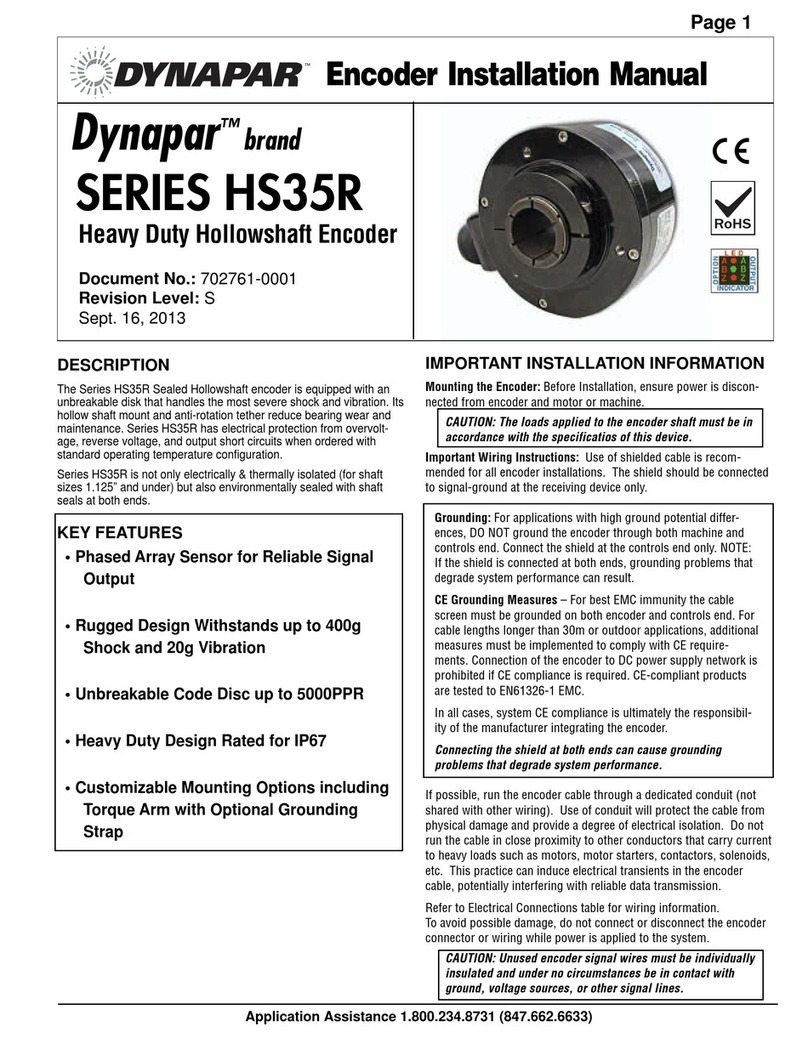
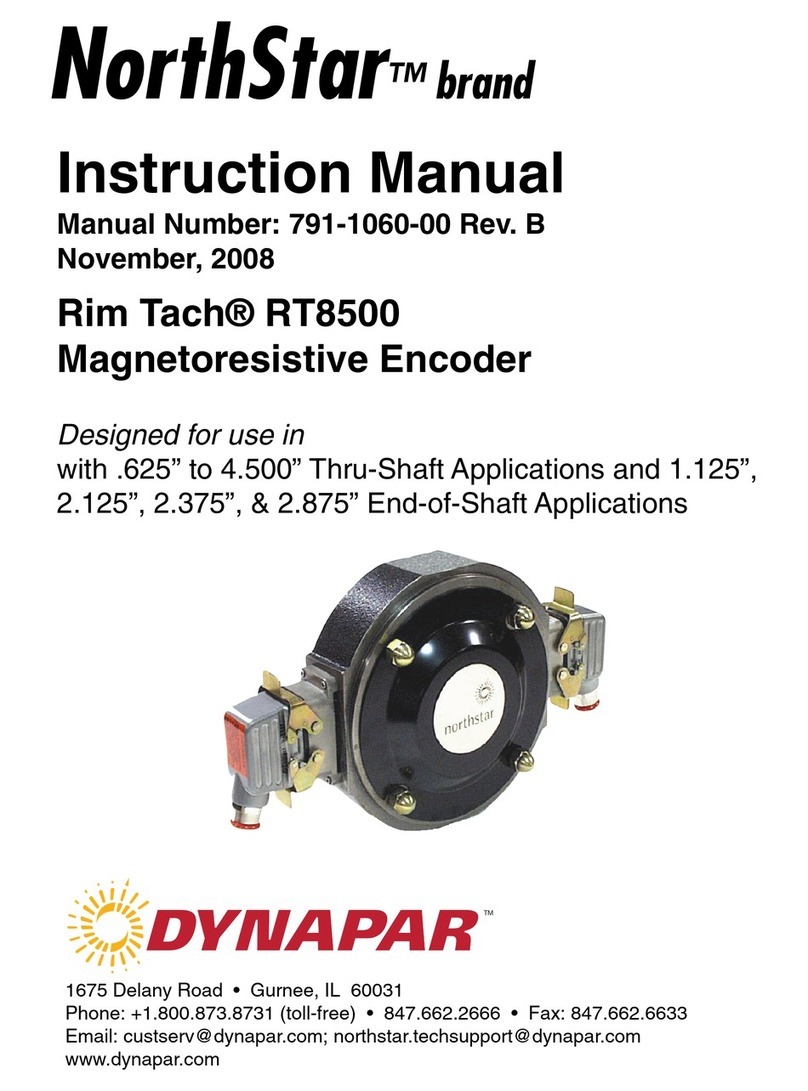
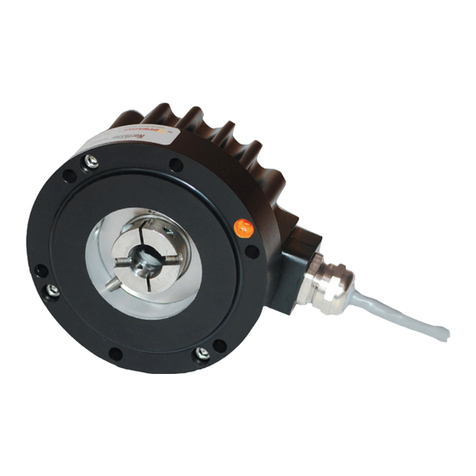
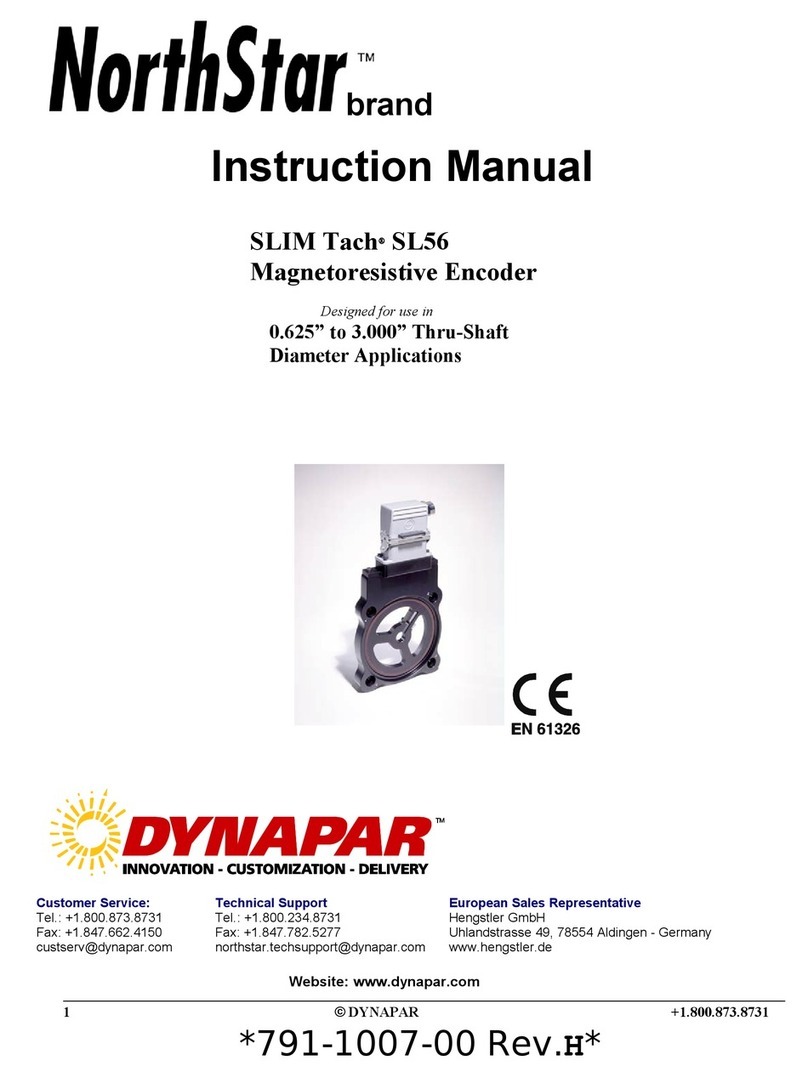
DYNAPAR NorthStar SLIM Tach ST56 User manual

Encoder Installation Manual
EN 61326
NorthStar™brand
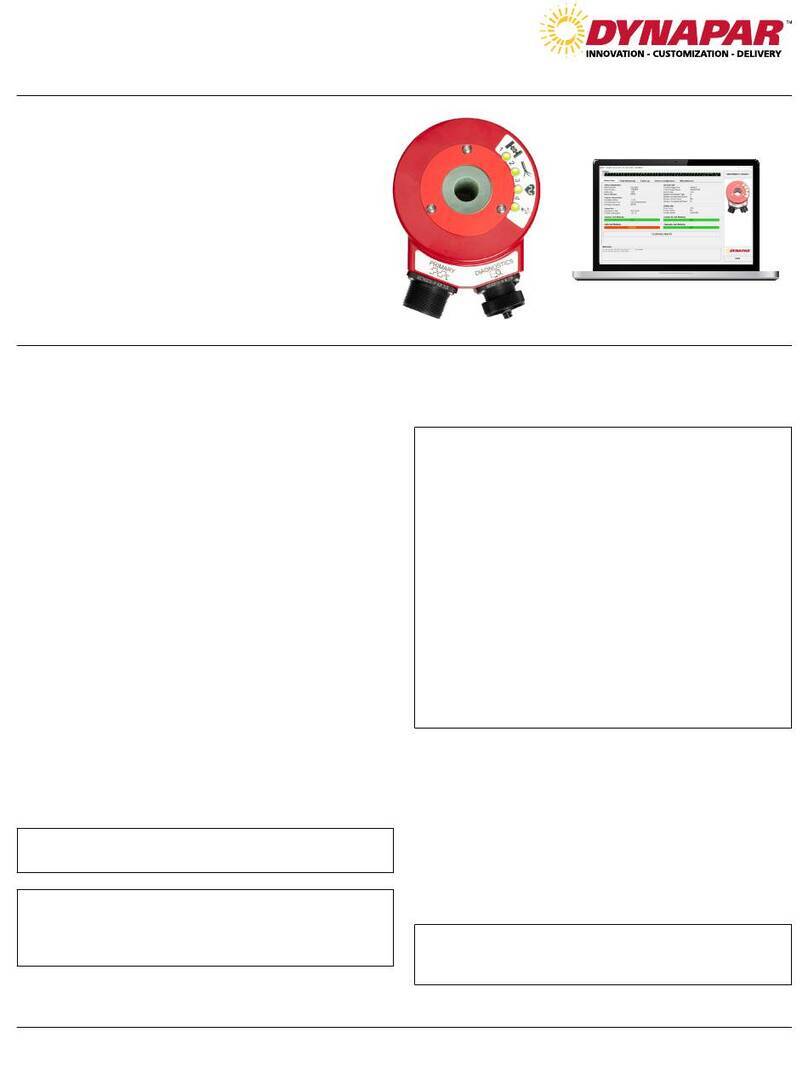
SLIM Tach ST56 Bearingless Encoder
SPECIFICATIONS
European Sales Representitive
Hengstler GmbH (Germany)
Uhlandstrasse 49, 78554 Aldingen
www.hengstler.com
innovation - customization - delivery
Customer Service:
Tel.: +1.800.873.8731
Fax: +1.847.662.4150
Technical Support
Tel.: +1.800.234.8731
Fax: +1.847.662.4150
WWW.DYNAPAR.COM
Headquarters: 1675 Delany Road • Gurnee, IL 60031-1282 • USA NorthStar™ brand is a trademark of DYNAPAR. All rights reserved.
Document No. 703007-0001, Rev. L ©2017 DYNAPAR
Common
B
A
Z *
No Connection
Vcc (5-15 VDC)
—
B
—
A
—
Z *
Shield
1
2
3
4
5
6
7
8
9
10
Black
Green
Blue
Violet
—
Red
Yellow
Gray
Orange
Braid
Signal Connector Pin Pigtail Cable MS 3102E18-IT# Conduit Box
F
B
A
C
E
D
I
H
J
G
* Index (Z) optional. See Ordering Information
ELECTRICAL CONNECTIONS
1
5
3
7
—
2
6
4
8
—
Key Features
-
Connector
STANDARD OPERATING CHARACTERISTICS
Code: Incremental
Pulses per Revolution: 64-2048
Phasing Sense: A leads B for Counter-Clockwise
rotation (CCW) viewing encoder-mounted end
Quadrature Phasing: 90° ± 45°
Symmetry: 180° ± 54°
Index: Less than phase A/B pulse width
Number of Output Modules: Single or Dual
Redundant
ELECTRICAL
Input Voltage Requirement: 5-26 Volts DC
Current Requirement: 95 mA typical per sensor
module plus line driver load
Output Signals:
With Elec Option V: 5-26 V Line Driver, 150mA
With Elec Option 5: 5V Line Driver, 150mA
Frequency Response: 0 - 120kHz Data & Index
Electrical Immunity: 2kV ESD, Reverse Polarity,
Short Circuit
Connector: 10 pin industrial duty latching, sealed
NEMA 4 &12, IP65; MS connector or pig-tail
MECHANICAL
Max. Shaft Speed: 7,000 RPM
Mounting Configuration: 4.5” 56C face mount
for NEMA MG1 standards
Housing Material: Aluminum
Acceleration Rate: 3,600 rpm/sec max
Shaft Length Required: 0.7” min
Allowable Shaft End-Play: +0.050”/-0.125”
Allowable Shaft Runout: 0.005” TIR
Weight: 2.5 lbs.
ENVIRONMENTAL
Operating Temperature Range:
Standard: -40°C to +100°C
Optional: Extended, -40°C to +120°C
Storage Temperature Range: -40°C to +120°C
Humidity: to 100% RH
Shock: 300 G’s Min.
Vibration: 20 G’s @ 5-2000 Hz spectrum
Worldwide Brands: NorthStarTM • AcuroTM • DynaparTM • HengstlerTM • HaroweTM

All encoders have the following electrical features:
• Power (+DC)
• Common
• Output Signal(s)
Power (also referred to as supply, power source, and
power +V/VCC) is always +DC for encoders. -
In addition, encoder
power should be regulated to within ±5% at the en-
coder and should be free of induced transients. Com-
mon (also referred to as Com, supply common, and
ground) is generally a black wire (verify via Electrical
Connections table). Common should always be con-
nected to the negative (-) side of DC power.
All encoders have at least one output signal (A); how-
ever, it is common for encoders to have three signals
A, B, Z (may also be referred to as C, X, or index).
The outputs should each be connected to the receiv-
ing device at the appropriate terminal. NOTE: Never
connect A, B, or Z to the + or - side of DC power.
The use of shielded cable is recommended
for all encoder installations. When a Dynapar brand
encoder is ordered, the type of termination is gener-
ally defined (usually the last selectable code in Order-
ing Information). If a code for a cable was indicated,
the encoder was manufactured to include a shielded
cable. If any other type of termination was selected or
if selection of termi-nation type was not requested, a
cable assembly must be ordered. (The cable assem-
bly easily hooks onto the encoder’s connector making
it ready for wiring).
To determine which cable assembly to order, refer
to the Electrical Connections table (in the encoder’s
manual).
Encoders provide quality measurements and long
life when common sense, care, and accurate align-
ments are provided during installation. The following
general guide-lines will help to ensure a trouble-free
installation.
• Never connect or disconnect the encoder con-
nector or wiring while power is ON. Doing so may
damage the encoder.
• Power should always be connected to the + side
of DC power.
• Common should always be connected to the -
side of DC power.
• Never connect A, B, or Z to the + or - side of DC
power.
In some cases, there may be more than one table or
the table may be broken into sections due to different
output types. If so, refer to the information listed for
the output type selected for the encoder (in Ordering
Information).
Wiring should be run through dedicated conduits or
harnesses (not shared with any other wiring) which
are spaced at least 12 inches apart. This protects the
cable from physical damage while providing a degree
of electrical isolation. Also, do not run cable in close
proximity to other conductors which carry current to
heavy loads such as motors, motor starters, contac-
tors, or solenoids. Doing so could result in electrical
transients in the encoder cable which cause unde-
sired signal pulses.
DO NOT ground the encoder through
both the machine and the cable wiring. Connect the
shield at the input device only.
For European-based applications requiring CE com-
pliance, cable length must not exceed 30m. Connect
the shield to building ground on either the Encoder
or Controls end. CE compliant products are tested to
EN61326 EMC.
(cont.)

Obviously not all receiving devices are the same.
However, connecting your encoder to one, no mat-
ter what type or brand it may be, is not difficult. As
discussed in the previous section, all encoders have
certain electrical features. Each of these features/
functions are identified in the encoder’s Electrical
Connections table along with its corresponding pin
and wire color. Each wire specified in the table must
be connected to the receiving device.
Determining where to connect each wire is as easy as
following the Electrical Connections table and match-
ing each wire to the proper terminal on the receiving
device. In general, no matter what type of receiving
device you are using, the terminal strip is marked,
indicating the proper location for each function/wire.
These markings may either be numbers or text labels
identifying functions. If they are numbers, the receiv-
ing device’s manual should define what function cor-
responds to each number.
Since receiving devices are made by various manu-
facturers, not all text labels/references are the same.
There are various ways to identify each function. Fol-
lowing are a few examples:
Note: Encoders that
feature differential
outputs will also have
complementary outputs
referenced as
–
A, –
B, –Z, (A-not, B-not,
Z-not).
When encoders have a differential line driver, there
are two signals for each of the outputs. Each signal (A,
B and Z) has a compliment or inverse (–
A, –
B and –Z
referred to as A not, B not, and Z not). The signal and
its compliment (i.e. A and –A) are separate outputs.
Connect each output to a separate input.
-
A multicolor LED Status light will indicate to the user
the overall condition of the encoder. The LED is built
into the encoder and does not require any additional
wiring or power to activate it. There are 4 basic status
conditions for the light:
No power to Encoder, Low supply voltage
(<3.0VDC), Total Failure of Encoder
Correct Power to Encoder, Ready to
operate, No wheel movement Detected.
-
Unit operating, Unit sending pulses
out
Low power to encoder
(<4.5VDC), Line Driver Failure, Line Driver Over-
Temperature (generally caused by external short
circuit), Line Driver Logic Failure
Do not connect them to the receiving device. Any
unused encoder signal wires must be individually
insulated and tied back. They should NEVER be
in contact with common, power sources, or other
output signal lines.
In order to reverse the counting direction, the output
signal connections must be switched. If the encoder
has a single ended output, swap A and B. If the
encoder has a differential line driver, swap A and –
A.
Many encoders have internal protection circuits
which shut down the encoder to prevent damage
if the input power is not correct or the outputs are
overloaded. Check the following: Input Voltage (is
it too high?); Input Polarity (is it reversed?); and
Output Wiring (are they wired properly?).
Calm down - help is at your fingertips! Simply pick
up the phone and dial our Applications Engineering
Department at 1-800-234-8731 (US & Canada) or
847-662-2666 from 8:00 AM to 4:45 PM (Central
time) Monday - Friday. One of our engineers will
gladly help you solve the problem.

2.0 Remove housing from packaging
1.0 Clean outer rim and surface of motor facing
and shaft of paint, grease, dirt and other debris.
3.0 Slide housing on to motor facing.
5.0 Slide Clamp wheel on to the shaft
6.0
Position the wheel such that its front surface
is flush with housing groove surface.
4.0 Tighten (4) 3/8”-16 UNC to a nominal 27 ft-lbs

10.0 Tighten (4) #6-32 UNC screws to a nominal
7 in-lbs.
7.0 Tighten (2) M5x0.8 screws to a
nominal 2.6 N-m.
9.0 Holding the rubber spacer in place, align
cover and spacer clearance holes with
threaded holes on housing.
1.0 Grab mating connector, unscrew (4) mating
connector screws.
8.0 Place the rubber spacer.
12.0 Pull the mating connector out and complete
wiring per electrical connections table.

13.0 Latch mating connector to the housing.
Installation is complete.

A
A¯4.499 +.000
-.003
7.59 TYP
7.15 TYP
2.88
.165
4.501 +.003
-.000
5.41
2.71
3.26
1.69 TYP
SECTION A-A
PLASTIC COVER OPTION
COVER SCREWS
SPACER GASKET
COVER
MAGNETIC WHEEL
WHEEL SCREWS
ENCODER HOUSING
ENCODER HOUSING
MOUNTING SCREWS
MATING CONNECTOR
EXPLODED
VIEW
To order, complete the model number with code numbers from the table below:
Code 5: Termination
B Conduit Box
C Latching Industrial
Connector with
1/2” NPT
D
1” Extended Height
Latching Industrial
Connector with
1/2” NPT
E
3” Extended Height
Latching Industrial
Connector with
1/2” NPT
F
Latching Industrial
Connector without
Mating Connector
G
1” Extended Height
Latching Industrial
Connector
H
3” Extended Height
Latching Industrial
Connector without
Mating Connector
M 10 Pin MS Connector
N 10 Pin MS 3112
Connector
P 18” Pigtail Cable
(25” when Code
6 = H)
Q Latching Industrial
Connector on 18”
Pigtail Cable
R Latching Industrial
Connector on 18”
Pigtail Cable without
Mating Connector
Ordering Information
Code 2: PPR
Code 1: Model
ST5 Direct
Motor
Mounting
on NEMA
56 flange
(4.5”),
Single
Output
DT5 Direct
Motor
Mounting
on NEMA
56 flange
(4.5”), Dual
Output
0064
0128
0256
0512
1024
2048
Code 4: Wheel Bore
C04 0.625”
C05 0.875”
C06 1.000”
C07 1.125”
C08 1.250”
C09 1.375”
C10 1.500’
C11 1.625”
C12 1.750”
C13 1.875”
C14 2.000”
C15 2.125”
C16 2.250”
C17 2.375”
C18 2.500”
C20 2.625”
C19 2.875”
Code 3: Index
L No Index
Z Index
Code 6: Electrical
V 5-26V in, 5-26V
Line Driver (IC-WE)
out
5-26V in, 5V out
Line Driver (IC-WE)
Same as V but
with High Tem-
perature, Extended
Operating Range to
120°C
Code 7: Cover/Adapter
CC Plastic Cover
EE Extra Heavy Duty
Steel Cover
FF Flat Thru-Hole Cover
TT Flat No Hole Cover
CB4 16 mm
C36 24 mm
C29 25 mm
C31 30 mm
CA4 45 mm
C58 60 mm
C40 80 mm
For additional bore sizes up
to 3.75” maximum, please
consult factory.
Table of contents
Other DYNAPAR Media Converter manuals

DYNAPAR
DYNAPAR SLIM Tach SL85 User manual

DYNAPAR
DYNAPAR HS35iQ User manual

DYNAPAR
DYNAPAR NorthStar Rim Tach RT8500 User manual

DYNAPAR
DYNAPAR HS35IQ Series User manual

DYNAPAR
DYNAPAR HS20 Series Service manual

DYNAPAR
DYNAPAR NorthStar HSD44 Series User manual

DYNAPAR
DYNAPAR SERIES HS35R User manual

DYNAPAR
DYNAPAR NorthStar NexGen RIM Tach HT85 User manual

DYNAPAR
DYNAPAR NorthStar SLIM Tach SL56 User manual

DYNAPAR
DYNAPAR NorthStar HD35R Series User manual