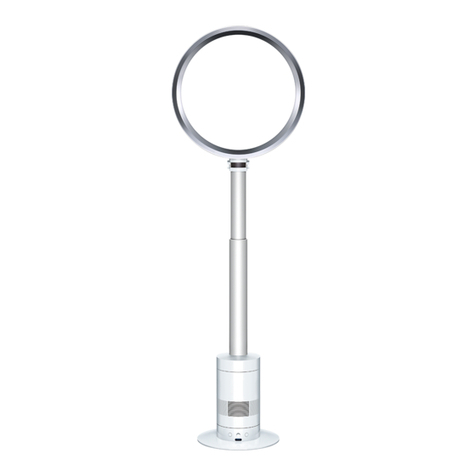
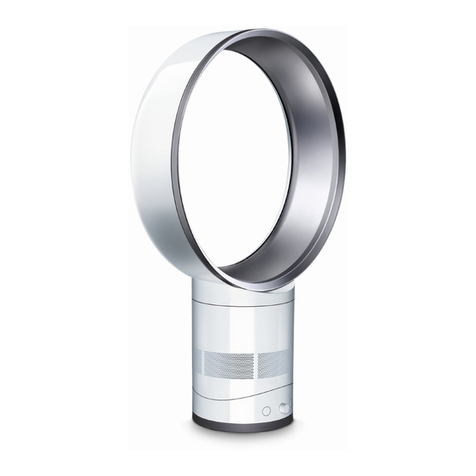
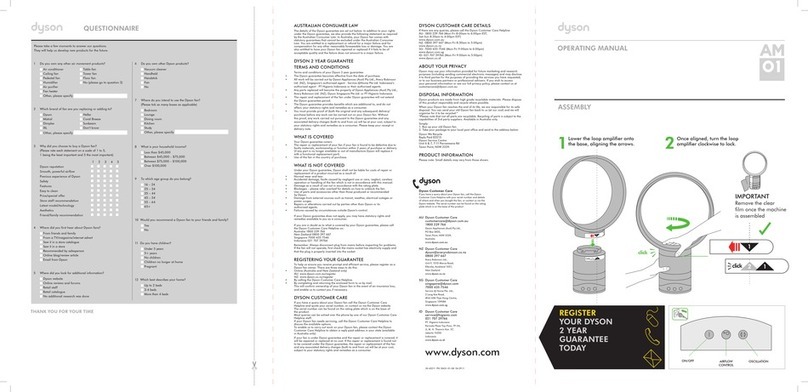
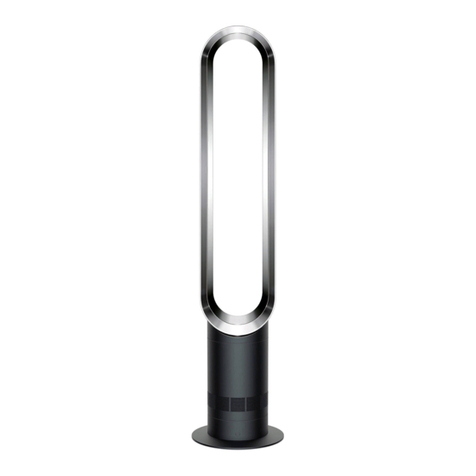
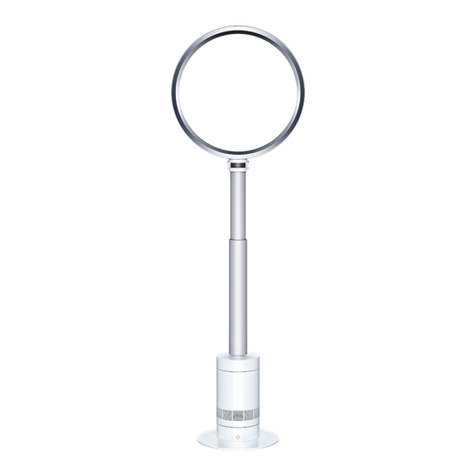
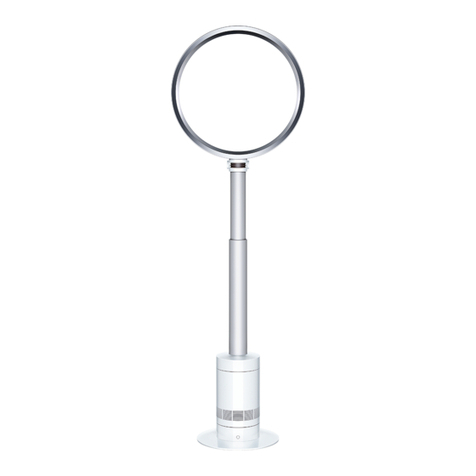
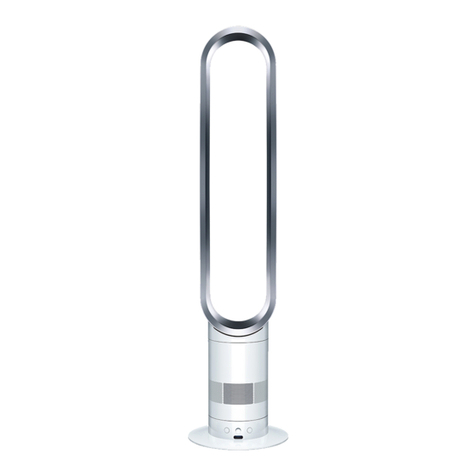
Dyson Pure cool AM11 User manual

OPERATING MANUAL
ASSEMBLY
A M11
REGISTER YOUR FREE 2 YEAR GUARANTEE TODAY
clik clik

2
Dyson
Dyson
Dyson
Dyson
Dyson
www.sa.dyson.com
Dyson

3

4
1
2
3Dyson
4
5
6Dyson
.Dyson
7
8
9
Dyson
10
.Dyson
11
12
13

5
14
15
16
17
18
19
20
21
DYSON

6
Do not pull on
the cable.
Do not store
near heat
sources.
Do not use near
naked flames.
Do not carry
by the loop
amplifier.
READ AND SAVE THESE INSTRUCTIONS
THIS DYSON APPLIANCE IS INTENDED FOR HOUSEHOLD USE ONLY

7
IMPORTANT SAFETY INSTRUCTIONS
BEFORE USING THIS APPLIANCE READ ALL INSTRUCTIONS AND CAUTIONARY MARKINGS
IN THIS MANUAL AND ON THE APPLIANCE
When using an electrical appliance, basic precautions should always be followed, including
the following:
WARNING
THE APPLIANCE AND THE REMOTE CONTROL BOTH CONTAIN MAGNETS.
1. Pacemakers and defibrillators may be affected by strong magnetic fields. If you or someone in
your household has a pacemaker or defibrillator, avoid placing the remote control in a pocket or
near to the appliance.
2. Credit cards and electronic storage media may also be affected by magnets and should be kept
away from the remote control and the top of the appliance.
WARNING
These warnings apply to the appliance, and also where applicable, to all tools, accessories,
chargers or mains adaptors.
TO REDUCE THE RISK OF FIRE, ELECTRIC SHOCK, OR INJURY:
3. This Dyson appliance is not intended for use by persons (including children) with reduced physical,
sensory or mental capabilities, or lack of experience and knowledge, unless they have been given
supervision or instruction by a responsible person concerning use of the appliance to ensure that
they can use it safely.
4. Ensure appliance is fully assembled in line with the instructions before use. Do not dismantle the
appliance or use without the loop amplifier fitted.
5. Do not allow to be used as a toy. Close attention is necessary when used by or near children.
Children should be supervised to ensure that they do not play with the appliance.
6. Use only as described in this Dyson Operating Manual. Do not carry out any maintenance other
than that shown in this manual, or advised by the Dyson Customer Care Helpline.
7. Suitable for dry location ONLY. Do not use outdoors or on wet surfaces and do not expose to
water or rain.
8. Do not handle any part of the plug or appliance with wet hands.
9. Do not operate any appliance with a damaged cable or plug. Discard the appliance or return to
an authorised service facility for examination and/or repair. If the supply cable is damaged it must
be replaced by Dyson, its service agent or similarly qualified person in order to avoid a hazard.
10. If the appliance is not working as it should, has received a sharp blow, has been dropped,
damaged, left outdoors, or dropped into water, do not use and contact the Dyson Helpline.
11. Do not stretch the cable or place the cable under strain. Keep cable away from heated surfaces.
12. Do not route the cable under furniture or appliances. Do not cover cable with throw rugs, runners
or similar coverings. Arrange cable away from traffic area and where it will not be tripped over.
13. Do not unplug by pulling on the cable. To unplug, grasp the plug, not the cable. The use of an
extension cable is not recommended.
14. Do not put any object into openings or the inlet grille. Do not use with any opening blocked; keep
free of dust, lint, hair, and anything that may reduce airflow.
15. Do not use any cleaning agents or lubricants on this appliance. Unplug before cleaning or
carrying out any maintenance.
16. Always carry the appliance by the base, do not carry it by the loop amplifier.
17. Turn off all controls before unplugging. Unplug before connecting any tool or accessory.
18. To avoid a tripping hazard wind the cable when not in use.
19. Do not use near furnaces, fireplaces, stoves or other high temperature heat sources.
20. Do not use in conjunction with or directly next to an air freshener or similar products. Keep
essential oils and chemicals away from the appliance.
21. Choking hazard - This remote control unit contains a small battery. Keep the remote control away
from children and do not swallow the battery. If the battery is swallowed seek medical advice
at once.

8
123
456
7
6 sec
clik clik
LED
6
8

9
123
456
7
6 sec
clik clik
10 LED
9

10
1 2 3
4 5 6
7
6 sec
click click
When your non-washable filter unit
needs replacing the appliance will
display the pattern shown. To replace
the non-washable filter unit, follow these
steps.
A clockwise-rotating loading pattern
will be shown on the LED display.
Once the loading pattern is
complete, the appliance will
return to its normal usage.
When you have re-assembled your appliance, press and
hold the 'Standby ON/OFF' button for 6 seconds.
Replacing the filter unit
10

11
1 2 3
4 5 6
7
6 sec
click click
Control
Clearing blockages
Cleaning
To operate,
point the remote
control toward
the front of the base.
Standby ON/OFF
Attach the remote control
to the top of the appliance
with the buttons facing down.
Select a high flow of air.
Select a low flow of air.
Airflow
control
Standby
ON/OFF
Oscillation
ON/OFF
Sleep timer To set the sleep timer, select the
desired time. When time reaches
zero, the appliance will go into
standby mode. To cancel, reduce
the time until two dashes appear.
When using the sleep timer,
the LED display will turn off
after 10 seconds of inactivity.
Look for blockages in the small
aperture inside the loop amplifier.
Use a soft brush to remove debris.
Look for blockages
in the air inlet holes.
Use a soft brush to
remove debris.
To clean, wipe with
a dry or damp cloth.
Do not use detergents
or polishes to clean
the appliance.
11

12
AR
LED
10 LED
10 LED
CR
.www.dyson.com/filter
Dyson
Dyson
.Dyson

13
USING YOUR DYSON MACHINE
PLEASE READ THE ‘IMPORTANT SAFETY INSTRUCTIONS’ IN
YOUR DYSON USER MANUAL BEFORE PROCEEDING.
LOOKING AFTER YOUR DYSON MACHINE
• Do not carry out any maintenance or repair work other than that shown in your
Dyson User manual, or advised by the Dyson Helpline.
• Always disconnect the plug from the mains before inspecting for problems. If the
machine will not operate, first check the mains socket has an electricity supply
and that the plug is properly inserted into the socket.
CONTROL WITHOUT THE REMOTE
• Press the Standby button on the appliance to turn ON/OFF.
• Press and hold the Standby button on the appliance to adjust the airflow. Airflow
will increase to a maximum before decreasing.
• The oscillation function and sleep timer cannot be operated without the remote
control.
LED DISPLAY
• The LED Display will dim after 10 seconds of use.
• Press any button, other than the standby ON/OFF, to reactivate
• Do not press standby ON/Off as this will turn the appliance off.
SLEEP TIMER
To set the sleep timer, press and hold the timer button to select the desired time.
When time reaches zero, the appliance will go into standby mode. To cancel,
reduce the time until two dashes appear.
• The LED display will turn off after 10 seconds of inactivity - this is a power saving
feature and avoids light interference at night time.
• Press any button, other than the standby ON/OFF, to reactivate
• When sleep timer is ON, do not press the standby ON/OFF as this will turn the
appliance off and turn sleep timer off too.
REPLACEABLE PARTS
BATTERY REPLACEMENT
CAUTION
• Unscrew the battery compartment on the remote control. Loosen the base and
pull to remove the battery.
• Do not install backwards or short circuit the batteries.
• Do not attempt to dismantle or charge the batteries. Keep away from fire.
• Always replace the screw in the remote control and refer to the battery hazard in
the warning section.
• Follow battery manufacturers' instructions when installing new batteries (battery
type CR 2032).
• Limited functionality is available without the remote control (see 'Control without
the remote').
NON-WASHABLE FILTER UNIT
• Your filter unit is non-washable and non-recyclable.
• To replace your filter unit follow the steps as shown.
• Failure to replace the filter when prompted may result in changes to product
performance and appearance.
• A new filter unit can be purchased at www.dyson.com/filter.
DISPOSAL INFORMATION
• Dyson products are made from high grade recyclable materials. Recycle where
possible.
• The battery should be removed from the product before disposal.
• Your filter unit is non-washable and non-recyclable.
• Dispose of or recycle the battery in accordance with local ordinances or
regulations.
GUARANTEE TERMS & CONDITIONS
Please contact Ayan Trading (SA) or Jumbo Electronics Co. Ltd (LLC)(UAE) for
the terms and conditions of your guarantee.
Please keep your invoice to validate your guarantee.
IMPORTANT DATA PROTECTION INFORMATION
• Your information will be held by Dyson and its agents for promotional,
marketing and servicing purposes.
• If your personal details change, if you change your mind about any of your
marketing preferences or if you have any queries about how we use your
information, please contact the Dyson Helpline.
• For more information on how we protect your privacy, please see our privacy
policy on the Dyson website.

14
A M11
1. The Power Factor Power factor approximately 0.5114
2. The Number of speed and the
value of each (rev/min):
10 Speed setting
1500-‐8500 RPM
3. The rated air delivery (m3/min): 22.8
4. Insulation of Machine: Double Insulation
A M11
1 0. 5114
2
8500 ‐10
33
22, 8
4

15

Dyson
www.sa.dyson.com
Dyson
920024440000
25200
JN.103814 PN.304168-06-03 21.08.19
Dyson Customer Care
If you have a question about your Dyson appliance, call the Dyson
Customer Care Helpline with your serial number and details of where and
when you bought the appliance, or contact us via the Dyson website.
Dyson Contact Details
SA
Website: www.sa.dyson.com
Dyson Helpline:
90024440000
Address:
Ayan Distribution, Al Reem Center, Al Rawdah St., Al Rawdah District,
Jeddah 25200.
UAE
Website: www.dyson.ae
Dyson Helpline:
800 Jumbo (58626)
Email:
Customer.svc@jumbo.ae
Address:
Jumbo Electronics Co. Ltd (LLC)
ESAG Building, Karama
Mail --3,246, Dubai
United Arab Emirates
www.dyson.ae
Jumbo800 58626
Customer.Svc@jumbo.ae
uae@dyson.com
3246
Dyson
Dyson
Dyson
Dyson
Table of contents
Languages:
Other Dyson Fan manuals

Dyson
Dyson AM 06 User manual

Dyson
Dyson AM03 User manual

Dyson
Dyson AM01 User manual

Dyson
Dyson AM01 User manual

Dyson
Dyson Airblade Wash+Dry Quick start guide

Dyson
Dyson HP03 User manual

Dyson
Dyson AM 08 User manual

Dyson
Dyson AM02 User manual

Dyson
Dyson air multiplier User manual

Dyson
Dyson AM01 User manual