This device complies with Part 15
of FCC rules. Operation is subject
to the following 2 conditions: (1)
This device may not cause
harmful interference, and (2) This
device must accept any
interference received, including
interference that may cause
undesired operation.
Adjusting for Fit &
Performance
Battery arrives with its contacts taped:
•Pull battery from compartment, remove the tape, re-insert battery.
Leatherette earpad option is included.
•To change, twist foam earpad counter clockwise to remove. Locate “T” for top on
leatherette plate, align slots on earpad plate with three plastic tabs on speaker plate and
twist earpad plate clockwise to lock into place.
Adjust the headband slides so that the padded battery compartment is positioned at your temple.
The plastic headband can be adjusted either larger or smaller as necessary.
The microphone boom swivels 270° (over top) so the headset can be worn on either left or right ear.
Position the microphone capsule at one finger’s distance from the corner of
your mouth to ensure superior speech recognition and noise cancellation.
“TALK” identifies front of microphone: always have this indicator facing
Three Options to Connect / Pair to a Mobile Phone
QR Scanning - Quick response (QR) code
Allows Android phones with camera or scanning capability to scan the Headset QR
sticker for automatic pairing:
•Once App is downloaded, scan the 2D QR Code located on the headset’s battery compartment.
•Wait for the wireless connection confirmation on the phone screen, and select “OK”.
NFC Connecting - Near Field Communication
The headset sends a signal to the mobile phone to connect automatically:
•NFC antenna is located inside battery compartment latch, and indicated by
•With the phone’s NFC turned on, hold the mobile phone’s NFC antenna icon
against the headset’s battery compartment NFC antenna symbol.
•EARTEC will appear on the phone, which should be selected to complete pairing.
Discovery mode for mobile phones without built-in NFC or Android QR scan capability:
•Turn headset “ON” by pressing power button. The power button will alternately flash
red/blue and “Pairing” will be heard.
•Place the phone into scanning mode to discover nearby Bluetooth devices and put the
headset next to it.
•Select the headset icon to connect / pair instantly.
Regardless of pairing method used (above), the on/off button will change to a slow flashing blue light
(once every 1.5 seconds) after it has been successfully paired and connected to your mobile device.
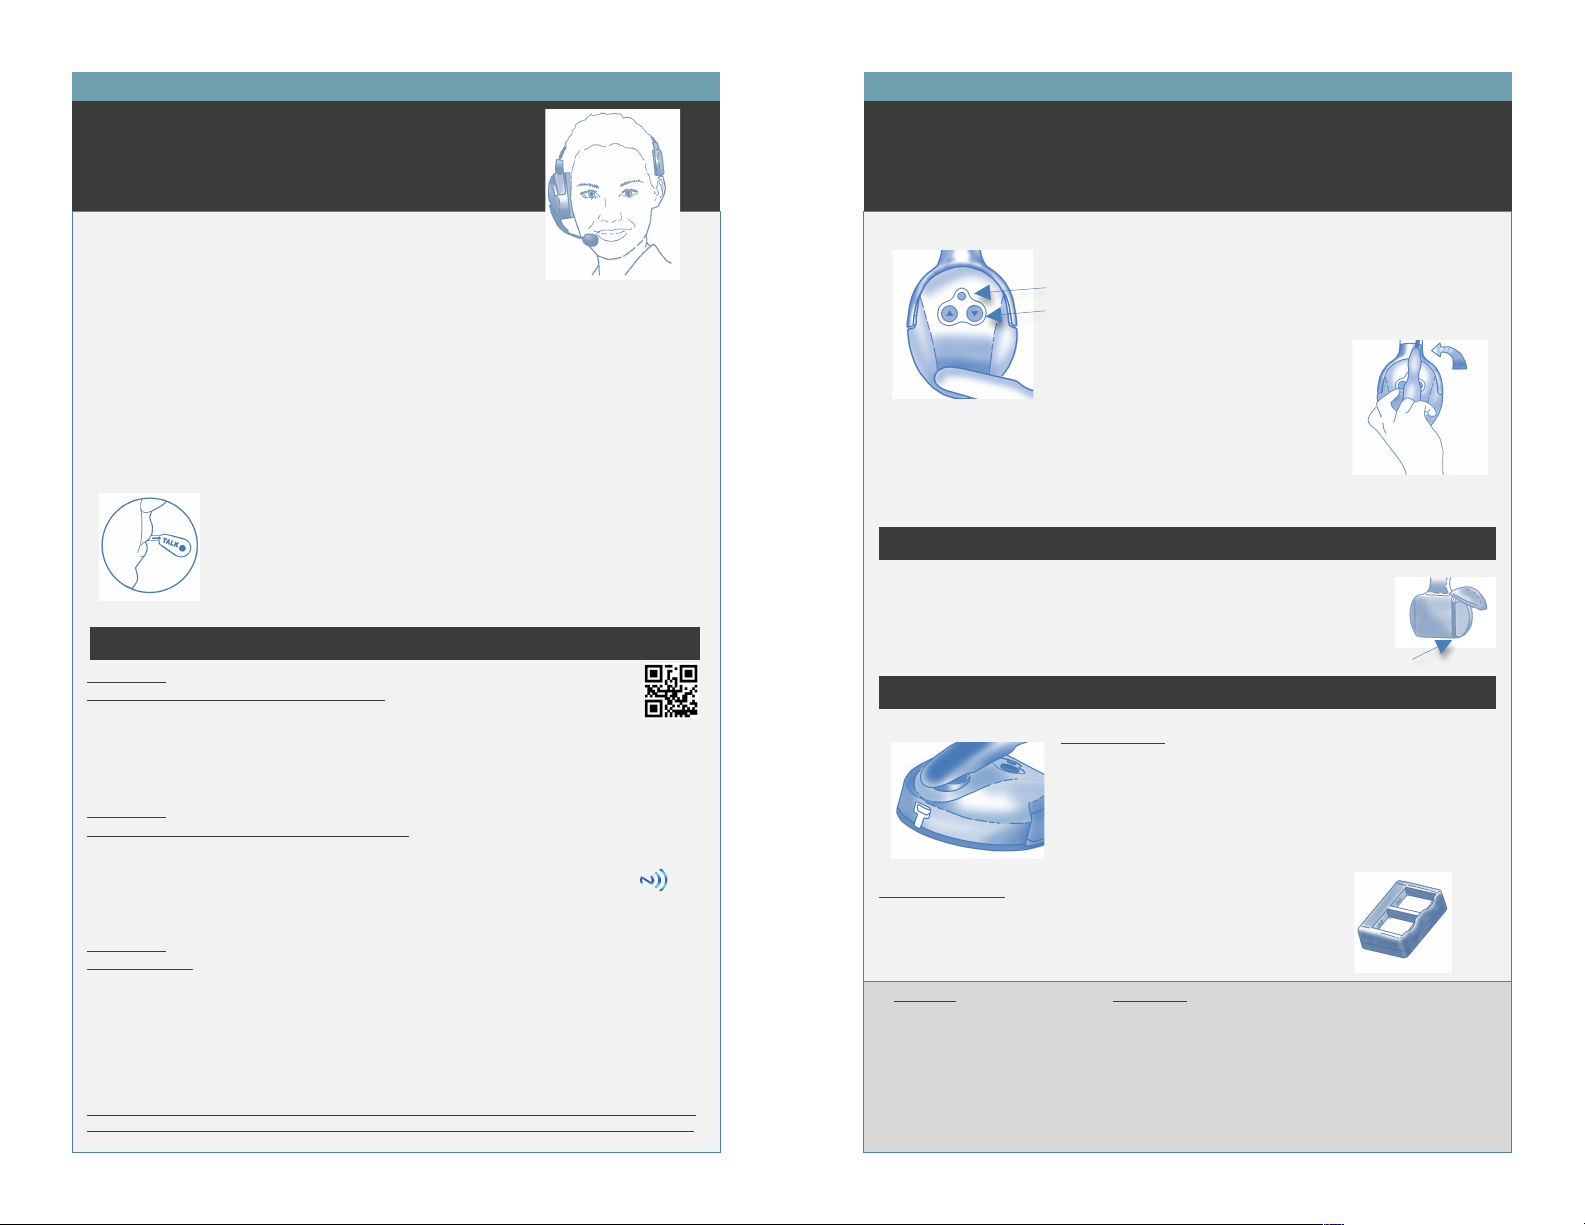
Click volume buttons up or
down slowly (1 per sec) to
allow for proper adjustment.
Insert battery into compartment, making sure contacts are properly aligned.
The battery is notched to ensure that it is inserted properly. If it doesn’t slide all
the way in, turn it the other direction, with contacts still facing into the
To answer an incoming call from the headset, do a quick press of the
To turn the OFF, press and hold the On/Off button for 4 seconds until you hear 4-declining tones.
Microphone mutes
automatically when boom
is in up position.
Battery Charging Note: Audible tone in headset indicates low battery.
LYNX headsets are powered by a Lithium Polymer battery that will
operate for 24 hours when fully charged.
Charging is performed with the battery installed inside the battery
compartment by connecting a USB cable (included).
A steady Red LED on the headset indicates charging. A steady Blue
LED indicates the battery is fully charged. Charging time appx. 3 hrs.
2-PORT CHARGER (optional accessory)
Click battery into cradle. The battery charging LED indicator is red during
charging, green when fully charged.
Bluetooth Version - 4.0 / Weight with battery 9 oz
Three Connectivity Options – QR Scan, NFC, Manual pairing
Low operating temperature -22F (-30C)
Battery Type – Lithium Polymer / Capacity 800 mAh / Voltage 3.7 V
Charging Time - 3 hours either by USB cable (incl.) or optional multi-
charger
Battery Operating time 24 hours when fully charged / Life expectancy –
700 Charging Cycles
Microphone – Super Cardioid Noise Cancelling


