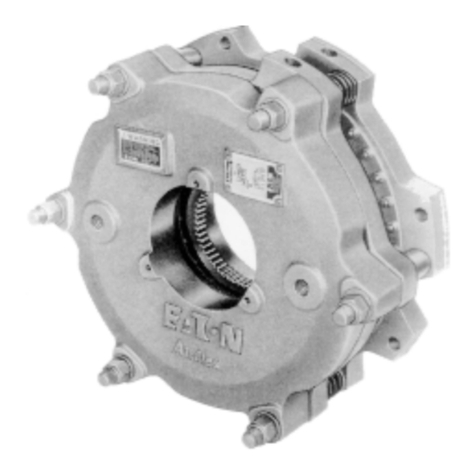
EATON WCB11070 WCB2 Tensioner/Brake Installation, Operation and Maintenance Manual E-CLCL-II016-E December 20168
WCB2 Tensioner/Brake
2.0 INSTALLATION
Warning
Only qualied maintenance personnel should install,
adjust or repair these units. Faulty workmanship
will result in unreasonable exposure to hazardous
conditions or personal injury.
Caution
Read these instructions thoroughly and review until
you fully understand the installation sequence before
proceeding with the work described in this section.
Failure to follow these instructions will result in
unreasonable exposure to hazardous conditions or
personal injury.
Caution
Do not paint the clamp tubes (12), wear spacers
(29), or the release springs (34), as this may hinder
the engagement or disengagement of the WCB2
tensioner/brake assembly.
Note: Some three and four disc units may require support on
the cylinder end of the WCB2 tensioner/brake assembly in
certain high torque applications. Contact the factory for specic
application information.
2.1 Preparation and Arrangements
2.1.1 Refer to the appropriate catalog information
(available upon request) for appropriate envelope
dimensions, mounting register diameters, mounting
bolt circles and positions, and stud support bracket
recommendations for each specic WCB2 tensioner/
brake assembly.
2.1.2 The WCB2 tensioner/brake assembly's reaction
member (such as the machine frame) should have
a machined register to allow for mounting and
alignment control of the WCB2 tensioner/brake
assembly. The mounting surface should be designed
to provide full support of the face of the mounting
ange (1), preventing deection during operation.
2.1.3 For proper operation and service life, the WCB2
tensioner/brake assembly's reaction member
must be aligned to the shaft within the limits
shown in Table 2.
Caution
Proper alignment is necessary to ensure that the
friction disc assemblies track properly. Improper
alignment will result in excessive wear to the friction
material and mating surfaces, plus the gear and
splined bore of the friction disc assemblies.
See Figure 3.
CORRECT INCORRECT
Figure 3
Table 2
Alignment Requirements
Concentricity
(Parallel, TIR) of Perpendicularly
Shaft and (Angular,TIR) of
tensioner/brake Mounting Flange to
Size assembly Inches (mm) Shaft* Inches (mm)
8WCB2 0.005 (0,13) 0.005 (0,13)
14WCB2 0.010 (0,25) 0.007 (0,18)
18WCB2 0.010 (0,25) 0.010 (0,25)
24WCB2 0.010 (0,25) 0.012 (0,30)
36WCB2 0.010 (0,25) 0.019 (0,48)
48WCB2 0.010 (0,25) 0.025 (0,64)
*Perpendicularity measured near the outside diameter of the mounting ange.
Table 3
"A" dimension on Figure 1 & 2 inches (mm)
Size 1xxWCB2 2xxWCB2 2xxWCB2 4xxWCB2
8WCB2 1.00 (25,4) 1.38 (35,0) 0.19 (4,8) N/A
14WCB2 1.06 (26,9) 1.69 (42,9) 1.06 (26,9) N/A
18WCB2 1.25 (31,8) 1.25 (31,8) 1.25 (31,8) 1.25 (31,8)
24WCB2 1.38 (35,1) 1.38 (35,1) 1.38 (35,1) 1.38 (35,1)
36WCB2 2.36 (59,9) 2.36 (59,9) 2.36 (59,9) 2.36 (59,9)
48WCB2 1.96 (50,0) 1.75 (44,0) 1.75 (44,0) 1.75 (44,0)
2.1.4 Refer to Table 3 for the setup dimension between
the WCB2 tensioner/brake assembly's mounting
surface and the end of the gear (dimension "A" on
Figure 1). Gears should be positioned to ensure
that when the WCB2 tensioner/brake assembly is
mounted the disc splines will not overhang the end
of the gear when components are in both new and
worn conditions. The gear is typically bored and
keyed for a resulting Class FN2S interference t
for inch shafting and ISO System S7h6 for metric
shafting. Contact Airex Application Engineering for
specic recommendations.
