manuals.online logo
Brands
  1. Home
  2. •
  3. Brands
  4. •
  5. Eaton
  6. •
  7. UPS
  8. •
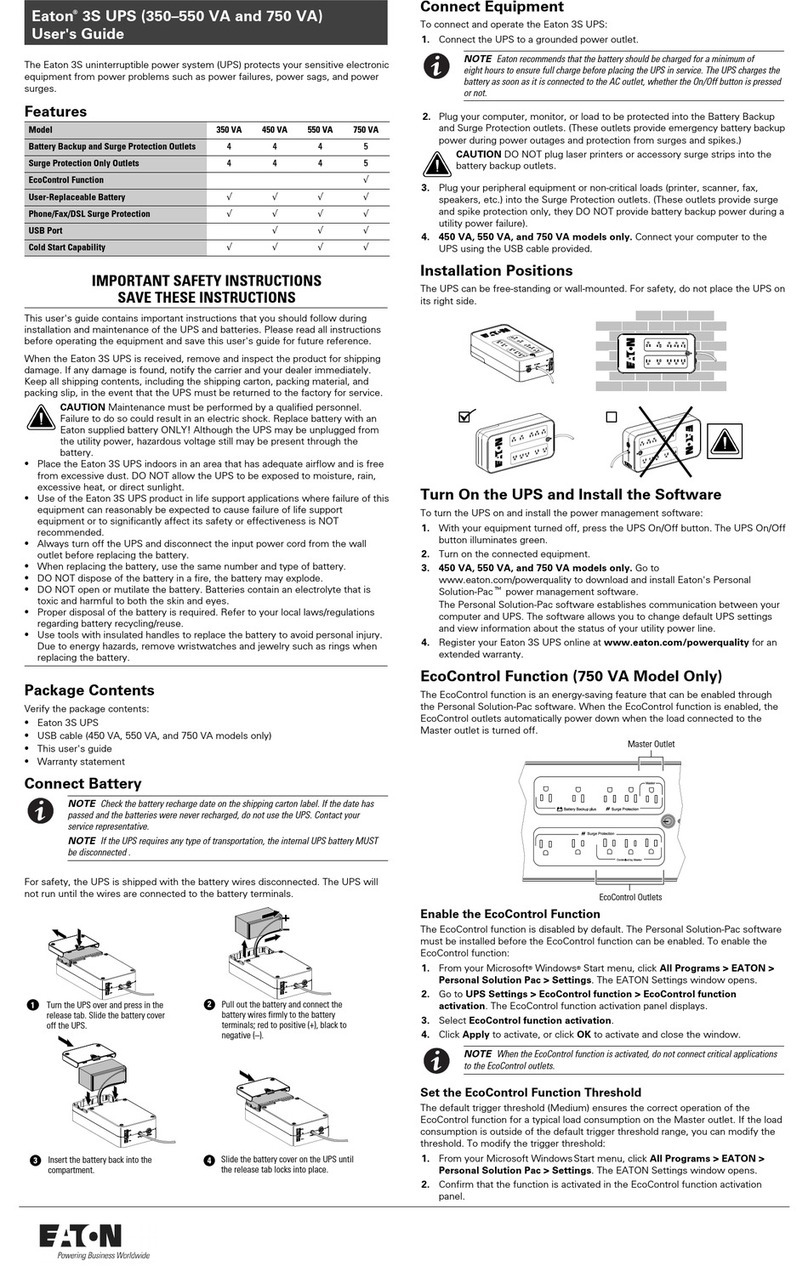
  9. Eaton Powerware 9125 User manual

Eaton Powerware 9125 User manual

9125
INSTALLATION INSTRUCTIONS
Seismic Kit
For use with Two-in-One
2500–3000 VA Models
www.powerware.com
Powerware is a registered trademark of Powerware Corporation.
Copyright 2003 Powerware Corporation, Raleigh, NC, USA. All rights reserved. No part of this document
may be reproduced in any way without the express written approval of Powerware Corporation.
3
Powerware®9125 (2500–3000 VA) Seismic Kit Installation Instructions SRev A www.powerware.com
Powerware 9125 (2500–3000 VA) Seismic Kit
The PowerwareR9125 (2500–3000 VA) seismic kit is available in two
models: a four-unit model and a six-unit model. The four-unit model can
secure up to four UPS, battery, or PowerPassRDistribution Module (PDM)
cabinets; the six-unit model holds up to six cabinets. Both models include
spacers for any extra openings.
Four-Unit Model
(Shown with Spacer)
Six-Unit Model
(Shown with Spacer)
Figure 1. Seismic Kits
The seismic kit includes:
쑺1 seismic base with casters
쑺1 front strap
쑺1 back strap with tabs
쑺4 seismic base angles
쑺4spacers
쑺8M6´16 hex bolts
쑺8M6lockwashers
쑺24 M4 ´8 Phillips hex-head screws with lockwashers
쑺6M4´10 Phillips hex-head screws with lockwashers
Powerware 9125 (2500–3000 VA) Seismic Kit
4Powerware®9125 (2500–3000 VA) Seismic Kit Installation Instructions SRev A www.powerware.com
The following steps explain how to install the seismic kit.
1. If you are bolting the cabinet to the floor, use the following drill
patterns to prepare the floor mounting holes.
60.85 cm
(23.96 in)
53.96 cm
(21.24 in)
48.00 cm
(18.90 in)
43.00 cm
(16.93 in)
Ø1.43 cm
(0.56 in)
Figure 2. Drill Pattern for the Four-Unit Model
Powerware 9125 (2500–3000 VA) Seismic Kit
5
Powerware®9125 (2500–3000 VA) Seismic Kit Installation Instructions SRev A www.powerware.com
60.85 cm
(23.96 in)
53.96 cm
(21.24 in)
60.40 cm
(23.78 in)
65.41 cm
(25.75 in)
Ø1.43 cm
(0.56 in)
Figure 3. Drill Pattern for the Six-Unit Model
Powerware 9125 (2500–3000 VA) Seismic Kit
6Powerware®9125 (2500–3000 VA) Seismic Kit Installation Instructions SRev A www.powerware.com
2. Attach the front and back straps to the base using the supplied
M6 ´16 hex bolts and lockwashers (see Figure 4). Verify the
straps align with the front and back edges of the base.
NOTE For floor mounting, also attach the seismic base angles with the
front and back straps as shown in Figure 5.
NOTE The base casters are removeable. To mount the seismic kit flush
with the floor, remove the casters and secure the base angles using the
inside screw position.
Figure 4. Attaching the Straps
Figure 5. Seismic Base Angles for Floor Mounting
Powerware 9125 (2500–3000 VA) Seismic Kit
7
Powerware®9125 (2500–3000 VA) Seismic Kit Installation Instructions SRev A www.powerware.com
3. On the back of each cabinet, remove the screw on the top left
corner and discard (see Figure 6).
Figure 6. Removing Cabinet Screws
4. Beginning with a middle position, slide each cabinet into place.
NOTE The PDM must be installed to the left of the UPS and the EBM(s)
must be installed to the right of the UPS.
Figure 7. Sliding in a Cabinet
Powerware 9125 (2500–3000 VA) Seismic Kit
8Powerware®9125 (2500–3000 VA) Seismic Kit Installation Instructions SRev A www.powerware.com
5. Attach the cabinet to the tab on the back strap by installing one
of the supplied M4 ´10 Phillips hex-head screws (see Figure 8).
Figure 8. Securing the Cabinet to the Back Strap
6. Fasten the top of the cabinet to the front strap with two of the
supplied M4 ´8 Phillips hex-head screws.
Figure 9. Securing the Front Strap
Powerware 9125 (2500–3000 VA) Seismic Kit
9
Powerware®9125 (2500–3000 VA) Seismic Kit Installation Instructions SRev A www.powerware.com
7. Install the remaining cabinets, leaving any empty slots to the
outside position(s).
If there is an empty slot, install spacers to complete the seismic
kit. Attach the spacer to the front and back straps using the
supplied M4 ´8 Phillips hex-head screws.
Figure 10. Installing Spacers
8. Roll the loaded cabinet to its permanent location.
If you installed seismic base angles, secure the base to the floor
with earthquake bolts (not provided).
Figure 11. Floor Mounting
Powerware 9125 (2500–3000 VA) Seismic Kit
10 Powerware®9125 (2500–3000 VA) Seismic Kit Installation Instructions SRev A www.powerware.com

Other manuals for Powerware 9125

9

Other Eaton UPS manuals

Eaton 9SX Series User manual

Eaton

Eaton 9SX Series User manual

Eaton DX RT 6K UPS User manual

Eaton

Eaton DX RT 6K UPS User manual

Eaton Power Xpert 9395P-900 Series User manual

Eaton

Eaton Power Xpert 9395P-900 Series User manual

Eaton DIN500AC Installation and operating manual

Eaton

Eaton DIN500AC Installation and operating manual

Eaton 93PM Series User manual

Eaton

Eaton 93PM Series User manual

Eaton Ellipse ECO 500 User manual

Eaton

Eaton Ellipse ECO 500 User manual

Eaton Powerware 9170+ User manual

Eaton

Eaton Powerware 9170+ User manual

Eaton Powerware 5125 User manual

Eaton

Eaton Powerware 5125 User manual

Eaton Powerware 9355 User manual

Eaton

Eaton Powerware 9355 User manual

Eaton Powerware 9130 User manual

Eaton

Eaton Powerware 9130 User manual

Eaton 9PX 5000 User manual

Eaton

Eaton 9PX 5000 User manual

Eaton 93E User manual

Eaton

Eaton 93E User manual

Eaton BladeUPS none User manual

Eaton

Eaton BladeUPS none User manual

Eaton Powerware Series User manual

Eaton

Eaton Powerware Series User manual

Eaton Powerware 5125 User manual

Eaton

Eaton Powerware 5125 User manual

Eaton 9E 10000i User manual

Eaton

Eaton 9E 10000i User manual

Eaton Powerware 9130 User manual

Eaton

Eaton Powerware 9130 User manual

Eaton Powerware 9125 User manual

Eaton

Eaton Powerware 9125 User manual

Eaton Powerware 9170+ UPS 3-18 kVA User manual

Eaton

Eaton Powerware 9170+ UPS 3-18 kVA User manual

Eaton 5000 VA User manual

Eaton

Eaton 5000 VA User manual

Eaton Powerware 9390 User manual

Eaton

Eaton Powerware 9390 User manual

Eaton 350 VA User manual

Eaton

Eaton 350 VA User manual

Eaton 9393PM Manual

Eaton

Eaton 9393PM Manual

Eaton Evolution 650/650 Rack 1UEvolution 850 User manual

Eaton

Eaton Evolution 650/650 Rack 1UEvolution 850 User manual

Popular UPS manuals by other brands

Mustek POWERMUST 424 OFFLINE user manual

Mustek

Mustek POWERMUST 424 OFFLINE user manual

Huawei PDU8000 Series Quick installation guide

Huawei

Huawei PDU8000 Series Quick installation guide

ION F-18 user manual

ION

ION F-18 user manual

Ametek 387 Service manual

Ametek

Ametek 387 Service manual

Omron Powli BU1002SW instruction manual

Omron

Omron Powli BU1002SW instruction manual

CyberPower CP850AVRLCD user manual

CyberPower

CyberPower CP850AVRLCD user manual

BPC PowerPro HP310 user manual

BPC

BPC PowerPro HP310 user manual

MGE UPS Systems Pulsar Extreme 3200C Installation and user manual

MGE UPS Systems

MGE UPS Systems Pulsar Extreme 3200C Installation and user manual

MGE UPS Systems PULSAR ELLIPSE 500 Installation and user manual

MGE UPS Systems

MGE UPS Systems PULSAR ELLIPSE 500 Installation and user manual

Panamax MB1000 Notice

Panamax

Panamax MB1000 Notice

Huawei UPS2000-G-3 kVA user manual

Huawei

Huawei UPS2000-G-3 kVA user manual

Altos AcerAltos City650 user manual

Altos

Altos AcerAltos City650 user manual

Sanyo Denki SANUPS E11A102A instruction manual

Sanyo Denki

Sanyo Denki SANUPS E11A102A instruction manual

socomec NETYS PL Installation and operating manual

socomec

socomec NETYS PL Installation and operating manual

Omron BL50T instruction manual

Omron

Omron BL50T instruction manual

VERITAS NetBackup White paper

VERITAS

VERITAS NetBackup White paper

Vesta VT525P user manual

Vesta

Vesta VT525P user manual

Belkin P73220uk user manual

Belkin

Belkin P73220uk user manual

manuals.online logo
manuals.online logoBrands
  • About & Mission
  • Contact us
  • Privacy Policy
  • Terms and Conditions

Copyright 2025 Manuals.Online. All Rights Reserved.