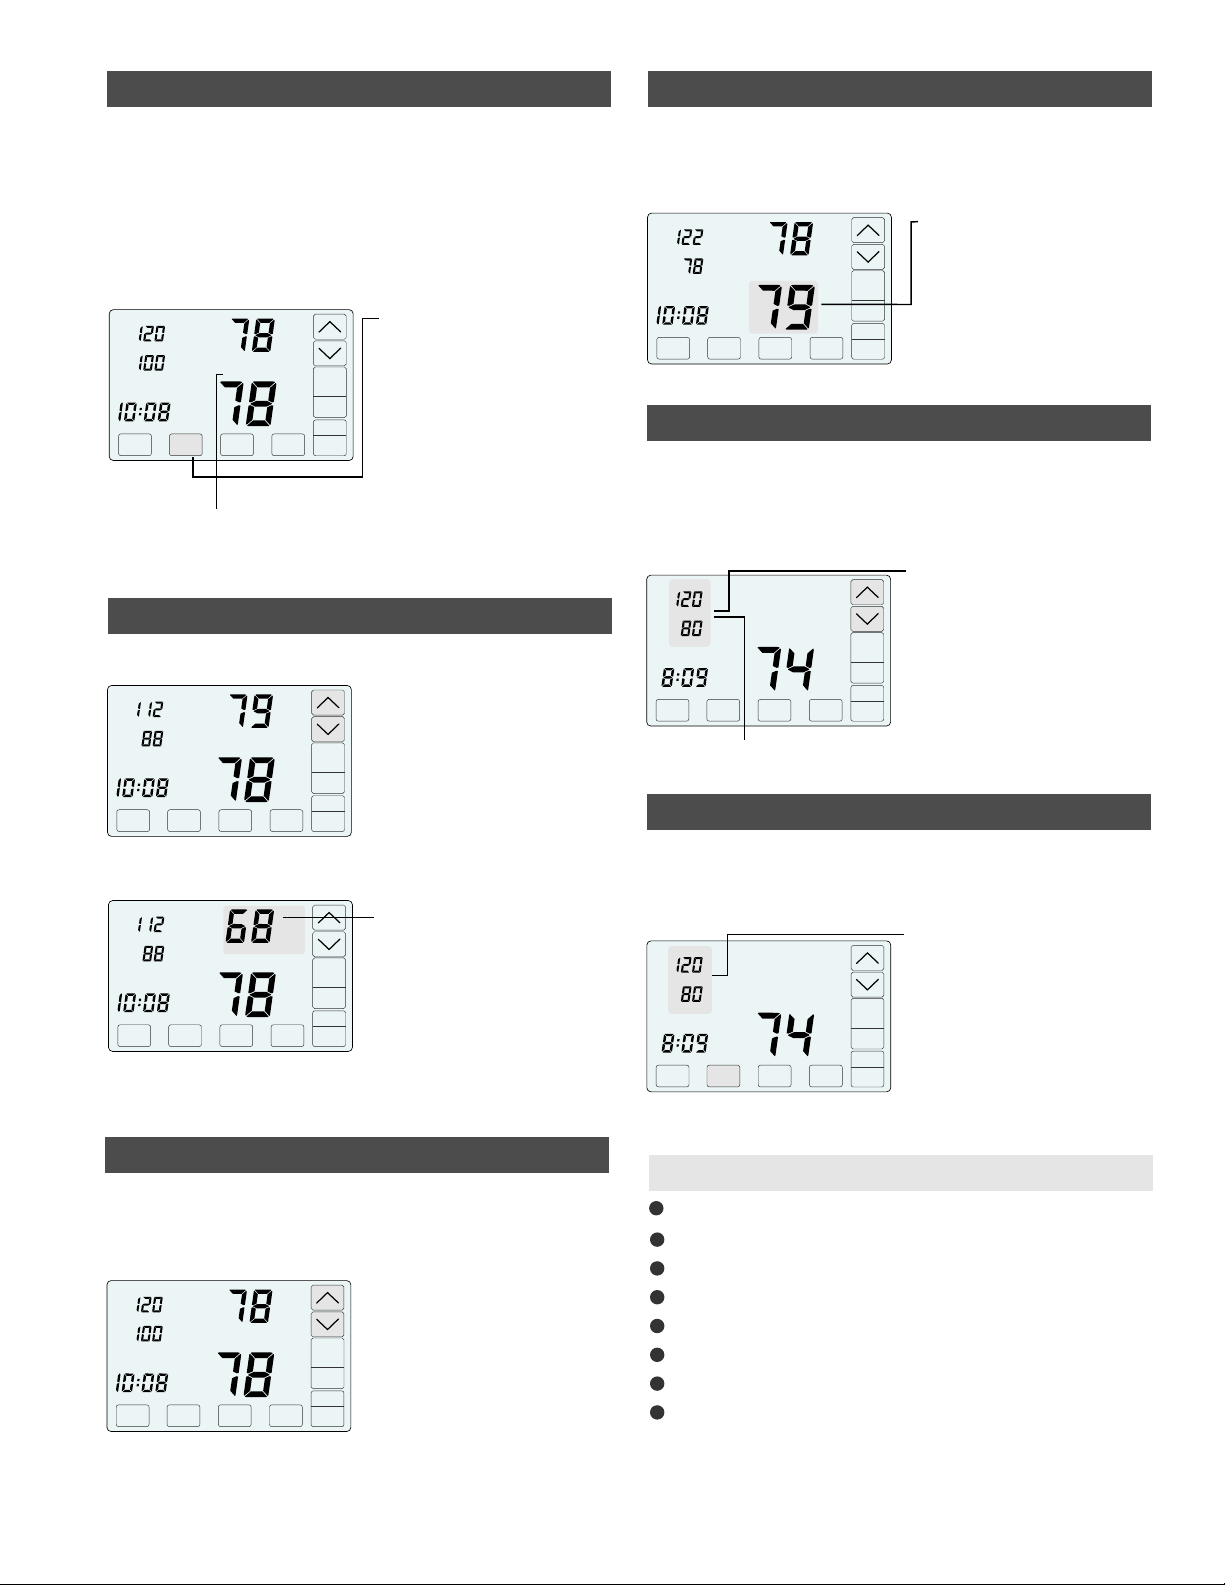
Changing the Setpoint Temperature
The UP/DOWN keys are used to change the setpoint temperature.
Inside
Tu
Day
Upstairs
Auto
Downstairs
Airflow %
COOL
Schedule
AUTO
FANMENU MODE
Cool
Set To
SYSTEM
AM
Touch the UP key to raise setpoint
temperature.
Touch the DOWN key to lower setpoint
temperature.
To display the opposing system setpoint, touch the area shown below.
An active heating call is indicated by
HEAT blinking. An active cooling call
is indicated by COOL blinking.
Upstairs
Touch here to display and change
the opposing setpoint temperature.
Heat
Airflow %
Set To
Auto Schedule
Downstairs
Inside COOL
Day
Tu
SYSTEM
AM
AUTO
FANMENU MODE
Touch the UP/DOWN keys to change the
setpoint temperature for the opposing
system. The thermostat will return to
displaying the active setpoint after about
30 seconds.
Temperature Override
If the thermostat is in SCHEDULE MODE, the setpoint temperature can
be overridden using the UP/DOWN keys. The setpoint temperature will
be held for 3 hours. After 3 hours the thermostat returns to normal
operation.
Inside
Tu
Day
Upstairs
Auto
Downstairs
Airflow %
COOL
Schedule
AUTO
FANMENU MODE
Cool
Set To
SYSTEM
AM
Touch the UP/DOWN keys to adjust the
setpoint temperature.
After 3 hours, the thermostat returns
to normal thermostat operation.
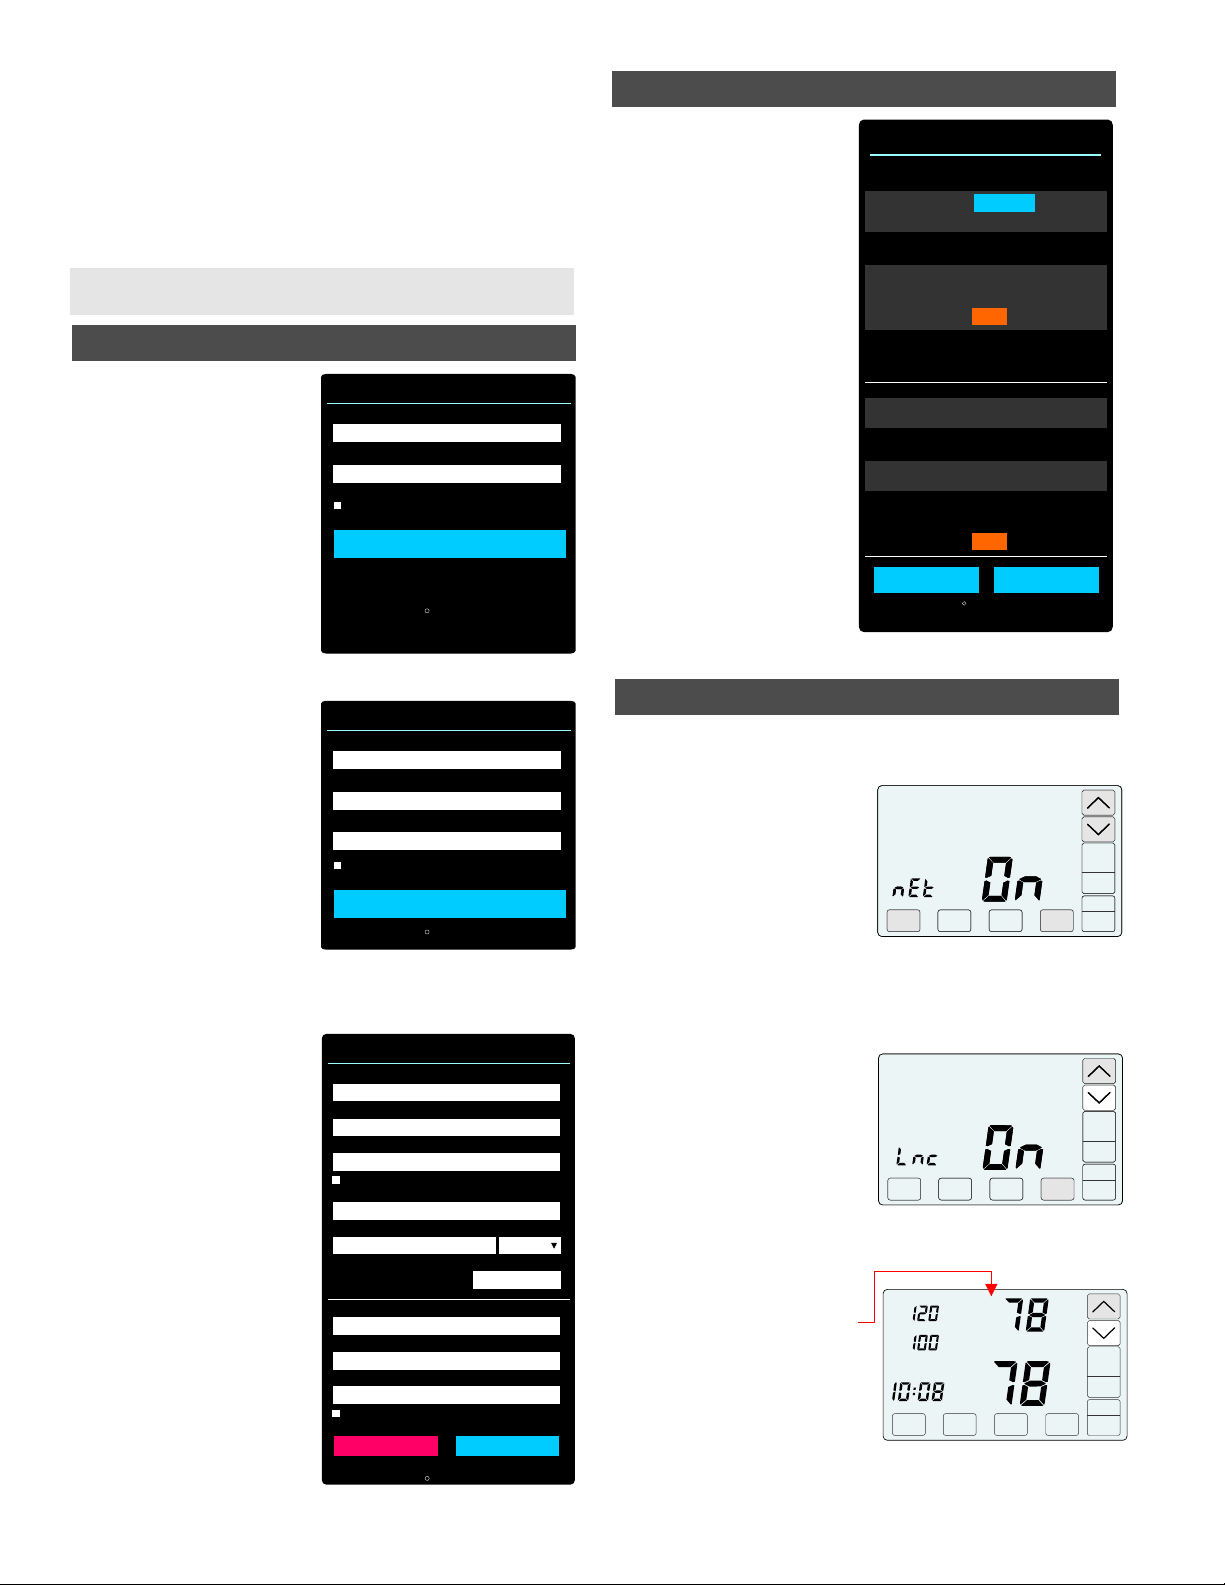
Set Thermostat Mode
Touch the key to display the THERMOSTAT MODES -
SCHEDULE, HOLD and VACANT.
In SCHEDULE MODE, the setpoint temperature is automatically
changed at the scheduled times as long as the SYSTEM MODE is in
AUTO. In HOLD MODE, the thermostat uses the temperatures set by
the user, ignoring the schedule. In VACANT MODE, the thermostat
uses the energy saving Vacant heating and cooling setpoints set by the
installer until the mode is changed.
MODE
Inside
Tu
Day
Upstairs
Auto
Downstairs
Airflow %
COOL
Schedule
AUTO
FANMENU
Cool
Set To
SYSTEM
AM
Touch and hold the MODE key
to select:
SCHEDULE
HOLD
VACANT
Setpoint temperatures are changed
at scheduled times defined by the user.
Setpoint temperatures are set by
the user. No schedule is used.
Setpoint temperatures are kept at the
vacant temperatures set by the installer.
Displays the Mode.
MODE
Displaying the Upstairs Temperature
The thermostat displays the downstairs temperature and is indicated
by INSIDE. The upstairs temperature will be indicated by INSIDE2. In
Night Mode, the thermostat displays the upstairs temperature,
indicated by INSIDE2.
Inside2
We
Day
Upstairs
Auto
Downstairs
Airflow %
COOL
Schedule
AUTO
FANMENU MODE
Cool
Set To
SYSTEM
AM
To display the upstairs temperature,
touch the INSIDE temperature as
indicated. The thermostat will now
display the upstairs temperature,
indicated by INSIDE2.
After about 30 seconds, the
thermostat will return to displaying
the downstairs temperature.
Overriding Automatic Airflow
Terminating Airflow Override
In AUTOMATIC AIRFLOW MODE, the user can override the airflow to
the upstairs and downstairs by pressing AIRFLOW % in the area
shown and then use the UP/DOWN keys to adjust the airflow. After 3
hours, the thermostat returns to automatic operation. UPSTAIRS,
AIRFLOW% and DOWNSTAIRS blink when in airflow override.
AIRFLOW OVERRIDE can terminated by pressing in the
area shown and then pressing the Mode key. The thermostat returns
to automatic airflow control. The AIRFLOW % returns to the airflow
prior to the override.
AIRFLOW %
Touch AIRFLOW% as shown.
Touch the UP key to increase the
upstairs airflow (the downstairs airflow
will automatically decrease). Touch the
DOWN key to increase downstairs airflow
(the upstairs airflow will automatically
decrease).
The override range is defined by the
installer during set up.
Touch AIRFLOW% as shown.
Touch the MODE key to terminate airflow
override.
The thermostat returns to automatic
airflow control. The AIRFLOW % returns
to the airflow prior to the override.
Inside
Inside
We
We
Eve
Eve
Upstairs
Upstairs
Auto
Downstairs
Downstairs
Airflow %
Airflow %
COOL
COOL
Hold
Hold
AUTO
AUTO
FAN
FAN
MENU
MENU
MODE
MODE
SYSTEM
SYSTEM
PM
PM
This area will blink when
in airflow override.
User Options
Selecting Manual or Auto Airflow
Turning Nighttime Airflow Option On or Off
Setting Nighttime Airflow in Heating
Setting Nighttime Airflow in Cooling
Cleaning the Touchscreen
Turning WiFi On or Off
Linking WiFi Thermostat
Set Schedule
5