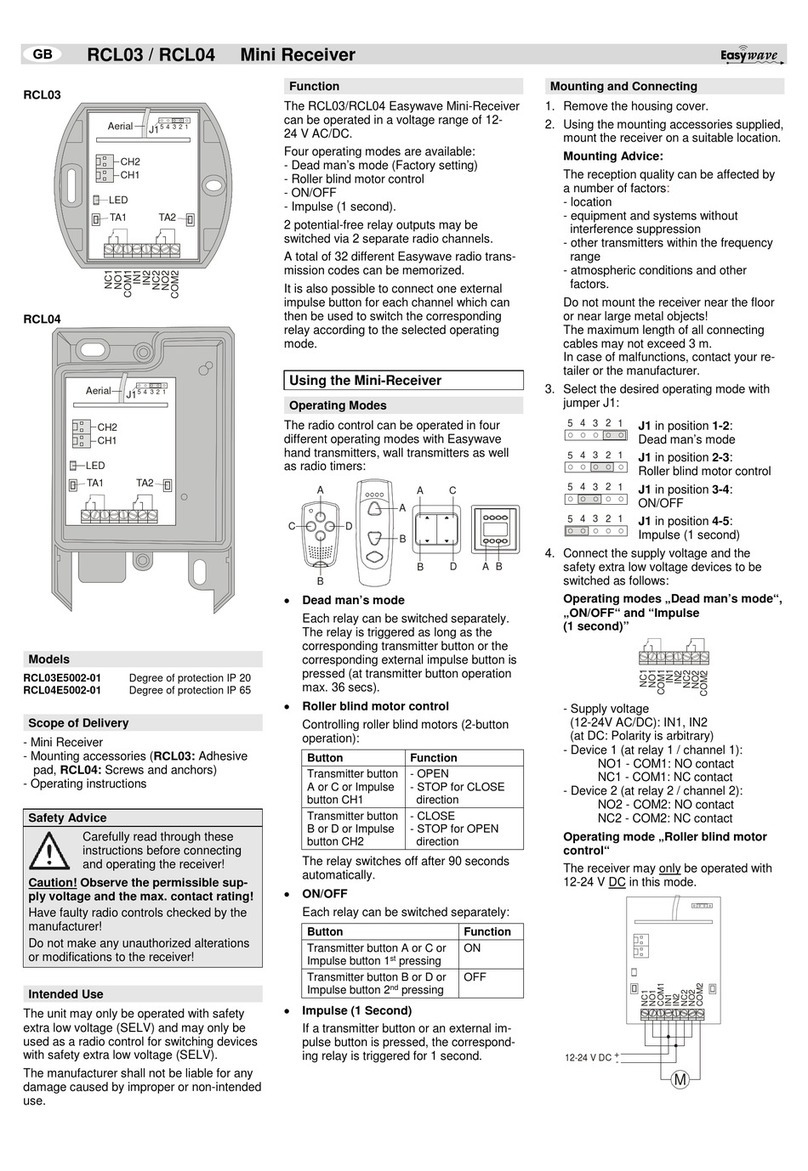
ROLLER BLIND MOTOR CONTROL
The receiver may only be operated with
12-24 V DC in this mode.
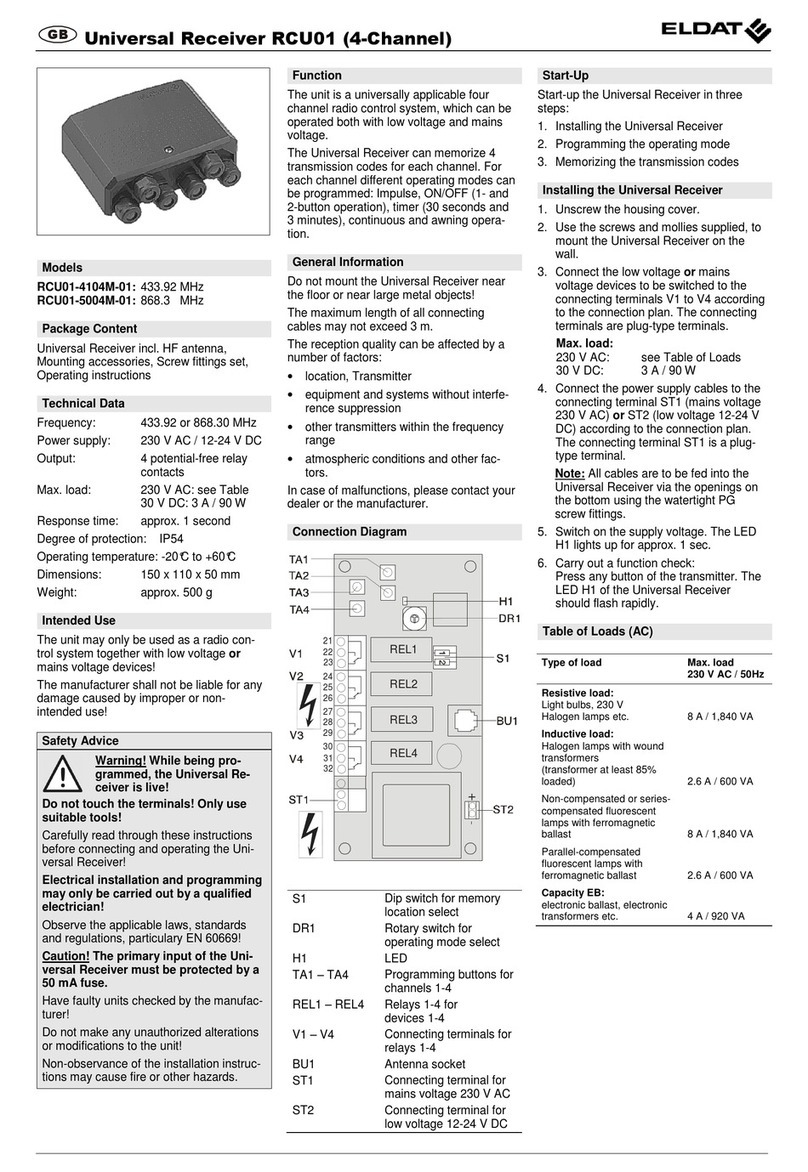
5. If necessary, connect the external impulse
buttons as follows:
- Impulse button 1 (for relay 1): CH1
- Impulse button 2 (for relay 2): CH2
Note: The external impulse buttons work in
the selected operating mode.
Note: (only RCL04) All cables are to be fed
into the receiver via the opening on the bottom
using the watertight PG screw tting.
6. Transfer the codes of the transmitters to the
receiver (see section “Memorizing the trans-
mission codes (Programming)“).
7. Re-install the housing cover.
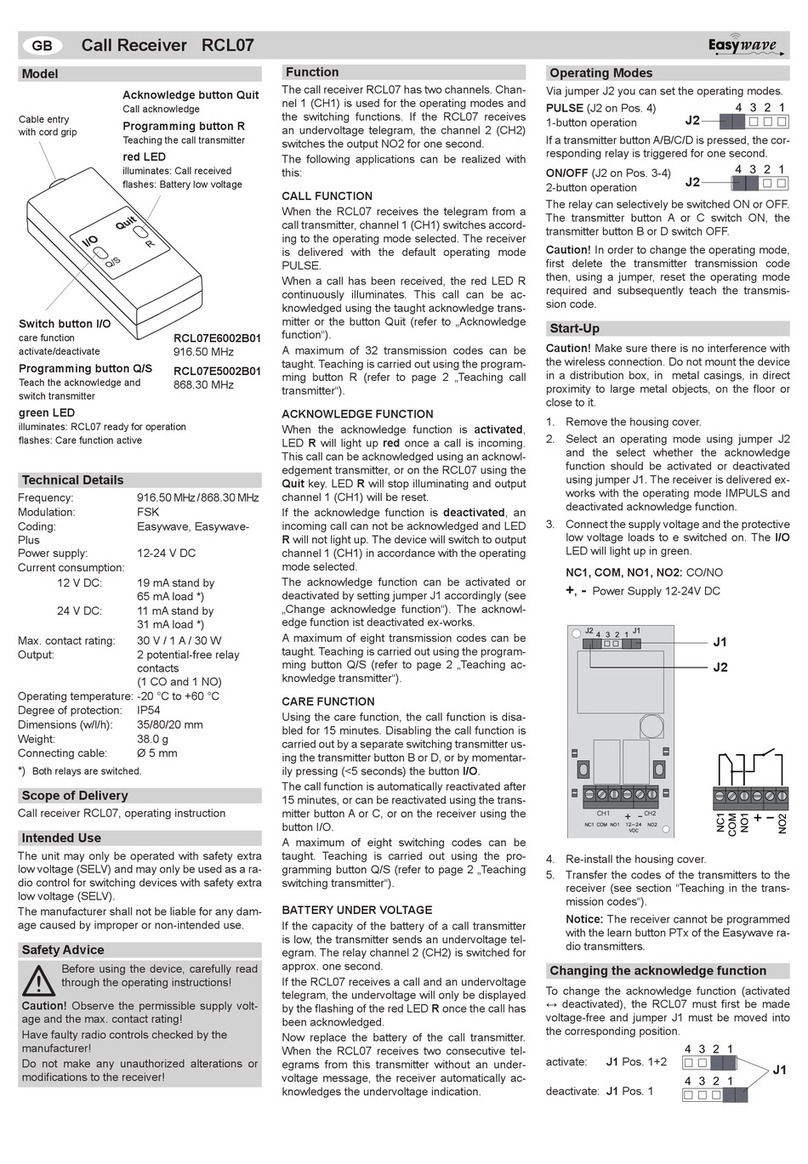
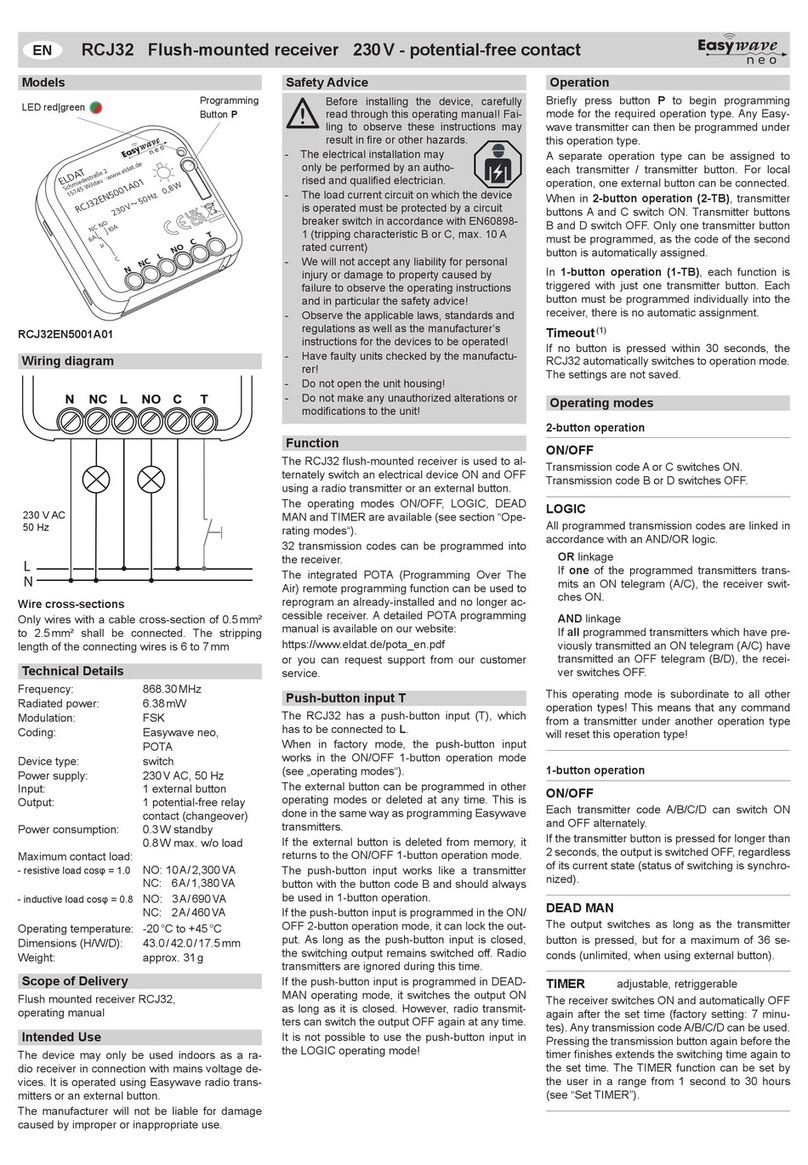
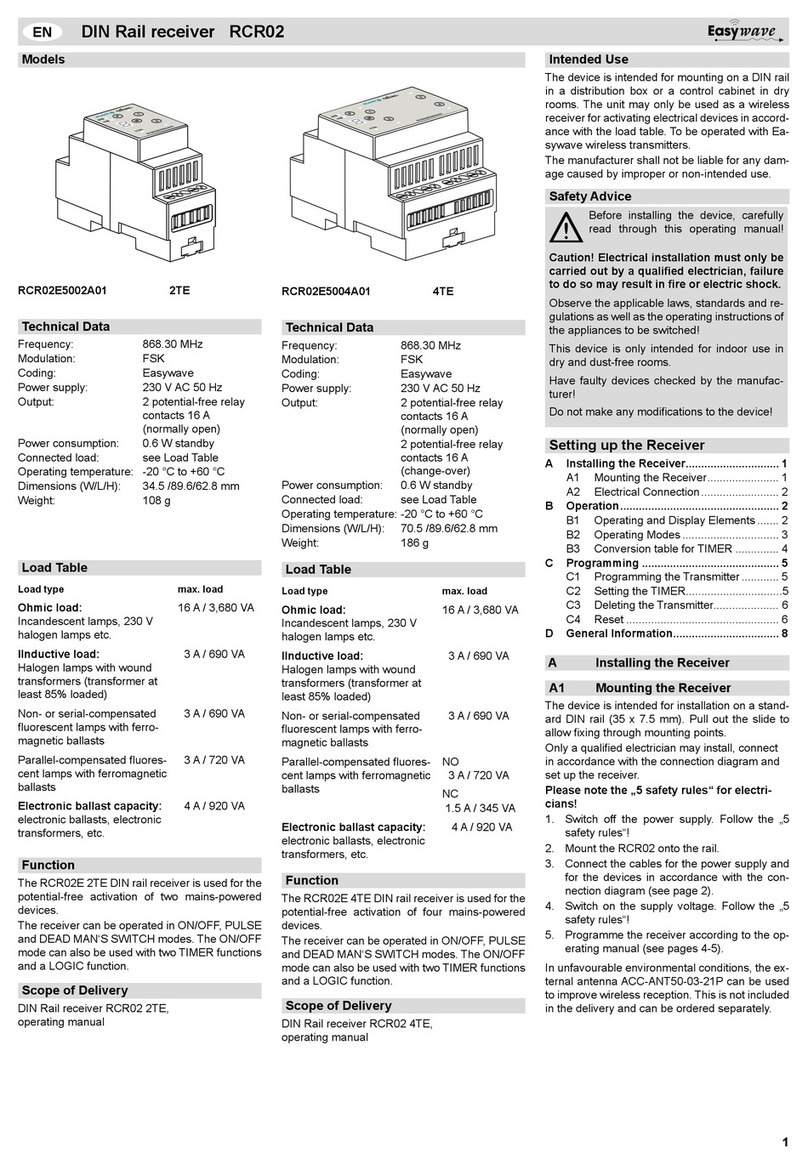
Memorizing the Transmission Codes
(Programming)
In the “Memorizing the Transmission Codes”
mode you can transfer the codes of your transmit-
ter buttons to the receiver.
The selected operating mode is adopted as a re-
sult of the memorizing process and applies to the
transmission code currently memorized. A total of
32 trans-mission codes can be memorized.
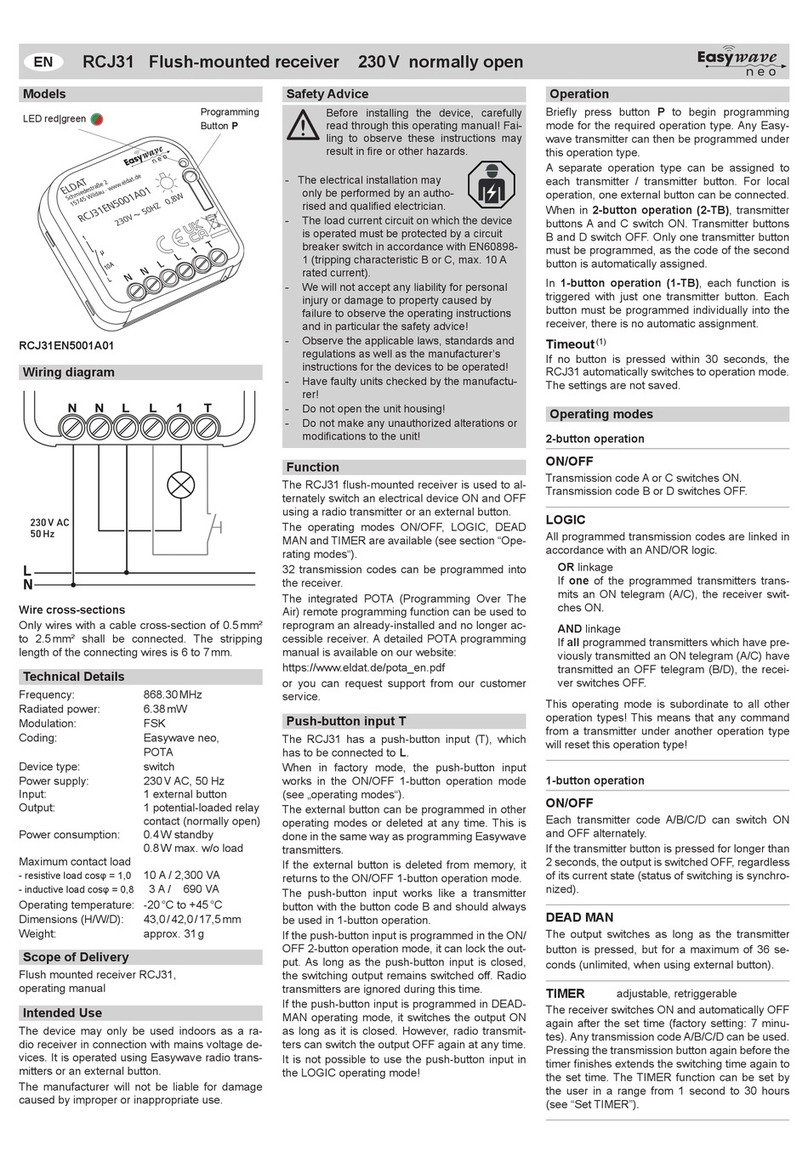
DEAD MAN´S MODE, PULSE:
1. Briey (< 1.6 sec.) press the programming
button TA1 (for channel 1) or TA2 (for channel
2). The programming mode is activated. The
LED ashes.
2. Press and hold the transmitter button. If the
code has been memorized, the LED lights up
for approx. 4 sec. and then ashes again. Re-
lease the transmitter button.
3. Repeat step 2 with the other transmitters.
4. Briey (< 1.6 sec.) press the programming
button TA1 or TA2 in order to return to the op-
erating mode.
EIN/AUS:
1. Briey (< 1.6 sec.) press the programming
button TA1 (for channel 1) or TA2 (for channel
2). The programming mode is activated. The
LED ashes.
2. Press and hold the transmitter button A or C. If
the code has been memorized, the LED lights
up for approx. 4 sec. and then ashes again.
Release the transmitter button.
Note: The code of the corresponding transmit-
ter button B or D will be assigned automati-
cally.
3. Repeat step 2 with the other transmitters.
4. Briey (< 1.6 sec.) press the programming
button TA1 or TA2 in order to return to the op-
erating mode.
If all memory locations are occupied, the LED
ashes rapidly for approx. 4 sec.
Note: Even in case of longer power failure pro-
gramming remains.
ROLLER BLIND MOTOR CONTROL
2-button operation:
11. Briey (< 1.6 sec.) press the programming
button TA1. The programming mode is acti-
vated. The LED ashes.
2. Press and hold the transmitter button A or C. If
the code has been memorized, the LED lights
up for approx. 4 sec. and then ashes again.
Release the transmitter button.
Note: The code of the corresponding transmit-
ter button B or D will be assigned automati-
cally.
3. Repeat step 2 with the other transmitters.
4. Briey (< 1.6 sec.) press the programming
button TA1 or TA2 in order to return to the op-
erating mode.
ROLLO-/JALOUSIE-MOTORSTEUERUNG
3-button resp. 4-button operation:
1. Briey (< 1.6 sec.) press the programming
button TA1 (for channel 1) or TA2 (for channel
2). The programming mode is activated. The
LED ashes.
2. Press and hold the transmitter button. If the
code has been memorized, the LED lights up
for approx. 4 sec. and then ashes again. Re-
lease the transmitter button.
Note: The code of the associated button
(OPEN, CLOSE, STOP)
are automatically al-
located.
3. Repeat step 2 with the other transmitters.
4. Briey (< 1.6 sec.) press the programming
button TA1 or TA2 in order to return to the op-
erating mode.
Deleting Specic Transmission Codes
In the Delete mode you can delete specic trans-
mission Codes memorized by the receiver.
1. Keep the programming button TA1 (for chan-
nel 1) or TA2 (for channel 2) pressed for more
than 1.6 sec. The delete mode is activated.
The LED ashes rapidly.
2. Press the selected transmitter button. If the
code has been deleted, the LED lights up for
4 sec. and then ashes again rapidly.
Note: In the operating modes „Roller blind
motor control“ and „ON/OFF“, the code of the
corresponding transmitter button is also de-
leted.
3. Repeat step 2 with another transmitter or
briey (< 1.6 sec.) press the programming
button TA1 or TA2 in order to return to the op-
erating mode.
Deleting Memory Completely (RESET)
In the Reset mode you can delete all codes mem-
orized by the receiver.
1. Keep the programming button TA1 or TA2
pressed for more than 1.6 sec. The delete
mode is activated. The LED ashes rapidly.
2. Press the programming button TA1 or TA2
again and keep it pressed for more than 1.6
sec. If the memory has been deleted com-
pletely, the LED lights up for 4 sec. and then
ashes again rapidly.
3. Briey (< 1.6 sec.) press the programming
button TA1 or TA2 in order to return to the op-
erating mode.
Disposal
Waste electrical products not be disposed of
with household waste!
Dispose of the waste product via a collec-
tion point for electronic scrap or via your
specialist dealer.
Put the packaging material into the recy-
cling bins for cardboard, paper and plas-
tics.
Warranty
Within the statutory warranty period we undertake
to rectify free of charge by repair or replacement
any product defects arising from material or pro-
duction faults.
Any unauthorized tampering with, or modications
to, the product shall render this warranty null and
void.
Conformity
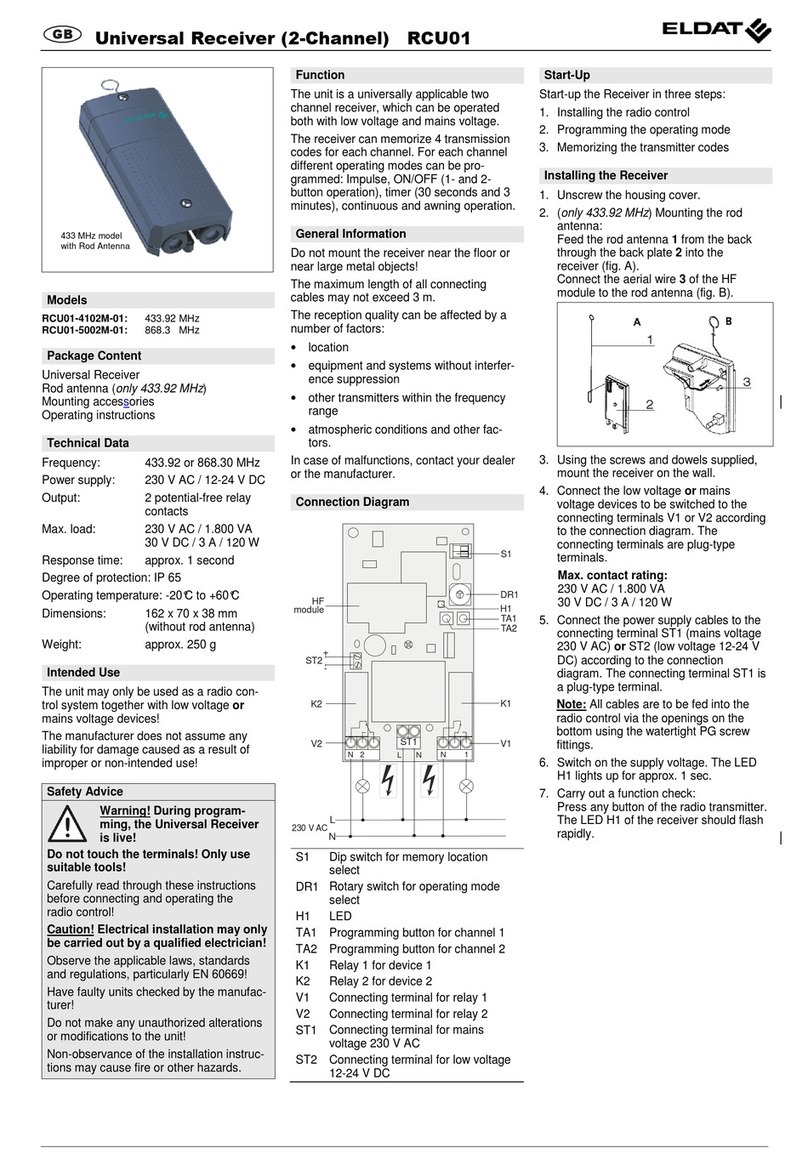
Hereby, ELDAT GmbH declares that the radio
equipment type RCL03/RCL04 is in compliance
with Directive 2014/53/EU.
The full text of the EU declaration of conform-
ity is available at the following internet address:
www.eldat.de
Customer Servic
If the device does not work properly despite prop-
er handling or in case of damage, please contact
the manufacturer or your retailer.
ELDAT GmbH
Im Gewerbepark 14
15711 Königs Wusterhausen
Germany
Phone: + 49 (0) 33 75 / 90 37-0
Fax: + 49 (0) 33 75 / 90 37-90
Internet: www.eldat.de
UM74963C 0119 EN
