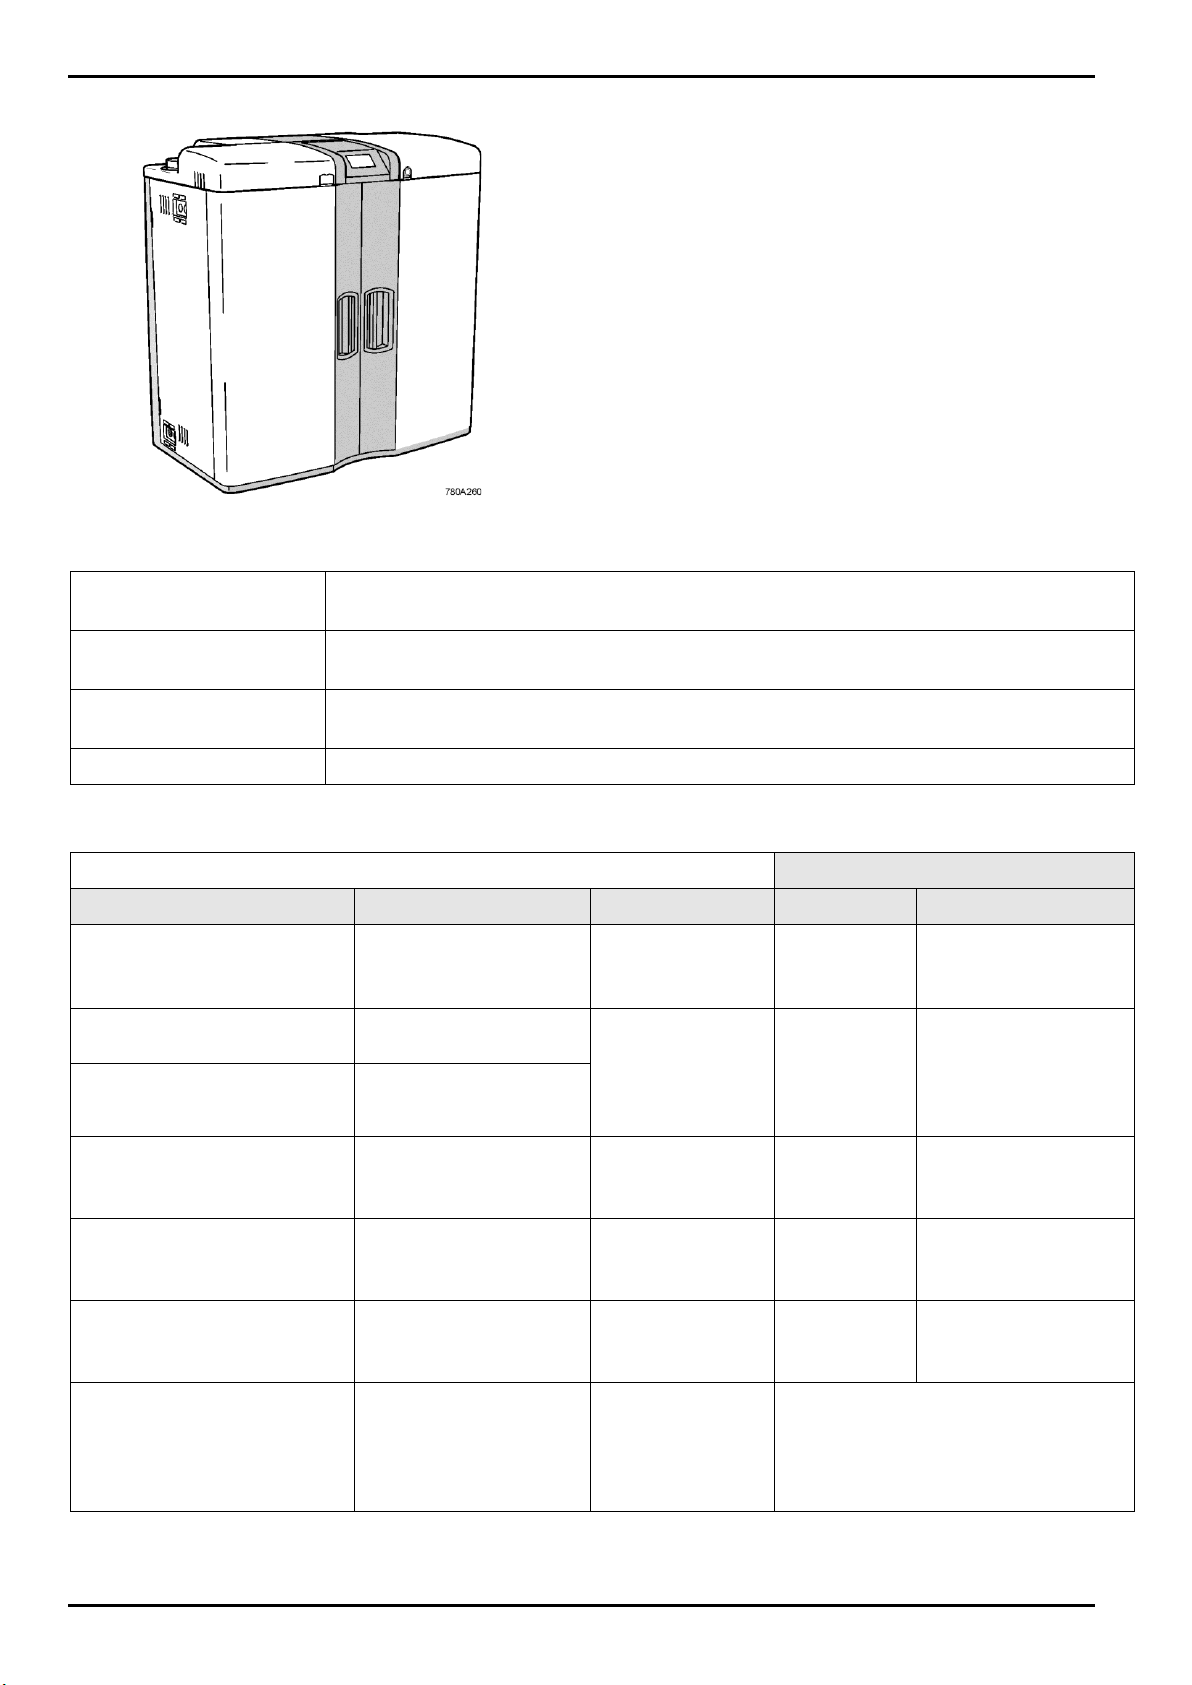
ELGA MEDICA Pro EDI Instruction manual

MEDICA Pro EDI - US
Quick Start Manual


ELGA MEDICA Pro EDI - US Quick Start Manual
MEDICA Pro EDI - US MANU40683 Ver.2 –10/15 Page 1
1. INTRODUCTION
Use of this manual
ELGA LabWater strives to produce manuals that are as simple and accurate as possible. However, should you feel
they can be improved in any way please email us at info@elgalabwater.com
This shortform manual guides you through the installation, commissioning and basic operation of the MEDICA Pro
EDI –US allowing you to obtain a guaranteed supply of purified water to meet your requirements. For more
information that is detailed refer to the Operator Manual supplied on CD.
Customer Support
Service support and consumable items are available from your local supplier or distributor. Please contact
2. HEALTH AND SAFETY NOTES
WARNING! WARNINGS ARE GIVEN WHERE FAILING TO OBSERVE THE INSTRUCTIONS
COULD RESULT IN INJURY OR FATALITY.
CAUTION! Cautions are given where failure to observe the instructions could result in
damage to the equipment, associated equipment and processes.
2.1 Electricity
It is essential that the electrical supply to the MEDICA Pro EDI –US is isolated before any items are changed or
maintenance work performed.
The appliance coupler (mains lead) connected to the rear of the unit can be removed to isolate the power supply. If
access to this is restricted then it is recommended that access to the supply socket is easily available to disconnect
the electrical supply.
The unit must be earth. Use of the recommended appliance coupler will ensure adequate earth protection.
WARNING! IF THE EQUIPMENT IS USED IN A MANNER NOT SPECIFIED BY ELGA, THE
PROTECTION PROVIDED BY THE EQUIPMENT MAY BE IMPAIRED..
2.2 Pressure
The water supply should be isolated and residual pressure released prior to removal of any components or carrying
out work on the unit.
Switch off the process and relieve pressure in the distribution loop by opening a point of use or dispense tap.
2.3 Sanitization Chemicals
During the automatic sanitization cycles, EfferSan™multi-purpose disinfecting tablet and Minncare cold sterilant are
used and the relevant safety information is included within the operator manual included on CD in the rear of this
manual.
Please refer to the manufacturer for material safety data sheets.

ELGA MEDICA Pro EDI - US Quick Start Manual
Page 2 MEDICA Pro EDI MANU40683 Ver.2 –10/15
MEDICA Pro EDI
3. INSTALLATION
3.1 Unpacking MEDICA Pro EDI -US
The following items are supplied:
1. MEDICA Pro. EDI - US
2. Electrical supply lead.
3. Quick reference guide fitted on inside of door.
4. MEDICA Pro Starter Kit 6 or 7 (to be ordered
separatly).
5. Installation kit (Included in starter kit).
Maintenance
Access is required to the front of the unit for regular maintenance procedures.
Occasional access is required to the top of the unit to add chemical during sanitization.
Electrical supply
For safety reasons it is recommended that this unit be connected to a suitable power
outlet which is easily accessible and local to the unit.
Site
The unit can be floor or bench mounted. Ensure the bench is designed to take a load in
excess of 150kg and that the weight of other equipment is also taken into consideration.
Water supply
Local potable supply with a means of isolation.
3.2 External services and connections
UNIT OF MEASURE
Connection
Termination
Specification
METRIC
US/IMPERIAL
Feed water inlet*
10mm OD Push fit
Flow
Pressure
Temperature
>9l/min
2 to 6 bar
4 to 40C
>2.4USG/min
30 to 88psi
39.2 to 104F
Pressurized drain
10mm OD Push fit
Maximum flow
Maximum
distance to drain
Maximum back
pressure
10l/min
3m
0.2bar
2.7USG/min
10ft
3psi
EDI drain
10mm OD Push fit
Application loop feed
12mm OD Push fit
Maximum pipe
length to
application
5m
16ft
Application loop return
12mm OD Push fit
Maximum pipe
length from
application
5m
16ft
Application feed
12mm OD Push fit
Maximum pipe
length to
application
3m
10ft
Electrical supply
IEC 60320
Electrical rating
Electrical
protection
208-230 V ac 50/60 Hz
100-115 V ac 50/60 Hz
10 A
* Refer to Operator manual for feed water specification. Suitability of water supply must be confirmed before commissioning is commenced.

ELGA MEDICA Pro EDI - US Quick Start Manual
MEDICA Pro EDI - US MANU40683 Ver.2 –10/15 Page 3
3.3 Connecting MEDICA Pro EDI
Once the MEDICA Pro EDI unit has been positioned, it should be connected as follows:
1. CONNECT potable feed water supply
using tube supplied.
Note:
Ensure a suitable valve is fitted to
allow isolation of the supply during
essential maintanence.
The water pressure must not exceed
6bar.
Ensure the tube is not kinked or
twisted when the unit is in its final
position.
If the unit is installed under bench
allow sufficient slack in the flexible
hoses to enable access to the
sanitization port
Potable feed water tube connection
2. CONNECT both drains to local drain
with tube supplied.
Note:
Ensure air gap is maintained from
outlet of tube into a standpipe or
surface drain.
The drains can be extended to a
maximum length of 5m from the
product using 15mm PEXs rigid pipe.
It is strongly recommended that the
hoses are secured to ensure they are
always directed into the drain.
Drain hose connection (a second drain is to be install)
3. CONNECT loop out and loop return
using tube supplied.
Note:
The product is supplied with
sufficient tube to assemble a small
loop as shown. This loop can be
extended to a maximum of 16m
using 15mm PEXs rigid pipe.
Loop out and return / connection for application/Analyser
feed
Application

ELGA MEDICA Pro EDI - US Quick Start Manual
Page 4 MEDICA Pro EDI MANU40683 Ver.2 –10/15
4. CONNECT electrical supply lead into
the socket on the rear of the MEDICA
Pro EDI unit and to local isolated
supply.
Electrical supply connection

ELGA MEDICA Pro EDI - US Quick Start Manual
MEDICA Pro EDI - US MANU40683 Ver.2 –10/15 Page 5
Commissioning mode
4. COMMISSIONING
The unit is supplied with the software set in commission
mode and this must be completed before the unit is put into
operation.
4.1 External Supplies
1. SWITCH on water supply.
2. SWITCH on electrical supply.
Setting clock time
4.2 Clock
1. PRESS flashing CLOCK (clock icon)
2. PRESS SCROLL to edit time
OR
PRESS TICK ✓to proceed to step 4.3.
3. PRESS and UP to increase or DOWN to
decrease hour.
4. PRESS SHIFT to step cursor onto minute.
5. PRESS UP to increase or DOWN to
decrease minute.
6. PRESS TICK ✓.
Setting date screens
4.3 Date
1. PRESS SCROLL to edit date
OR
PRESS TICK ✓to proceed.
2. PRESS and UP to increase or DOWN to
decrease day.
3. PRESS SHIFT to step cursor onto month.
4. PRESS UP to increase or DOWN to
decrease month.
5. PRESS SHIFT to step cursor onto year.
6. PRESS UP to increase or DOWN to
decrease year.
7. PRESS TICK ✓.

ELGA MEDICA Pro EDI - US Quick Start Manual
Page 6 MEDICA Pro EDI MANU40683 Ver.2 –10/15
5. CONSUMABLE INSTALLATION
5.1 Pre-treatment Cartridge Protek L2
(LC177).
1. SCREEN prompt to install Protek pre-
treatment cartridge. (PT LC177).
2. REMOVE Protek pre-treatment cartridge
from packaging.
3. REMOVE transit plugs from inlet and
outlet.
4. WET ‘O’ rings located on the inlet and
outlet of the Protek.
5. OPEN the left hand door and locate the
pre-treatment position.
6. LIFT ‘wing’ and rotate anti-clockwise.
7. PIVOT latch and release retaining arm.
8. SWING retaining arm fully open.
9. REMOVE transit blanks on connector
manifold.
10. ALIGN Protek pre-treatment cartridge on
guide rails and SLIDE into place.
11. CLOSE retaining arms
12. PIVOT latch back and ROTATE wing
clockwise to secure.
13. Press ✓to continue.
LC123
LC181
LC109
LC206
CONSUMABLES LOCATION
Installation of Protek L2
LC105
LC207
LC177
LC136

ELGA MEDICA Pro EDI - US Quick Start Manual
MEDICA Pro EDI - US MANU40683 Ver.2 –10/15 Page 7
Replacing
Removing
5.2 Purification Cartridge (LC207)
1. SCREEN prompt to install the purification
cartridge (LC207)
2. REMOVE the LC207 purification
cartridge from packaging.
3. REMOVE sealing plugs from inlet and
outlet ports
4. WET ‘O’ rings and SLIDE into right hand
position pushing upwards against metal
pack reader contacts.
5. ENSURE that the pack is fully engaged
and drops down past the retainers.
6. PRESS ✓to continue.
5.3 Conditioning Cartridge LC206
1. SCREEN promt to install the conditioning
Cartridge (LC206).
2. Remove the LC206 conditioning
cartridge from packaging.
3. REMOVE sealing plugs from inlet and
outlet ports
4. WET ‘O’ rings and SLIDE into right hand
position pushing upwards against metal
pack reader contacts.
5. ENSURE that the pack is fully engaged
and drops down past the retainers.
PRESS ✓to continue and acknowledge
replacement dates for the following:
LC207, CVF (LC136), UV (LC105), PT
(LC177), UMF (LC109), CC (LC206),
Sanitization reminder.
5.4 System purge
6. PRESS process button .
The system now enters an automatic
purge phase.
After a maximum of 60 minutes the
system will exit the purge phase
regardless of the final water purity.

ELGA MEDICA Pro EDI - US Quick Start Manual
Page 8 MEDICA Pro EDI MANU40683 Ver.2 –10/15
6. BASIC OPERATION
MEDICA Pro EDI - US has the following modes of operation:
Night service/Operational day.
Continuous Operation (24/7).
Sanitization Procedure.
MEDICA Pro EDI - US is supplied set up to operate on Monday to Friday, between the hours of 07:30 to 18:00. Refer
to Operators Manual supplied on CD for instructions on how to adjust the times of operation or to switch to continuous
recirculation.
7. USEFUL CONTACT DETAILS
ELGA LabWater
Lane End Industrial Park
High Wycombe
Bucks HP14 3BY
UK
Tel: +44 (0) 203 567 7300
Fax: +44 (0) 203 567 7205
E-mail: techsupport@elgalabwater.com
For the address of the nearest ELGA LabWater Sales and Service office, visit the country list on our website.
http//www.elgalabwater.com
or contact ELGA at the number above.
2015 ELGA LabWater/VWS (UK) Ltd. All rights reserved
Copyright Note
The information contained in this document is the property of VWS (UK) Ltd. and is supplied without liability for errors
or omissions.
No part of this document may be reproduce or used except as authorized by contract or other written permission from
VWS (UK) Ltd. The copyright and all restrictions on reproduction and use apply to all media in which this information
may be placed.
VWS (UK) Ltd. pursue a policy of continual product improvement and reserve the right to alter without notice the
specification, design, price or conditions of supply of any product or service.
MANU40683 Version 2 –10/15
Other manuals for MEDICA Pro EDI
1
Table of contents
Other ELGA Laboratory Equipment manuals

ELGA
ELGA PURELAB Option-Q 7/15 - US User manual

ELGA
ELGA CENTRA S200 US User manual

ELGA
ELGA Medica EDI 15 User manual

ELGA
ELGA MEDICA Pro EDI User manual

ELGA
ELGA PURELAB flex 1 & 2 - US User manual

ELGA
ELGA CENTRA-R 60 US User manual

ELGA
ELGA MEDICA-R 7/15 US User manual

ELGA
ELGA MEDICA Pro 30 User manual

ELGA
ELGA PURELAB Chorus Quick guide

ELGA
ELGA MEDICA-R200 - US User manual