
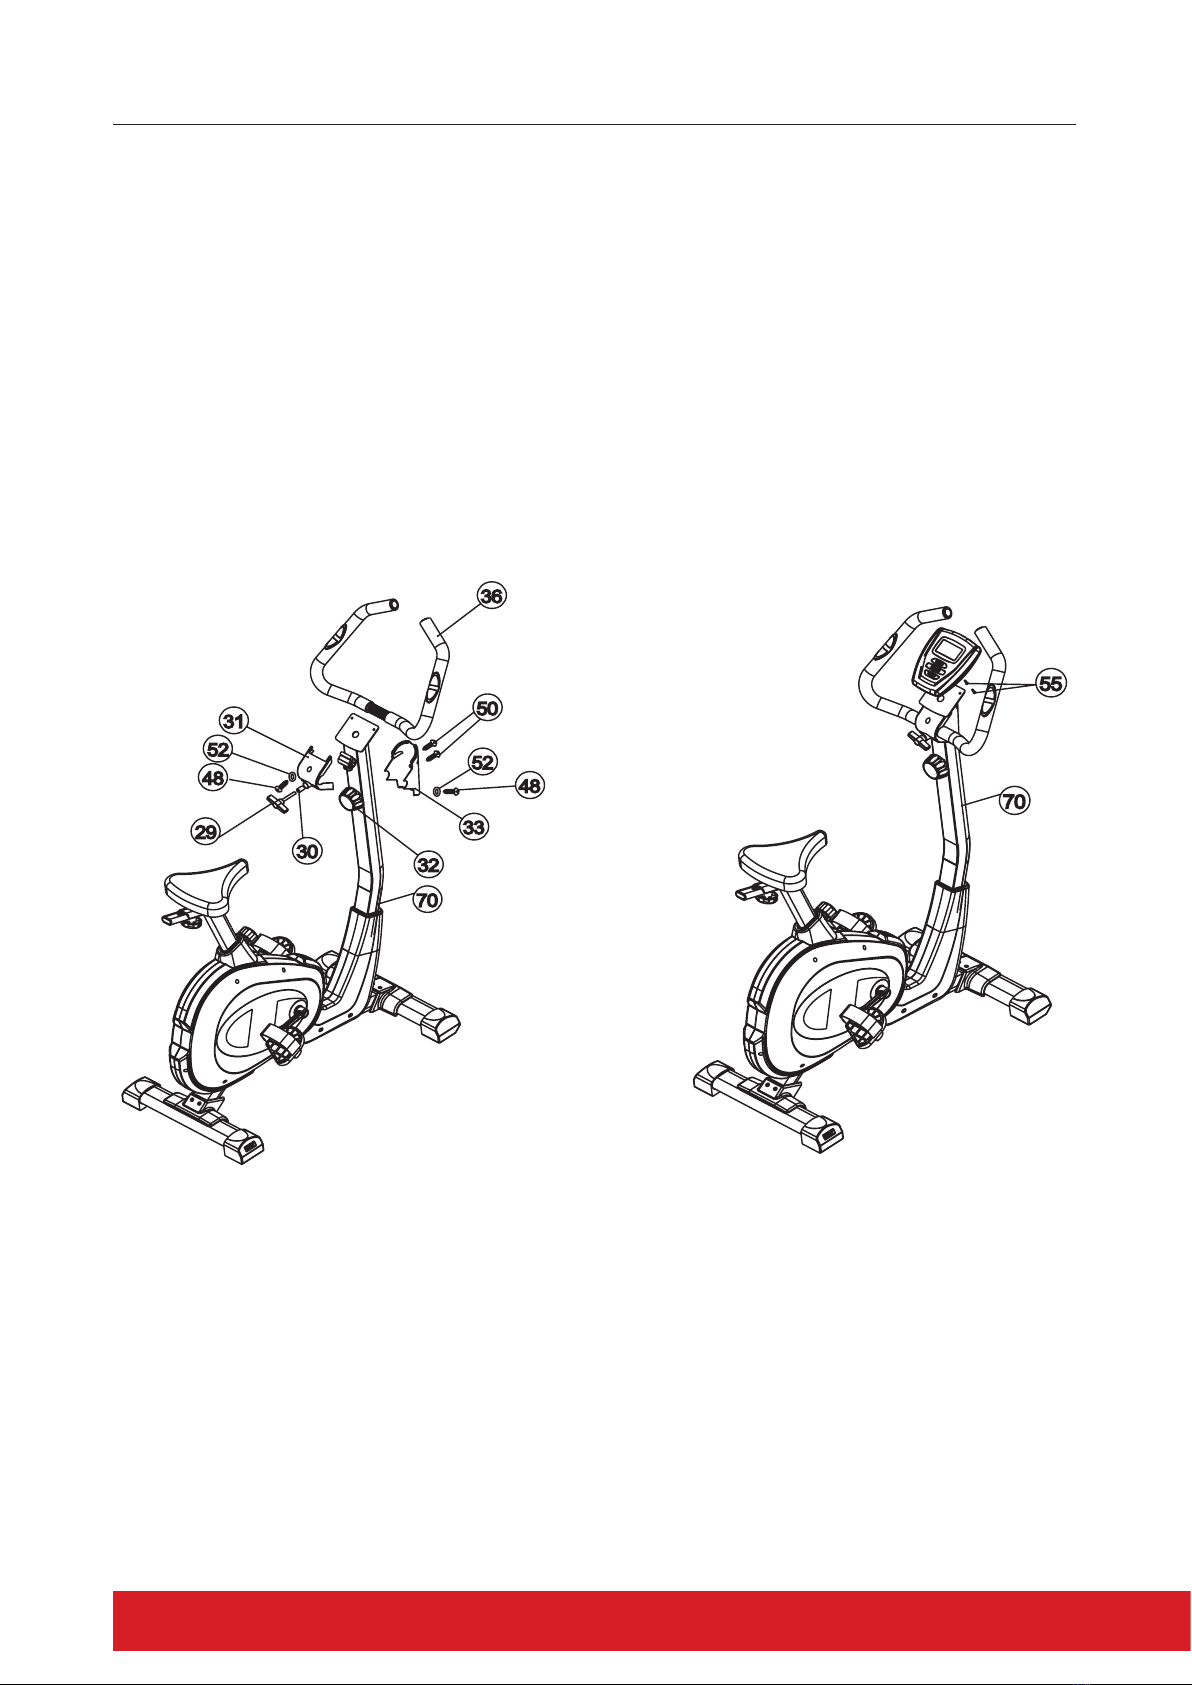
3ELITE ULTRA SL EXERCYCLE ASSEMBLY MANUAL
The following denion applied to the word “WARNING” when used in this manual:
Used to call aenon to POTENTIAL hazards that could result
in personal injury.
READ ALL INSTRUCTIONS BEFORE USING THE MACHINE
This product has been designed for home use only. Product liability and warranty condions will
not be applicable to products being subjected to professional use or products being used in a
commercial environment. e.g Gym Centre, Rerement Centre, Home Based PT Studio and Physio.
This exercise machine is built for opmum safety. However, certain precauons apply whenever
you operate a piece of exercise equipment. Be sure to read the enre manual before you assemble
or operate your machine. In parcular, note the following safety precauons.
— Read all instrucons in this manual before using this equipment.
— Use the machine only for its intended use as described in this Manual.
— Inspect and ghten all the loose parts before this equipment is used.
— Keep hands away from moving parts.
— Keep children and pets away from the machine at all mes. DO NOT leave children unaended
in the same room with the machine.
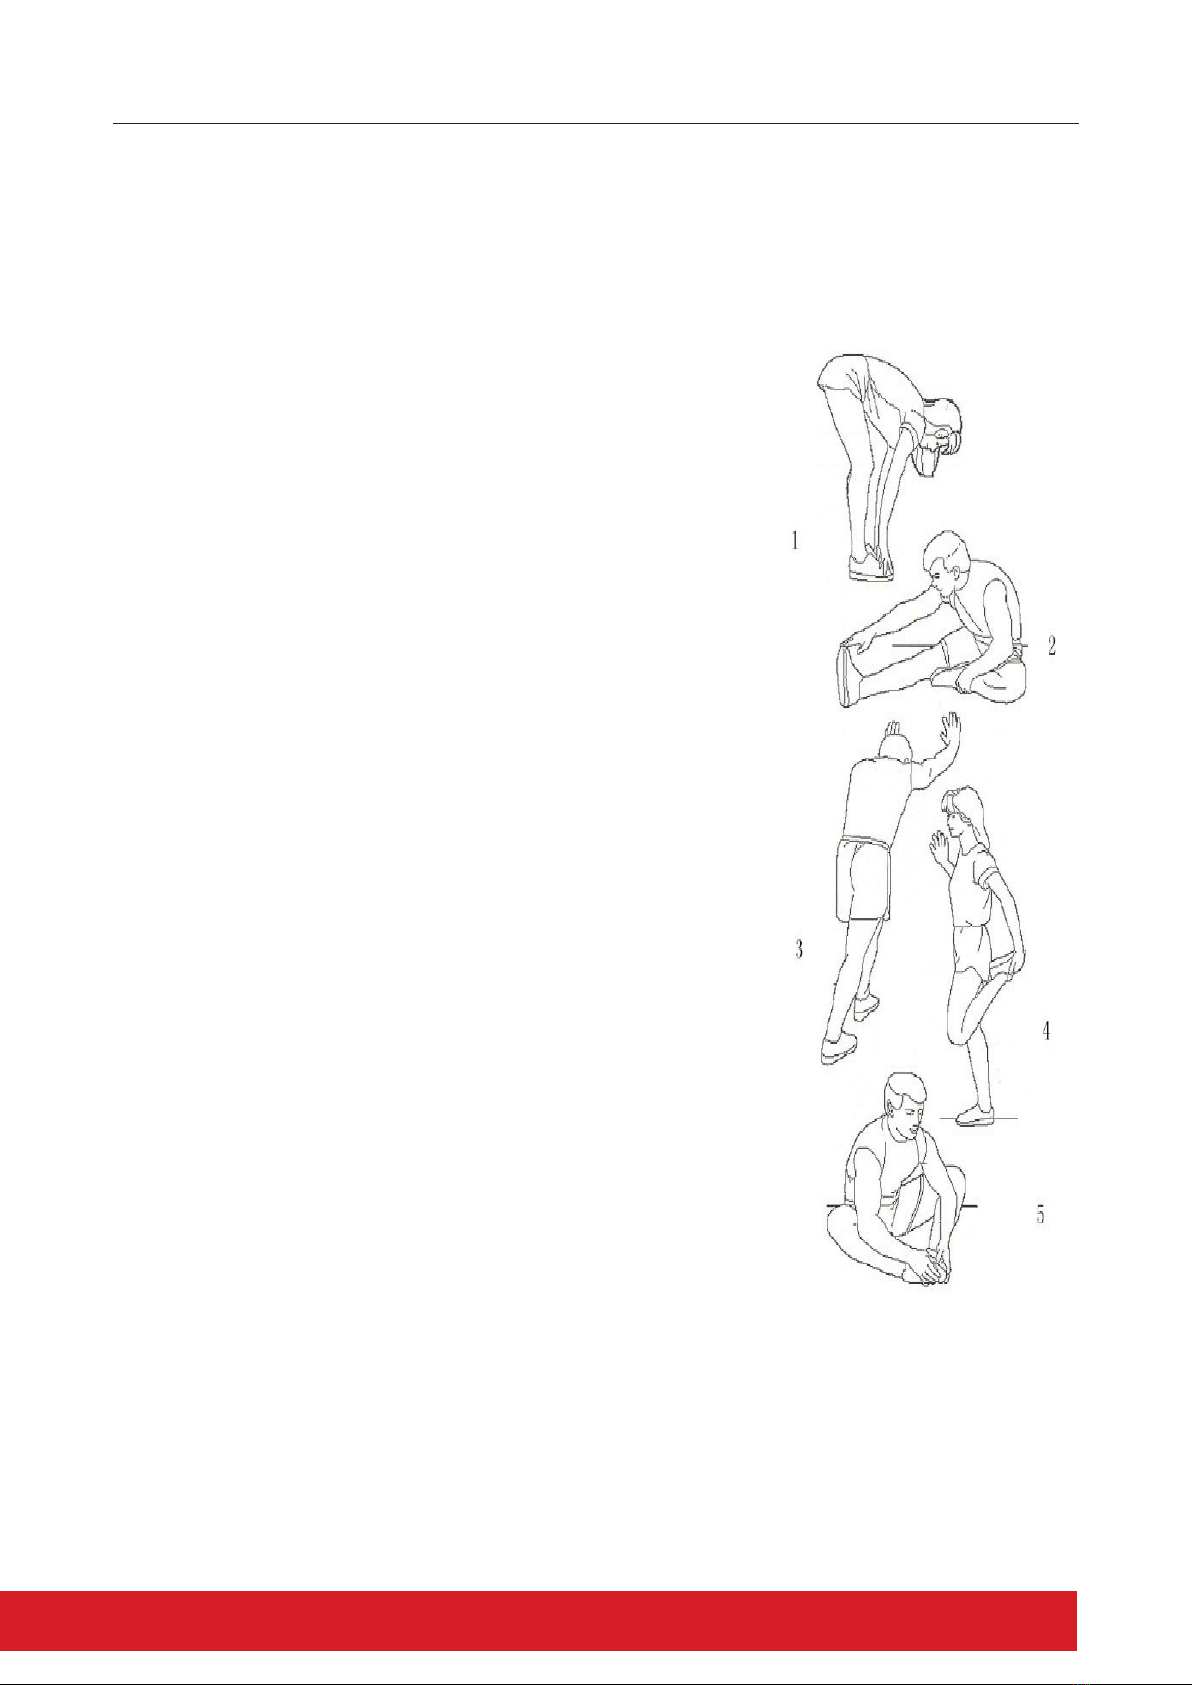
— Before using the machine to exercise, always do stretching exercises to properly warm up.
— Inspect the machine before each use; make sure all of the connecons are ghtly secured.
— Only one person at a me should use the machine.
— If the user experiences dizziness, nausea, chest pain, or any other abnormal symptoms, STOP
the workout at once. CONSULT A PHYSICIAN IMMEDIATELY.
— Posion the machine on a clear, levelled surface. DO NOT use the machine near water
or outdoors.
— Always wear appropriate workout clothing when exercising. DO NOT wear robes or other
clothing that could become caught in the machine. Sporng shoes are recommended when
using the machine.
— Do not place any sharp object around the machine.
— Disabled persons should not use the machine without a qualied person or physician
in aendance.
— Never operate the machine if the machine is not funconing properly.
— Only carry out training work on the equipment when it is in perfect working order. Only use
original spare parts in the event of a repair.
— Do not use strong solvents for cleaning, and only use the tools supplied, or suitable ones of
your own, for any repairs that may be required. Please dispose of the packaging and any parts
that have to be replaced subsequently (all parts for the unit) at suitable collecng points or
containers with a view to saving the environment.
— DO NOT extend the seat stem past the warning line “Max” when adjusng the seat height.
— Not for therapeuc use.
IMPORTANT SAFETY INSTRUCTIONS


 Service manual")
