-1-
Introducon
Congratulaons with your new ELRO camera Set, featuring 7“ (18 cm) colour screen plus PIR
acvated 720P HD Resoluon camera with Infra-Red LEDs to give Nightview, including SD Card
recording feature. We want that you enjoy this ELRO product without having to read extensive
paperwork, so this quick start guide will help you to get started, make camera and monitor work
together and indicate the most important features. You will also learn which APP you can use for
remote access. If you need more detailed informaon, visit our website www.elro.eu for a more
detailed manual, where all features of the system and the APP are described in full!
Besides the mounng materials (dowels and srews), the set contains the following parts:
* Monitor 7“/18cm
* 720P HD wireless camera
* AC adaptor 9V (camera)
* AC adaptor 5V (monitor)
* Network cable
* Quick Start Guide
Up to 3 addional cameras can be added to this 4-Channel sytem. The compabel extra camera for
this kit is: 720P HD Night Vision Camera with moon detectorCC30RXX11
Get started
(Default password 000000)
1. Connect the 9V power adapter tot he camera and plug it into power
2. Connect the 5V power adapter into the monitor and plug it into power. To turn ON and OFF the
monitor, push and hold the power buon that is located in the middle on top of the monitor
for at least 5 seconds! Pushing this buon shortly will enter the Scan Mode to find paired
cameras.
3. The camera is already pre-paired to the monitor; if you find this not working, or you want to
change to another channel, go to:
Screen menu General Sengs Camera Sengs Pairing
Choose and tab the channel to which you want to add or change the camera to and follow the
on-screen instrucon to press the „pair“ buon at the back of the camera within 30 seconds!
You will now see the camera picture on the screen.
Before Mounng the camera to the wall, check if the intended mounng posion gives the
wanted surveillance area and has good wireless connecon to the monitor.
-2-
1. SIGNAL INDICATOR
Shows how strong the camera's signal is.
2. SD CARD
SD card is inserted into the monitor.
Blue; recording space is available.
Red; SD card is full.
3. NEW RECORD INDICATOR
New recordings are saved on the SD card.
4. RECORDING INDICATOR
Recording is in progress.
5. NETWORK STATUS INDICATOR
Green; connected to internet.
Yellow; not connected to the internet.
Red; no connecon monitor and camera
6. LED LIGHT CONTROL INDICATOR
Not available for this model.
7. SD CARD OVERWRITE
Overwrite files when SD-card is full.
8. CHANNEL INDICATOR
Displays the current channel you are viewing.
9. BATTERY INDICATOR
Flashing Red; low baery
Green; full baery
Flashing Green; charging baery
10. ZOOM INDICATOR
Tap 1 of the 5 areas.
Tap the icon again to exit Zoom mode.
11. VOLUME INDICATOR
Tap + or - to raise or lower the volume.
12 TALK BACK INDICATOR
Press and hold to talk back through the camera.
13. NEW DOWNLOAD
Displays if new firmware is available.
14. SEQUENCE INDICATOR
Auto switch mode; it will change channels automacally.
15. CHANGE CHANNEL
Tap this icon to manually change channels.
16. MOTION RECORDING INDICATOR
Blue; automac recording OFF.
Red; automac recording ON.
17. POP-UP MENU TAB
Tap to access the pop up menu system.
VOLUME
- 5 +
SEQ
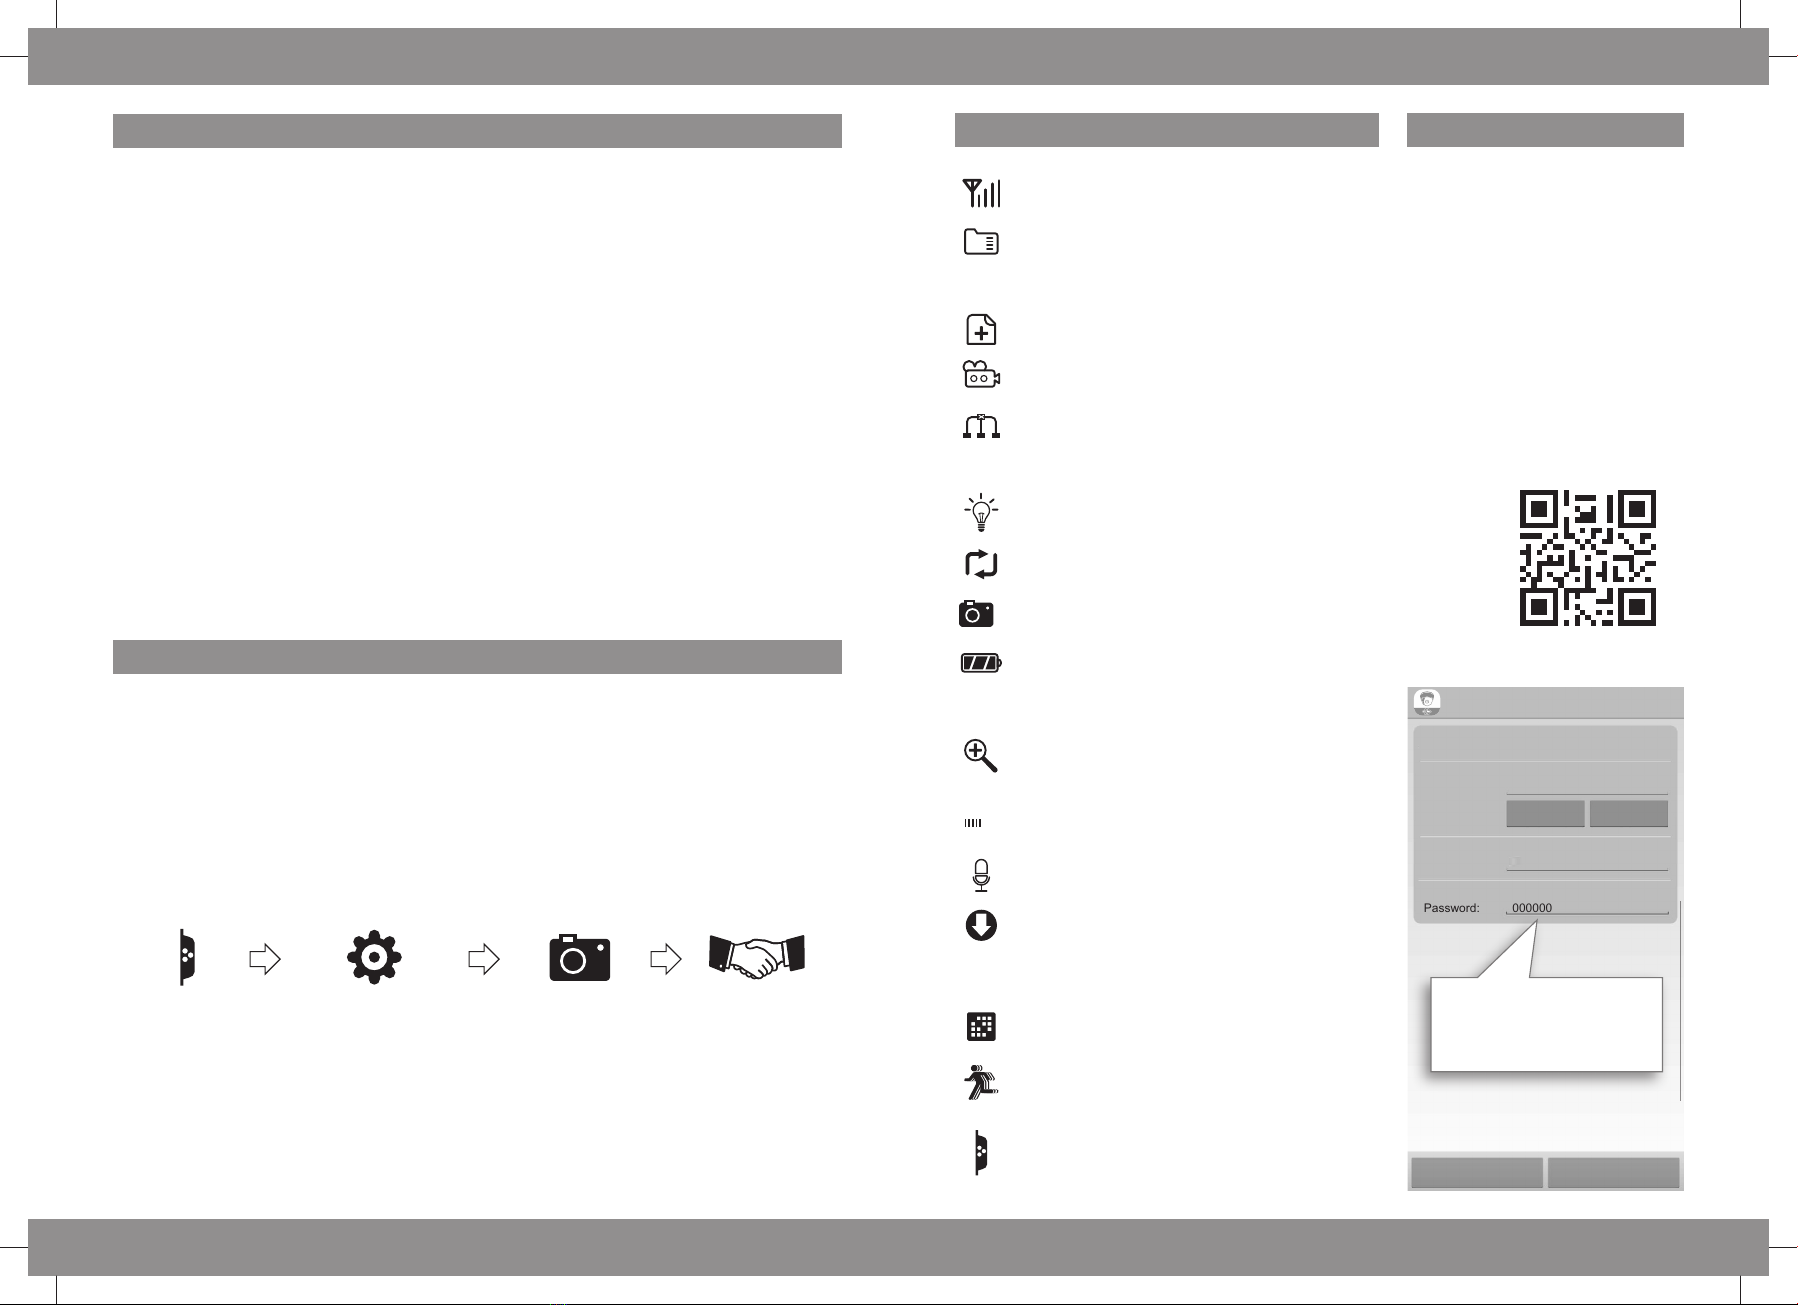
Explanaon monitor icons ELRO Monitoring App
1
1. Download and install the free
ELRO Monitoring app.
(App Store / Google Playstore)
2. Your Monitor must be connected
to your home router with included
network cable!
3. For adding a camera, just follow
the instrucons from the APP and
use either the UID below the QR-
Code on the monitor or you
simply scan the QR-Code itself.
NKCZEJJ11L3MB272111A
QR-code
UID-code
Add Device
Device Setting
Scan Search
Name: ELRO Monitoring
000000
UID:
OK Cancel
NKCZEJJ11L3MB272111A
Password:
Enter the Default password here
000000 in. You can later in the app
Create your own password.


