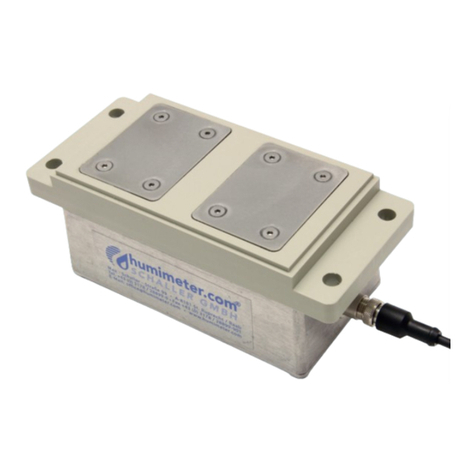
Pyranometer KNX PY 1
Pyranometer KNX PY • Version: 31.01.2023 • Technical changes and errors excepted. • Elsner Elektronik GmbH • Sohlengrund 16 • 75395 Ostelsheim • Germany • www.elsner-elektronik.de • Technical Service: +49 (0) 7033 / 30945-250
EN
KNX PY
Pyranometer
Technical specifications and installation instructions
Item number 70157
1. Description
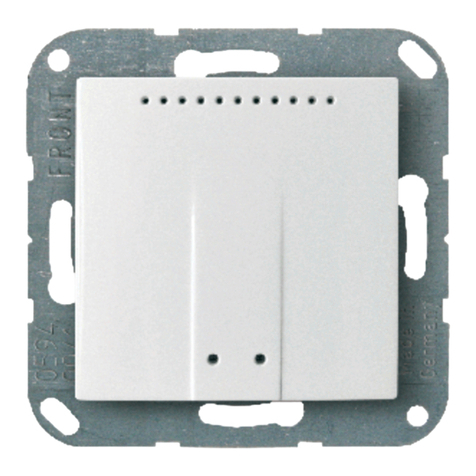
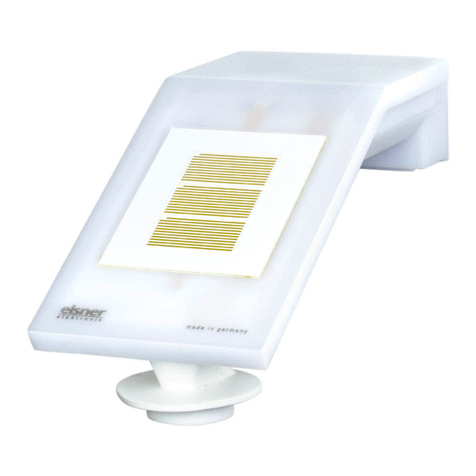
The Pyranometer KNX PY measures global irradiance, which is perceived as heat.
The measured current irradiance (watts per squaremetre) allows for drawing con-
clusions on the energy input to an area during a defined period of time (kilowatt
hours per squaremetre). Both values can be read out by the KNX PY. Four swit-
ching outputs with adjustable threshold values as well as additional AND and OR lo-
gic gates are available.The sensor system, the evaluation electronics and the elec-
tronics of the bus connection are mounted in a compact housing.
Functions:
•Measurement of global irradiance: The current irradiance is measured
(W/m²). The energy input to an area during a defined period of time can be
read out (kWh/m²)
•4 threshold values can be adjusted per parameter or via communication
objects
•2 AND and 2 OR logic gates with each 4 inputs. Every switching incident
as well as 8 logic inputs (in the form of communication objects) may be used
as inputs for the logic gates. The output of each gate may optionally be
configured as 1 bit or 2 x 8 bits
Configuration is made using the KNX software ETS. The product file can be dow-
nloaded from the Elsner Elektronik website on www.elsner-elektronik.de in the
“Service” menu.
1.1. Scope of delivery
• Pyranometer with combined wall/pole mounting
• 2x stainless steel installation band for pole installation
1.2. Technical specifications
The product conforms with the provisions of EU directives.
2. Installation and commissioning
Installation, testing, operational start-up and troubleshooting should
only be performed by an authorised electrician.
CAUTION!
Live voltage!
There are unprotected live components inside the device.
• Inspect the device for damage before installation. Only put undamaged
devices into operation.
• Comply with the locally applicable directives, regulations and provisions for
electrical installation.
• Immediately take the device or system out of service and secure it against
unintentional switch-on if risk-free operation is no longer guaranteed.
Use the device exclusively for building automation and observe the operating inst-
ructions. Improper use, modifications to the device or failure to observe the opera-
ting instructions will invalidate any warranty or guarantee claims.
Operate the device only as a fixed-site installation, i.e. only in assembled condition
and after conclusion of all installation and operational start-up tasks, and only in the
surroundings designated for it.
Elsner Elektronik is not liable for any changes in norms and standards which may
occur after publication of these operating instructions.
2.1. Location
Select an assembly location at the building where sun may be collected by the sen-
sors unobstructedly. The sensor may not be shaded by the building or for example
by trees.
At least 60 cm of clearance must be left all round the device. Concurrently, the pre-
vents spray (raindrops hitting the device) or snow (snow penetration) from impai-
ring the measurement. It also does not allow birds to bite it.
2.2. Mounting the sensor
2.2.1. Attaching the mount
The sensor comes with a combination wall/pole mount. The mount comes adhered
by adhesive strips to the rear side of the housing. Fasten the mount vertically onto
the wall or pole.
Housing Plastic material
Colour White / Transparent
Mounting On-wall
Degree of protection IP 44
Dimensions approx. 96 × 77 × 118 (W × H × D, mm)
Weight approx. 145 g
Ambient temperature Operation -25…+85°C, storage -30…+85°C
Voltage KNX bus voltage
Bus current max. 7 mA,
max. 10 mA when programming LED is active
Data output KNX +/- bus terminal plug
Group addresses max. 200
Allocations max. 200
Communication
objects
52
Measurement range 0…2500 W/m²
0…2196 kWh/m²
Fig. 1
There must be at least 60 cm of space
below, to the sides and in front of the
sensor left from other elements (struc-
tures, construction parts, etc.).
60 cm
Fig. 2
The sensor must be mounted onto a
vertical wall (or pole).
Wall
or
pole
Fig. 3
The sensor must be mounted horizon-
tally in the lateral direction.
horizontal
Fig. 4
For installation in the northern hemis-
phere, the sensor must be aligned to
face south.
For installation in the southern hemis-
phere, the sensor must be aligned to
face north.
Nord
Süd
Fig. 5
After installation, remove the "distan-
ce" sticker on the top of the cover.
Fig. 6
When wall mounting: flat side on wall,
crescent-shaped collar upward.
Collar
Fig. 7
When pole mounting: curved side on po-
le, collar downward.
Collar
